
Let’s start off with what is a Hugelkultur mound. Here is a great video that explains Hugelkultur
Our First Hugelkultur Mound

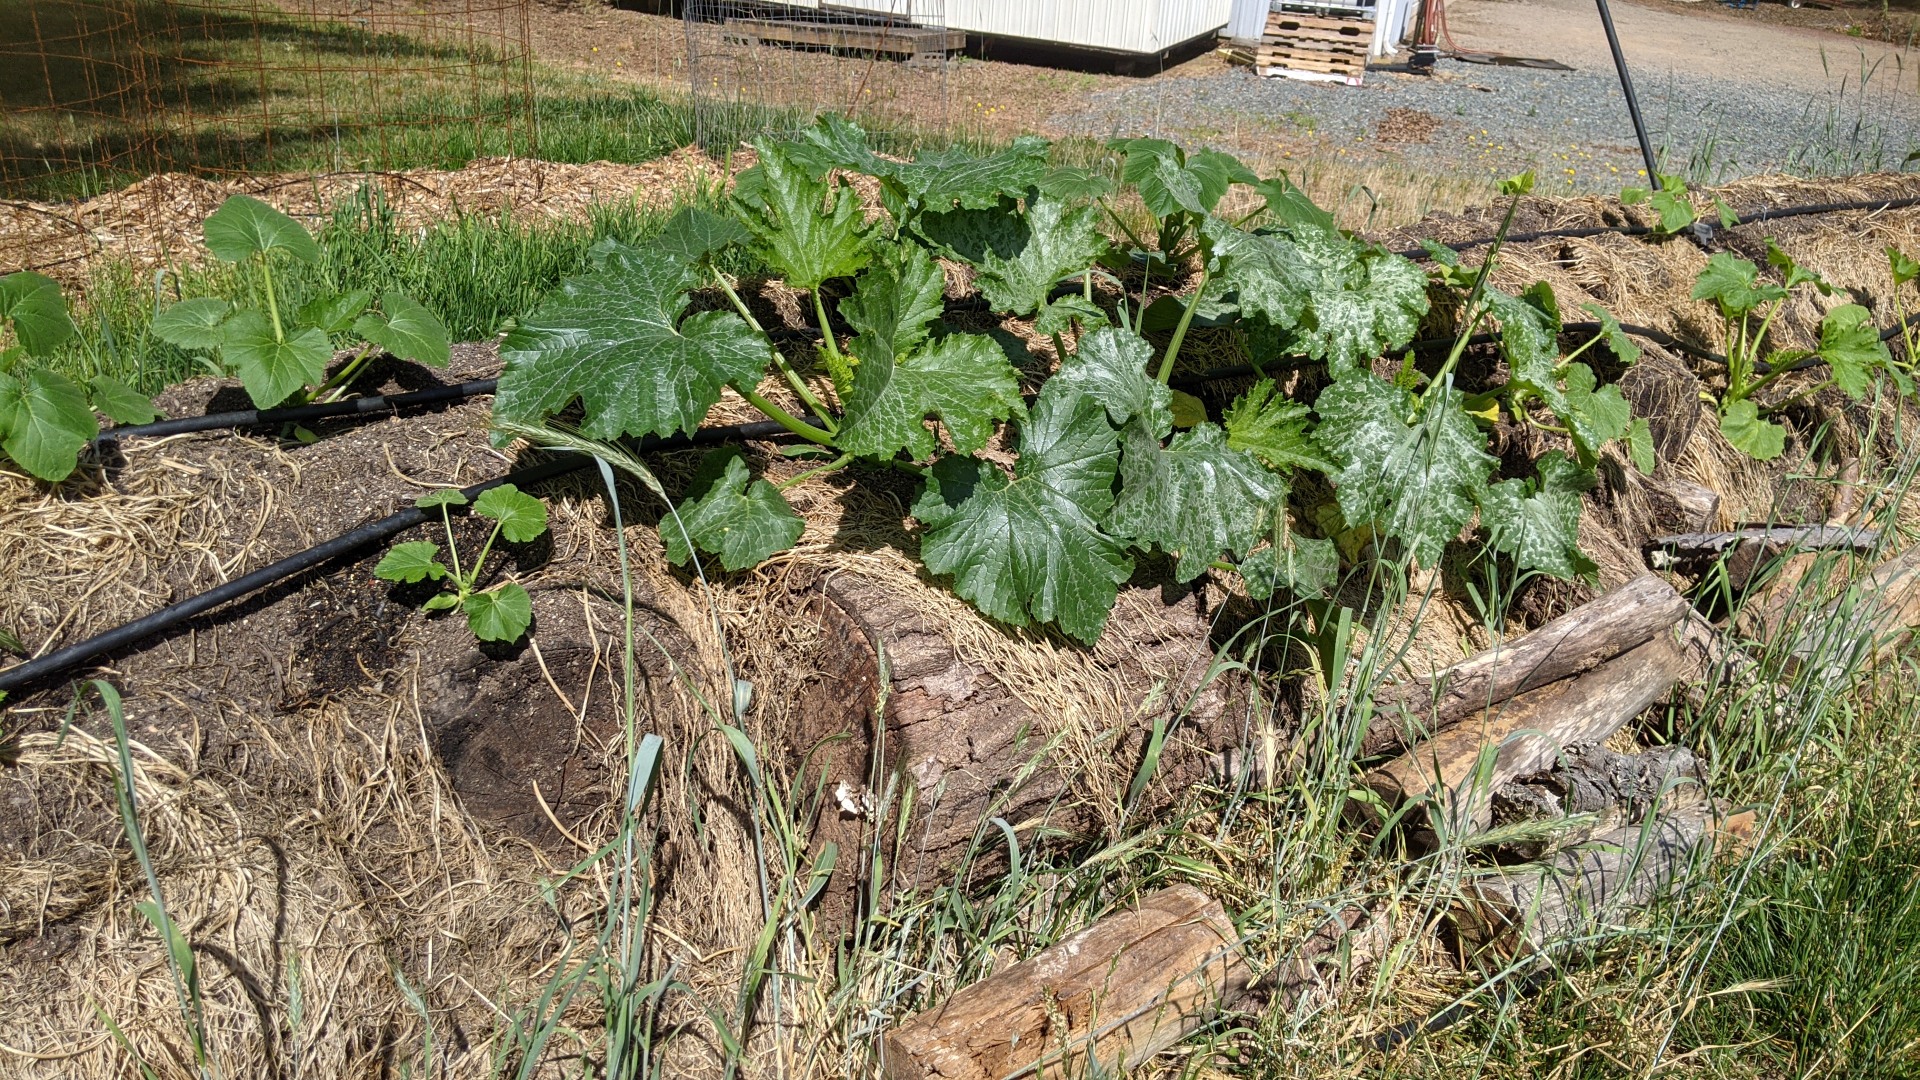
We built our first hugelkultur mound in our garden at home. The mound is about 35 feet long and used trees that we had cleared on the back of the property. It has worked great for growing squash. We use drip watering to keep the plants watered. We have noticed that the hugel mound requires more water than the conventional garden areas. I expect that to reverse as the logs in the hugelkultur mound (about 1-2 years since the trees were cut) decompose.
The Hugelkultur Mound at the Farm
My original goal with to build at least 2 large hugelkultur mounds on our hobby farm property. We had a great growing experience with the hugelkultur mound at our house, so why not try it on a larger scale.
When we put in the driveway, there were two problems what we were able to turn into opportunities. The first is what to do with the top soil that was removed before the membrane and gravel can go down. We also had to decide out what to do with the tree trunks and limbs from the trees that were cut down to build the driveway.
Perfect Opportunity
There was never going to be a better time to build the first hugelkultur mound on the new property. So we used the logs, limbs and top soil to build the first one. The mound ended up being 85 feet long, 30 feet wide and about 8 feet tall.

We installed drip irrigation and planted winter squash, watermelons, pumpkins and cantelopes. I was pleasantly surprised by the number of winter squash and pumpkins.
Getting Ready for the Growing Season
One of the tasks for Saturday was to cover the entire mound with a 35 x 100 foot silage cover. Of course it wasn’t windy until after we started spreading the silage cover. Do you remember going out into the parking lot in elementary school where your class surrounded a parachute? This felt pretty similar with the wind getting under the tarp.


You can see the bumps where the wind kept getting under the tarp as we were getting it in place and held down.

Once the tarp was in place, we’ll leave it there until just before we plant at the end of April as way to suppress any weeds.