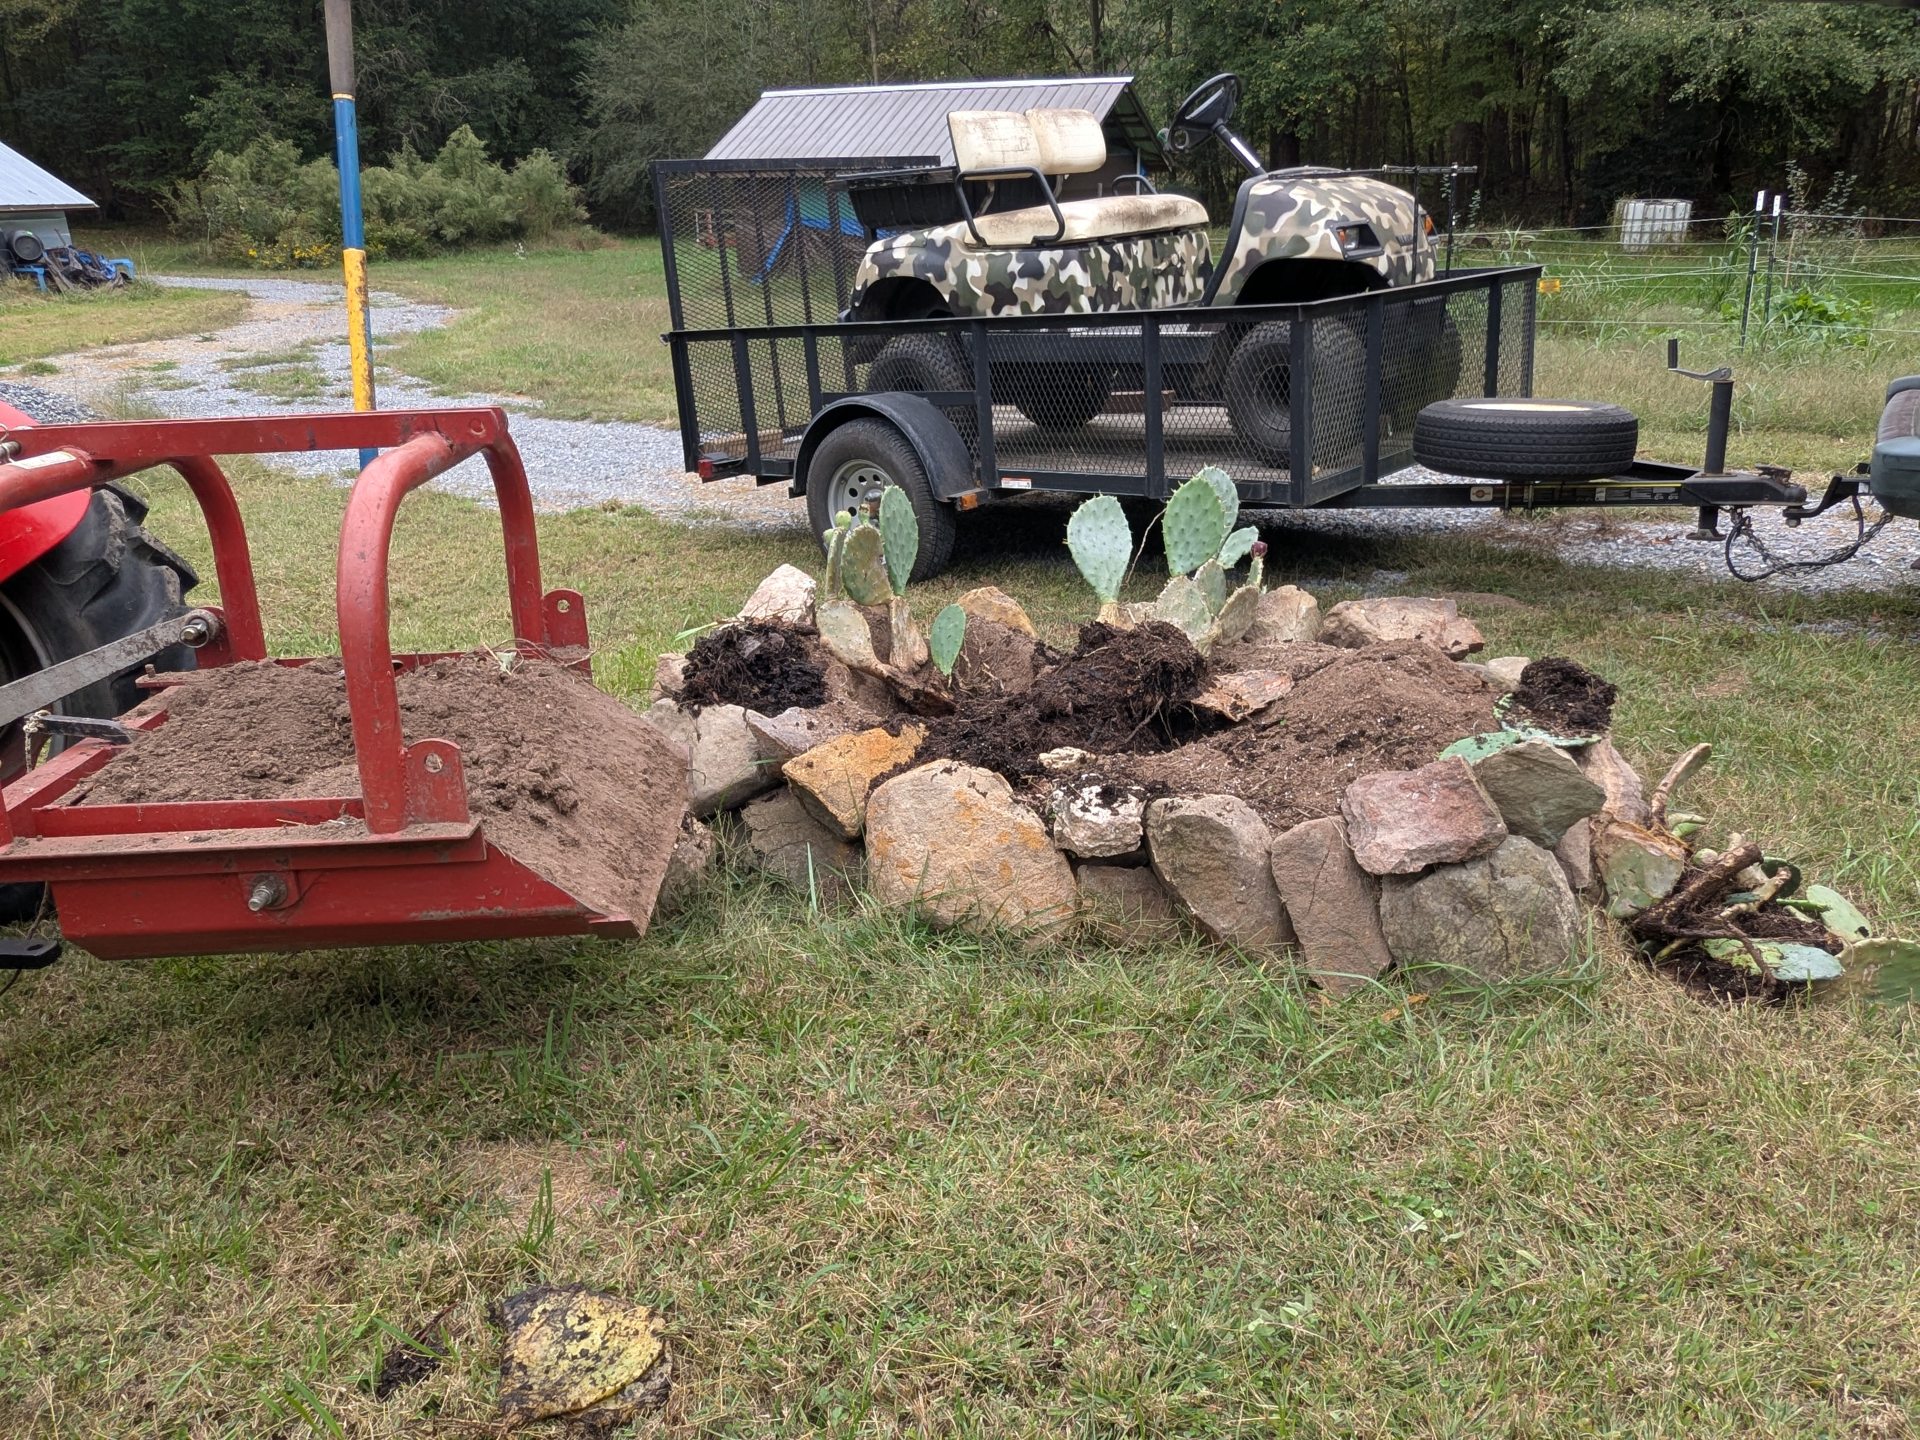
I enjoy working on the farm. It is hard work but relaxing at the same time. The farm is coming alone nicely. Here are some pictures from the last few weeks


Gentleman Farmer, Engineer and Extreme Innovator / Brainstormer

I enjoy working on the farm. It is hard work but relaxing at the same time. The farm is coming alone nicely. Here are some pictures from the last few weeks
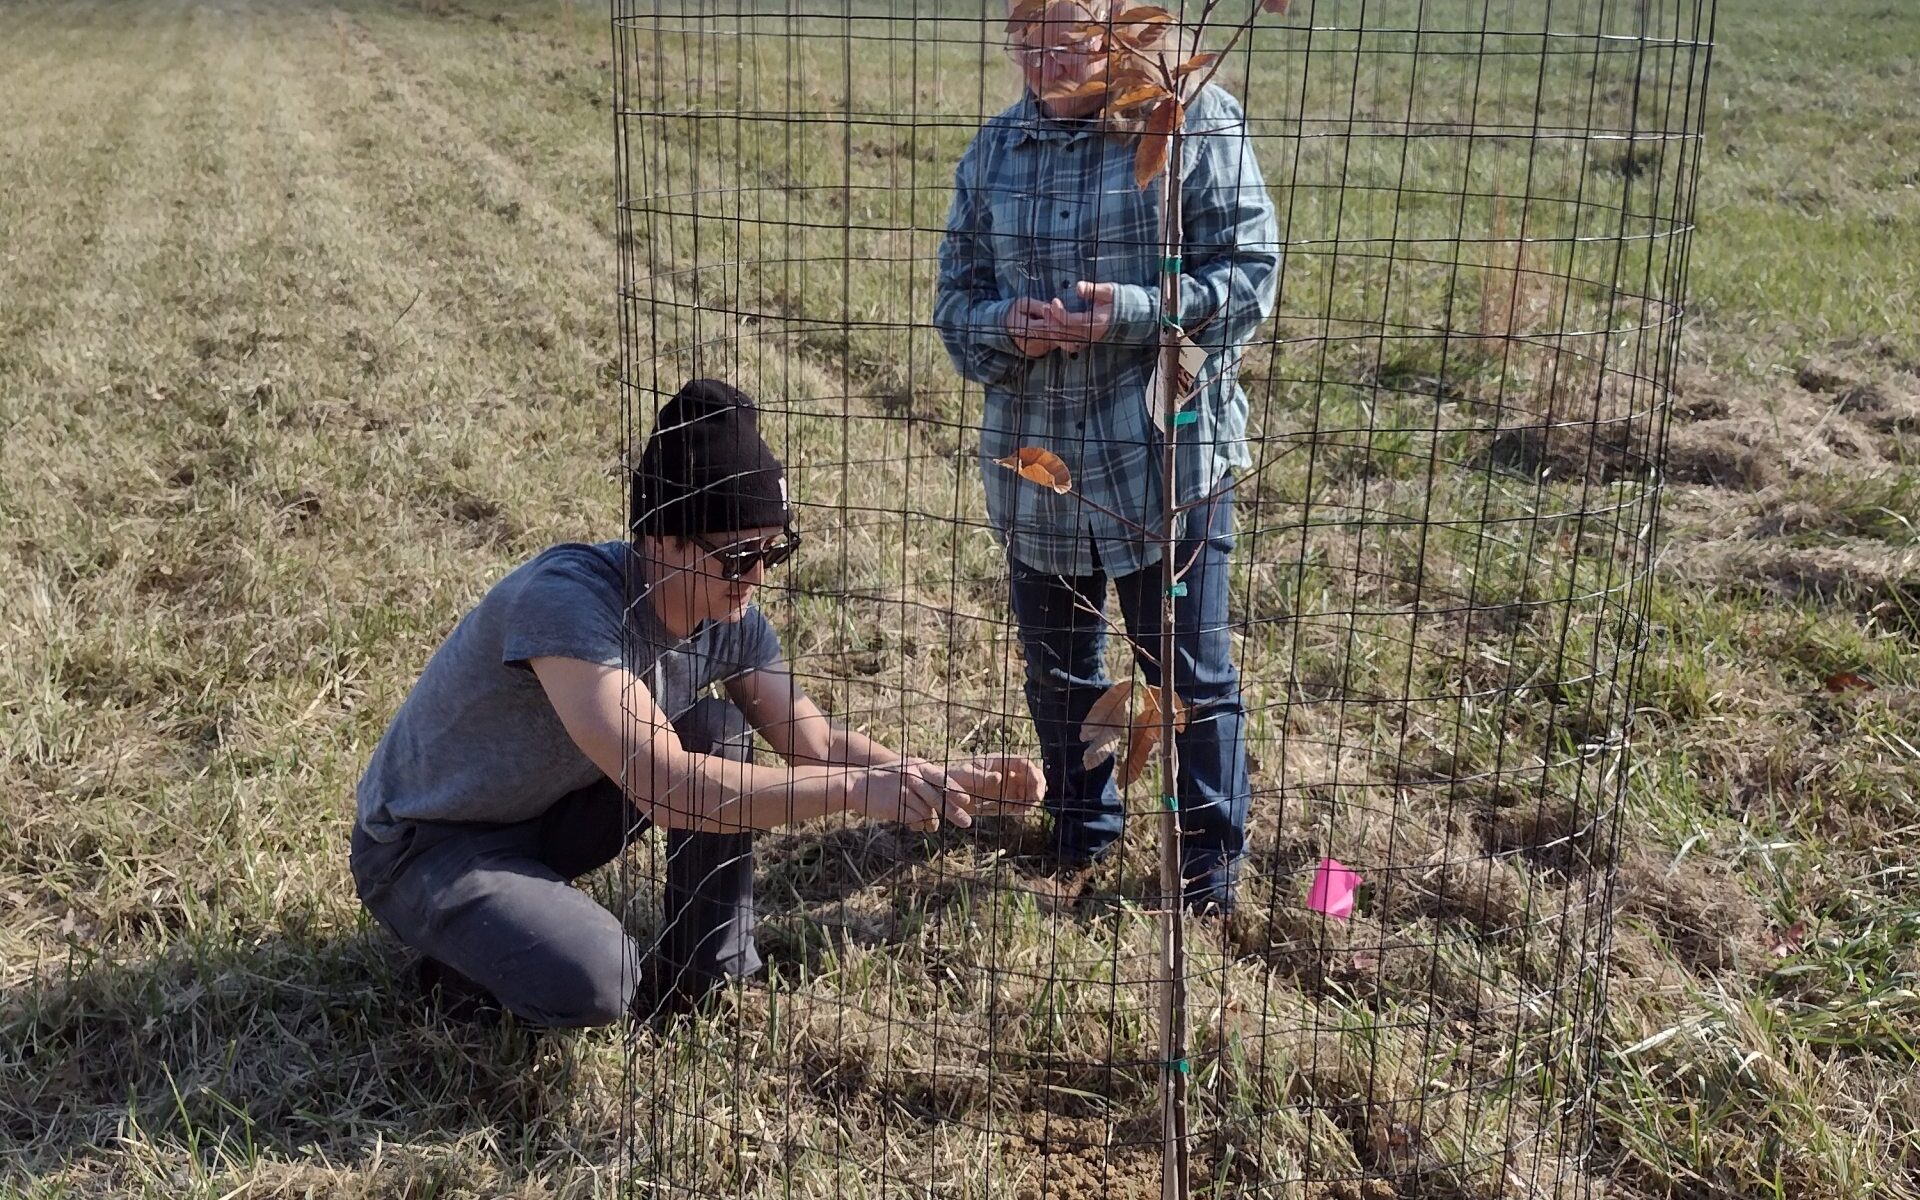
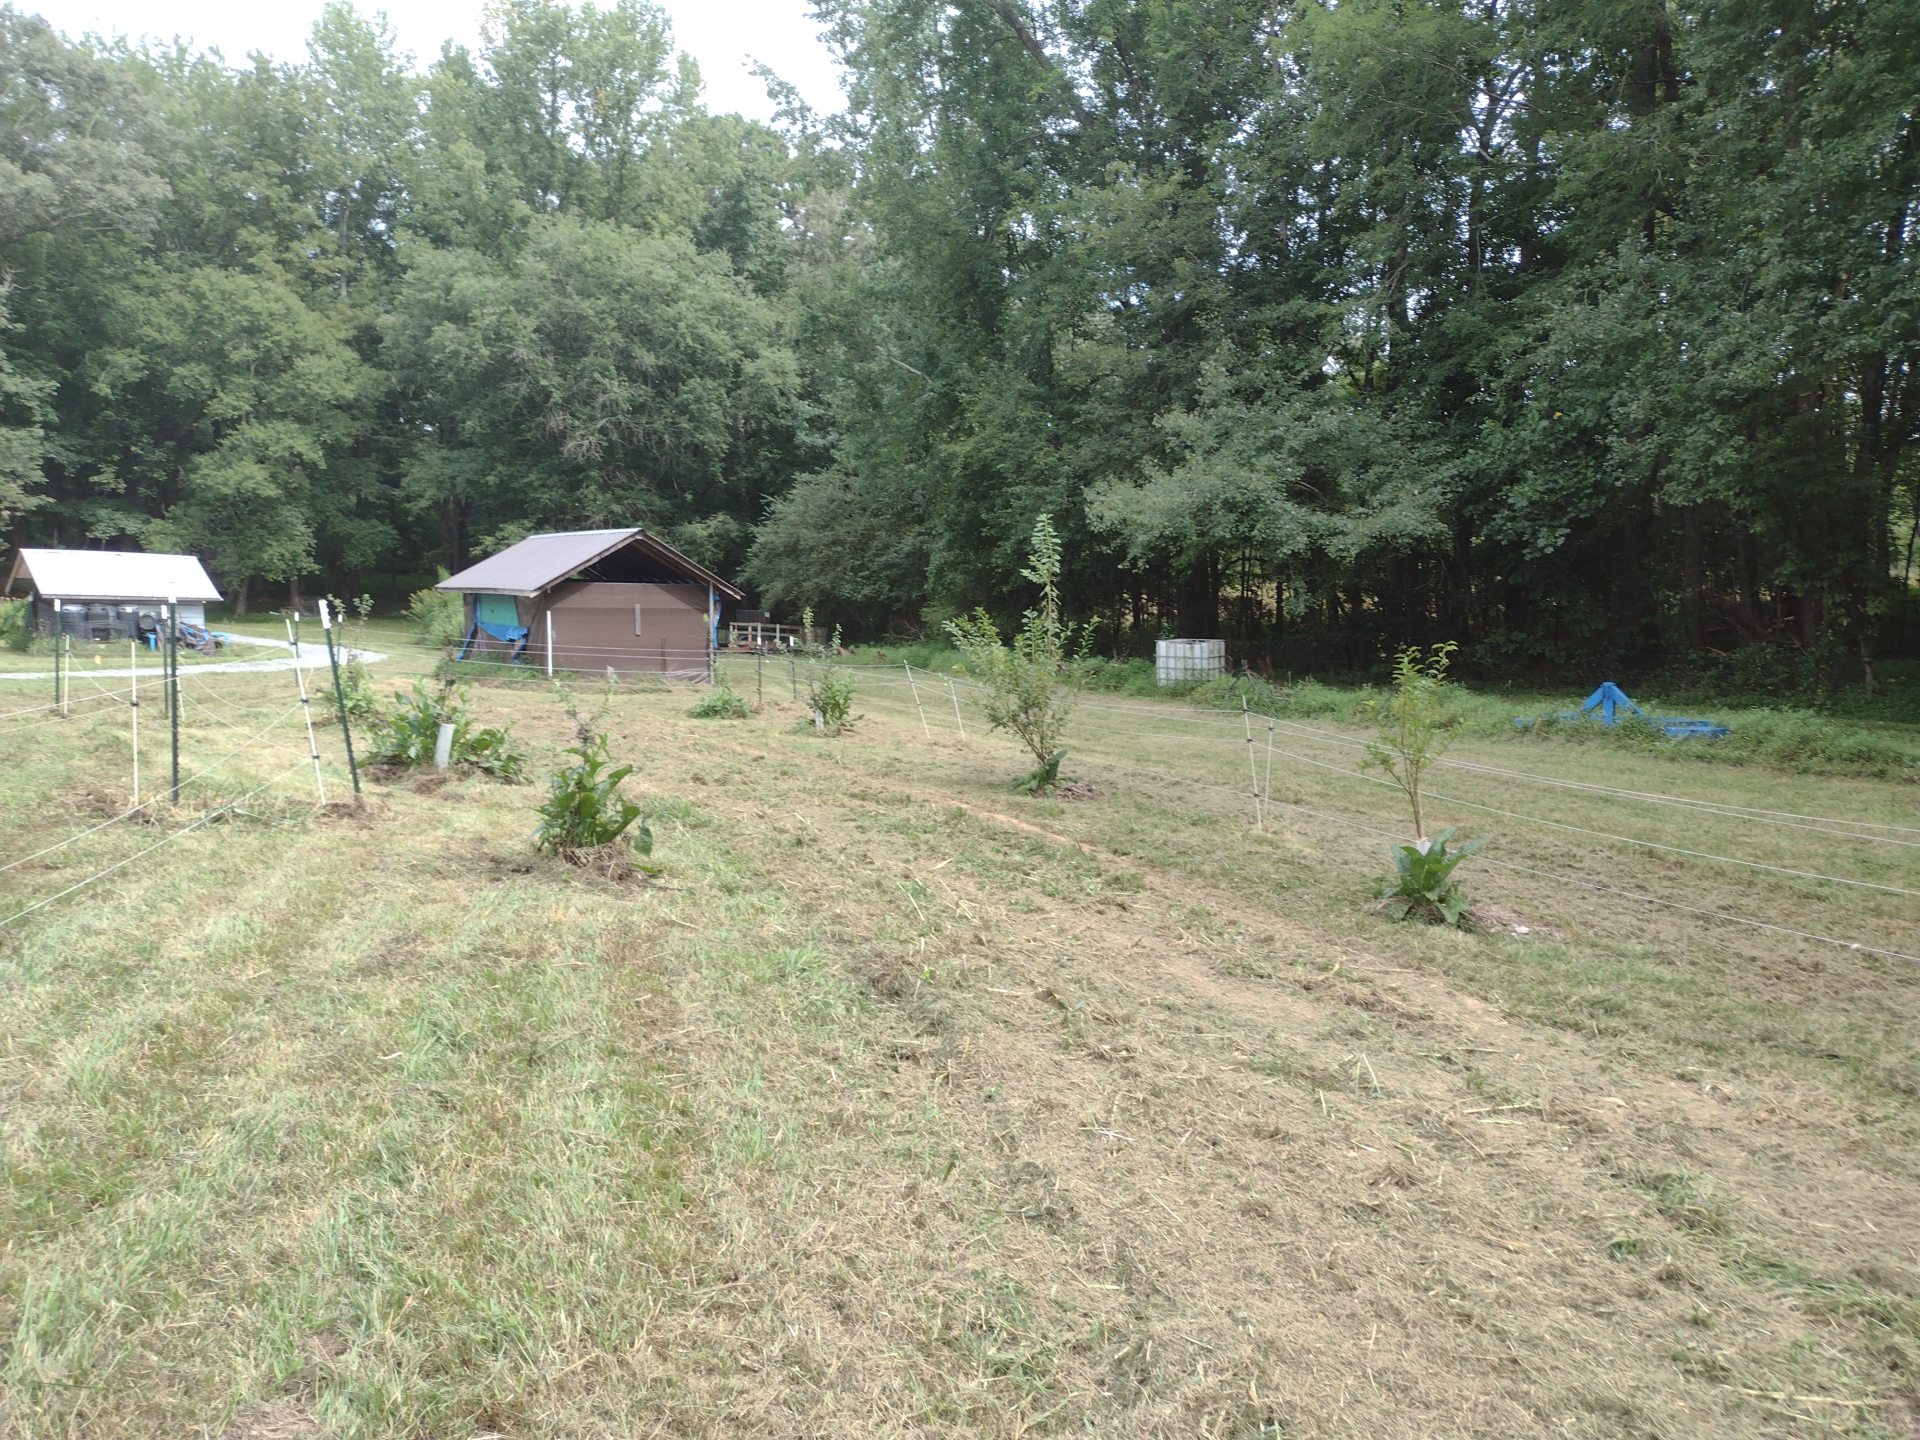
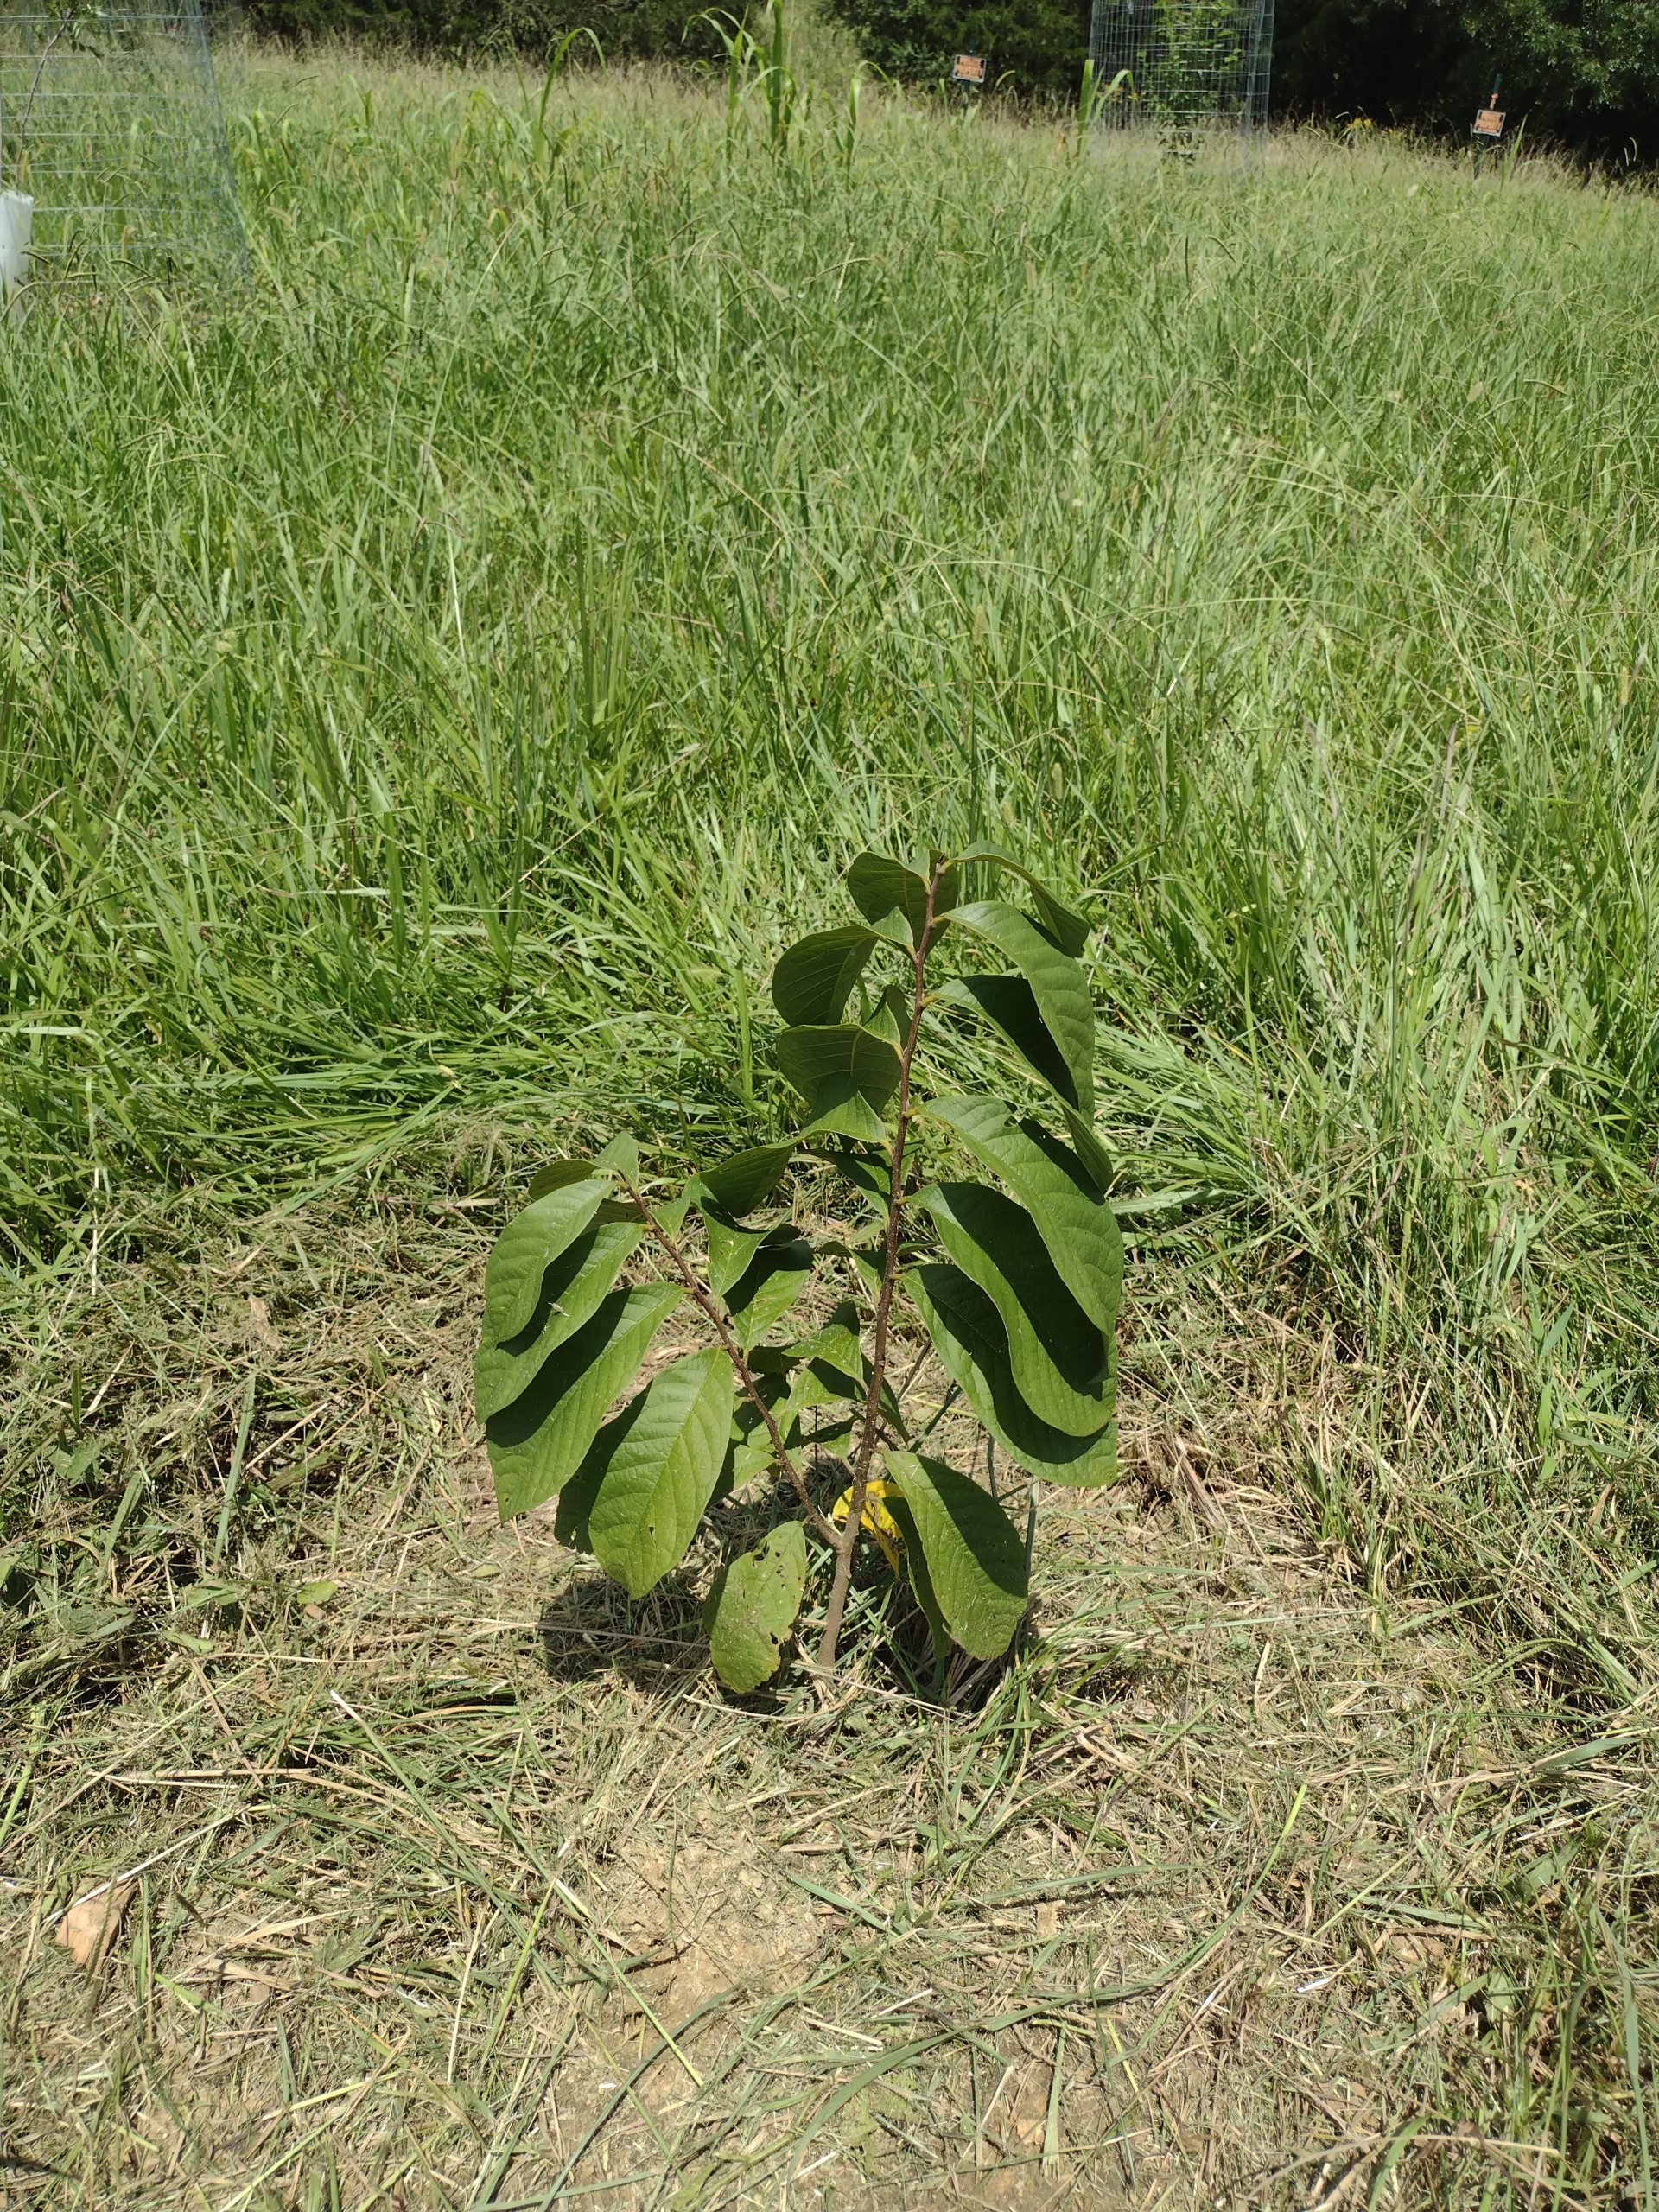
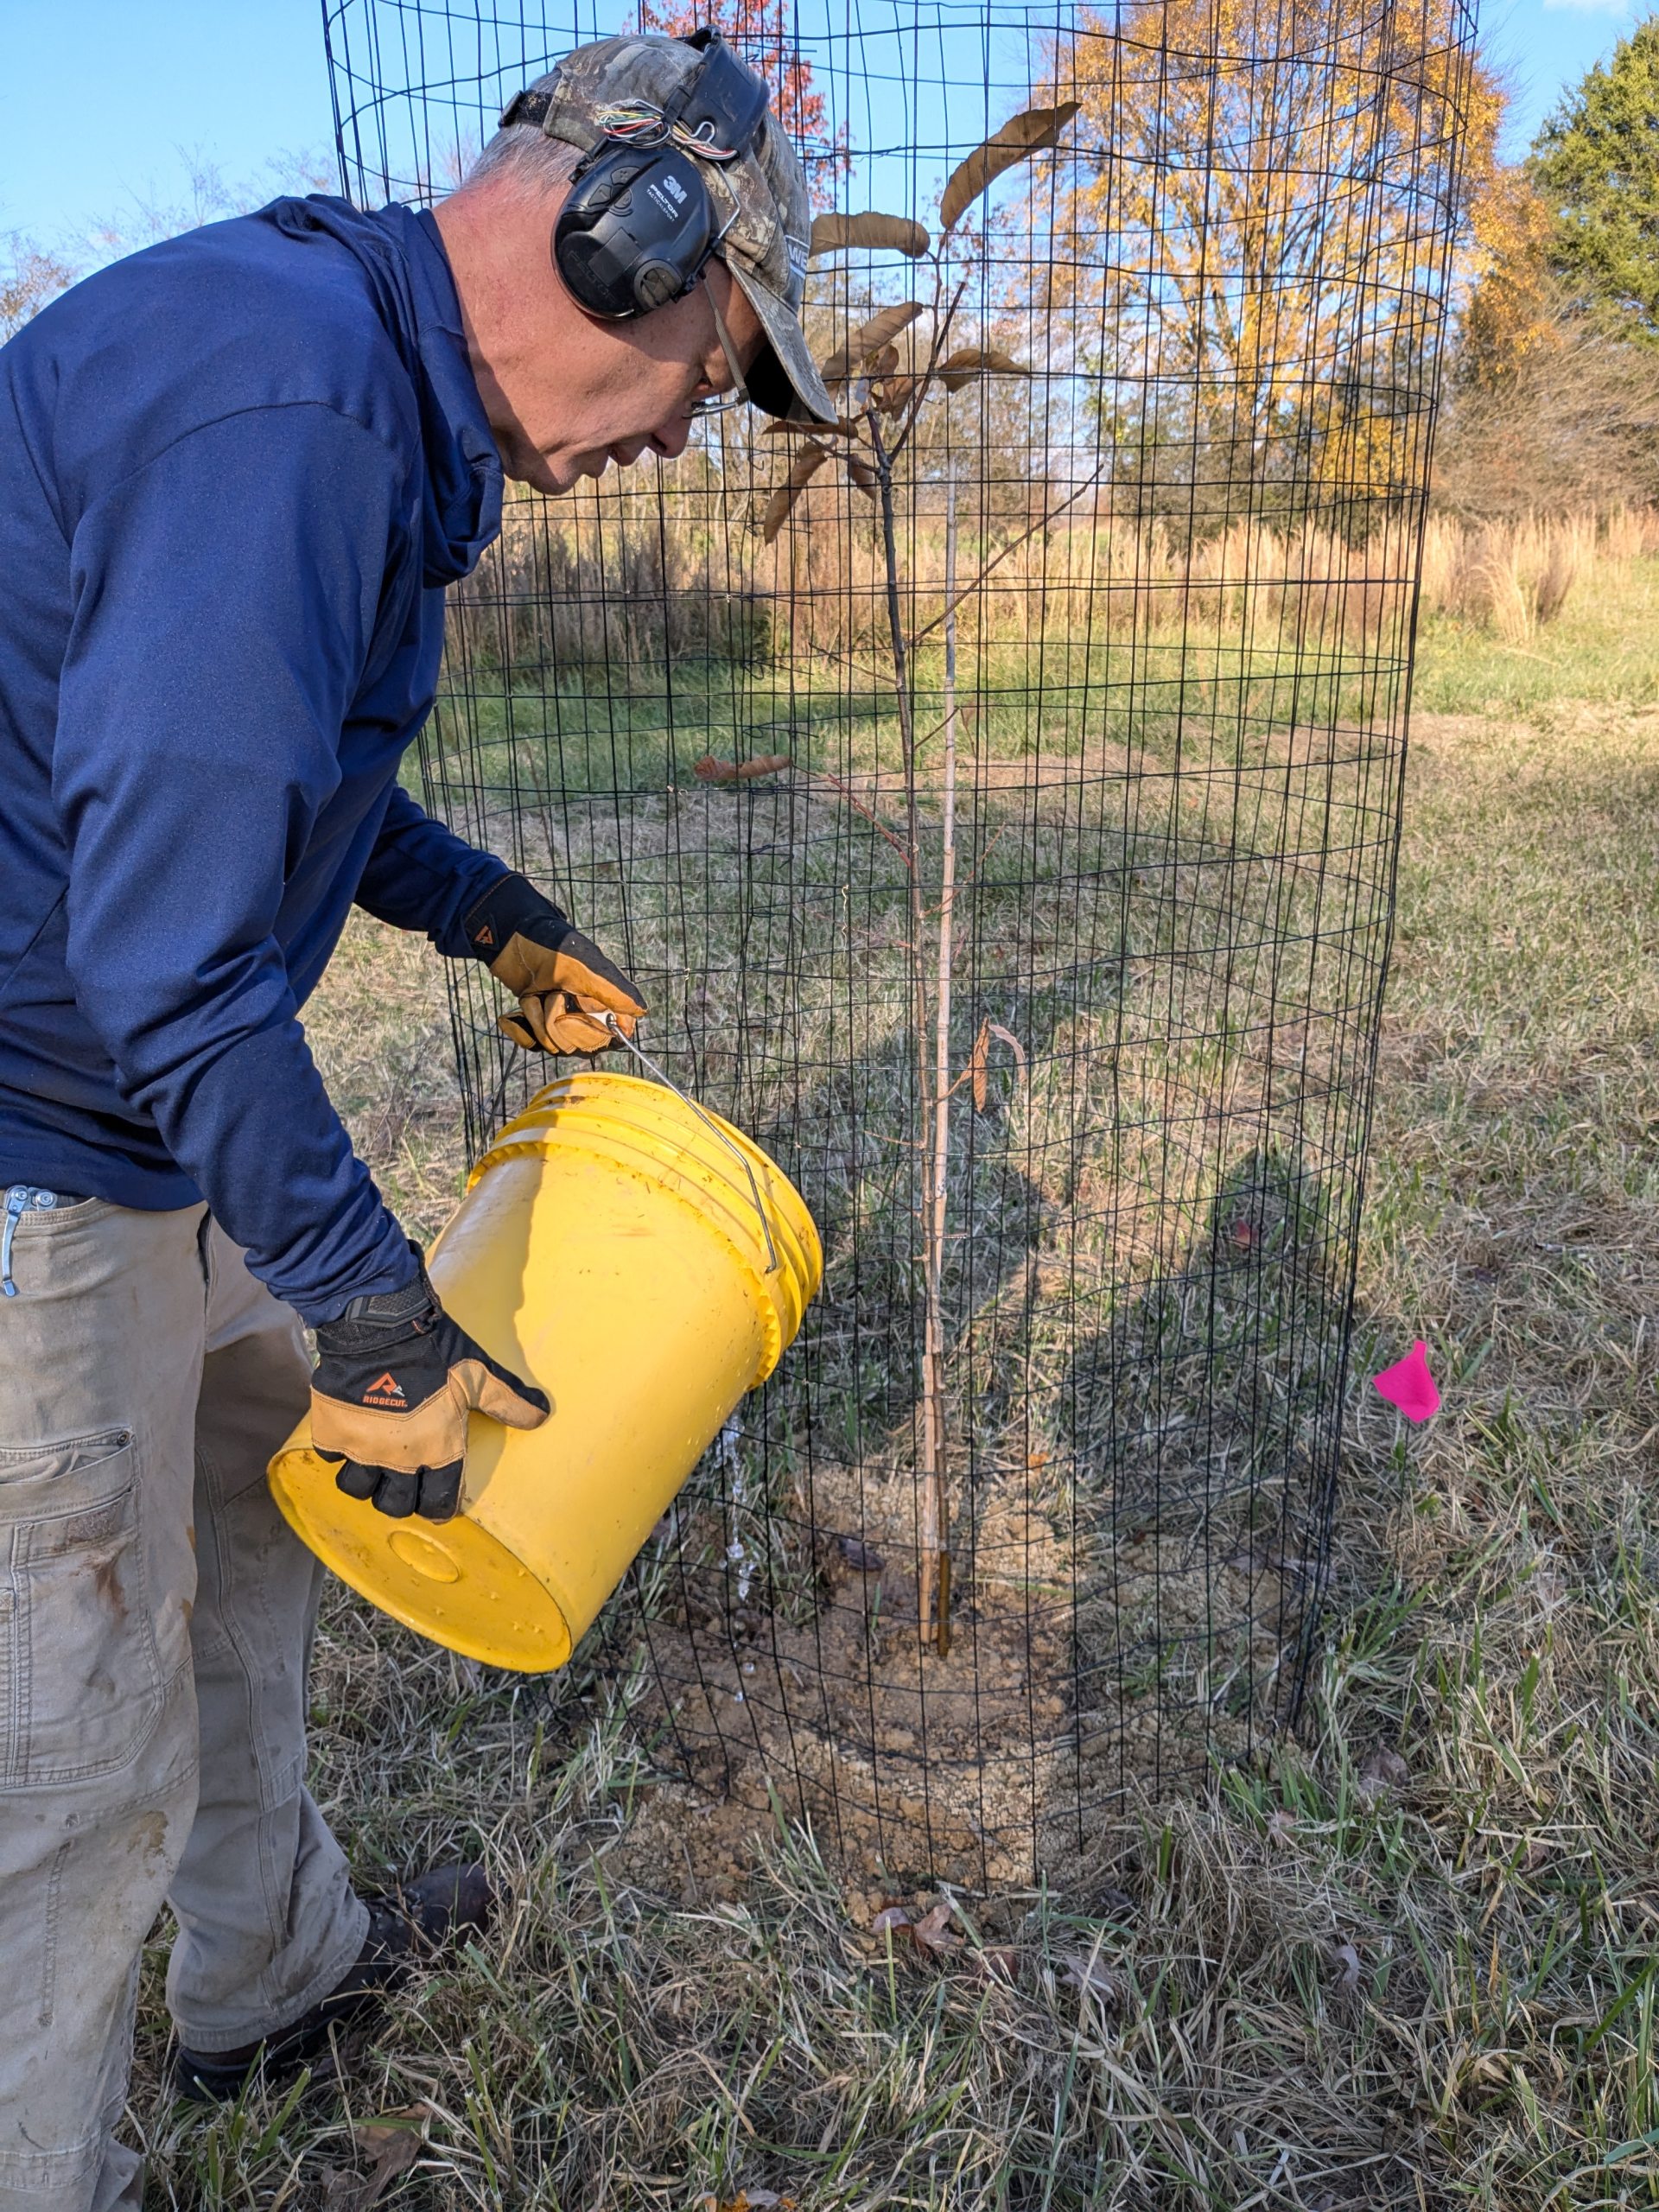
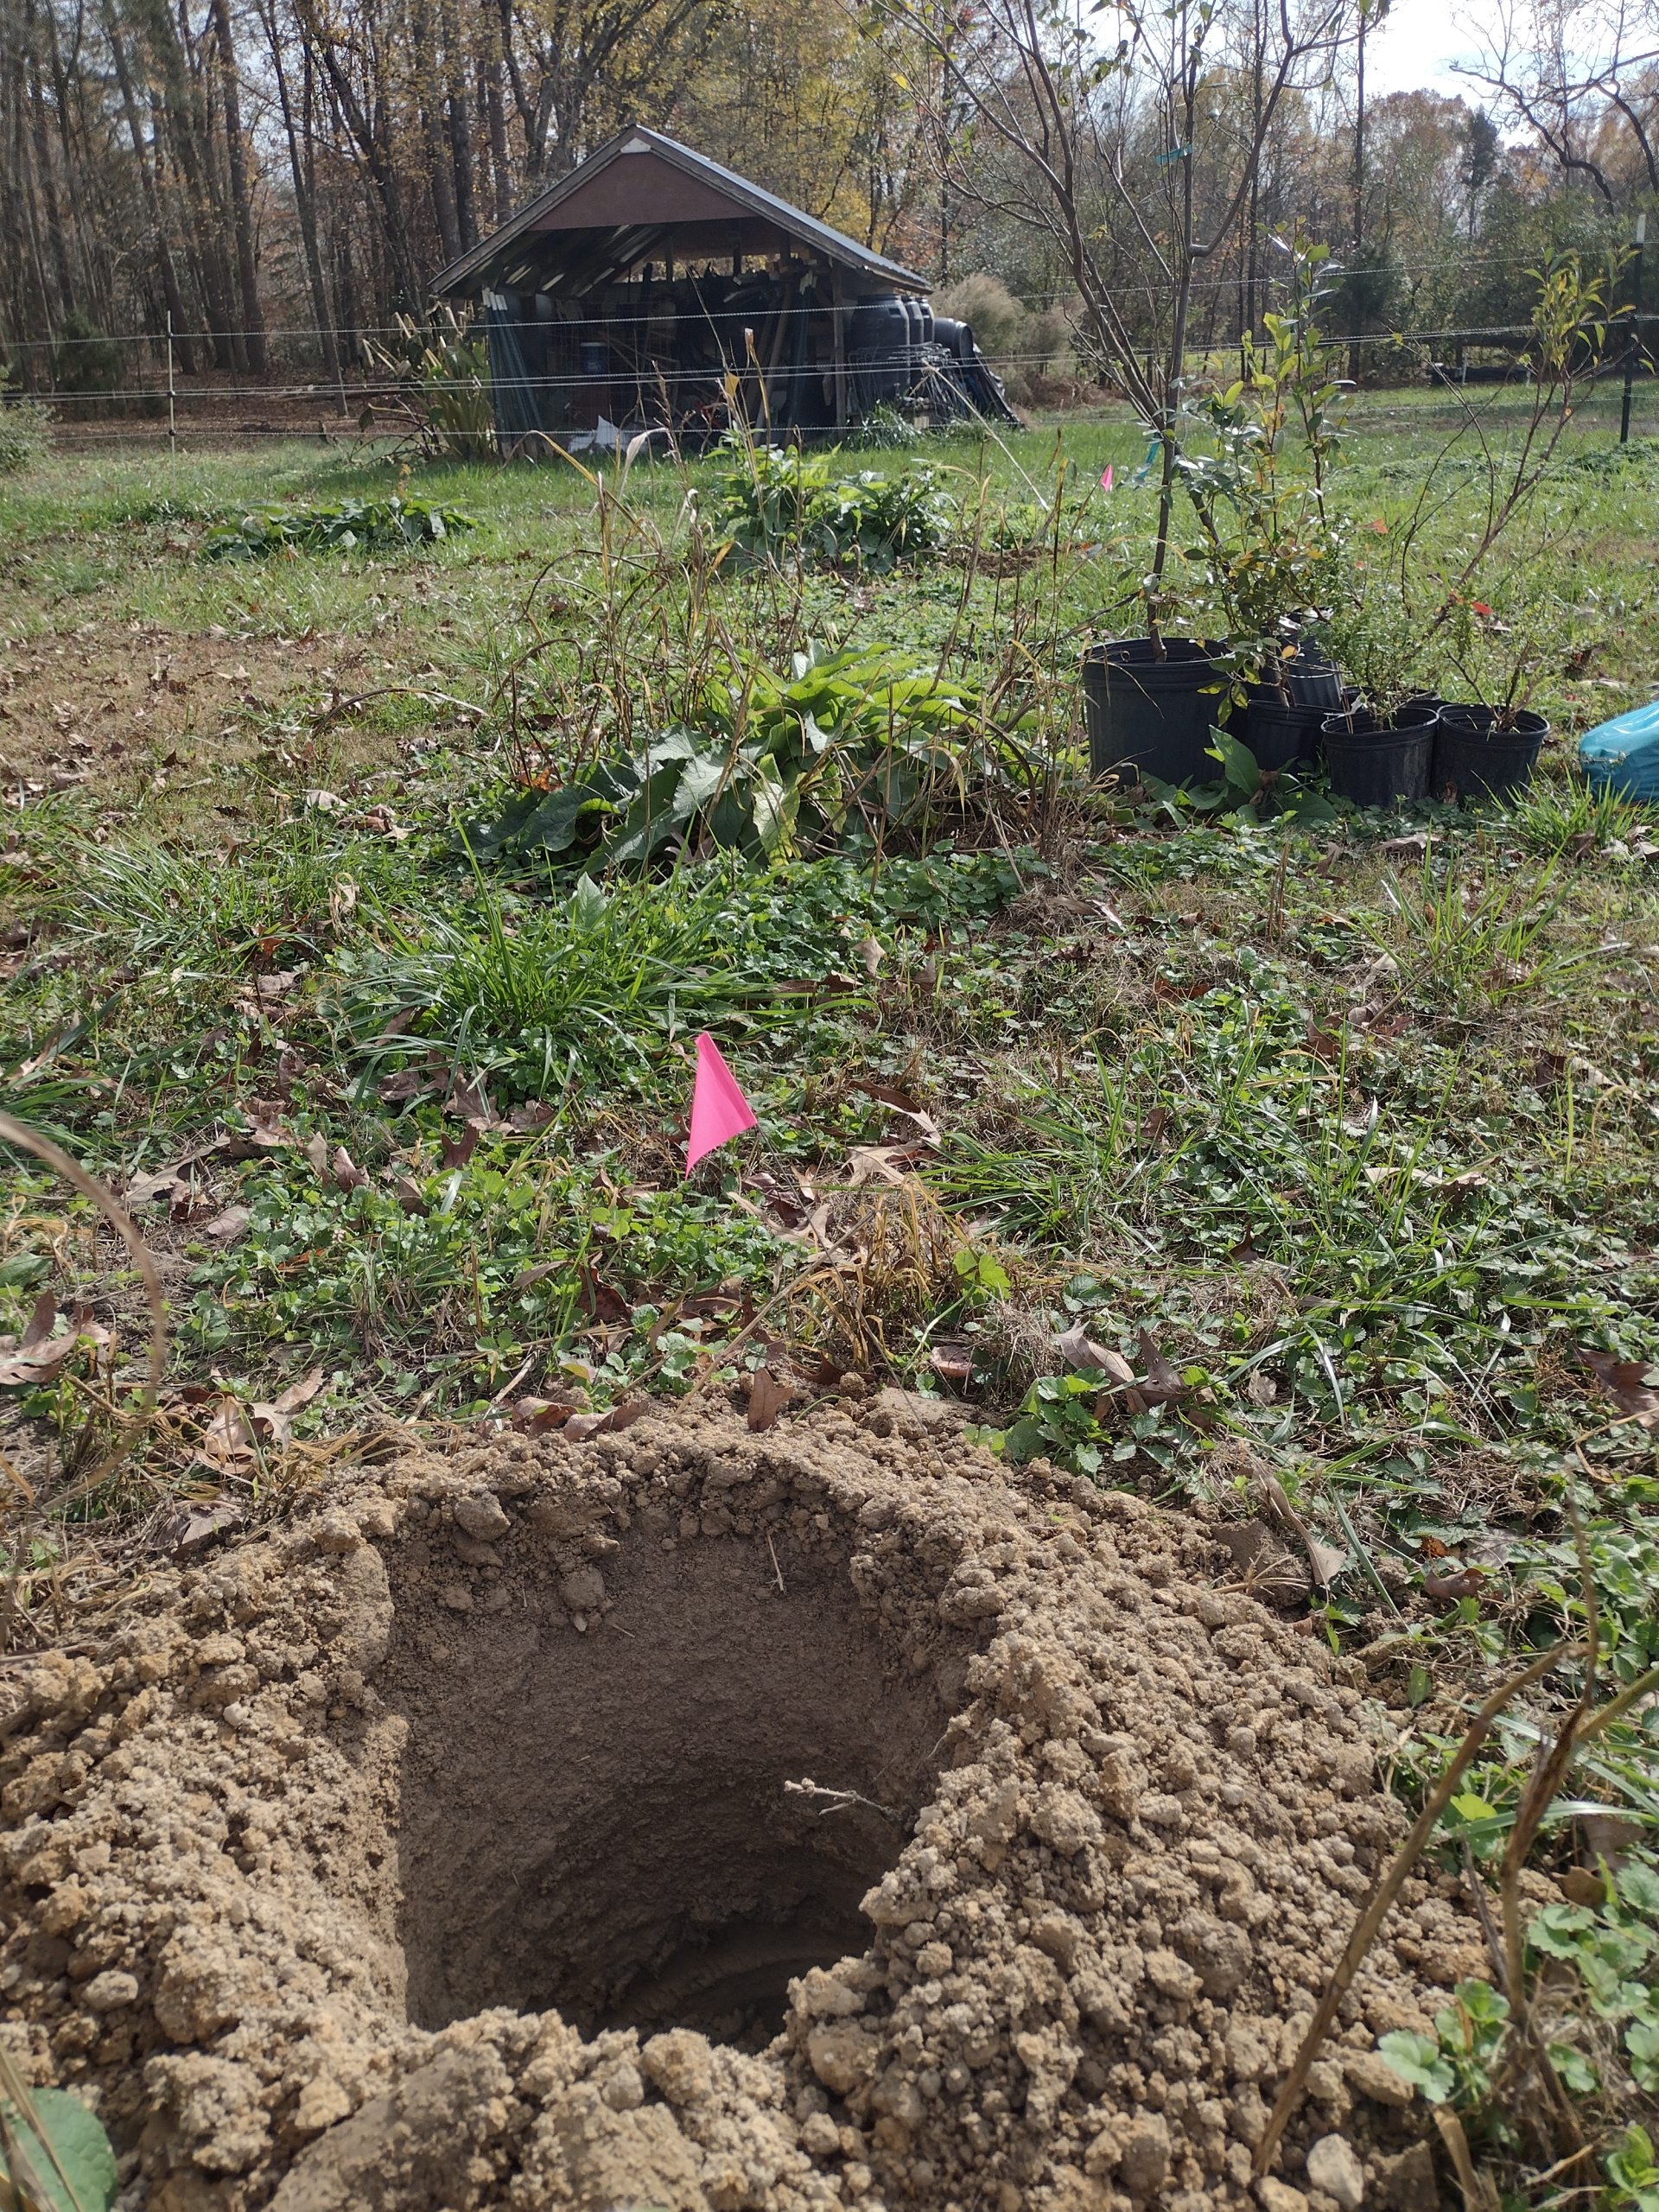
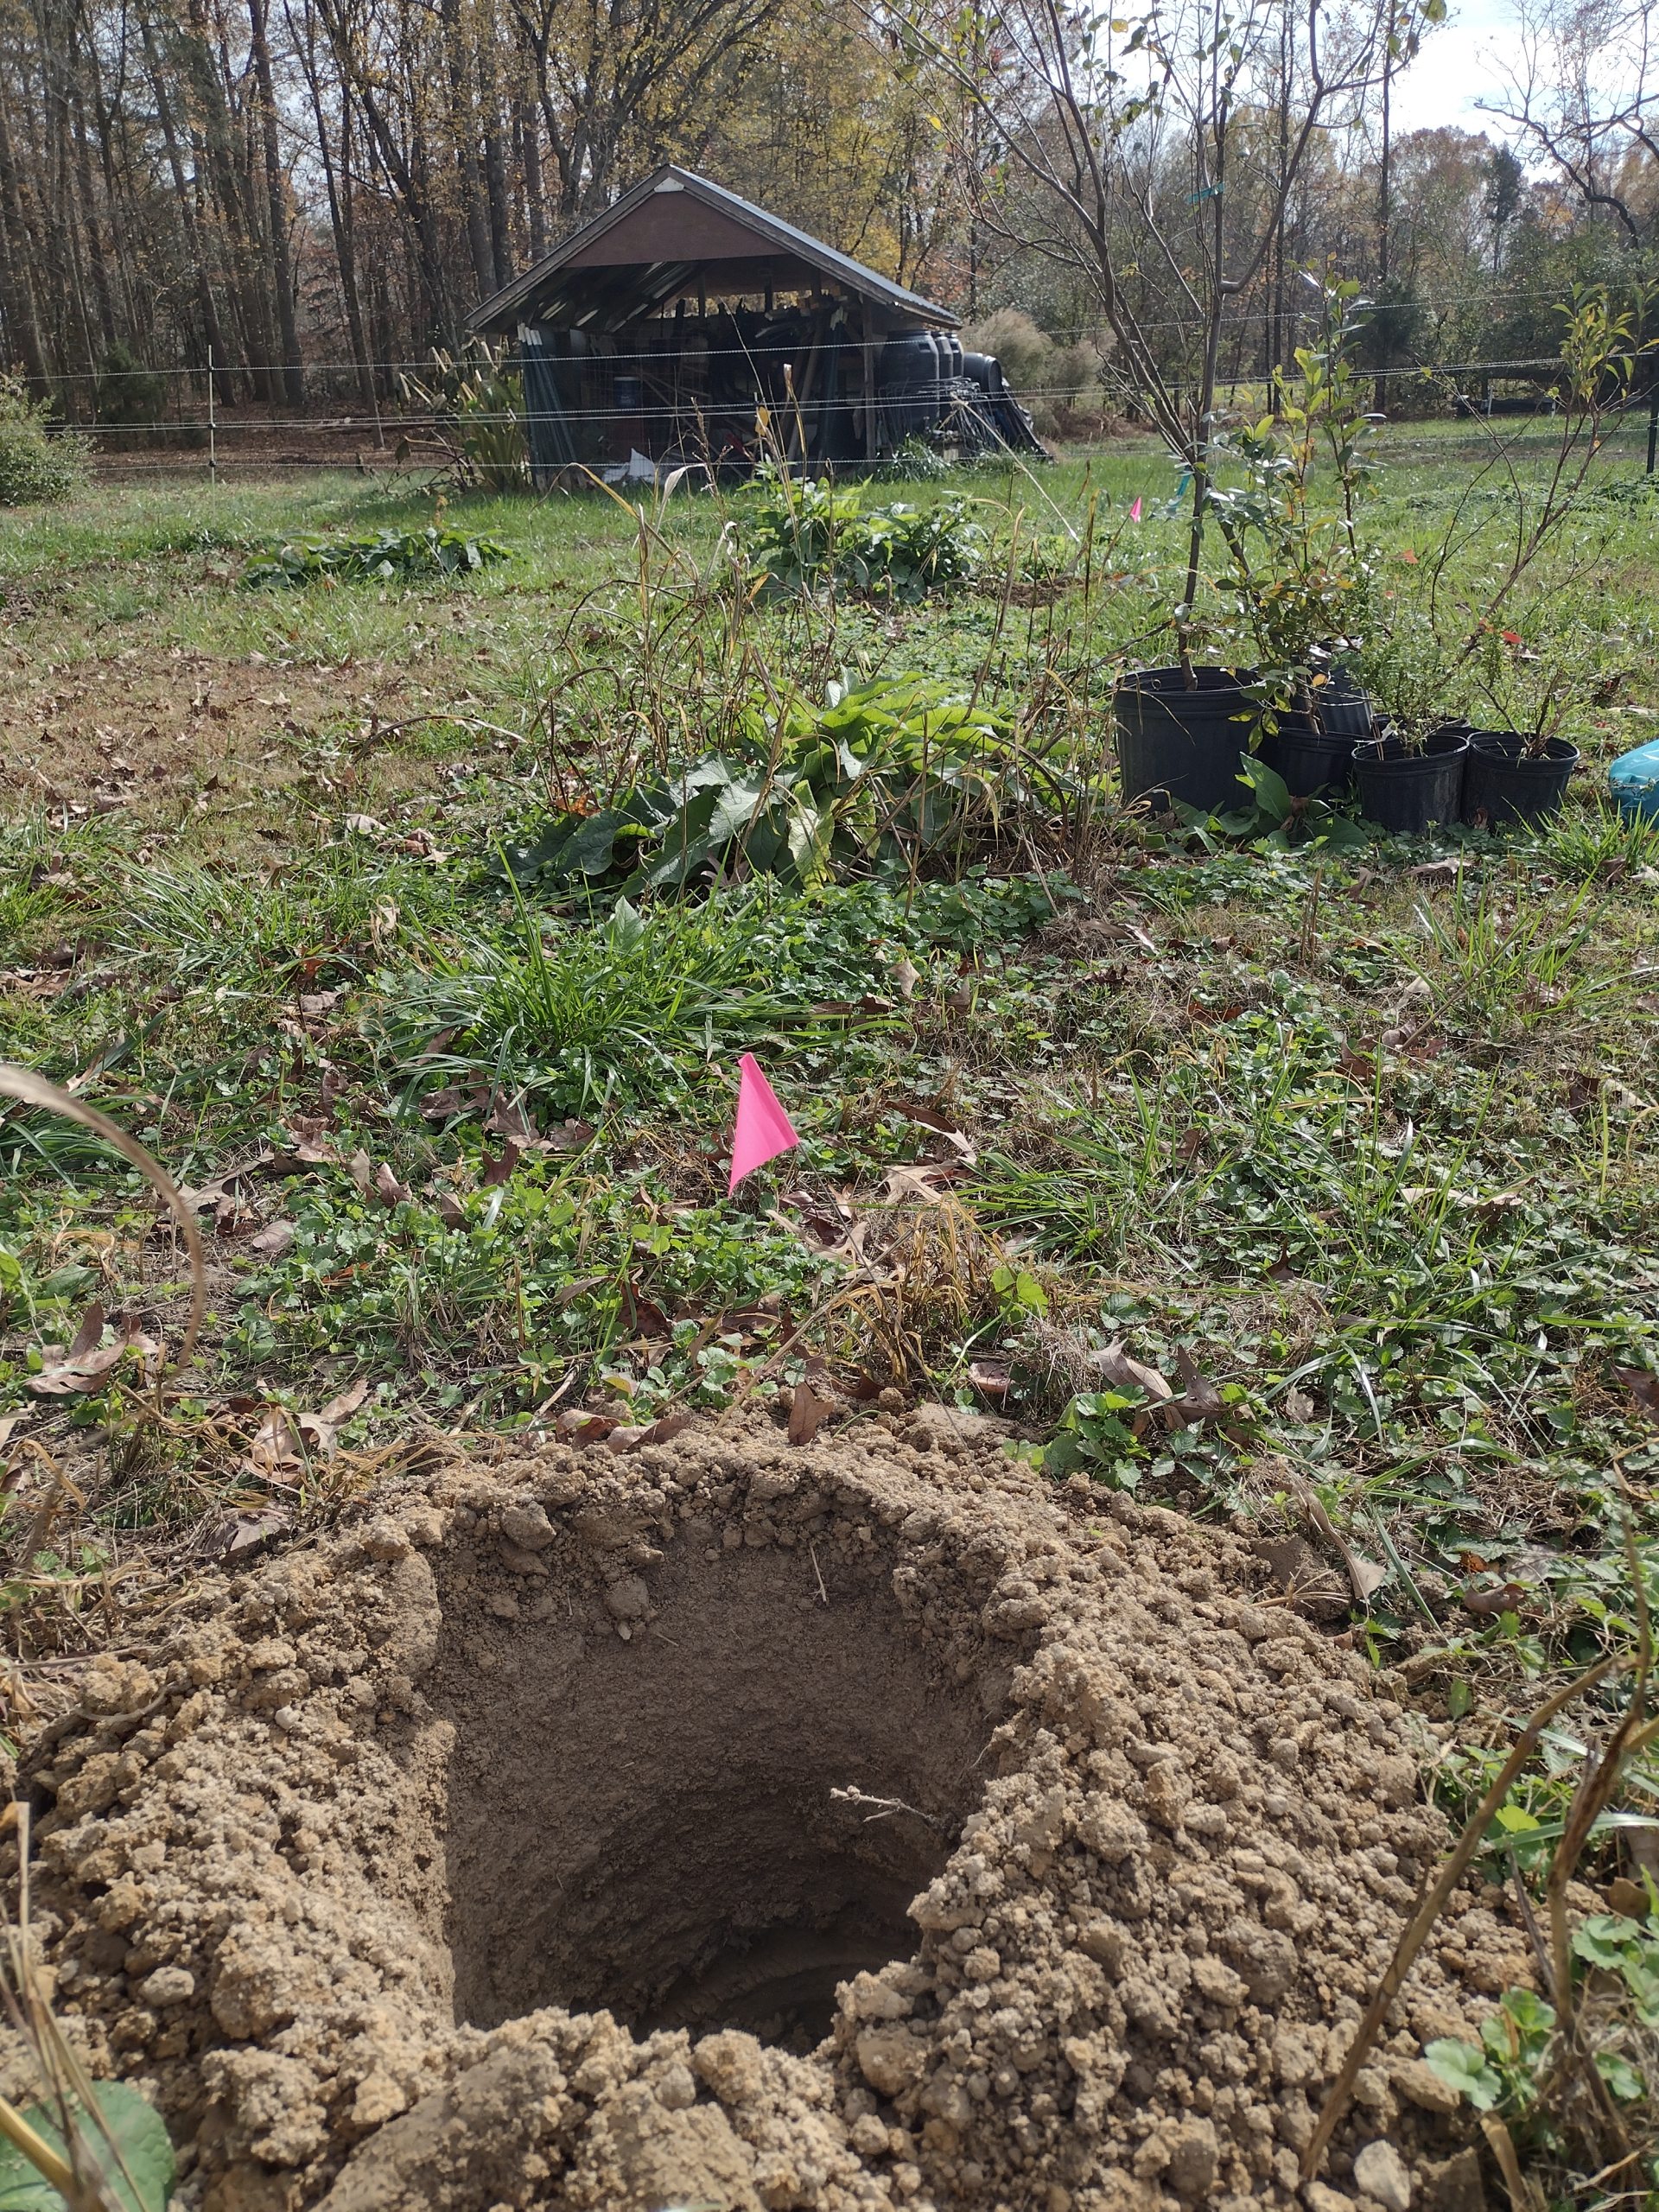
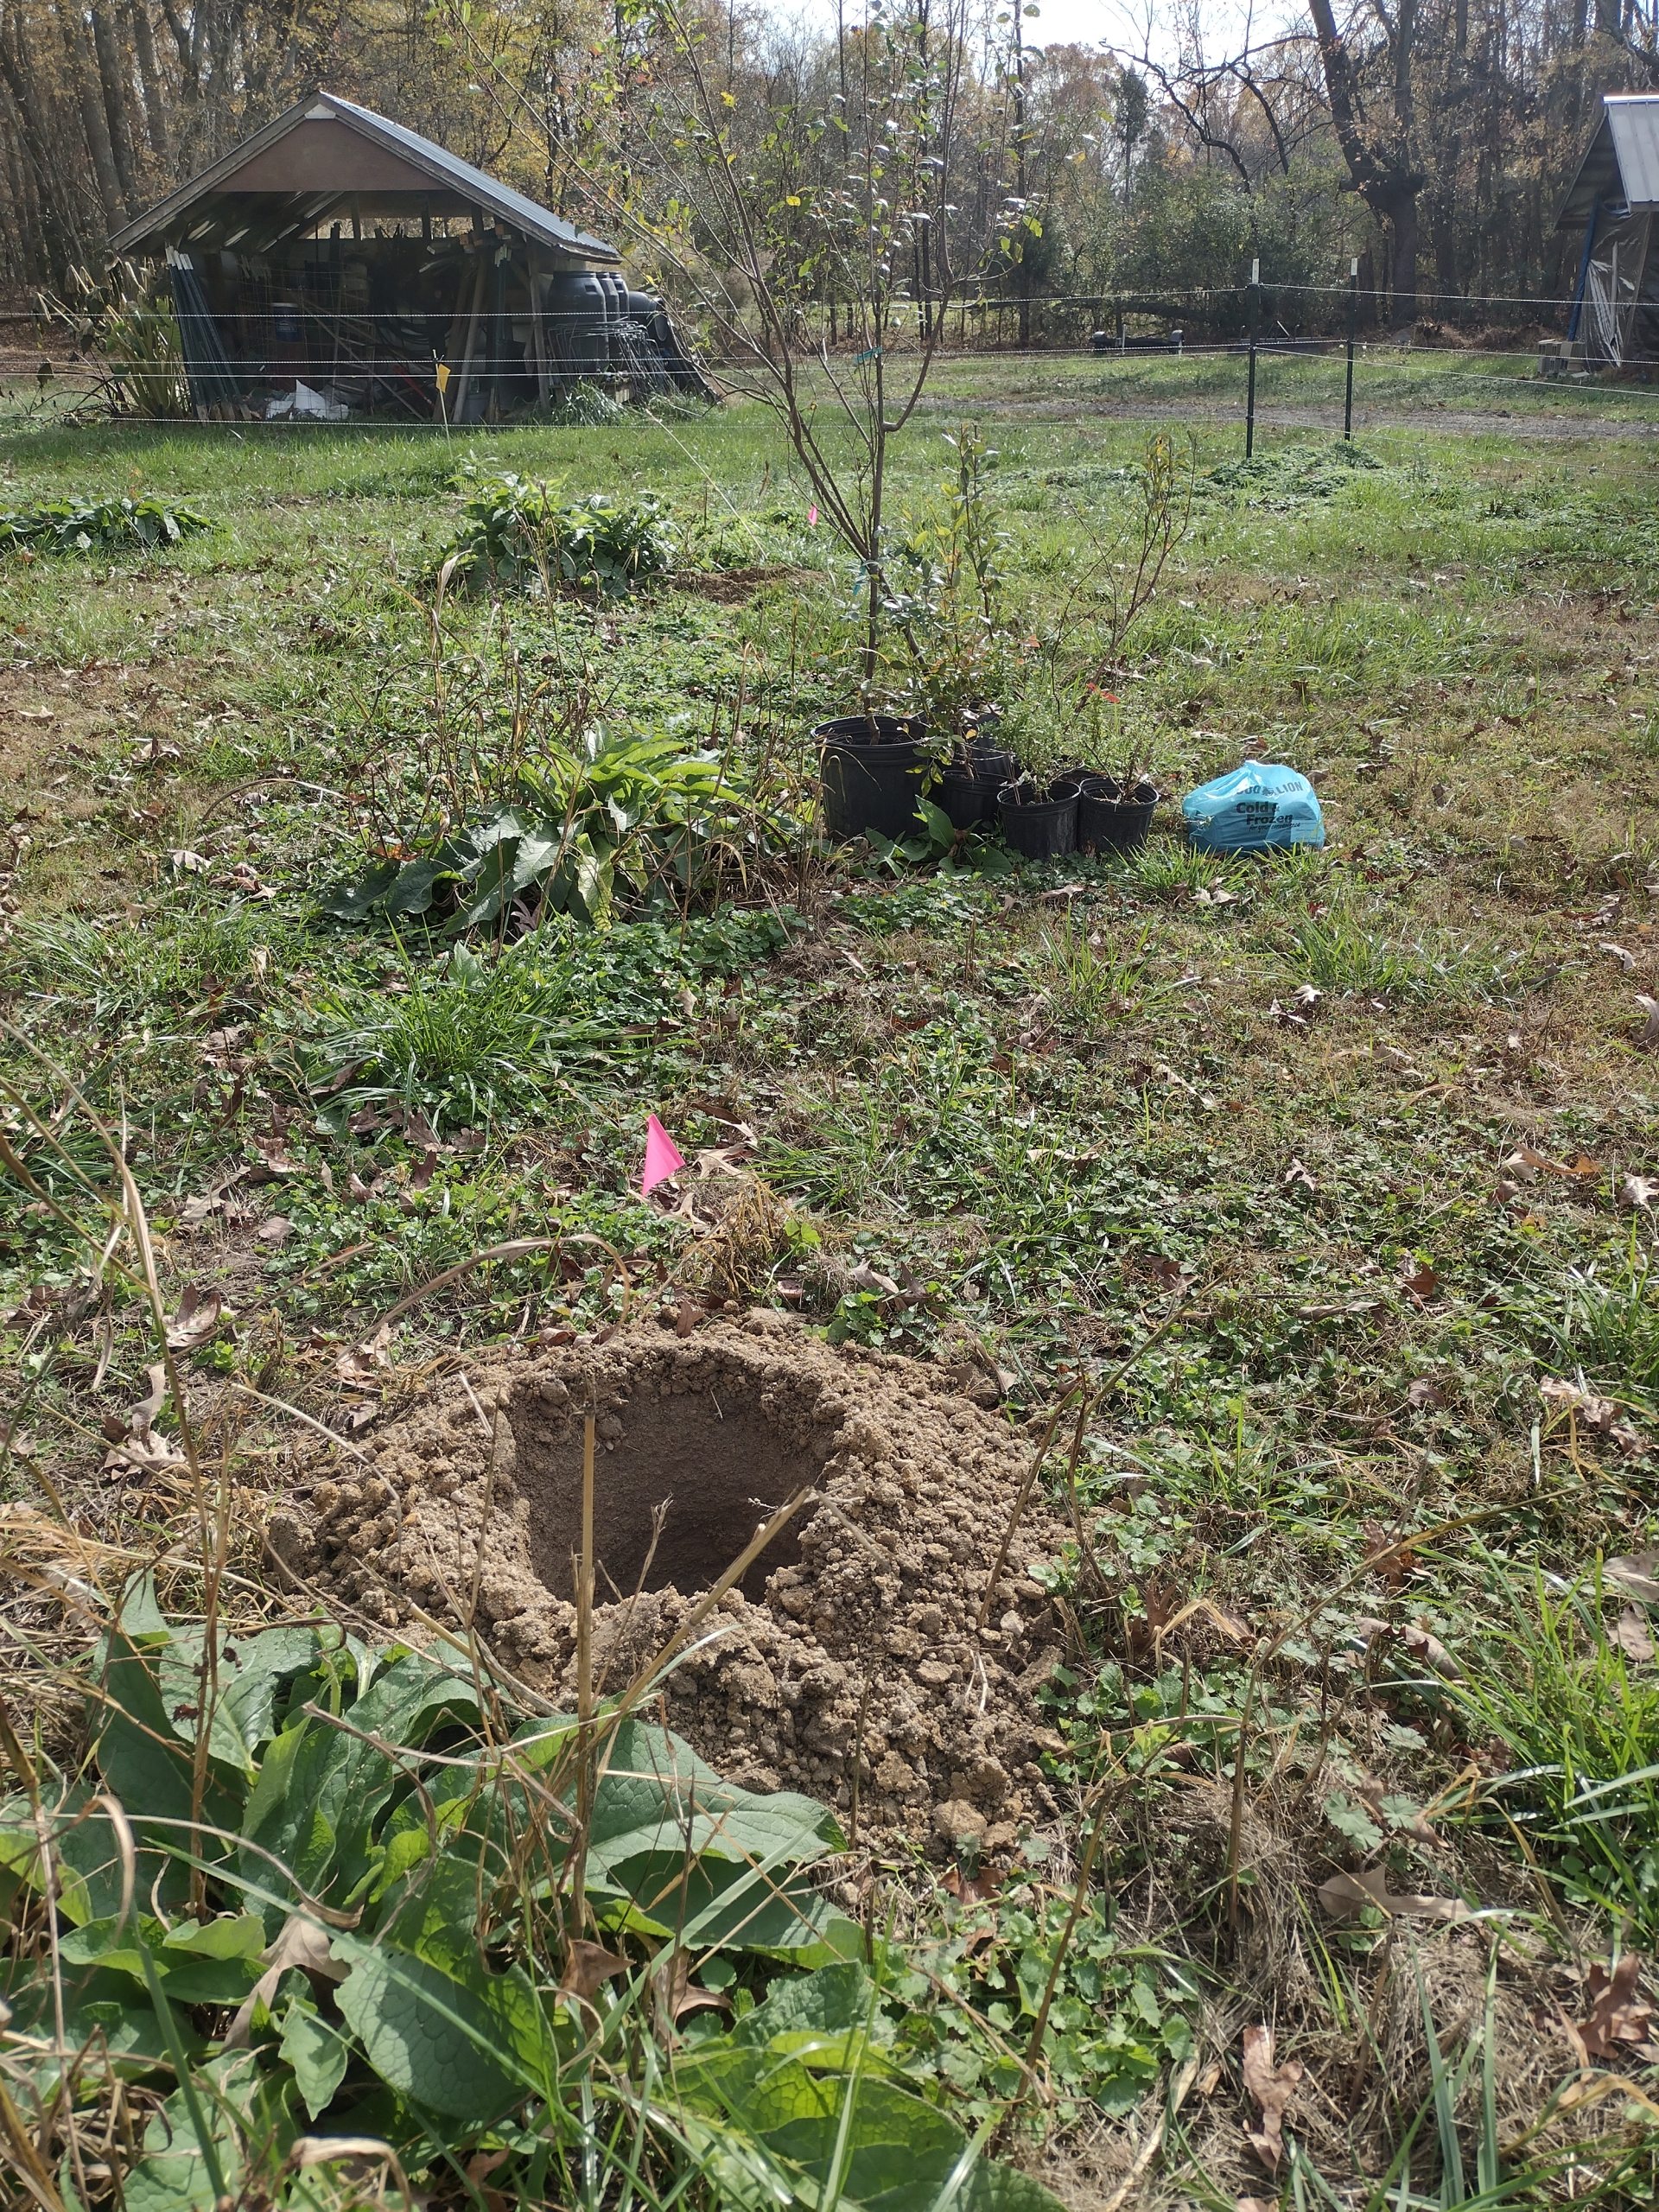
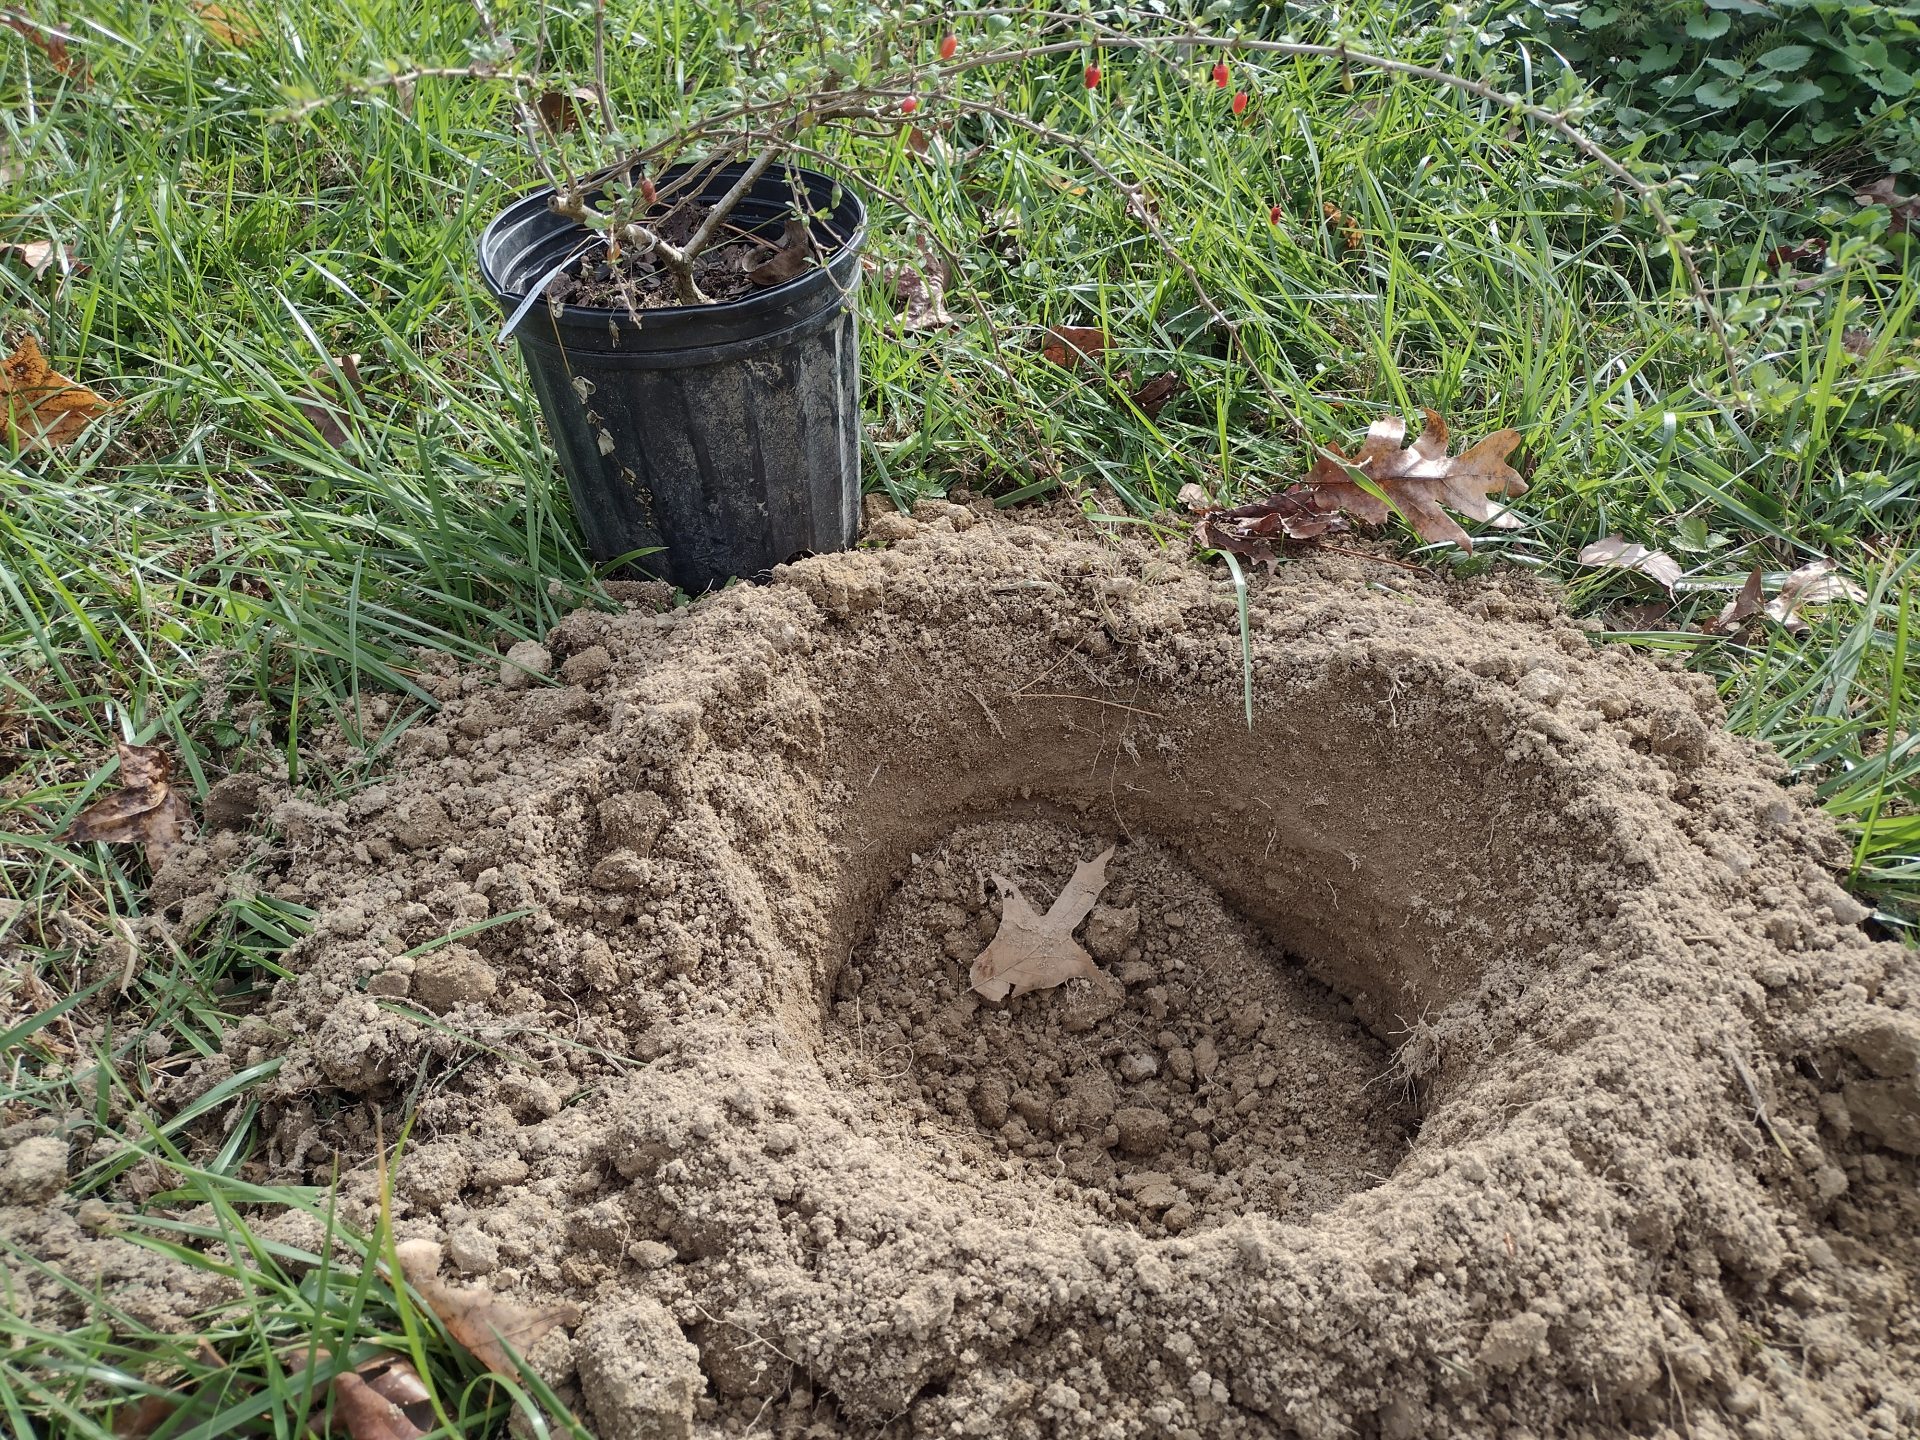
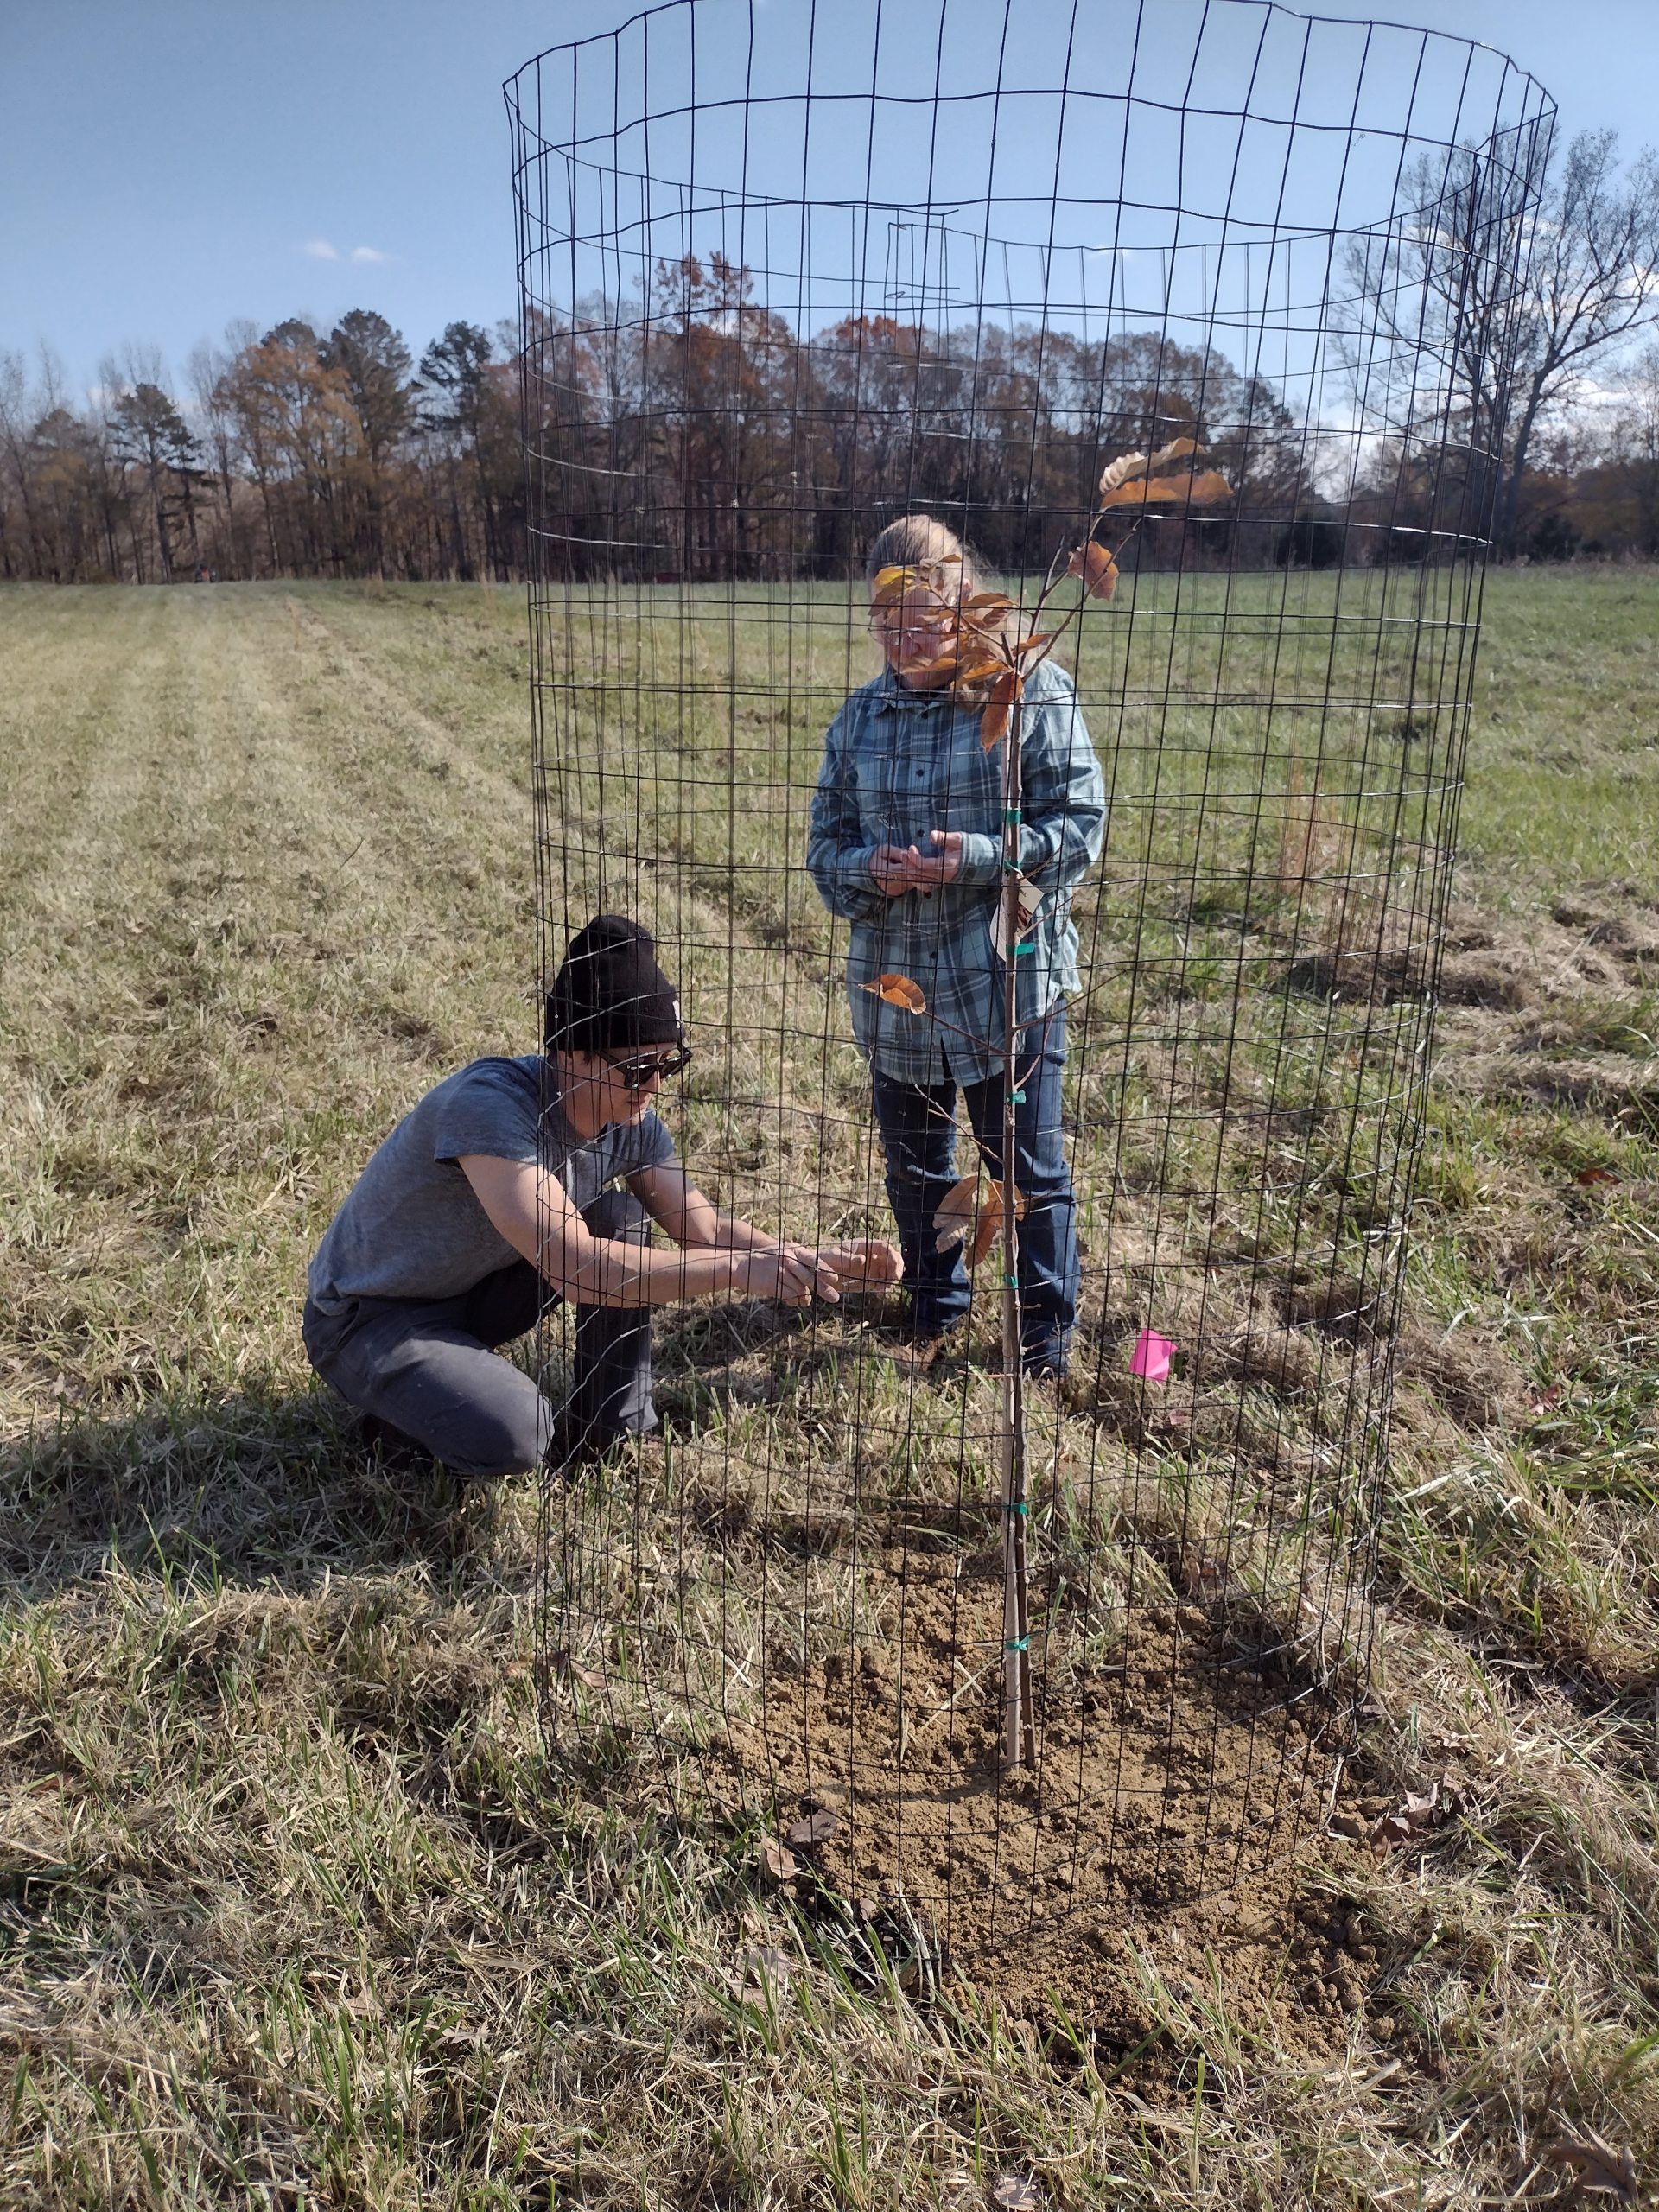
We had a good time as a family on the farm planting fruit and nut bearing trees. We planted fruit and nut bearing trees and bushes.
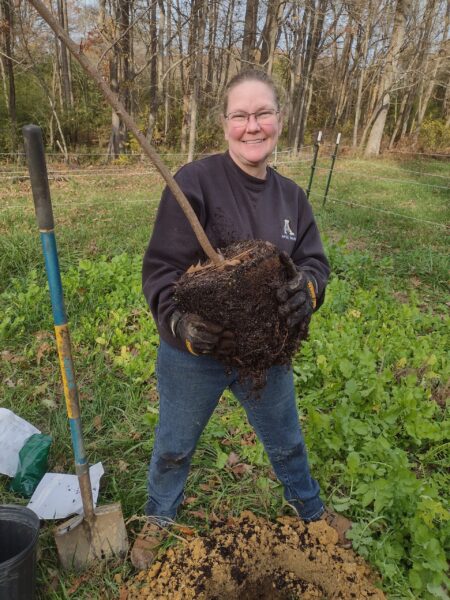
We were able to plant 41 trees and 15 bushes including
Trees (Fruit)
Apricot
Mulberry
Nectarine
PawPaw
Peach
Asian Pear
Kieffer Pear
Pecan
Plum
Plumcot
Trees (Nut)
Black Walnut
Chestnut
Bushes (Fruit)
Blueberry
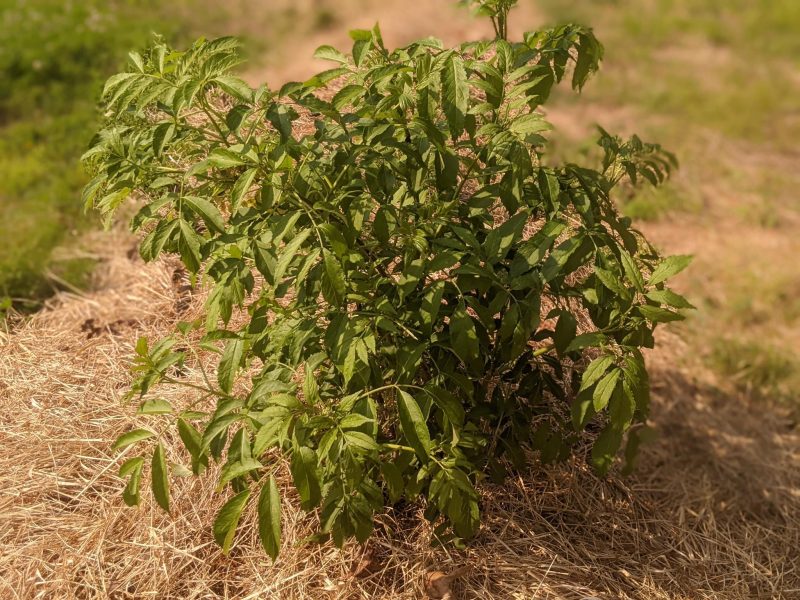
Elderberry
Goji Berry
Medicinal
Comfrey
The comfrey is planted with trees and bushes as a living mulch and as a medicinal.
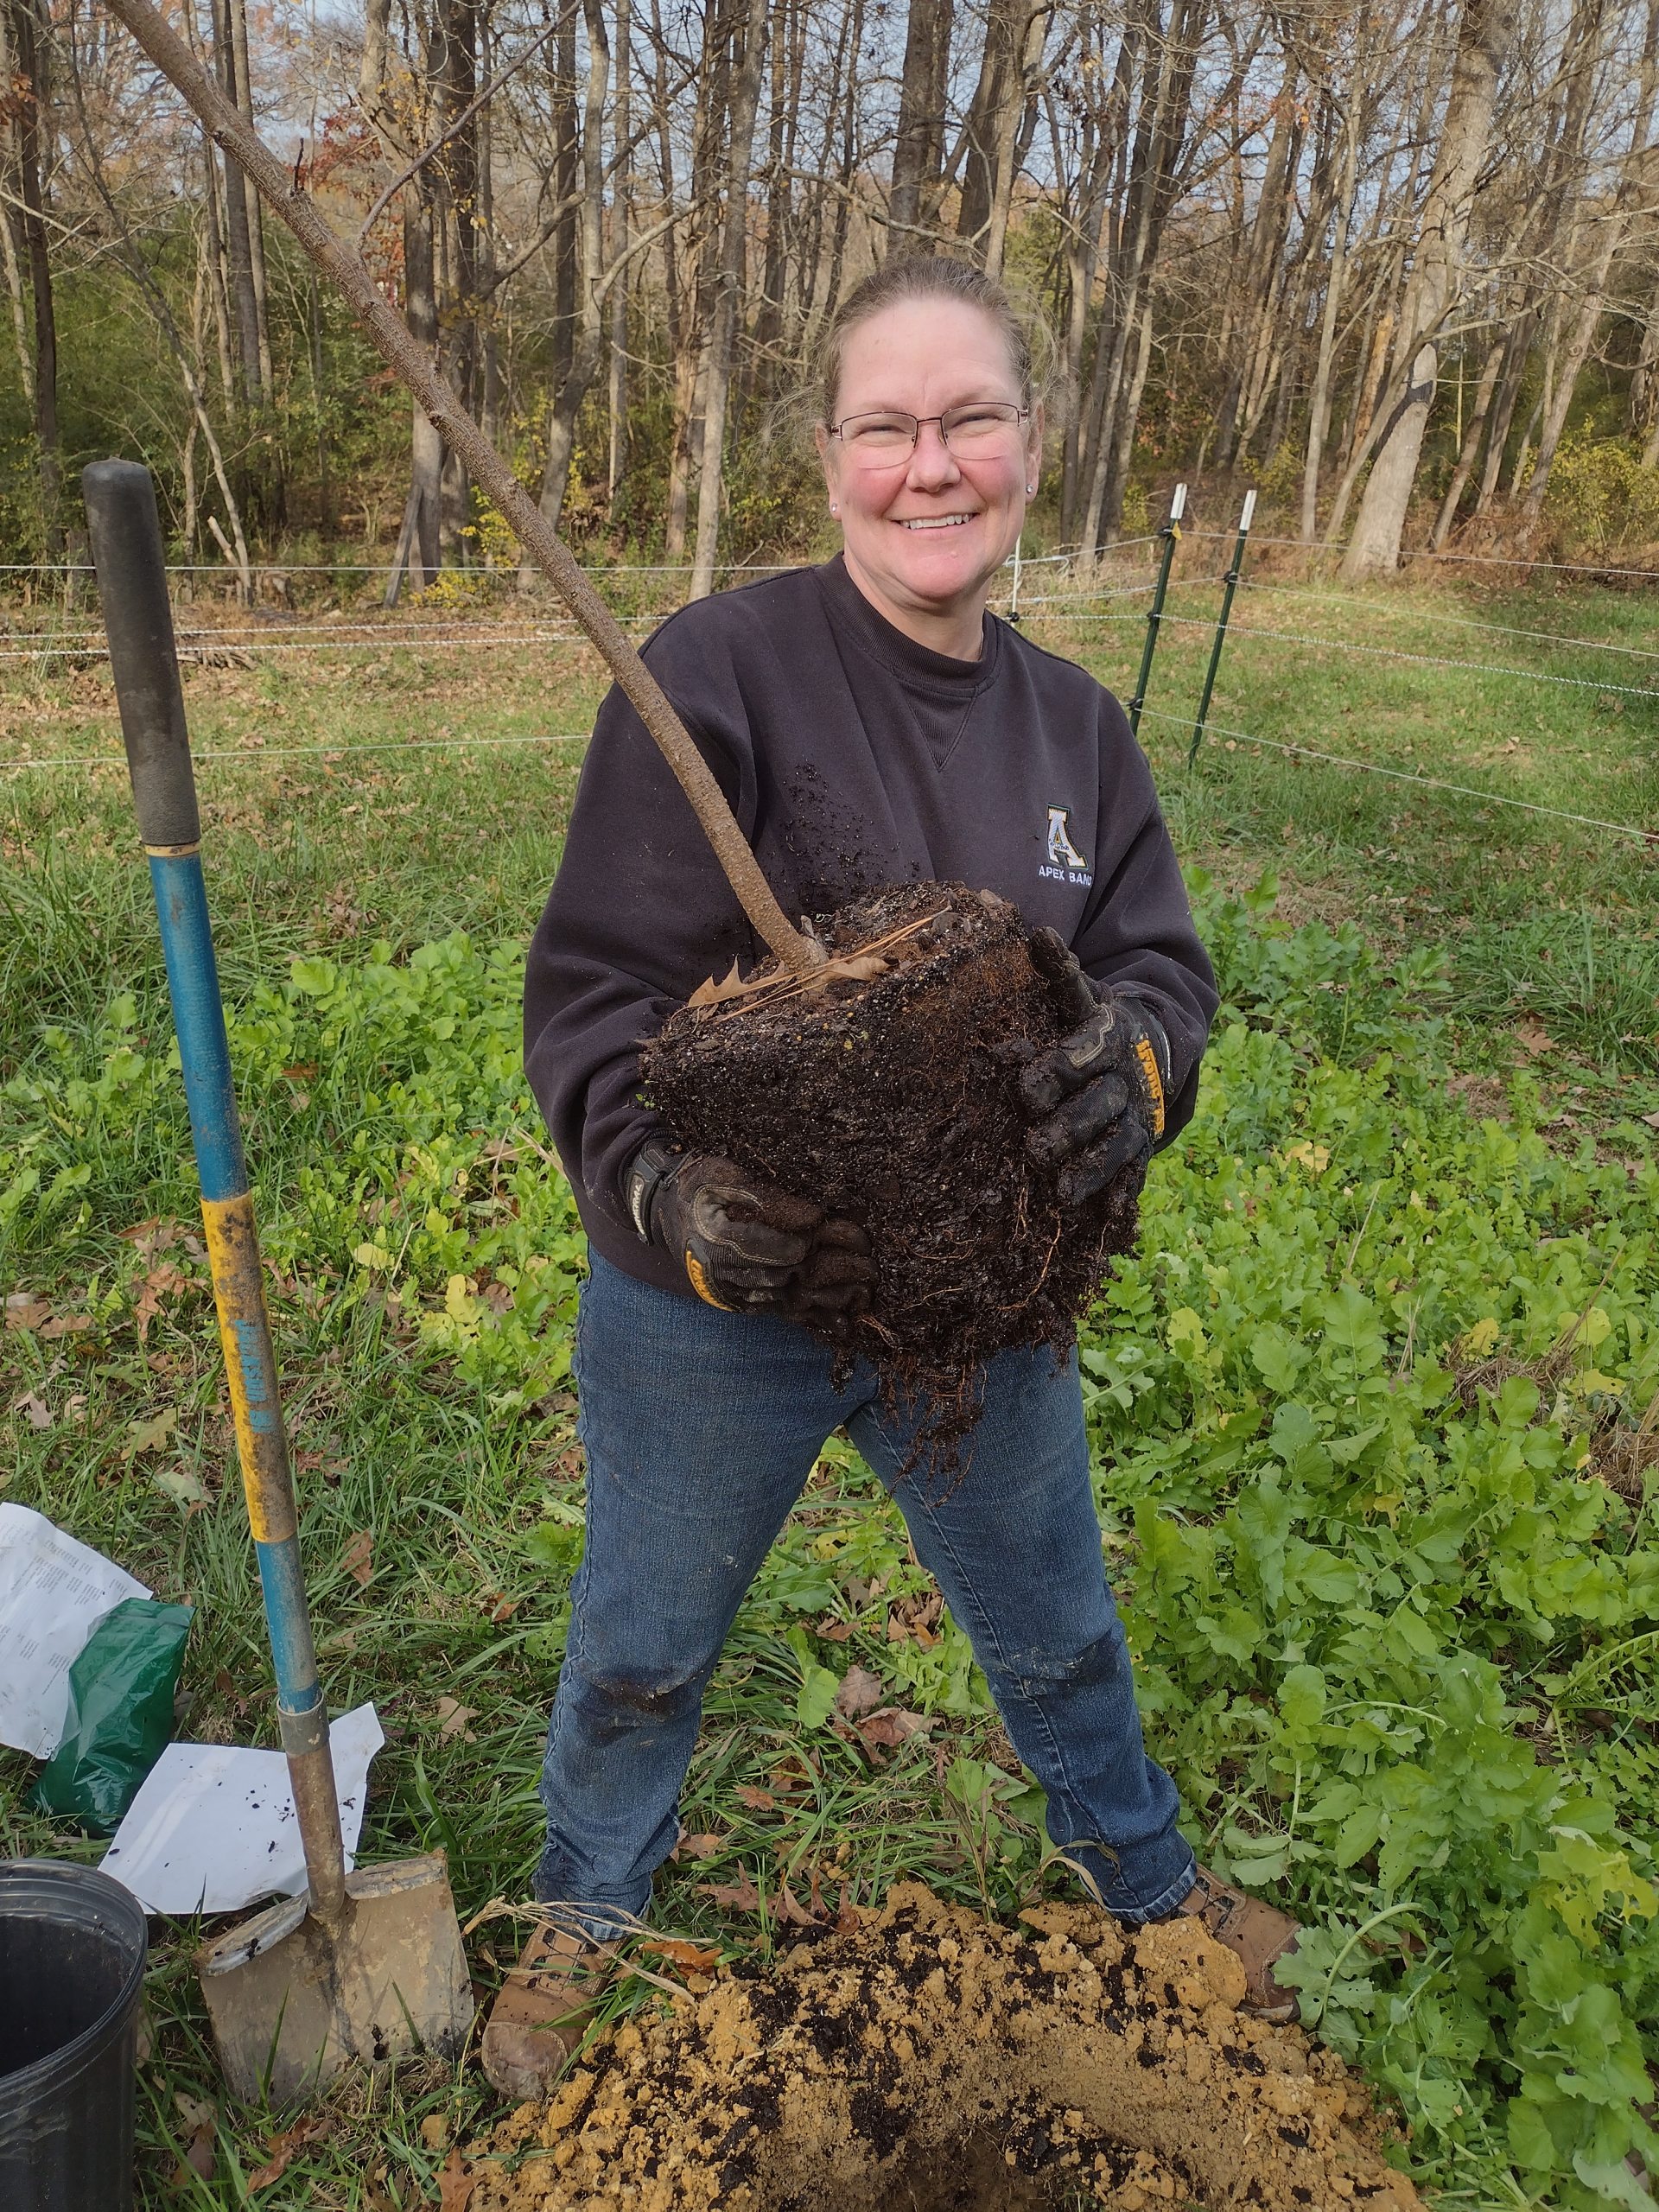
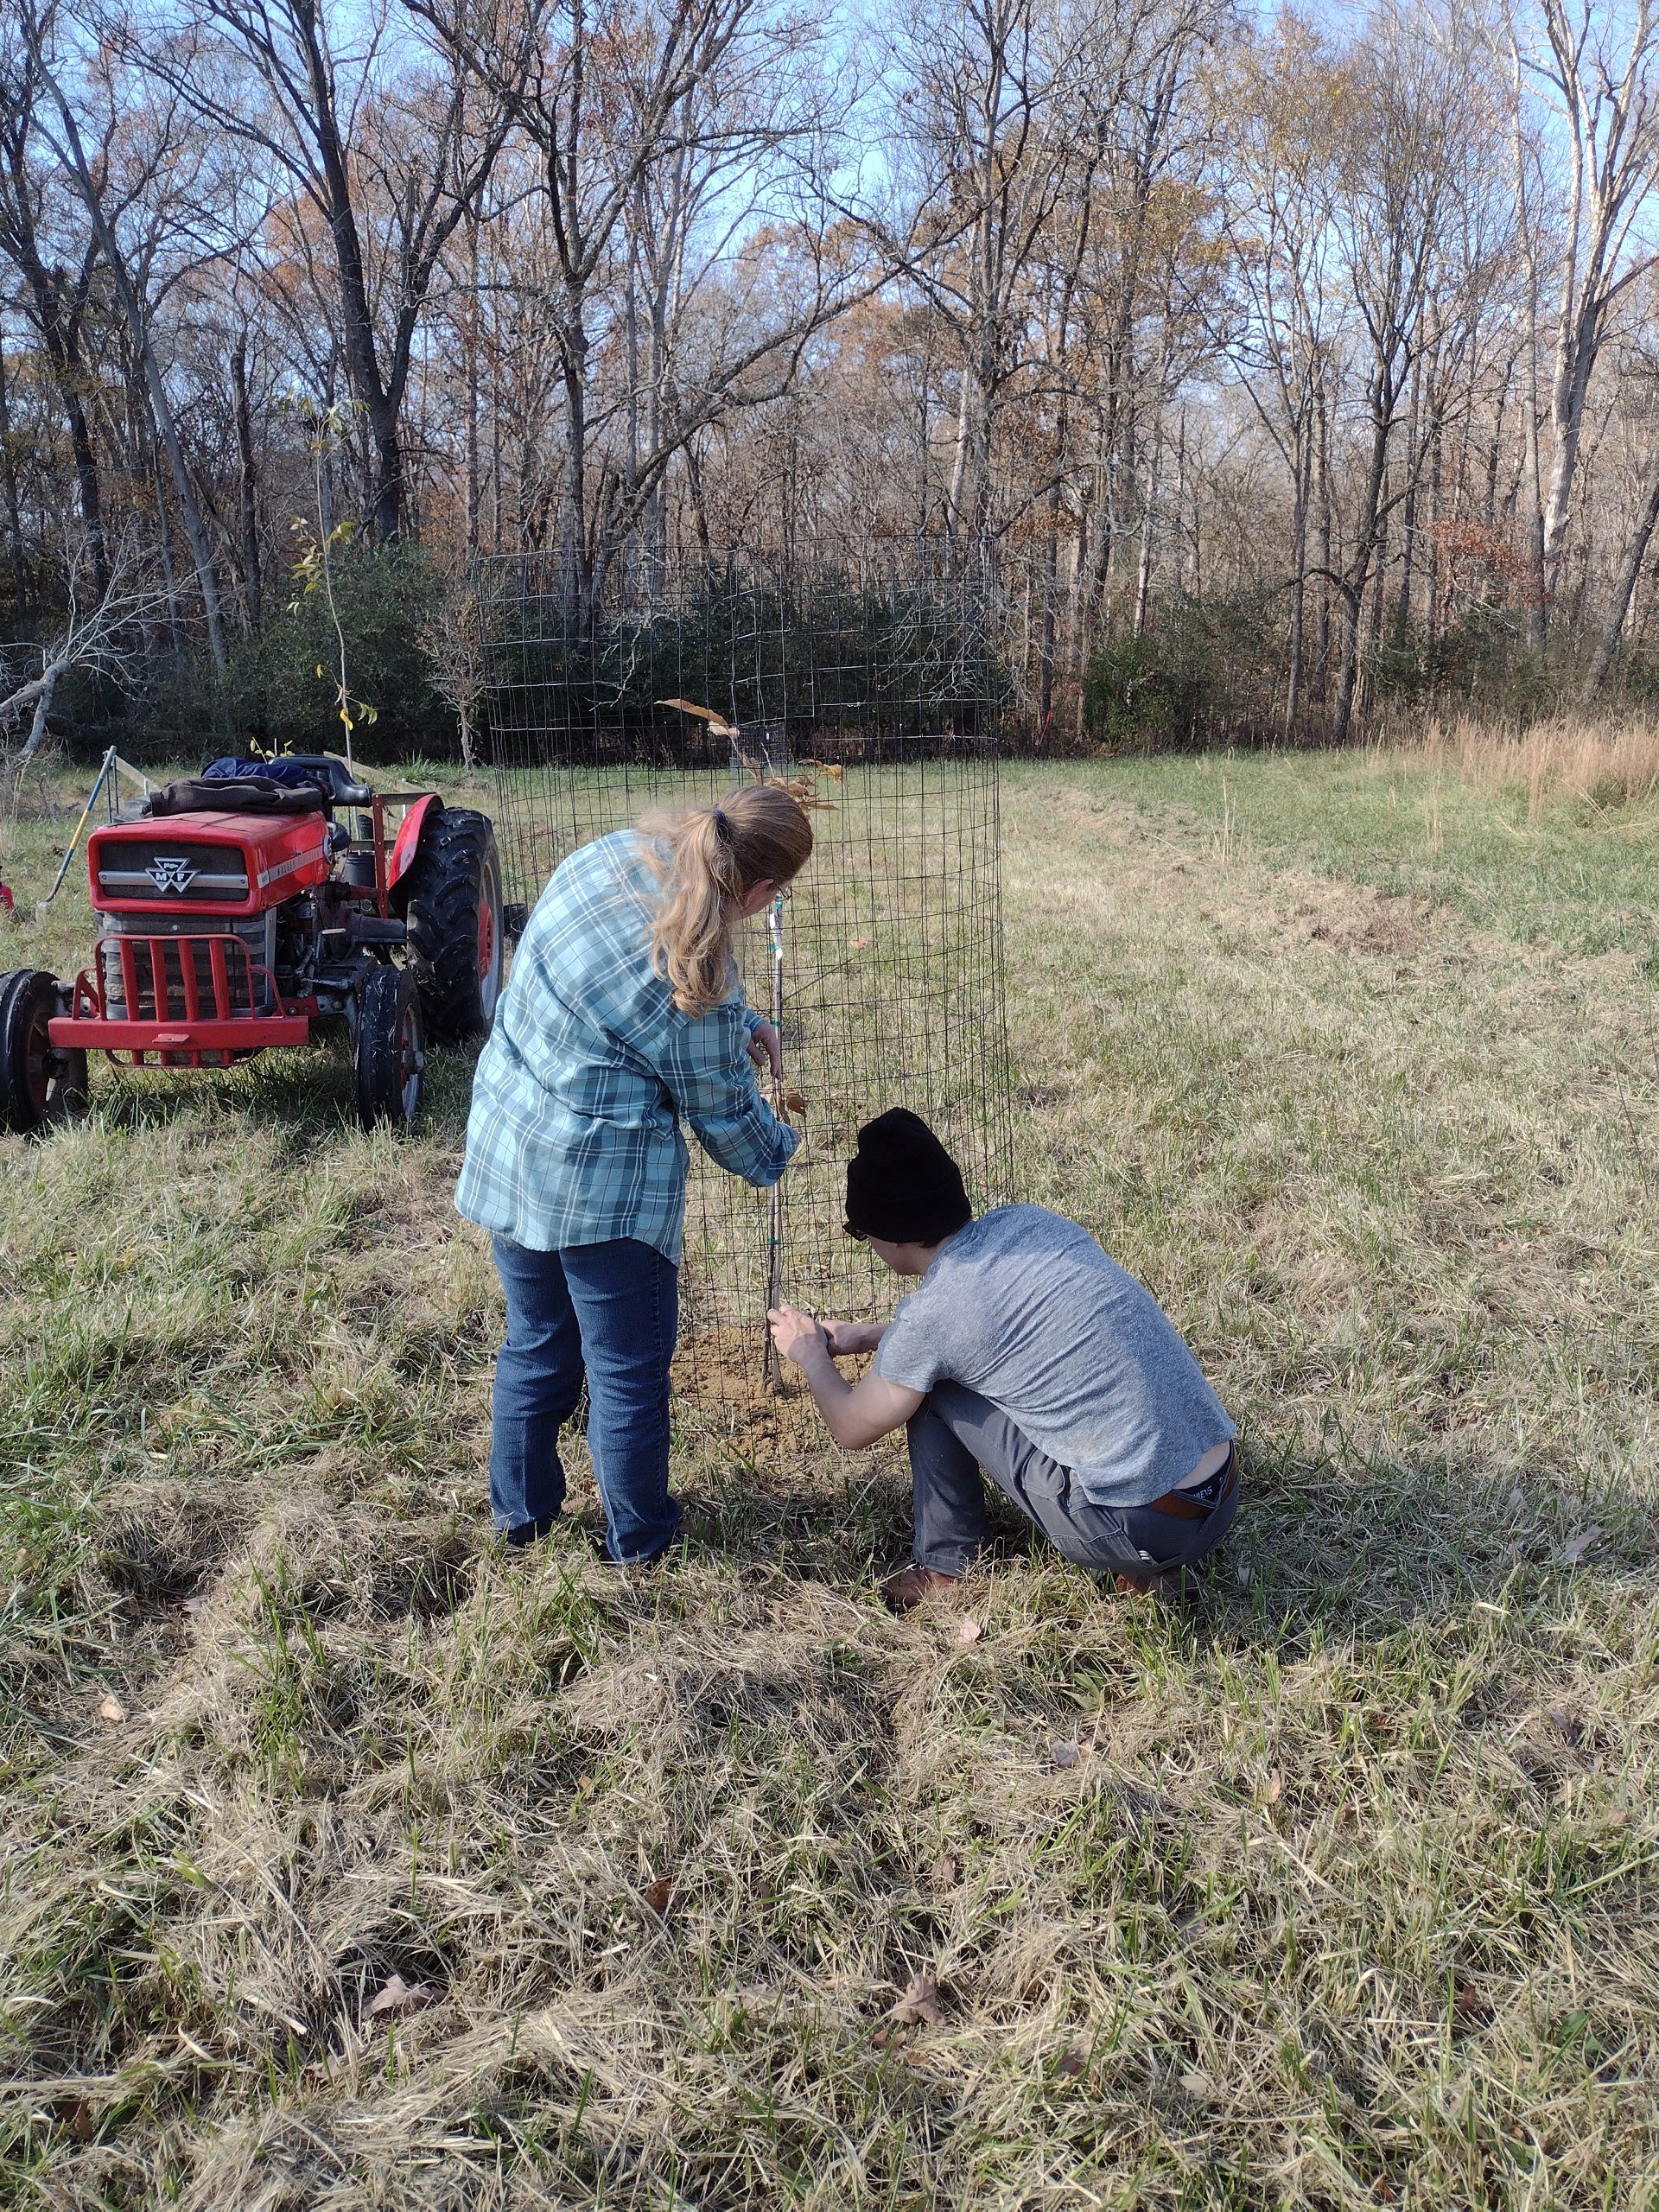
It was so nice that it was a family effort with Connie and JonnyLee.
Rob K for the walnut trees and the use of his autocross car a few weeks ago (that was fun and we didn’t die)
Rabbit Ridge in Coats, NC for the fruit trees.
Permapastures Farm in WNC for the comfrey


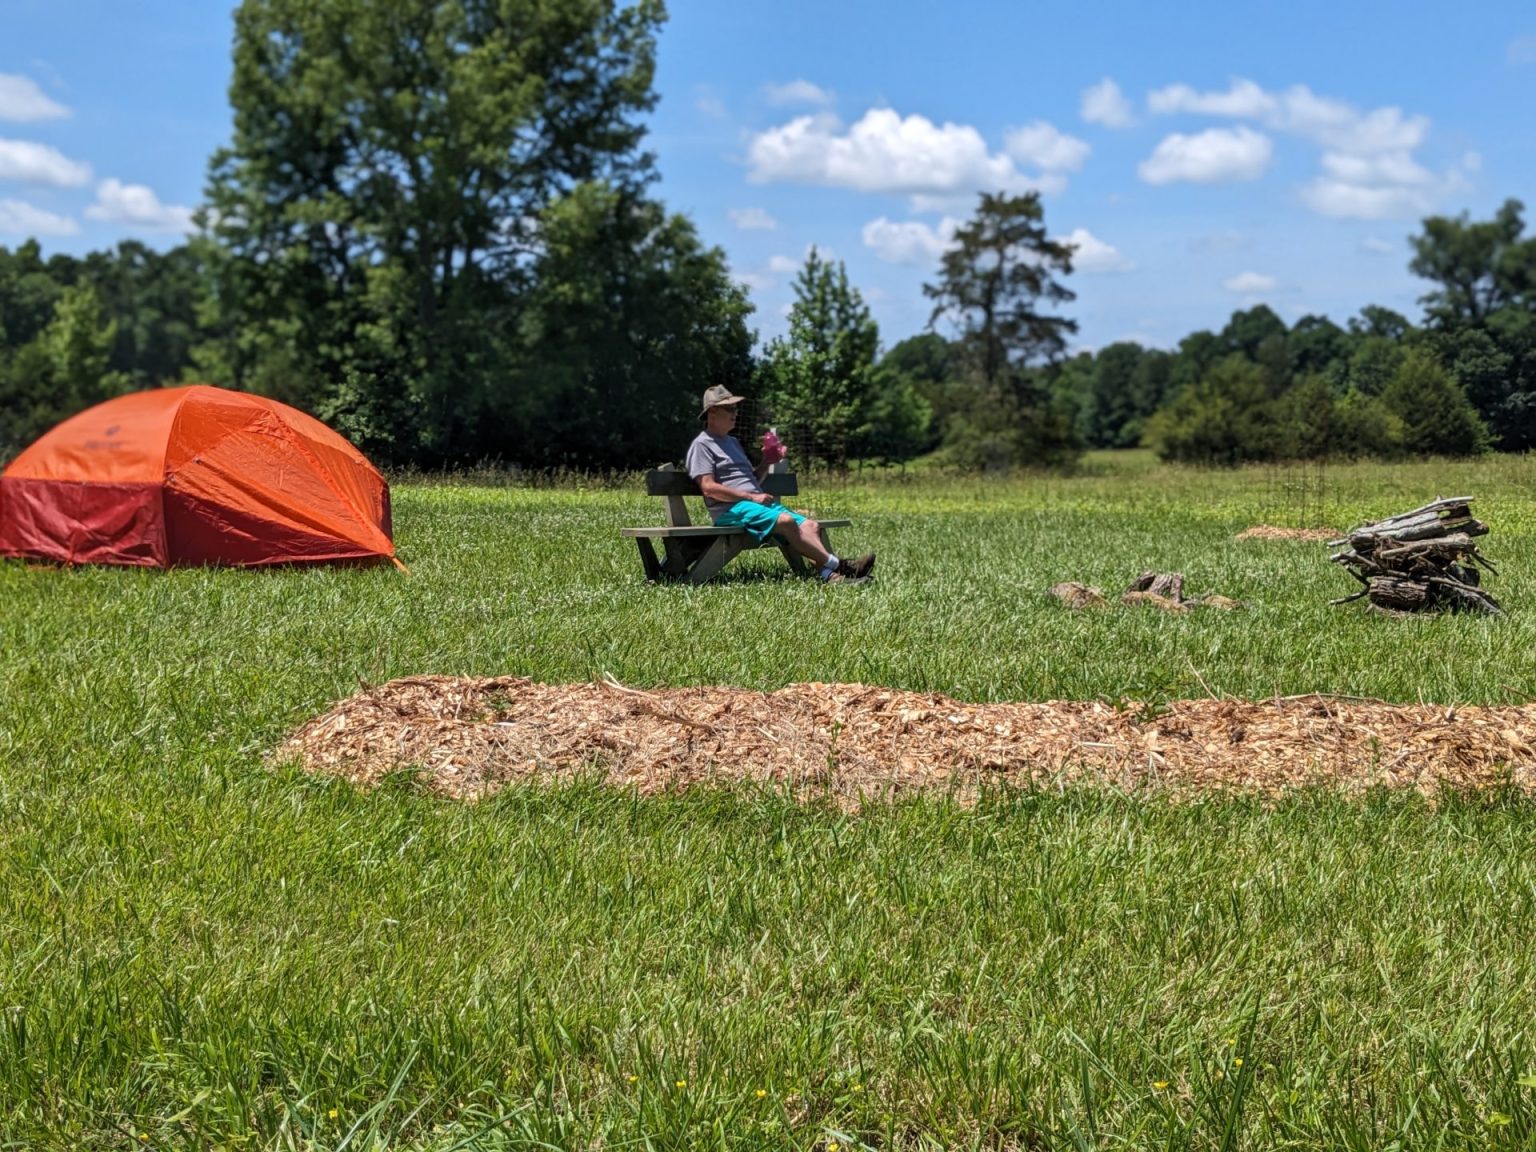
Starting a farm has been quite an experience.
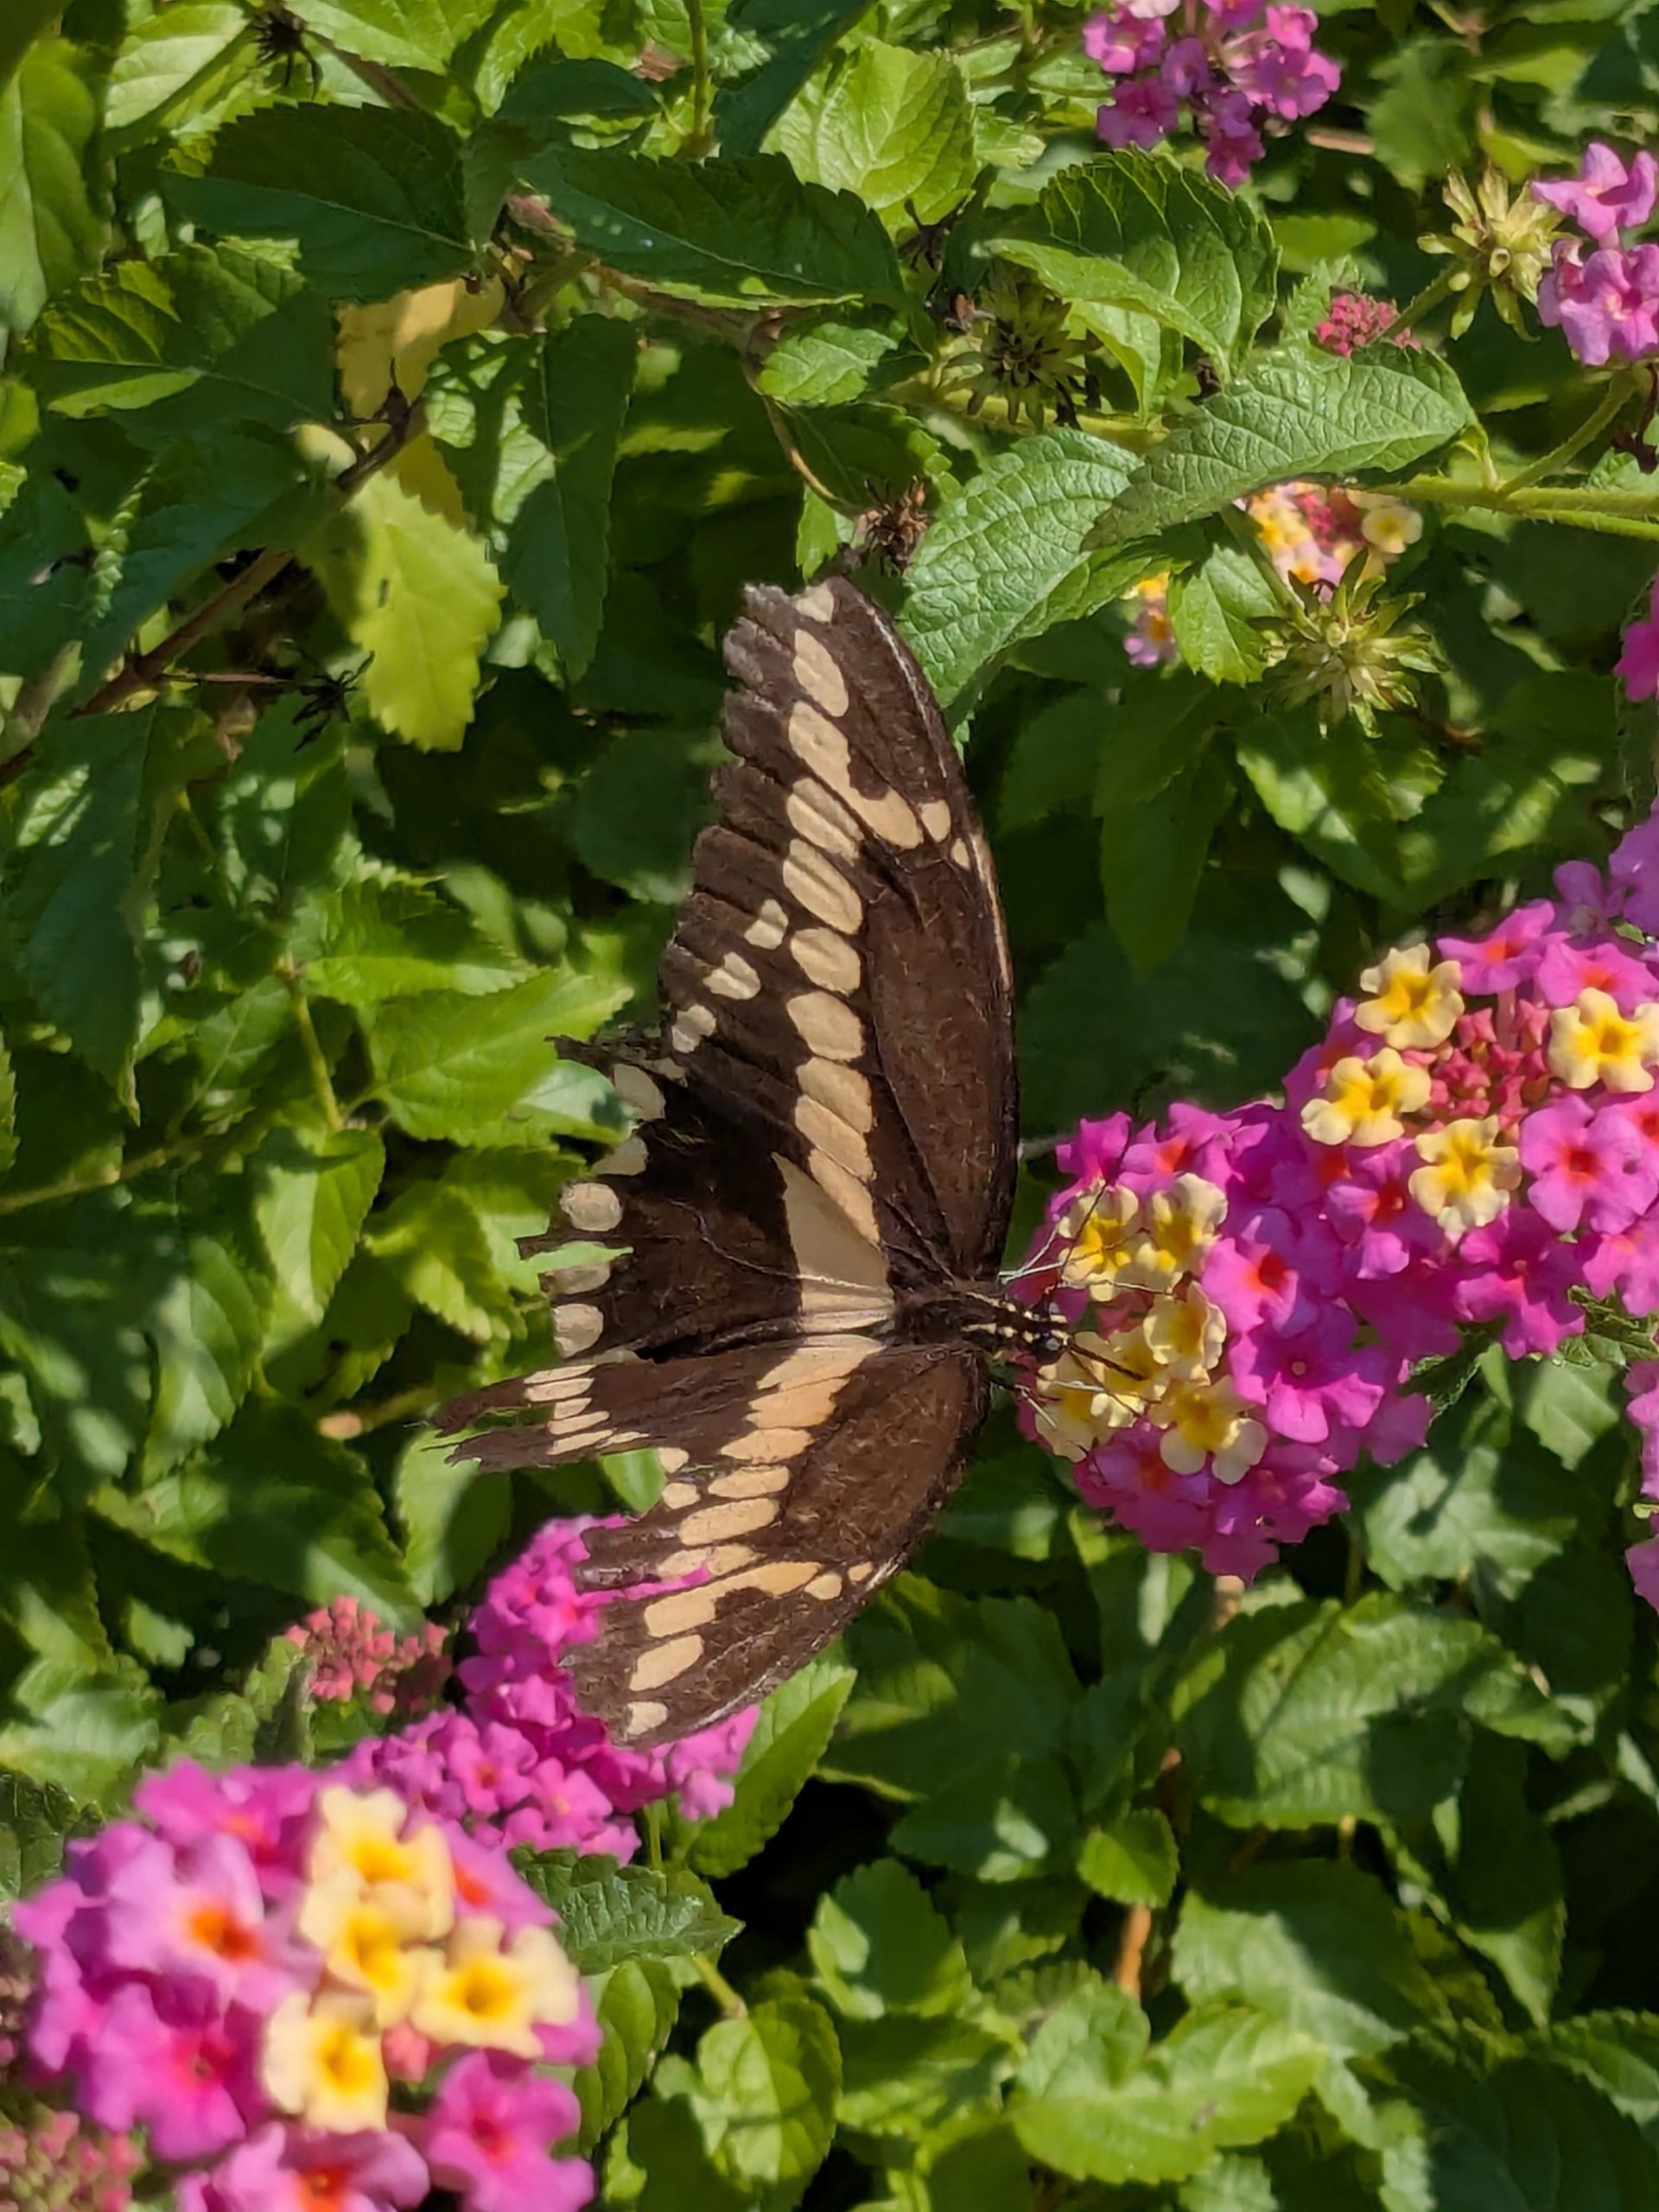
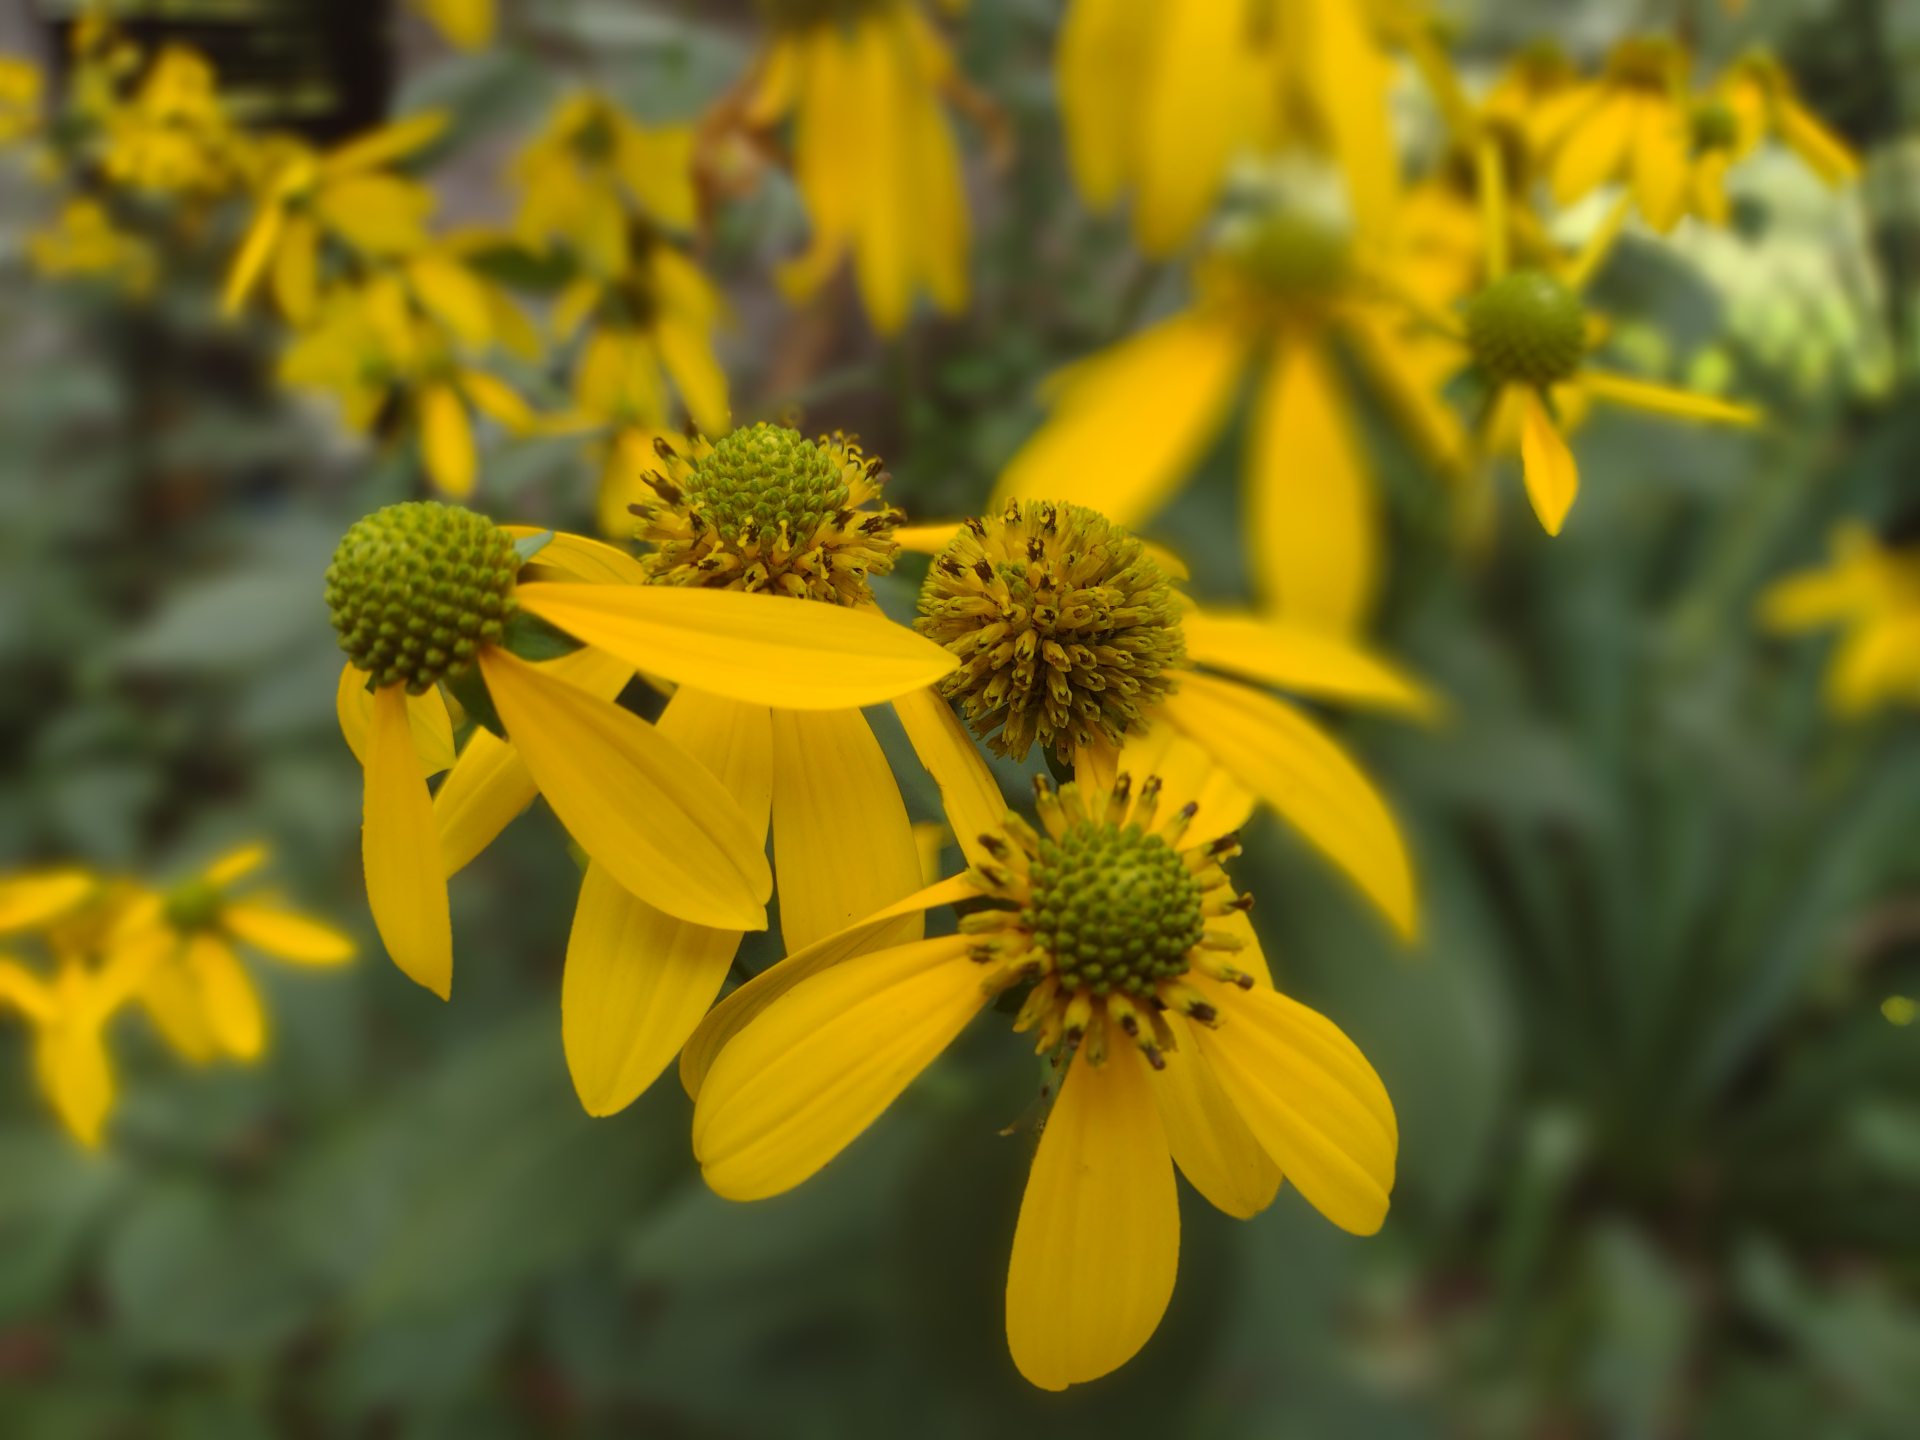
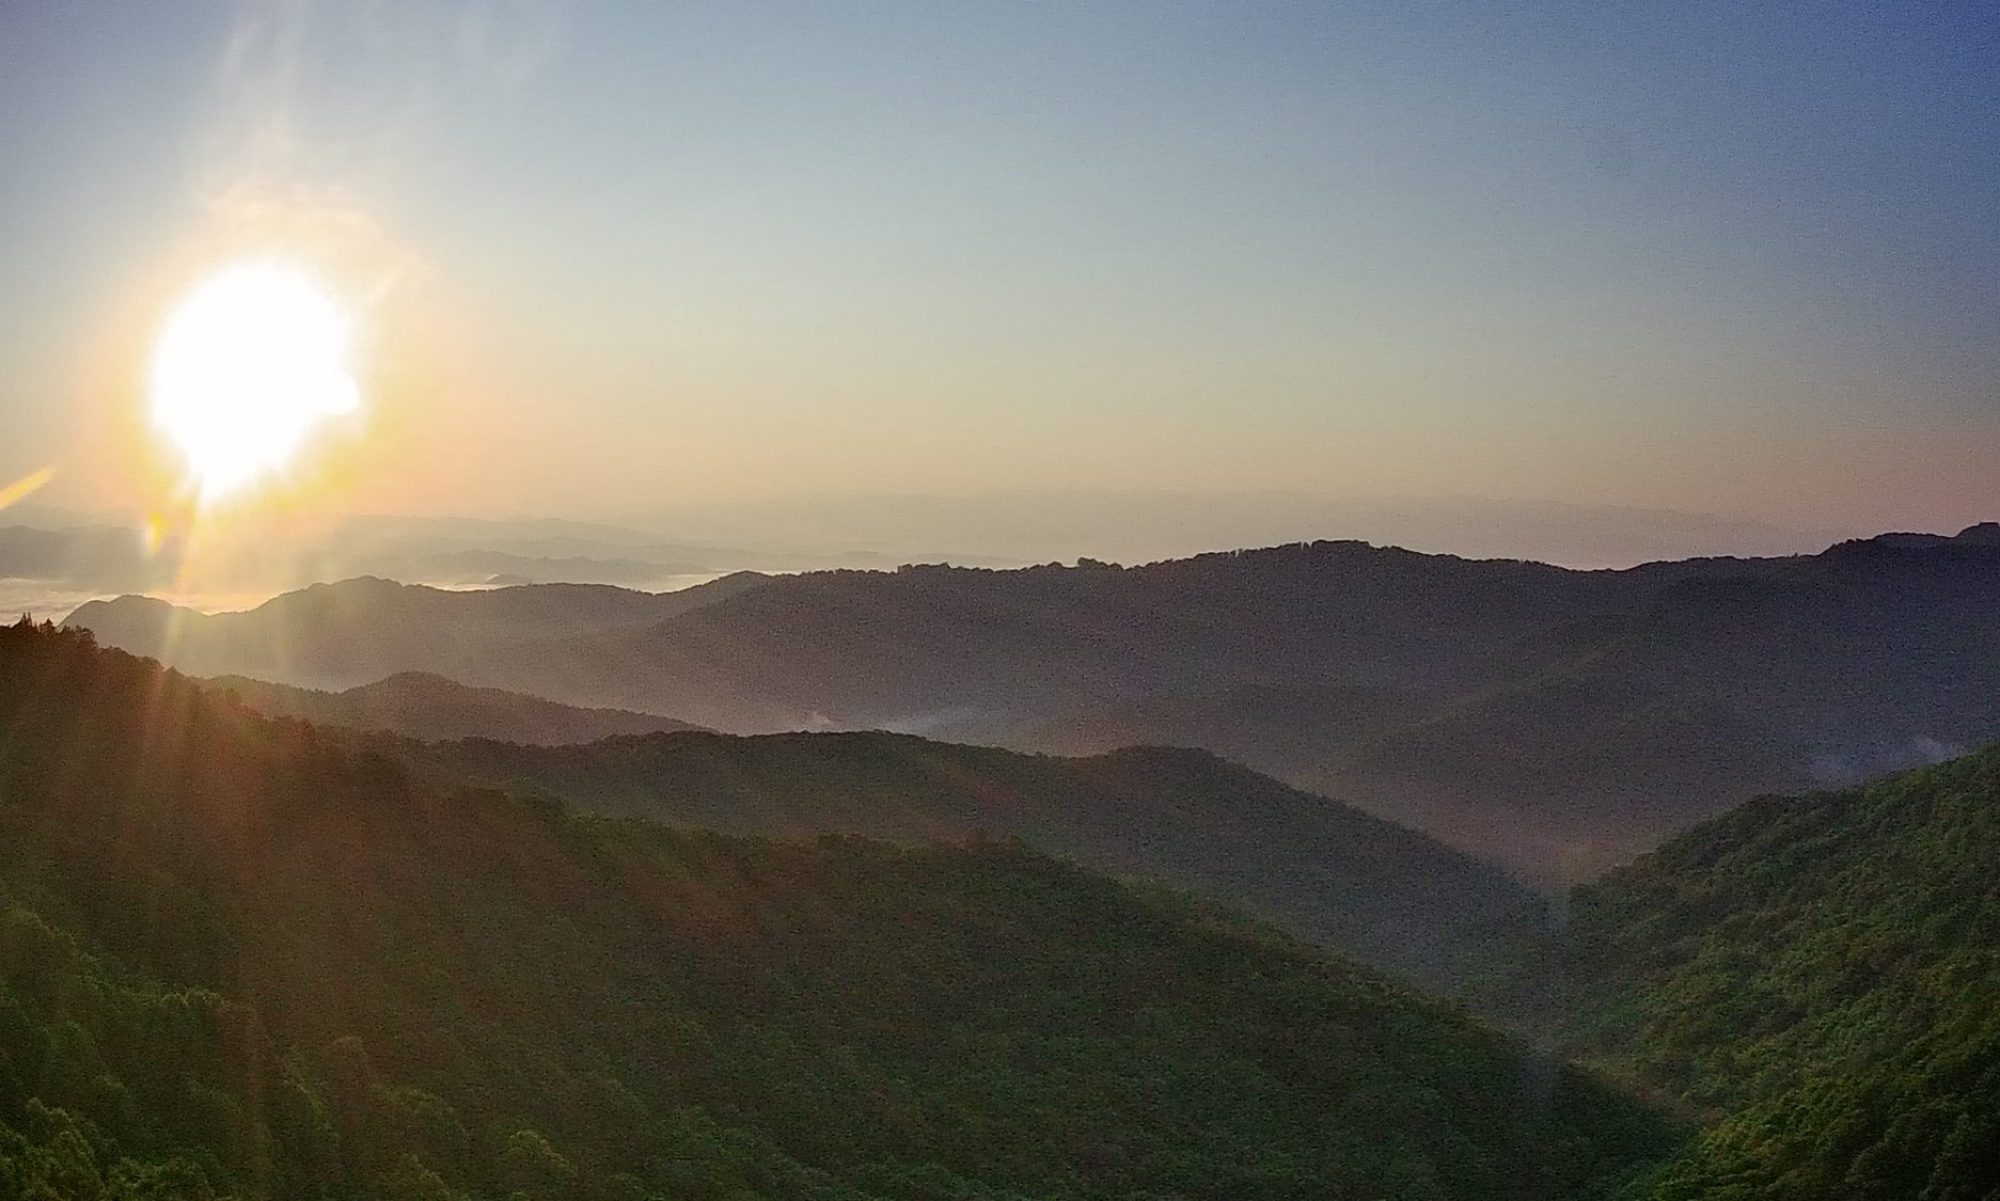
Jack Spirko often contends on his podcast that answers can be found in the forest. I’m thinking that most answers can be found in the forest and farm because we already know the answer most of the time. We just need to face to up the answer we already know and looking at the beauty around us help us to face those answers. Or sometimes we just need to something to help us focus so we can put the pieces together and arrive at an answer. Other times there is inspiration that we can find in the beauty and grand design of nature around us.
Many times I find that while I’m working on something on the farm, I’m learning about how to be a better farmer but also gaining a deeper understanding of life and myself. Hard work is good way to push out the some of the mental clutter. Getting that mental clutter out of the way helps me to think through any challenges or questions. Often I find that I get to the end of the day and the work is done and I’ve figured out answers to challenges that have nothing to do with the farm.
During the day at work and home, there are a lot of things competing for our attention. Getting outside and working filters out that digital noise and info, giving a very important digital detox. The act of labor and the concentration on the task at hand helps deepen the effects of the digital detox. These moments of digital detox peel away the layers of mental clutter and leaves me prepared to enjoy life and remember what is truly important.
I hope you have a great week!


This podcast was recorded in the car and there was more road noise than I wanted, but these are some important thoughts, please bear with me.
Lets talk about how rising food prices can lead to reduced food production. Also why the return on investment for buying a freezer full of beef might be better than putting your money in the stock market this year. I’m not giving financial advice, just a discussion of current events.
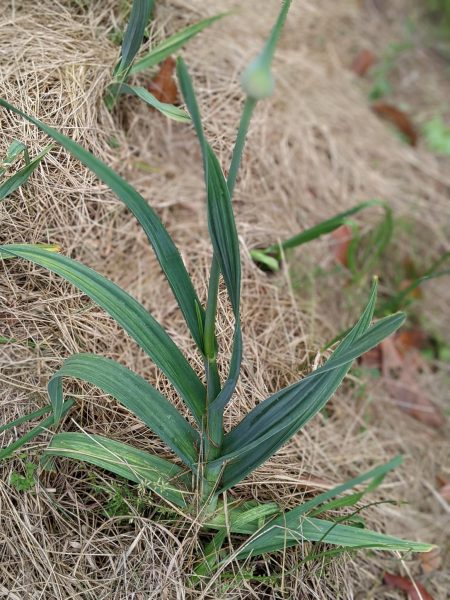
Some days are easier than others. Being flexible helps turn a frustrating day into a productive and happy one! The zero turn is fixed and the garlic bed is weeded and hay put down around the garlic.
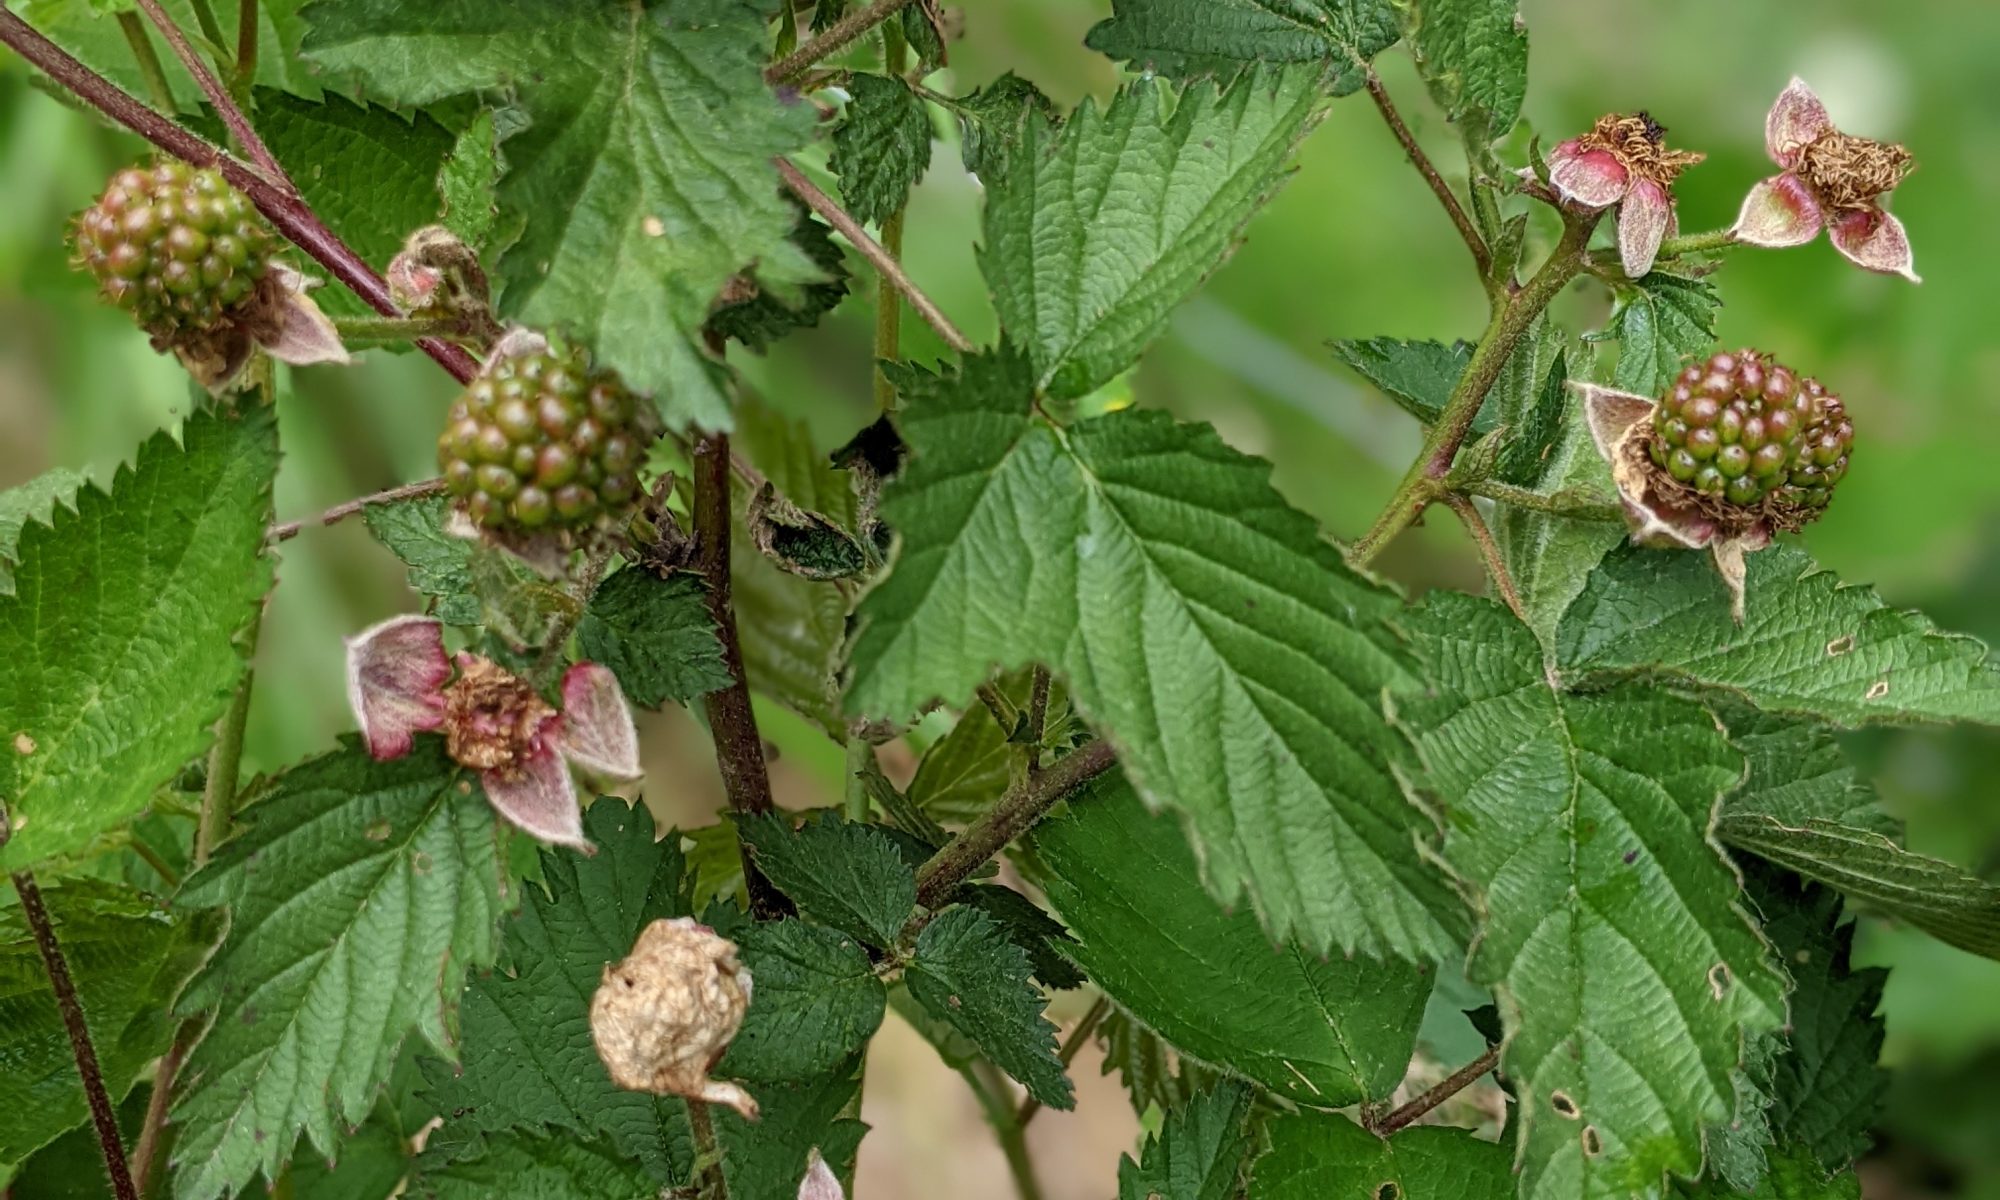
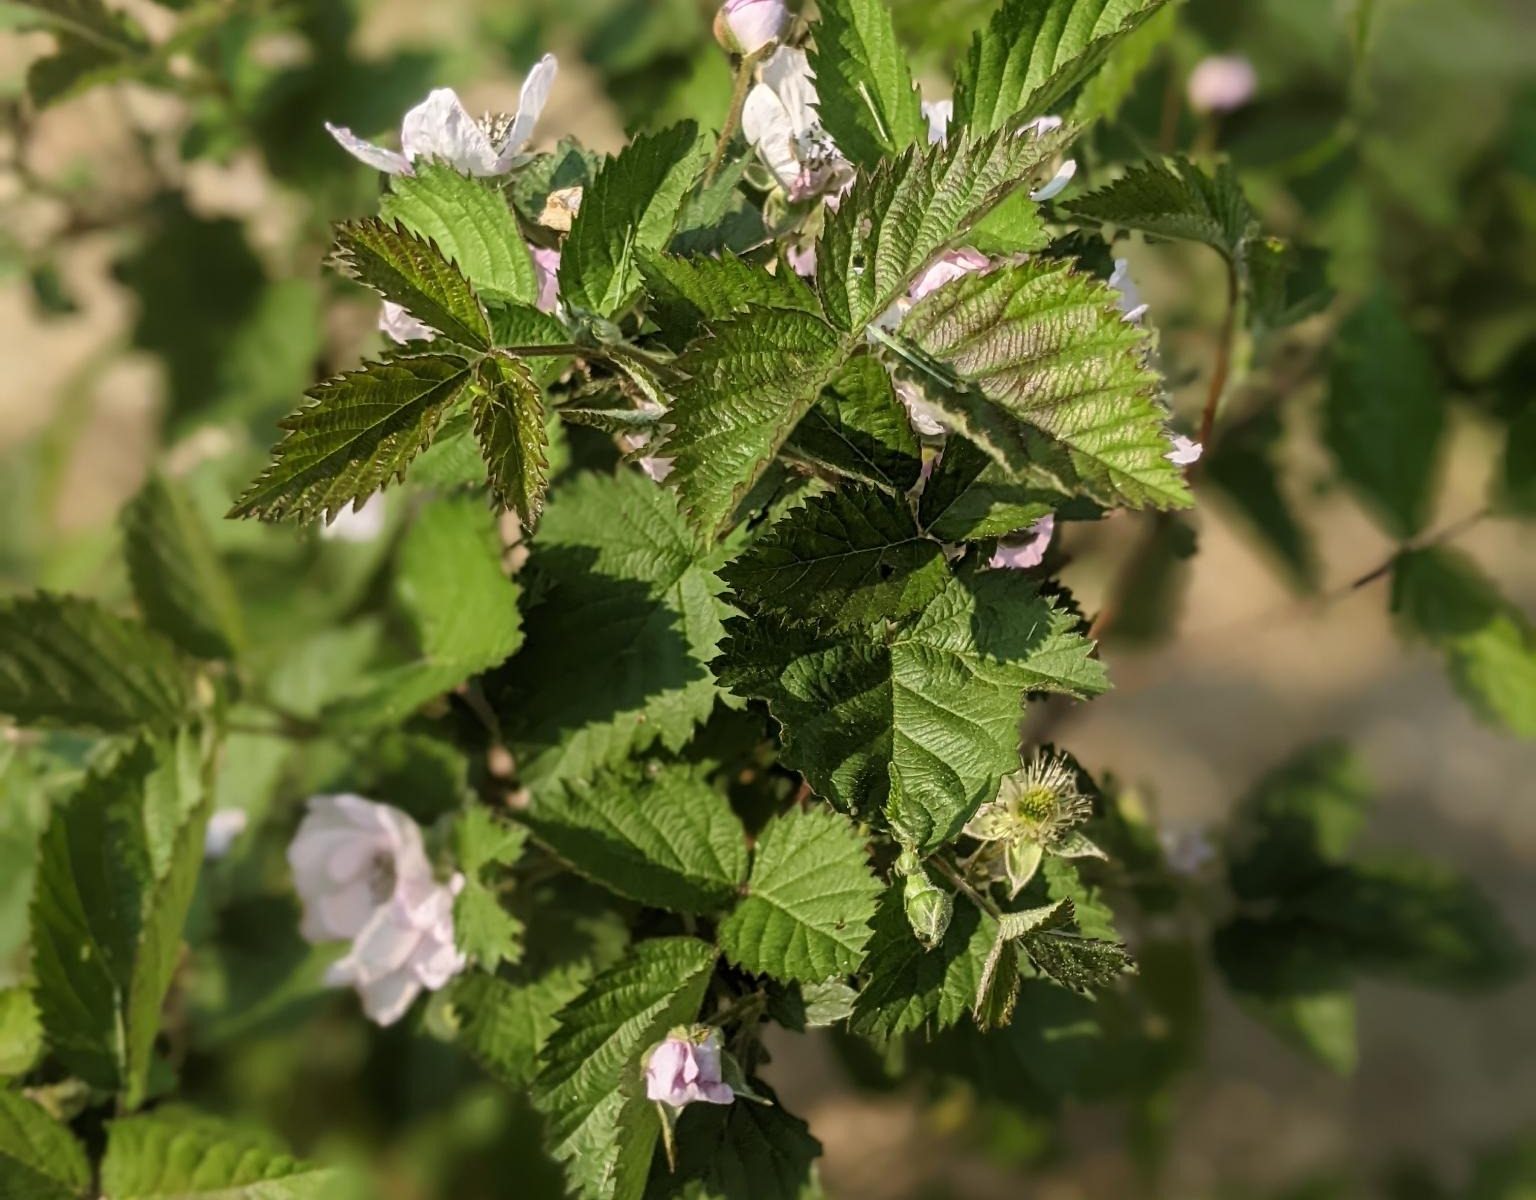
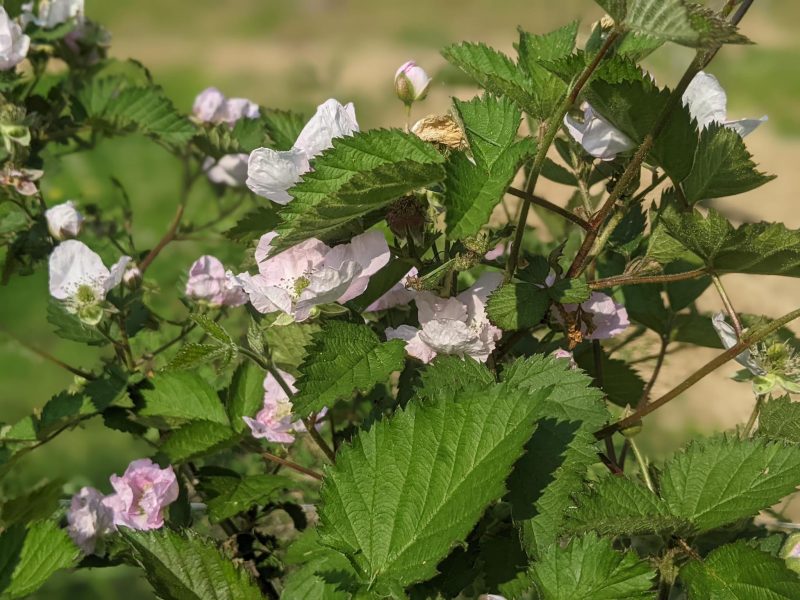
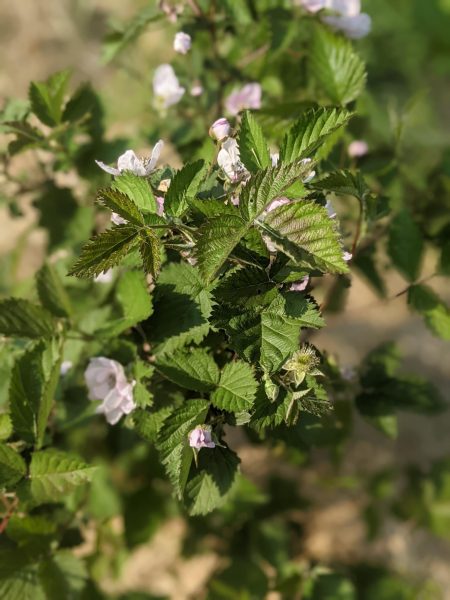
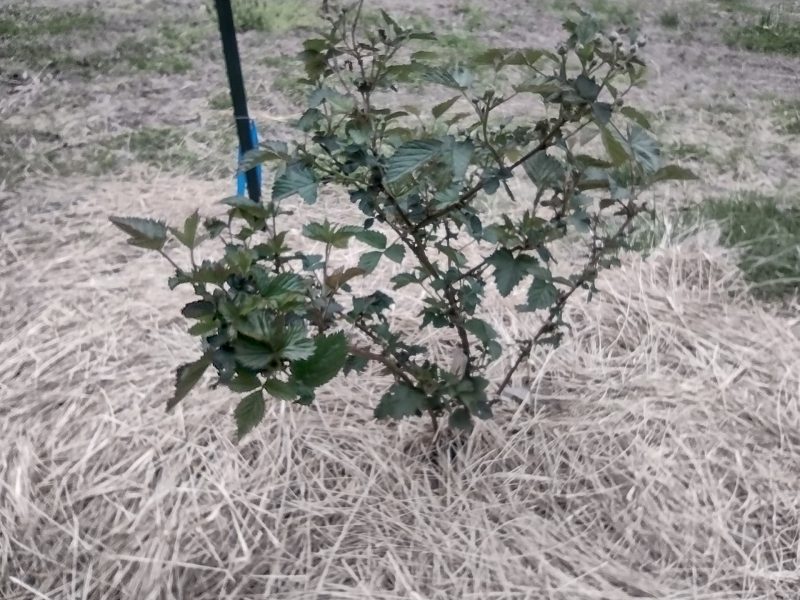
The blackberries are starting to fruit!
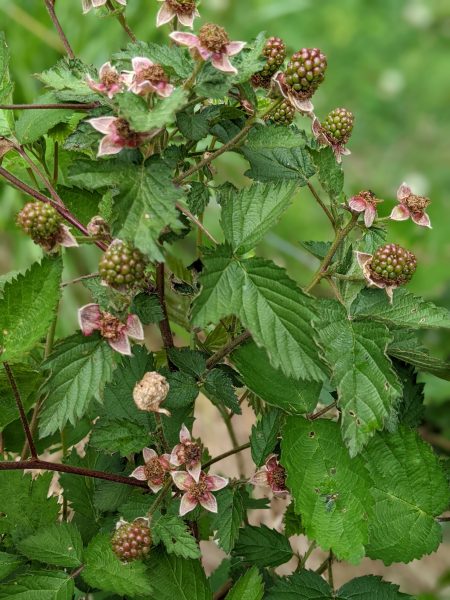
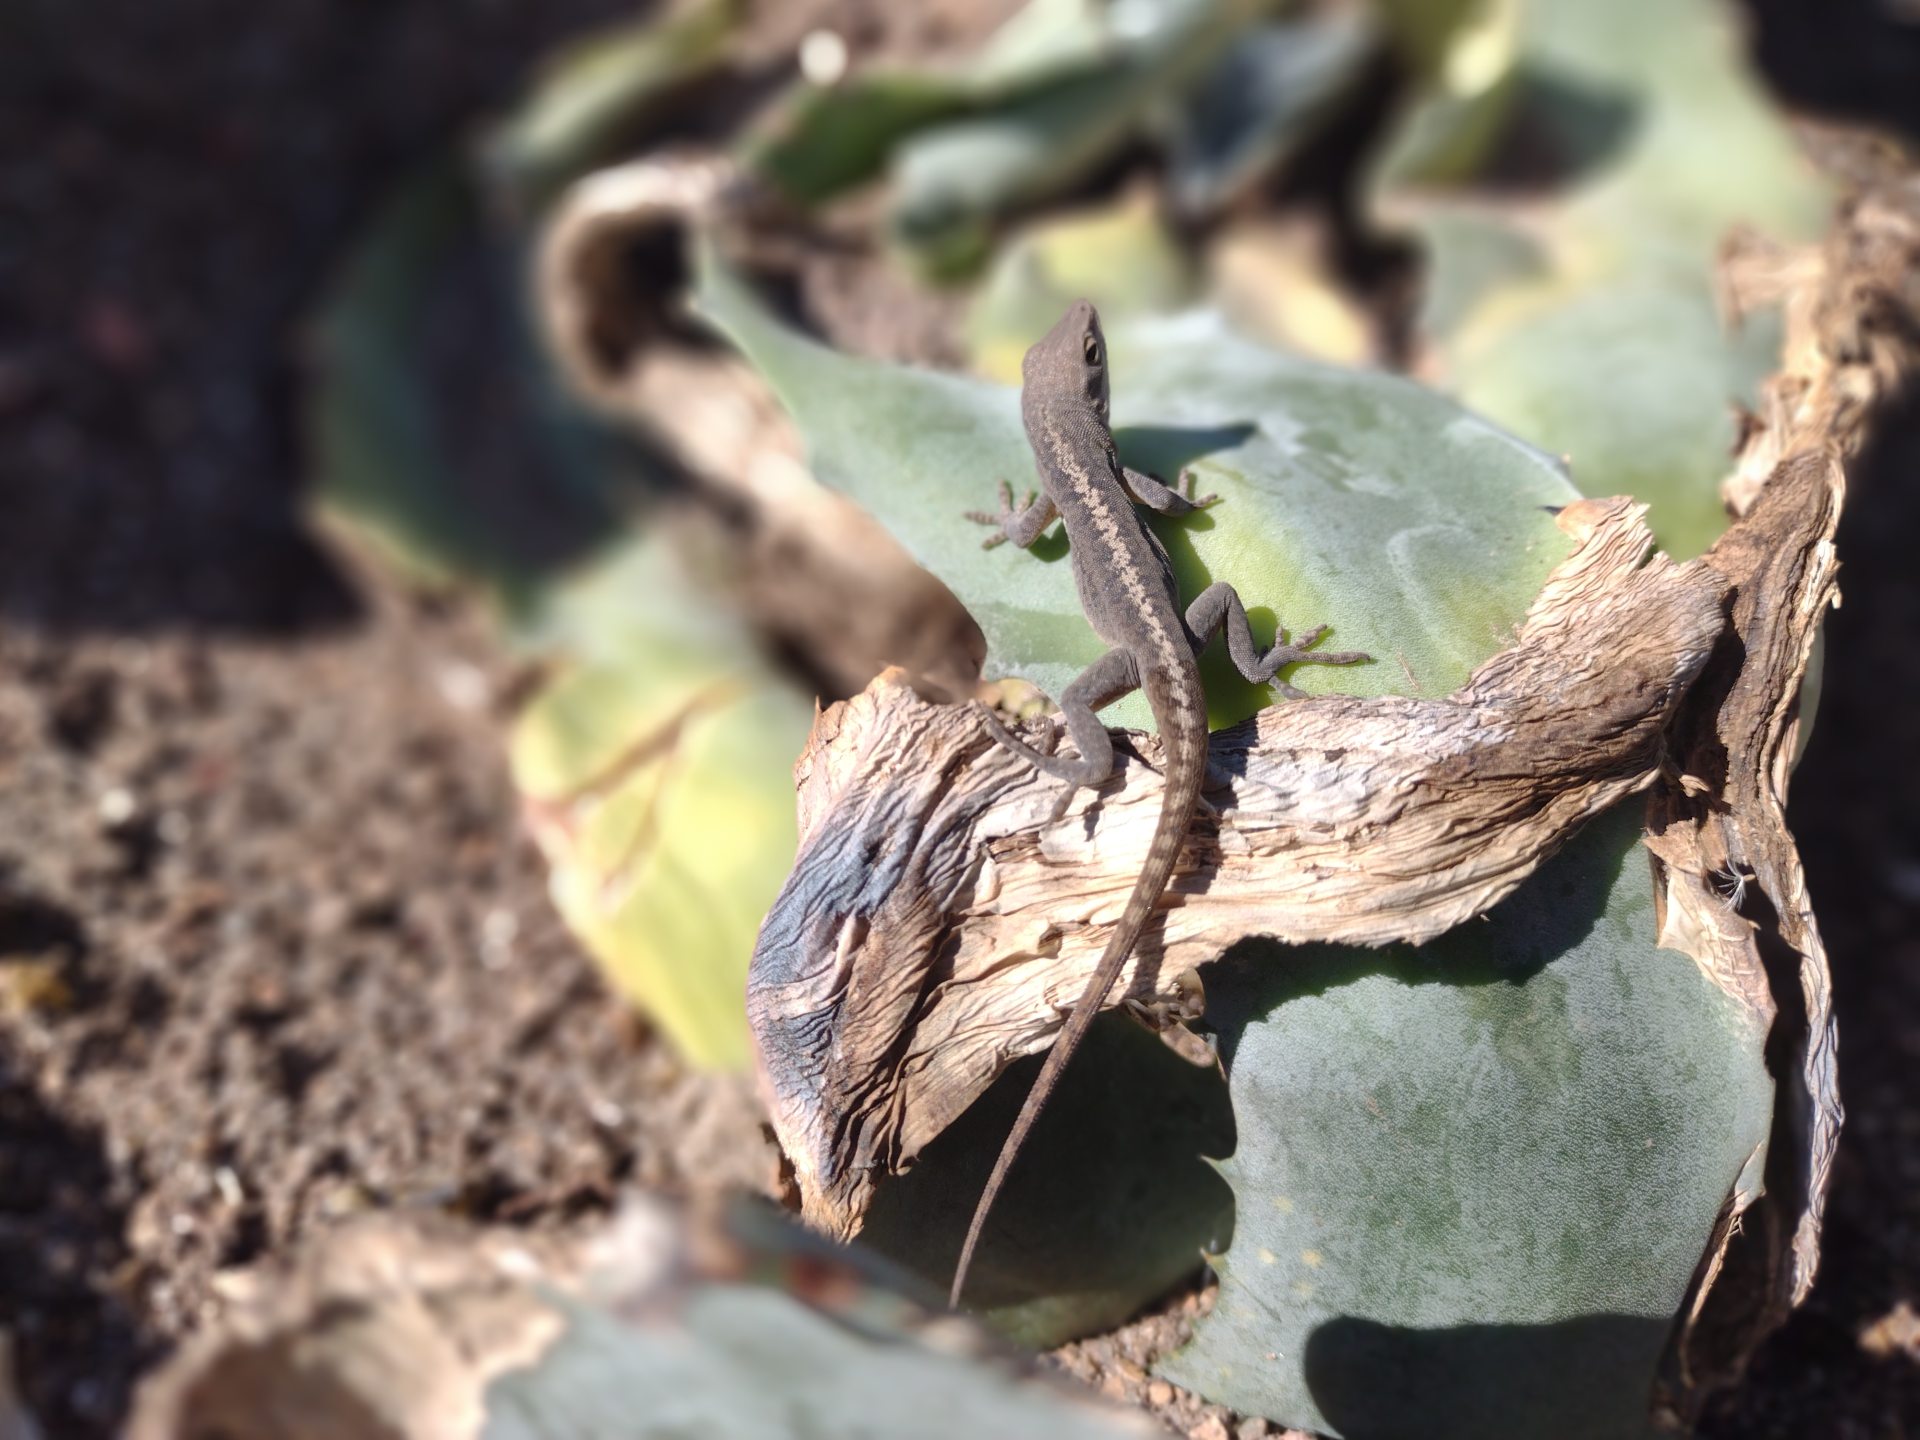
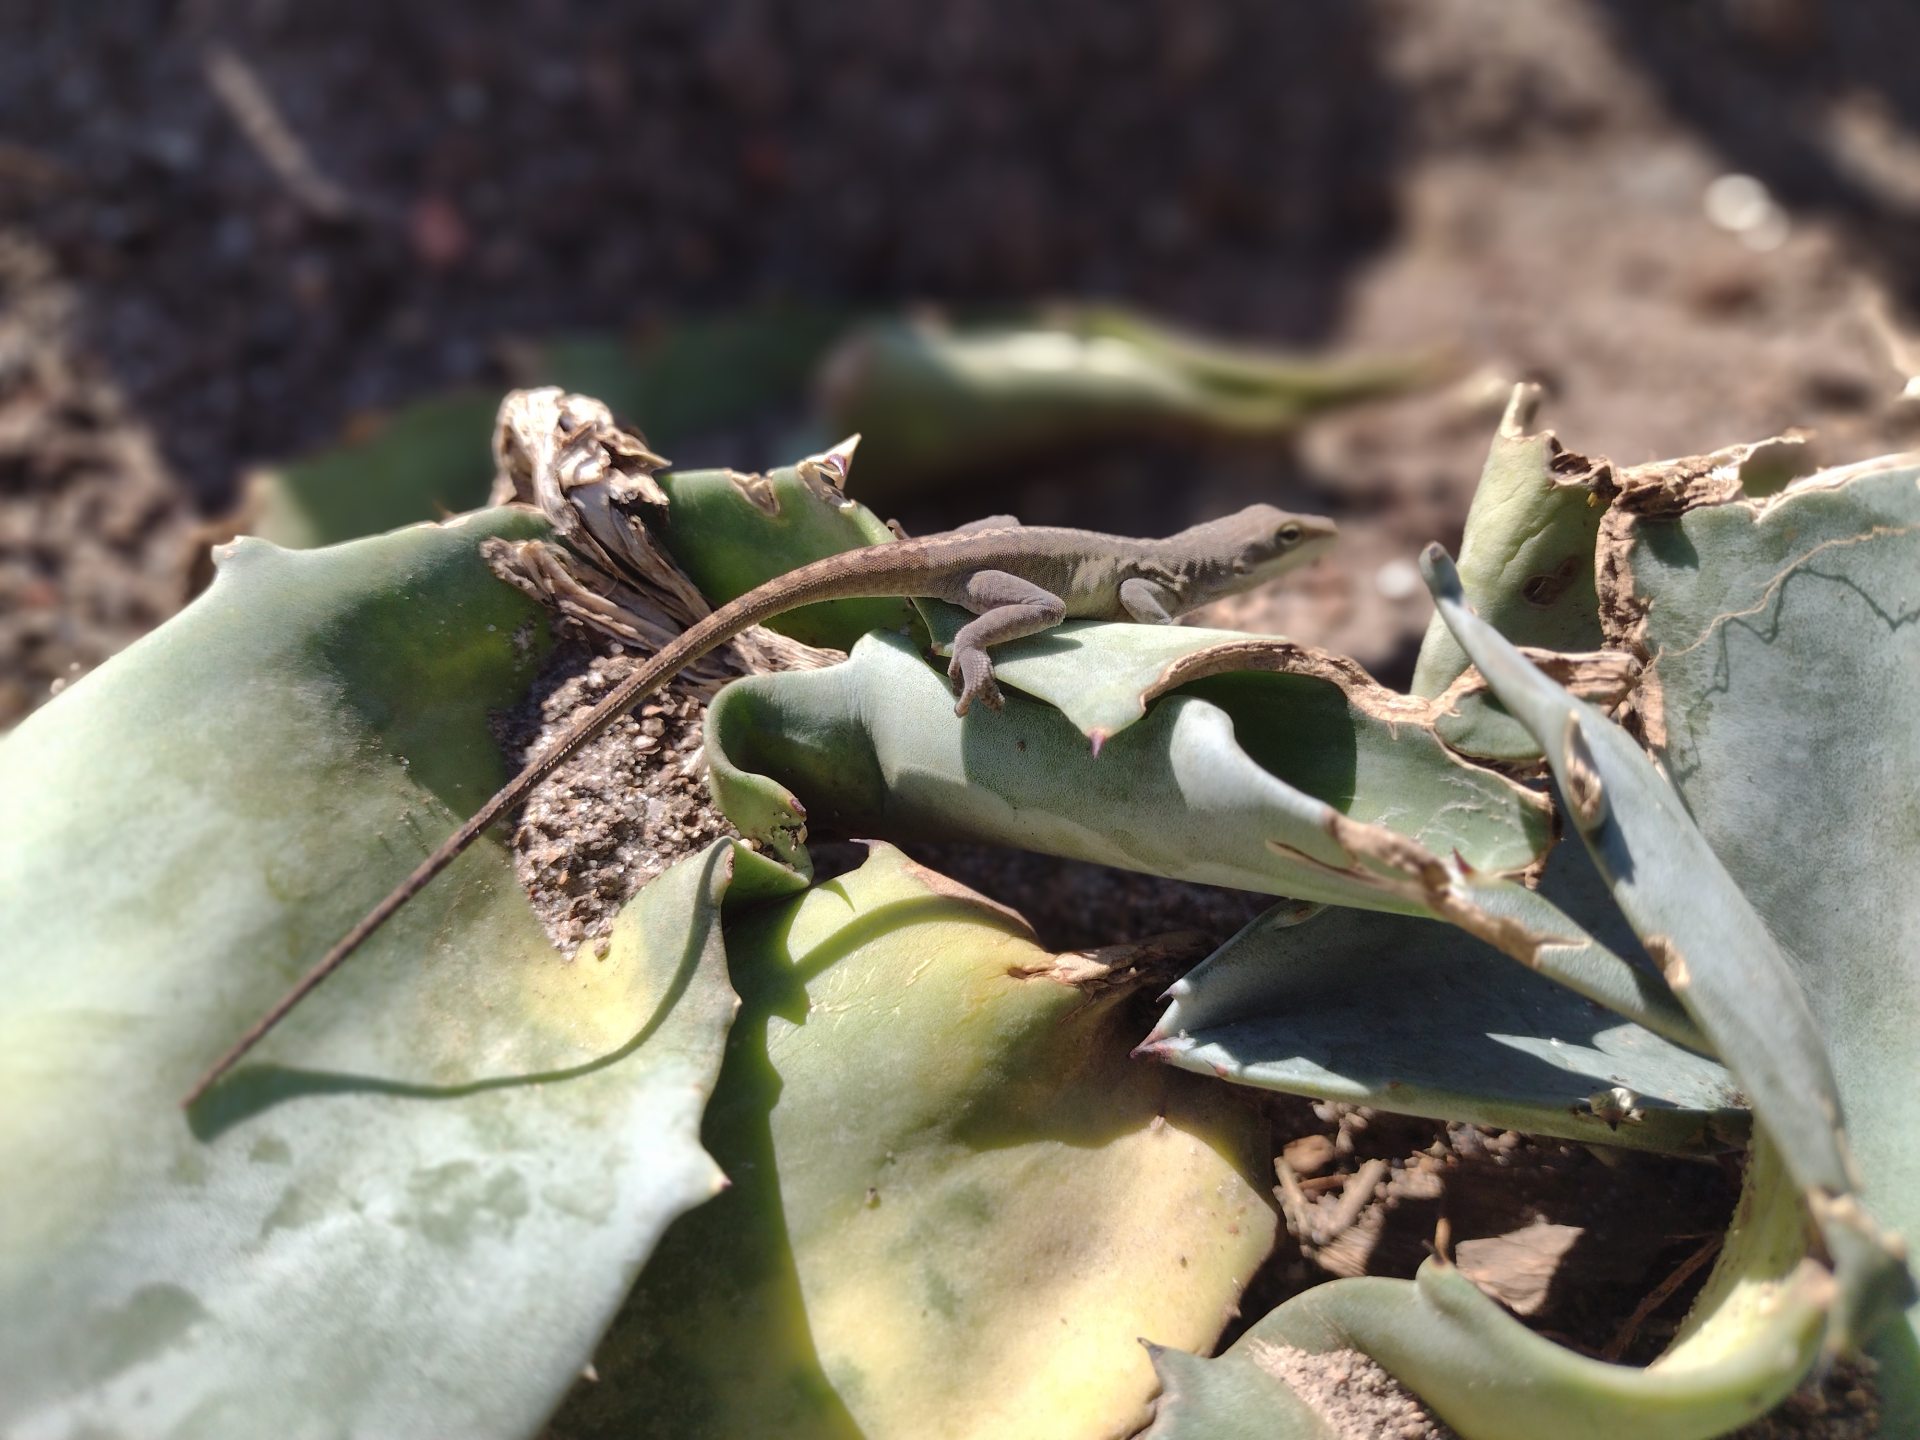
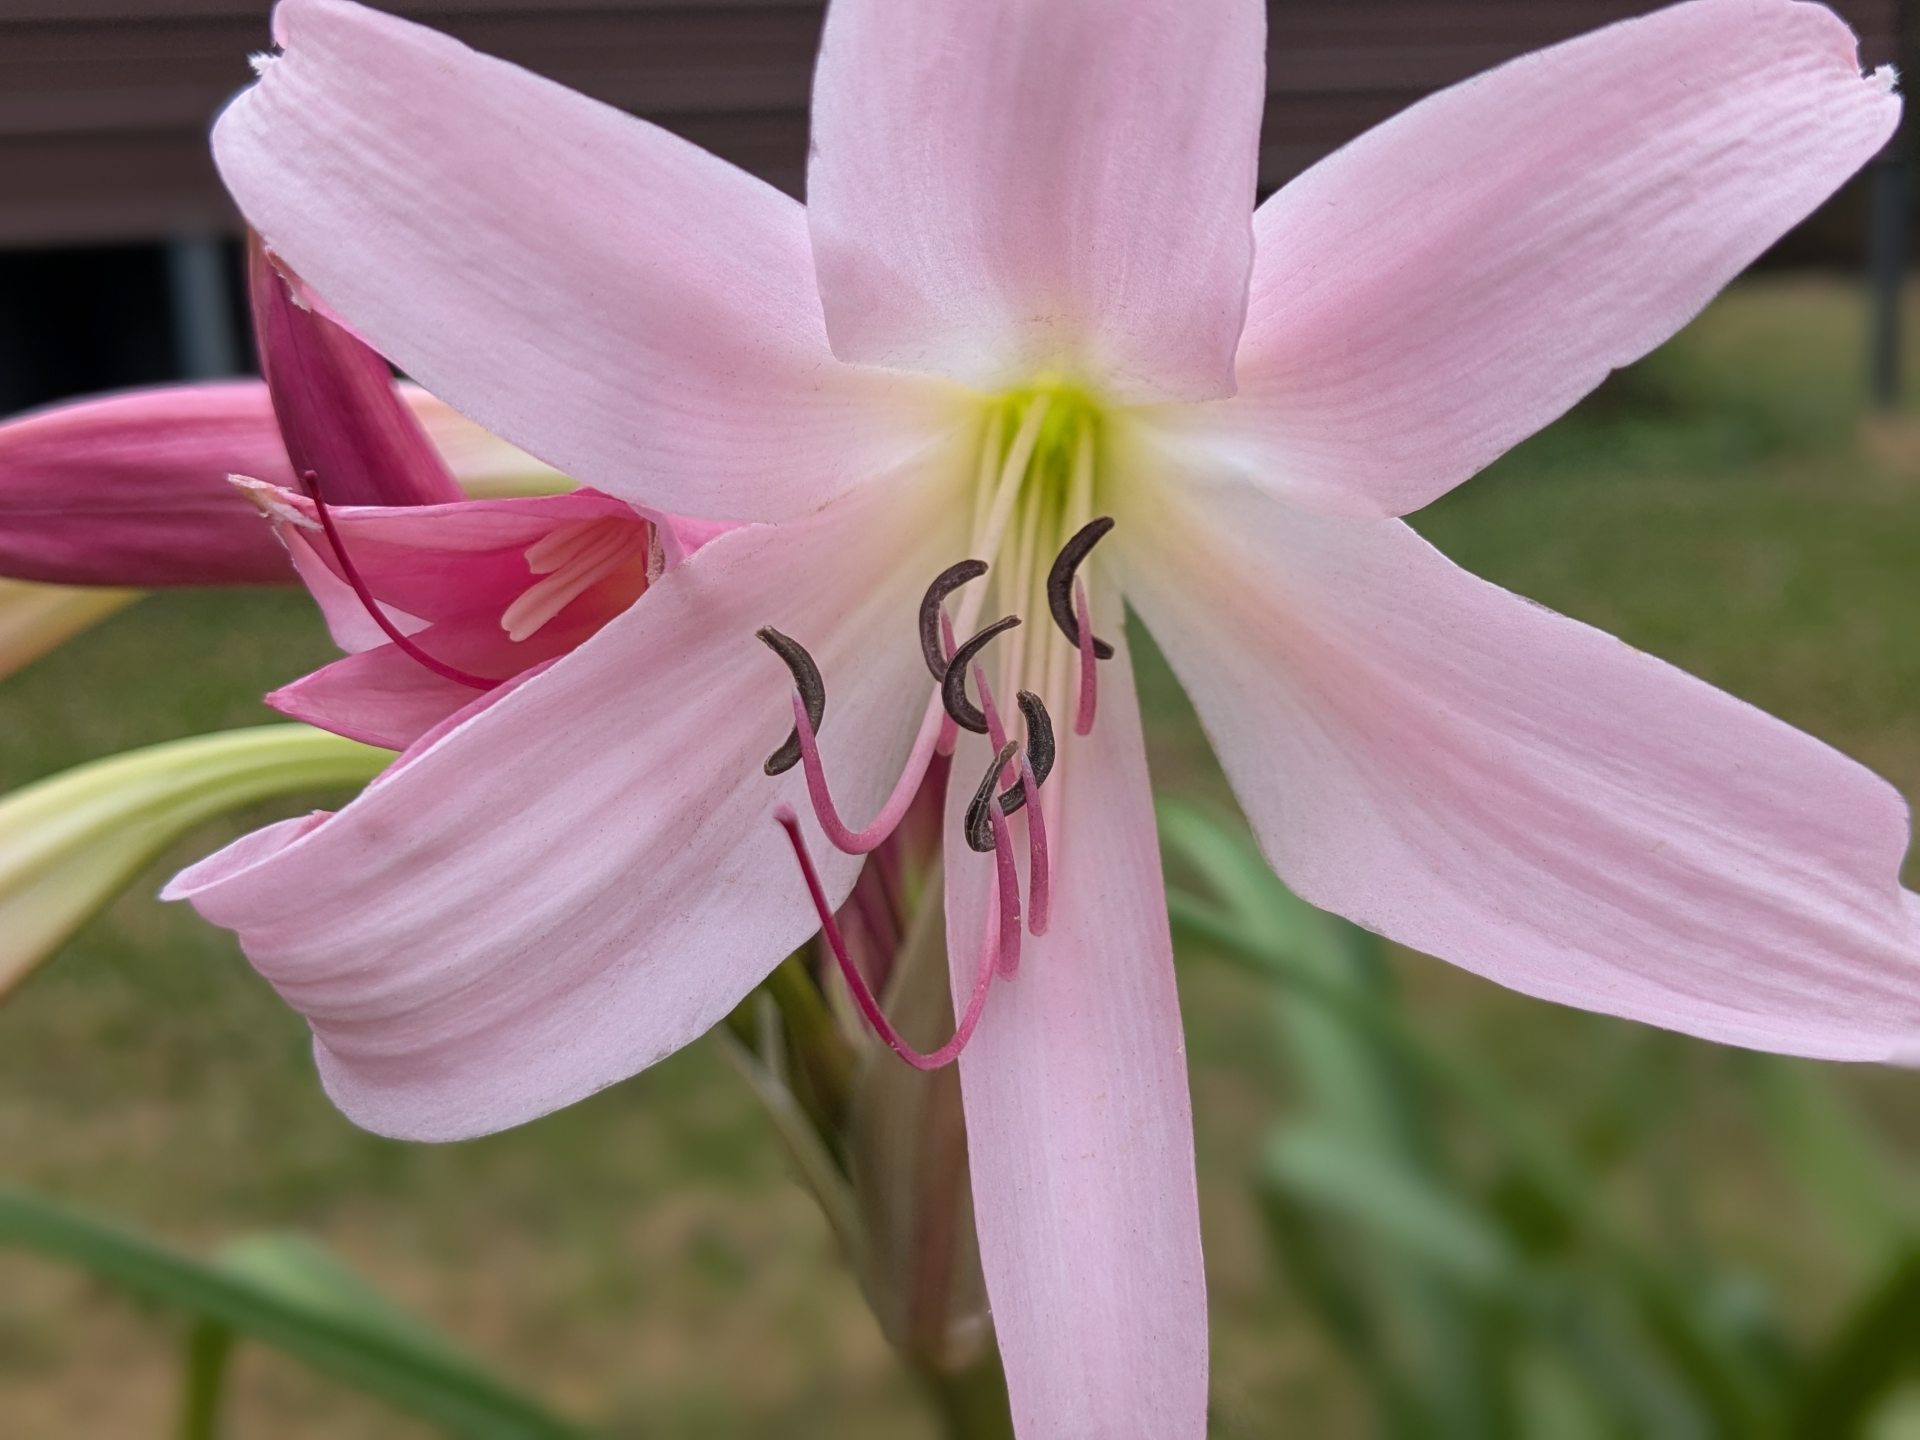
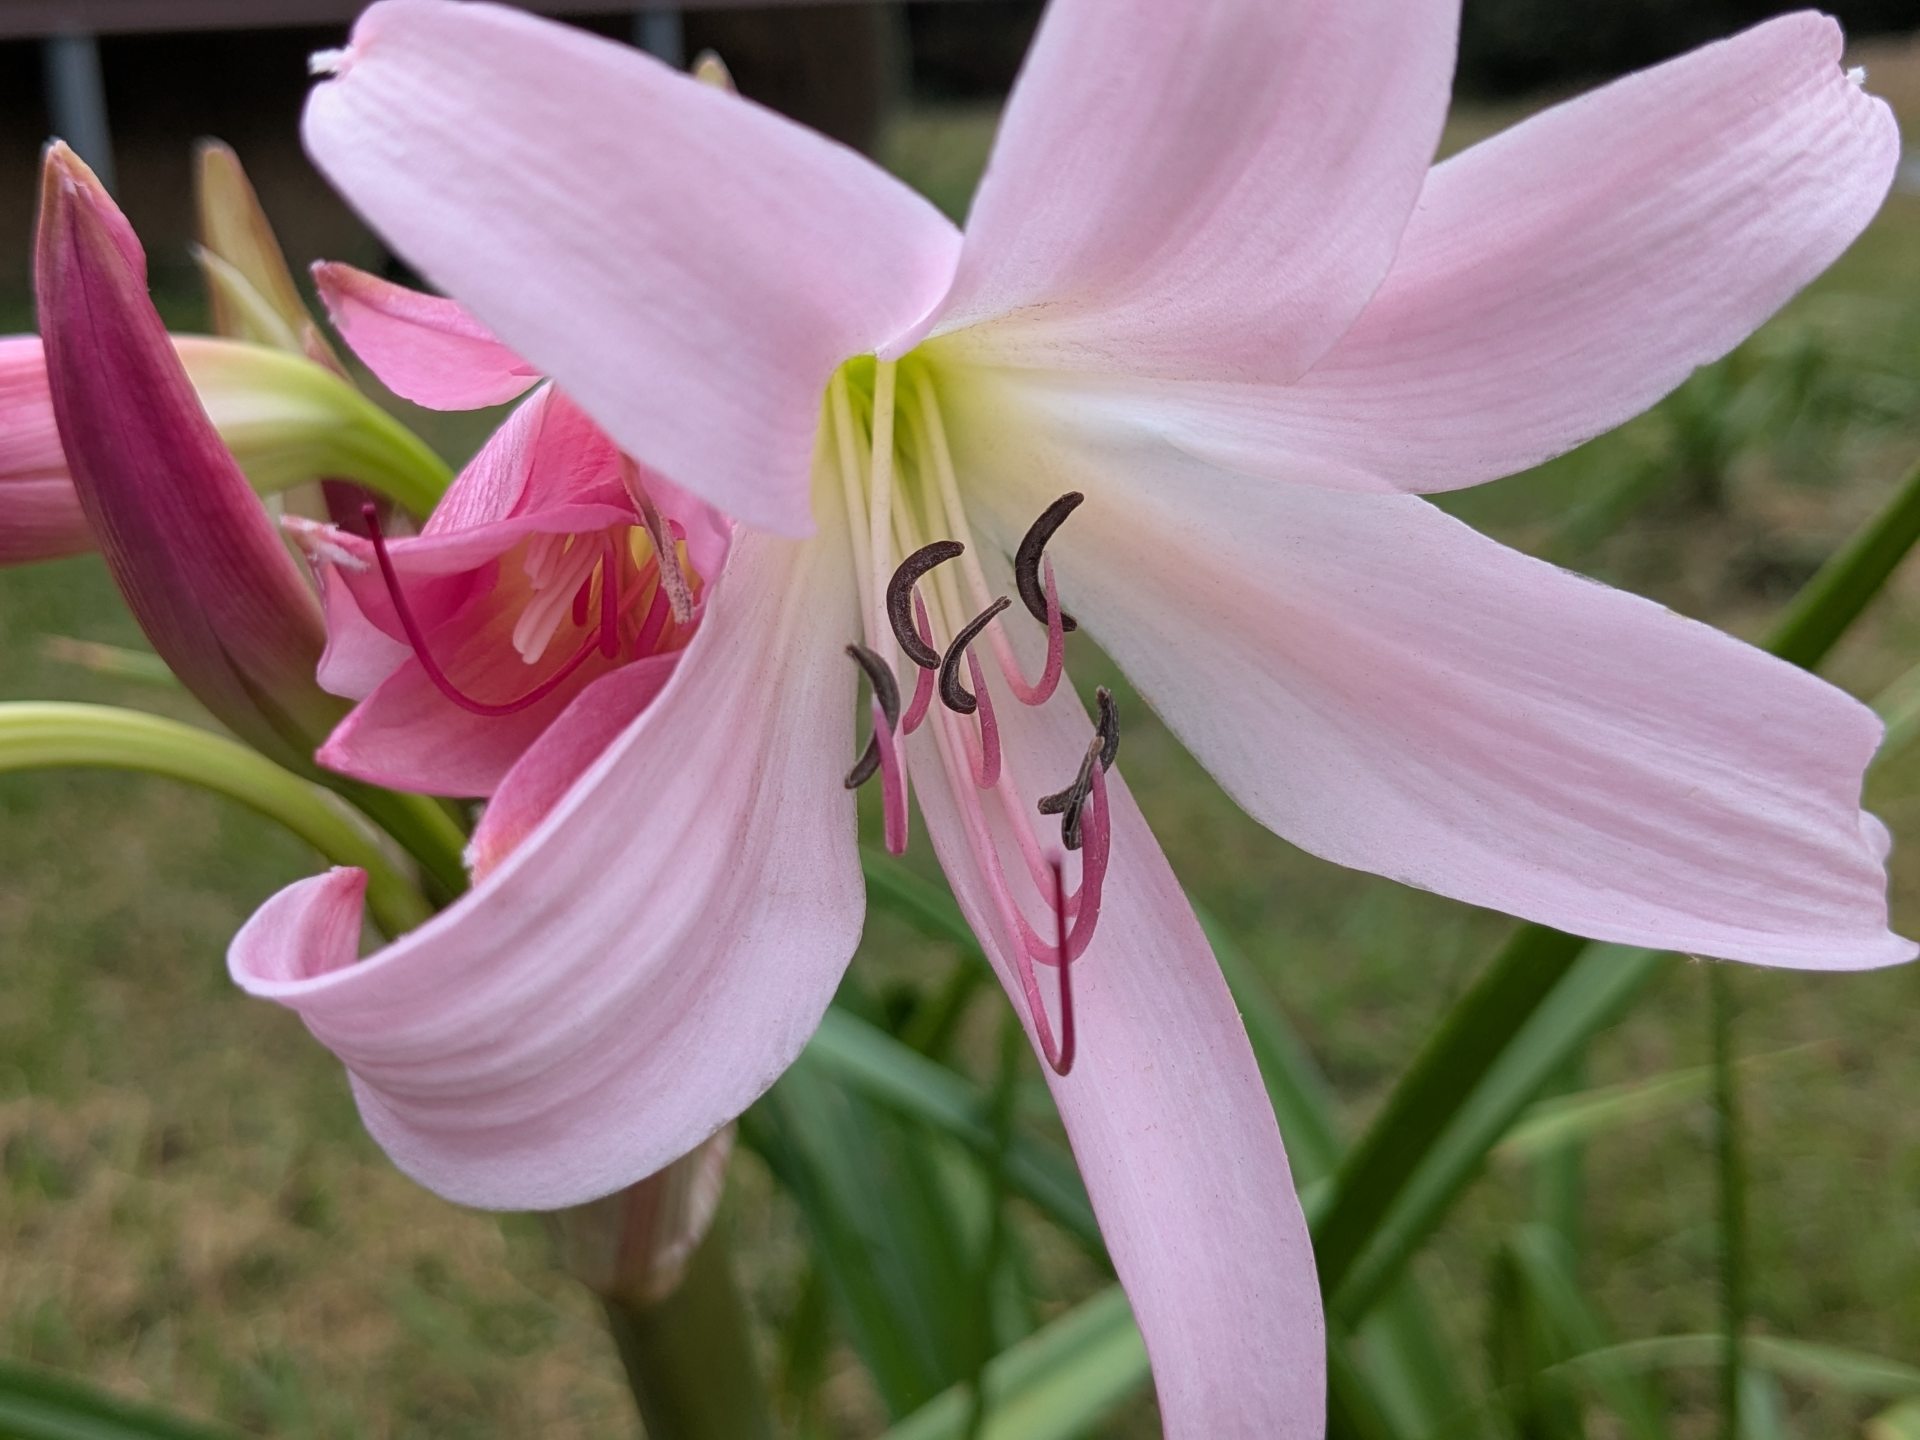
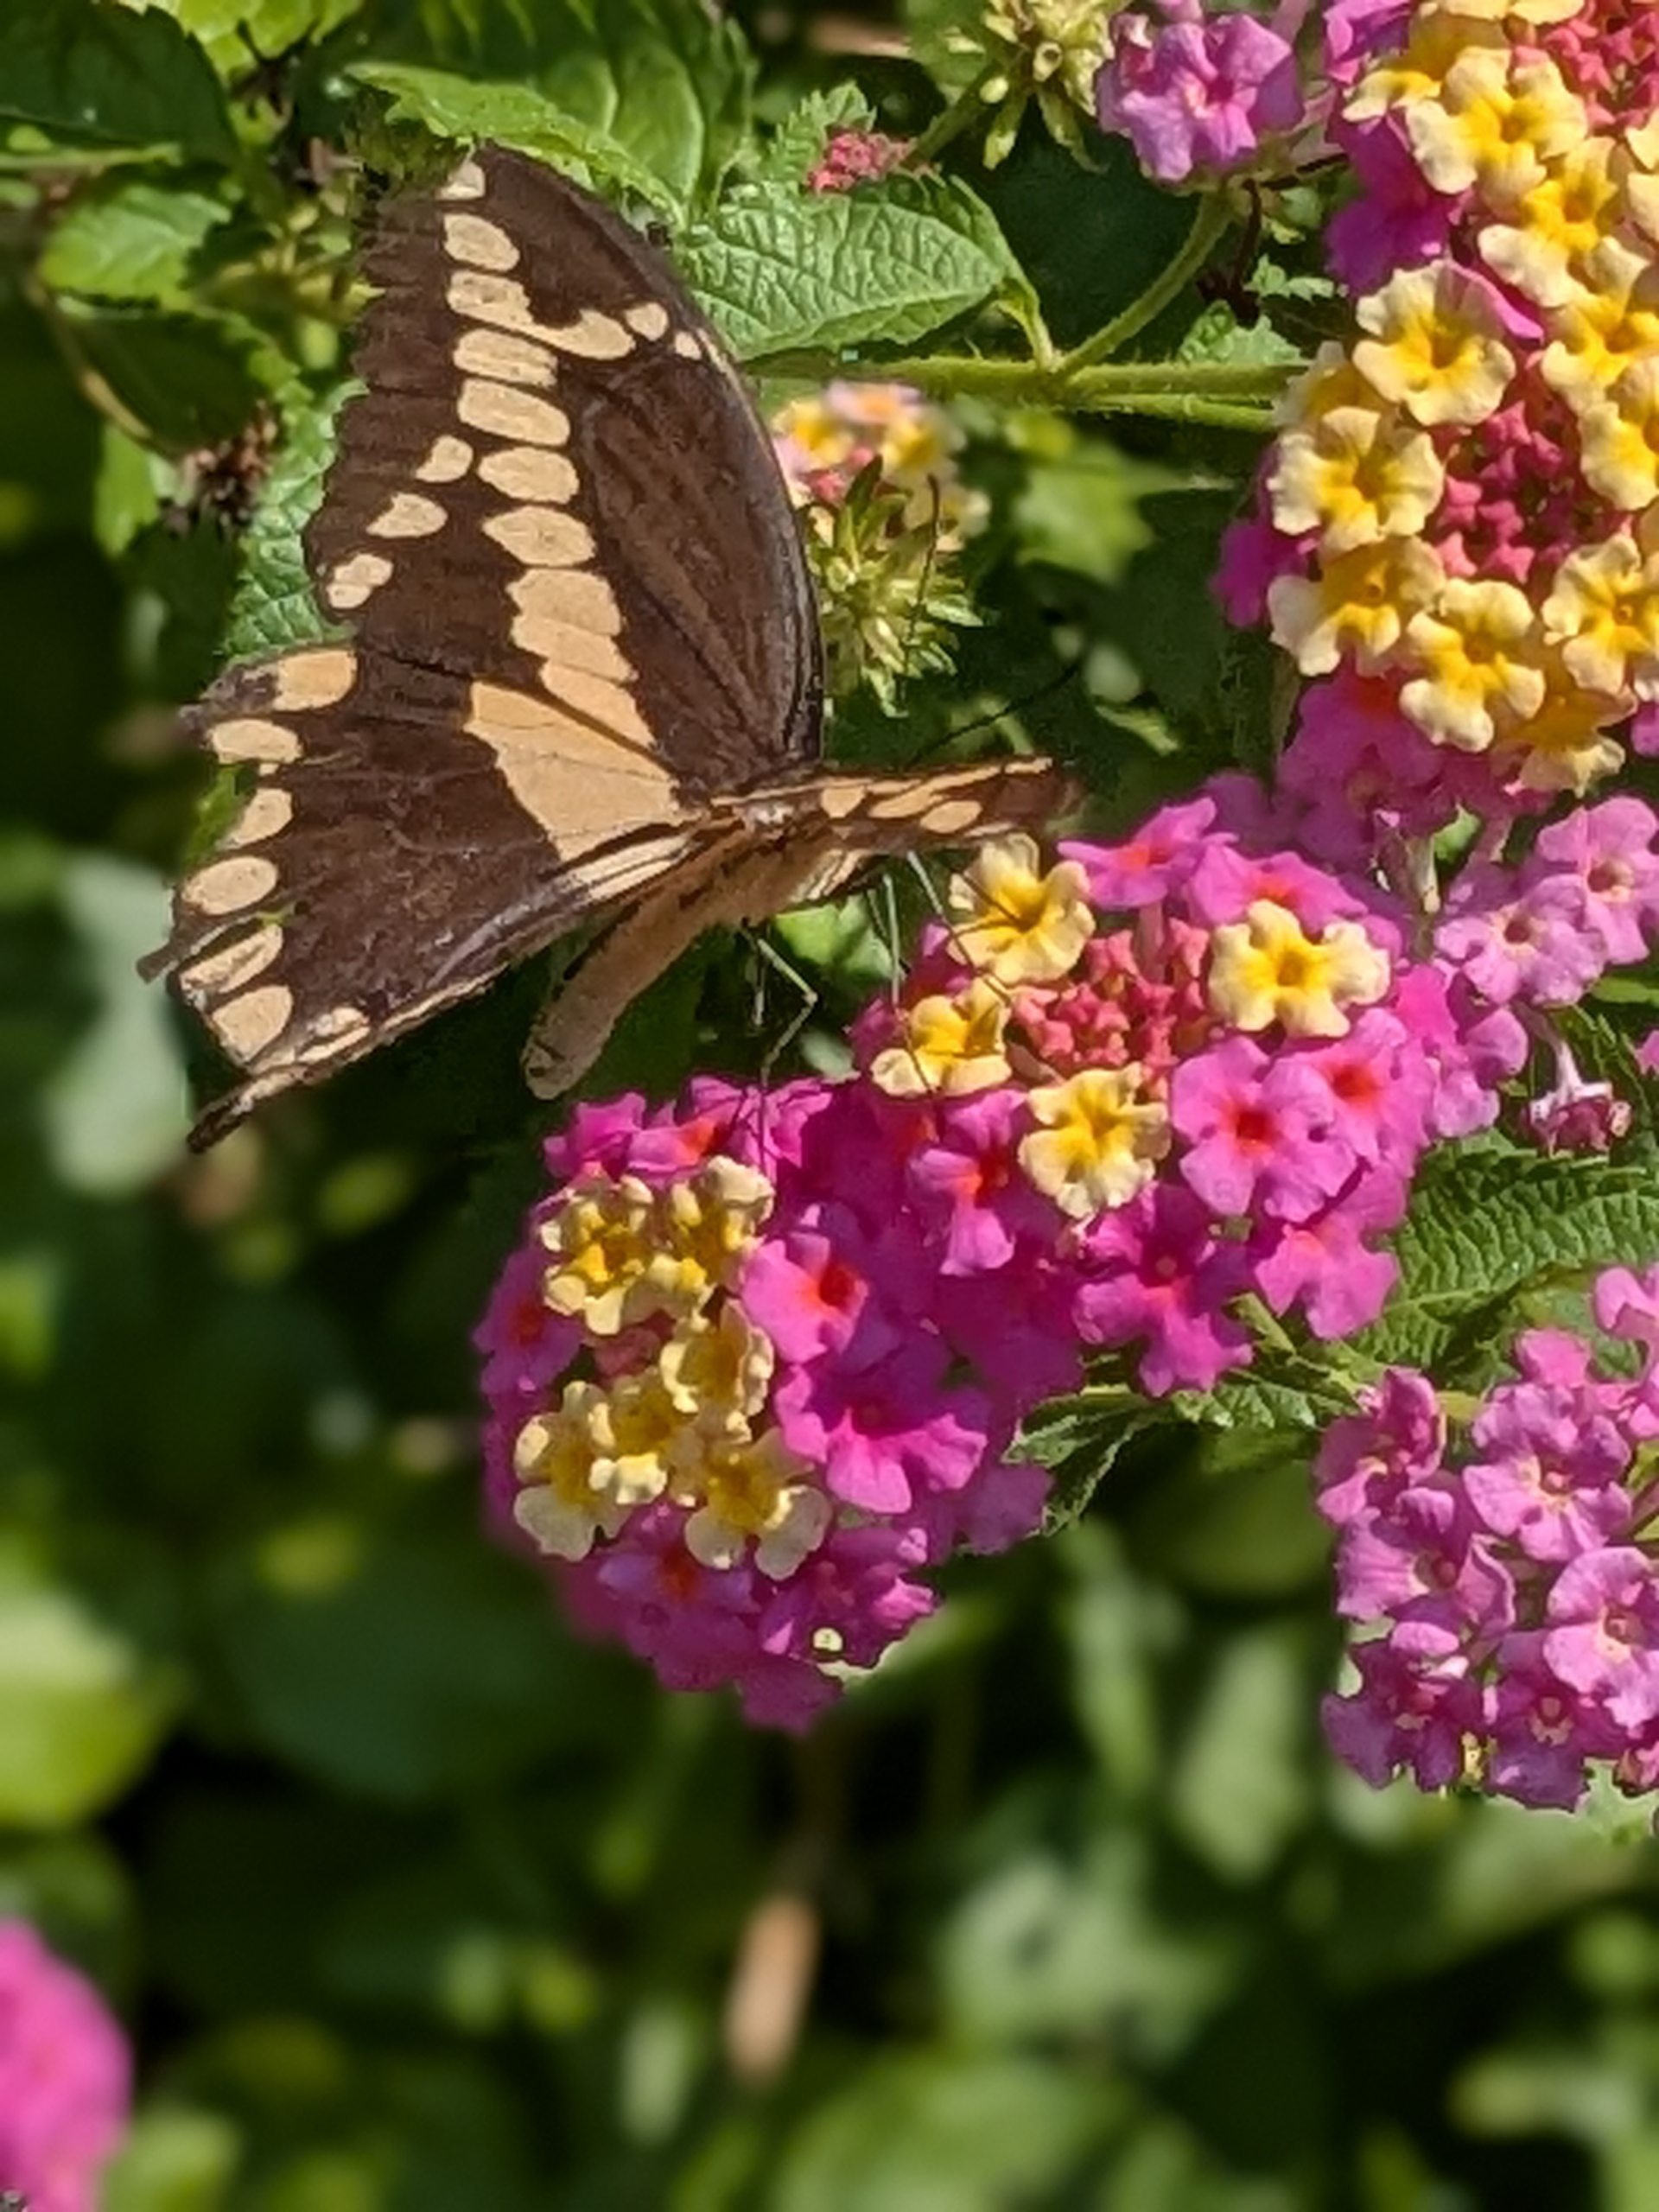
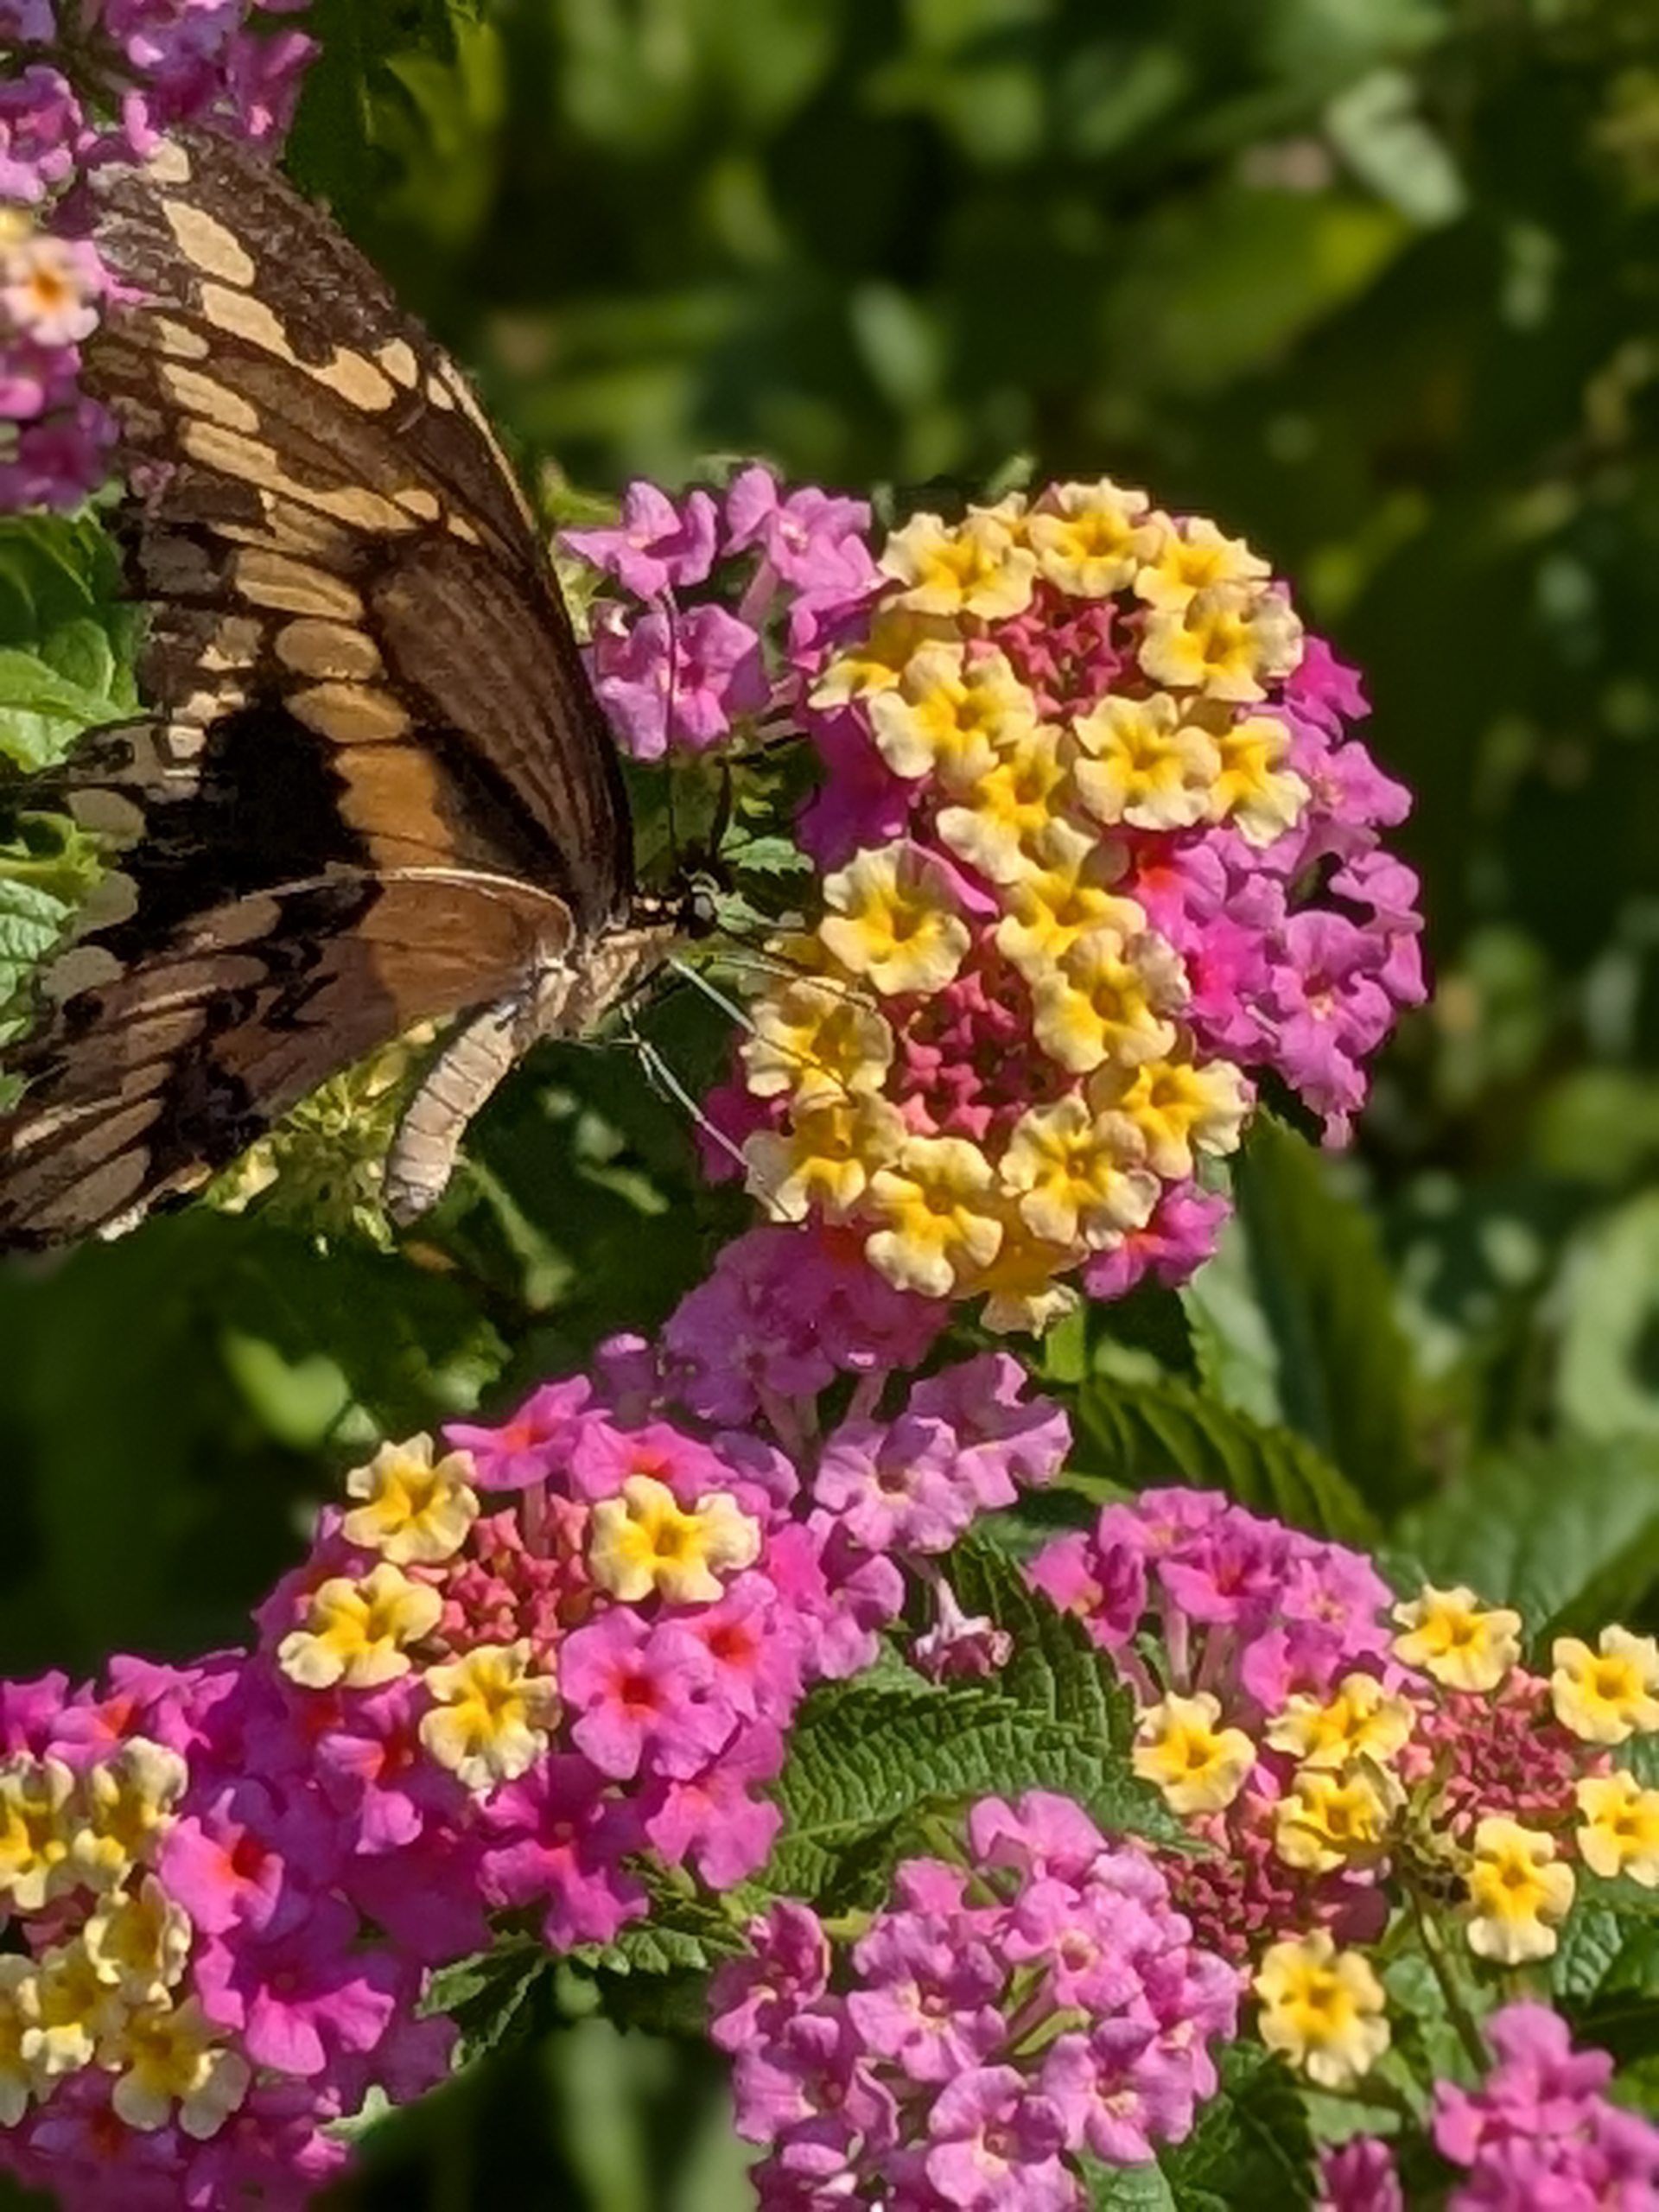
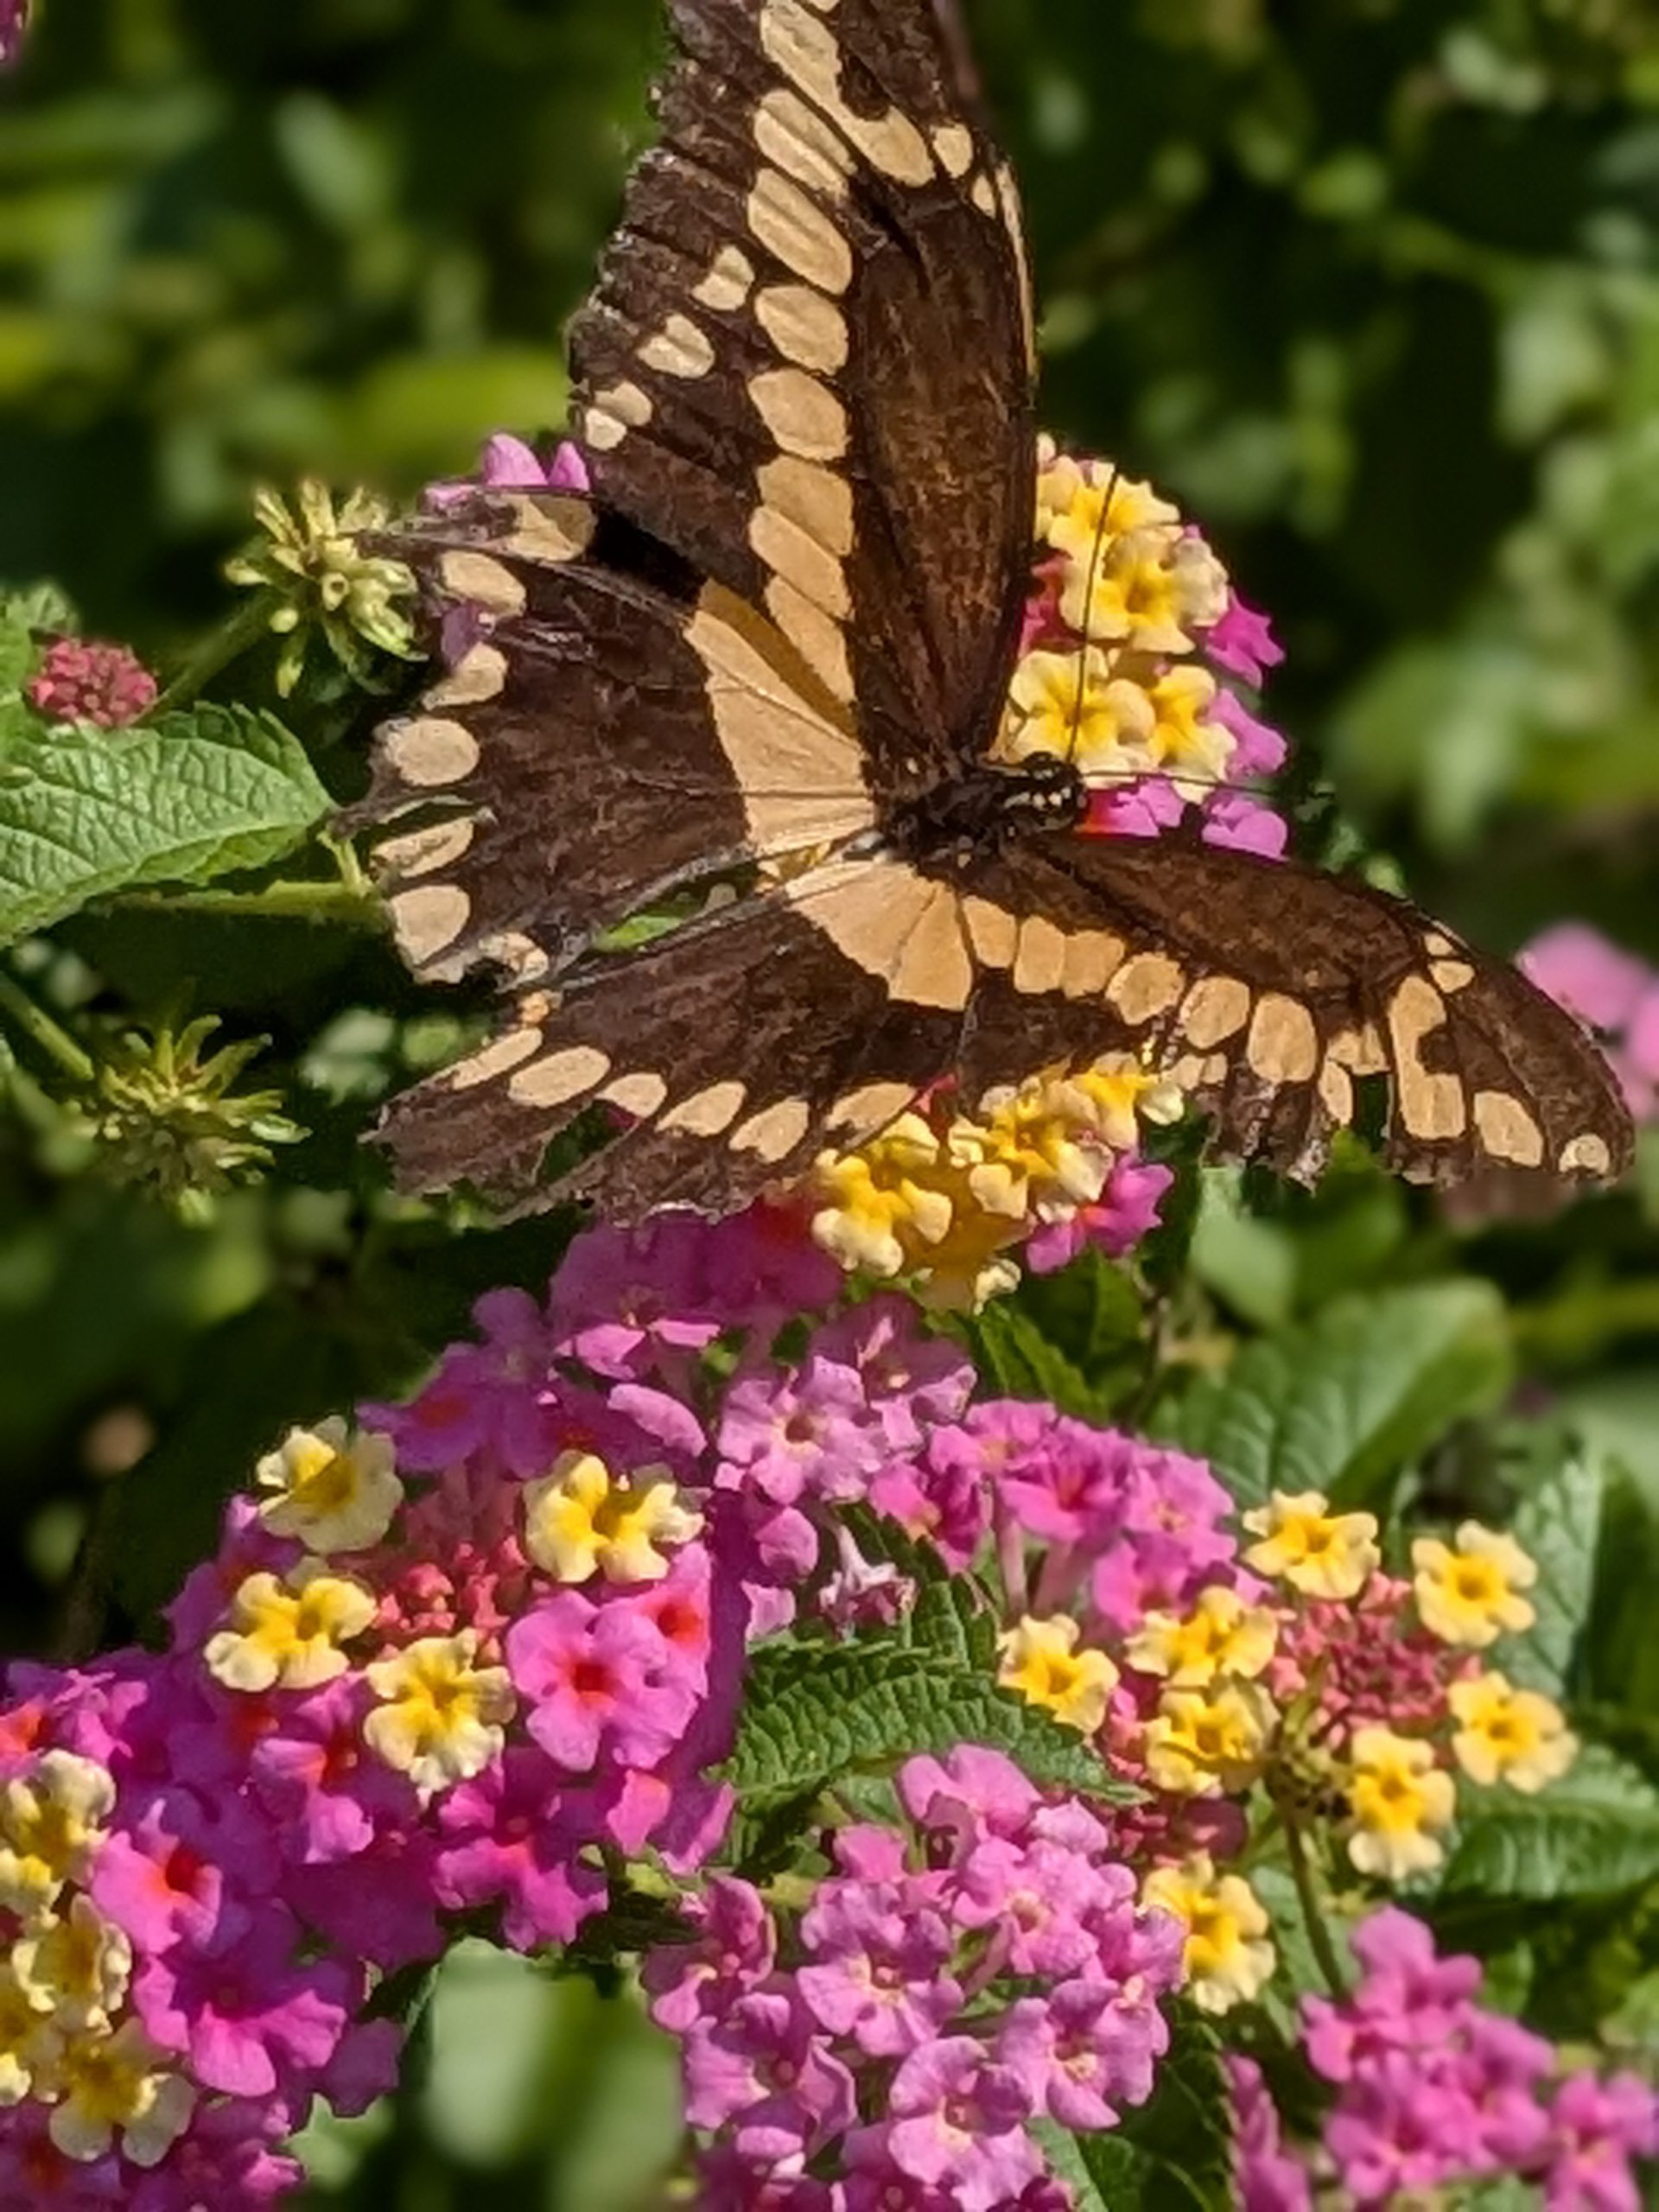
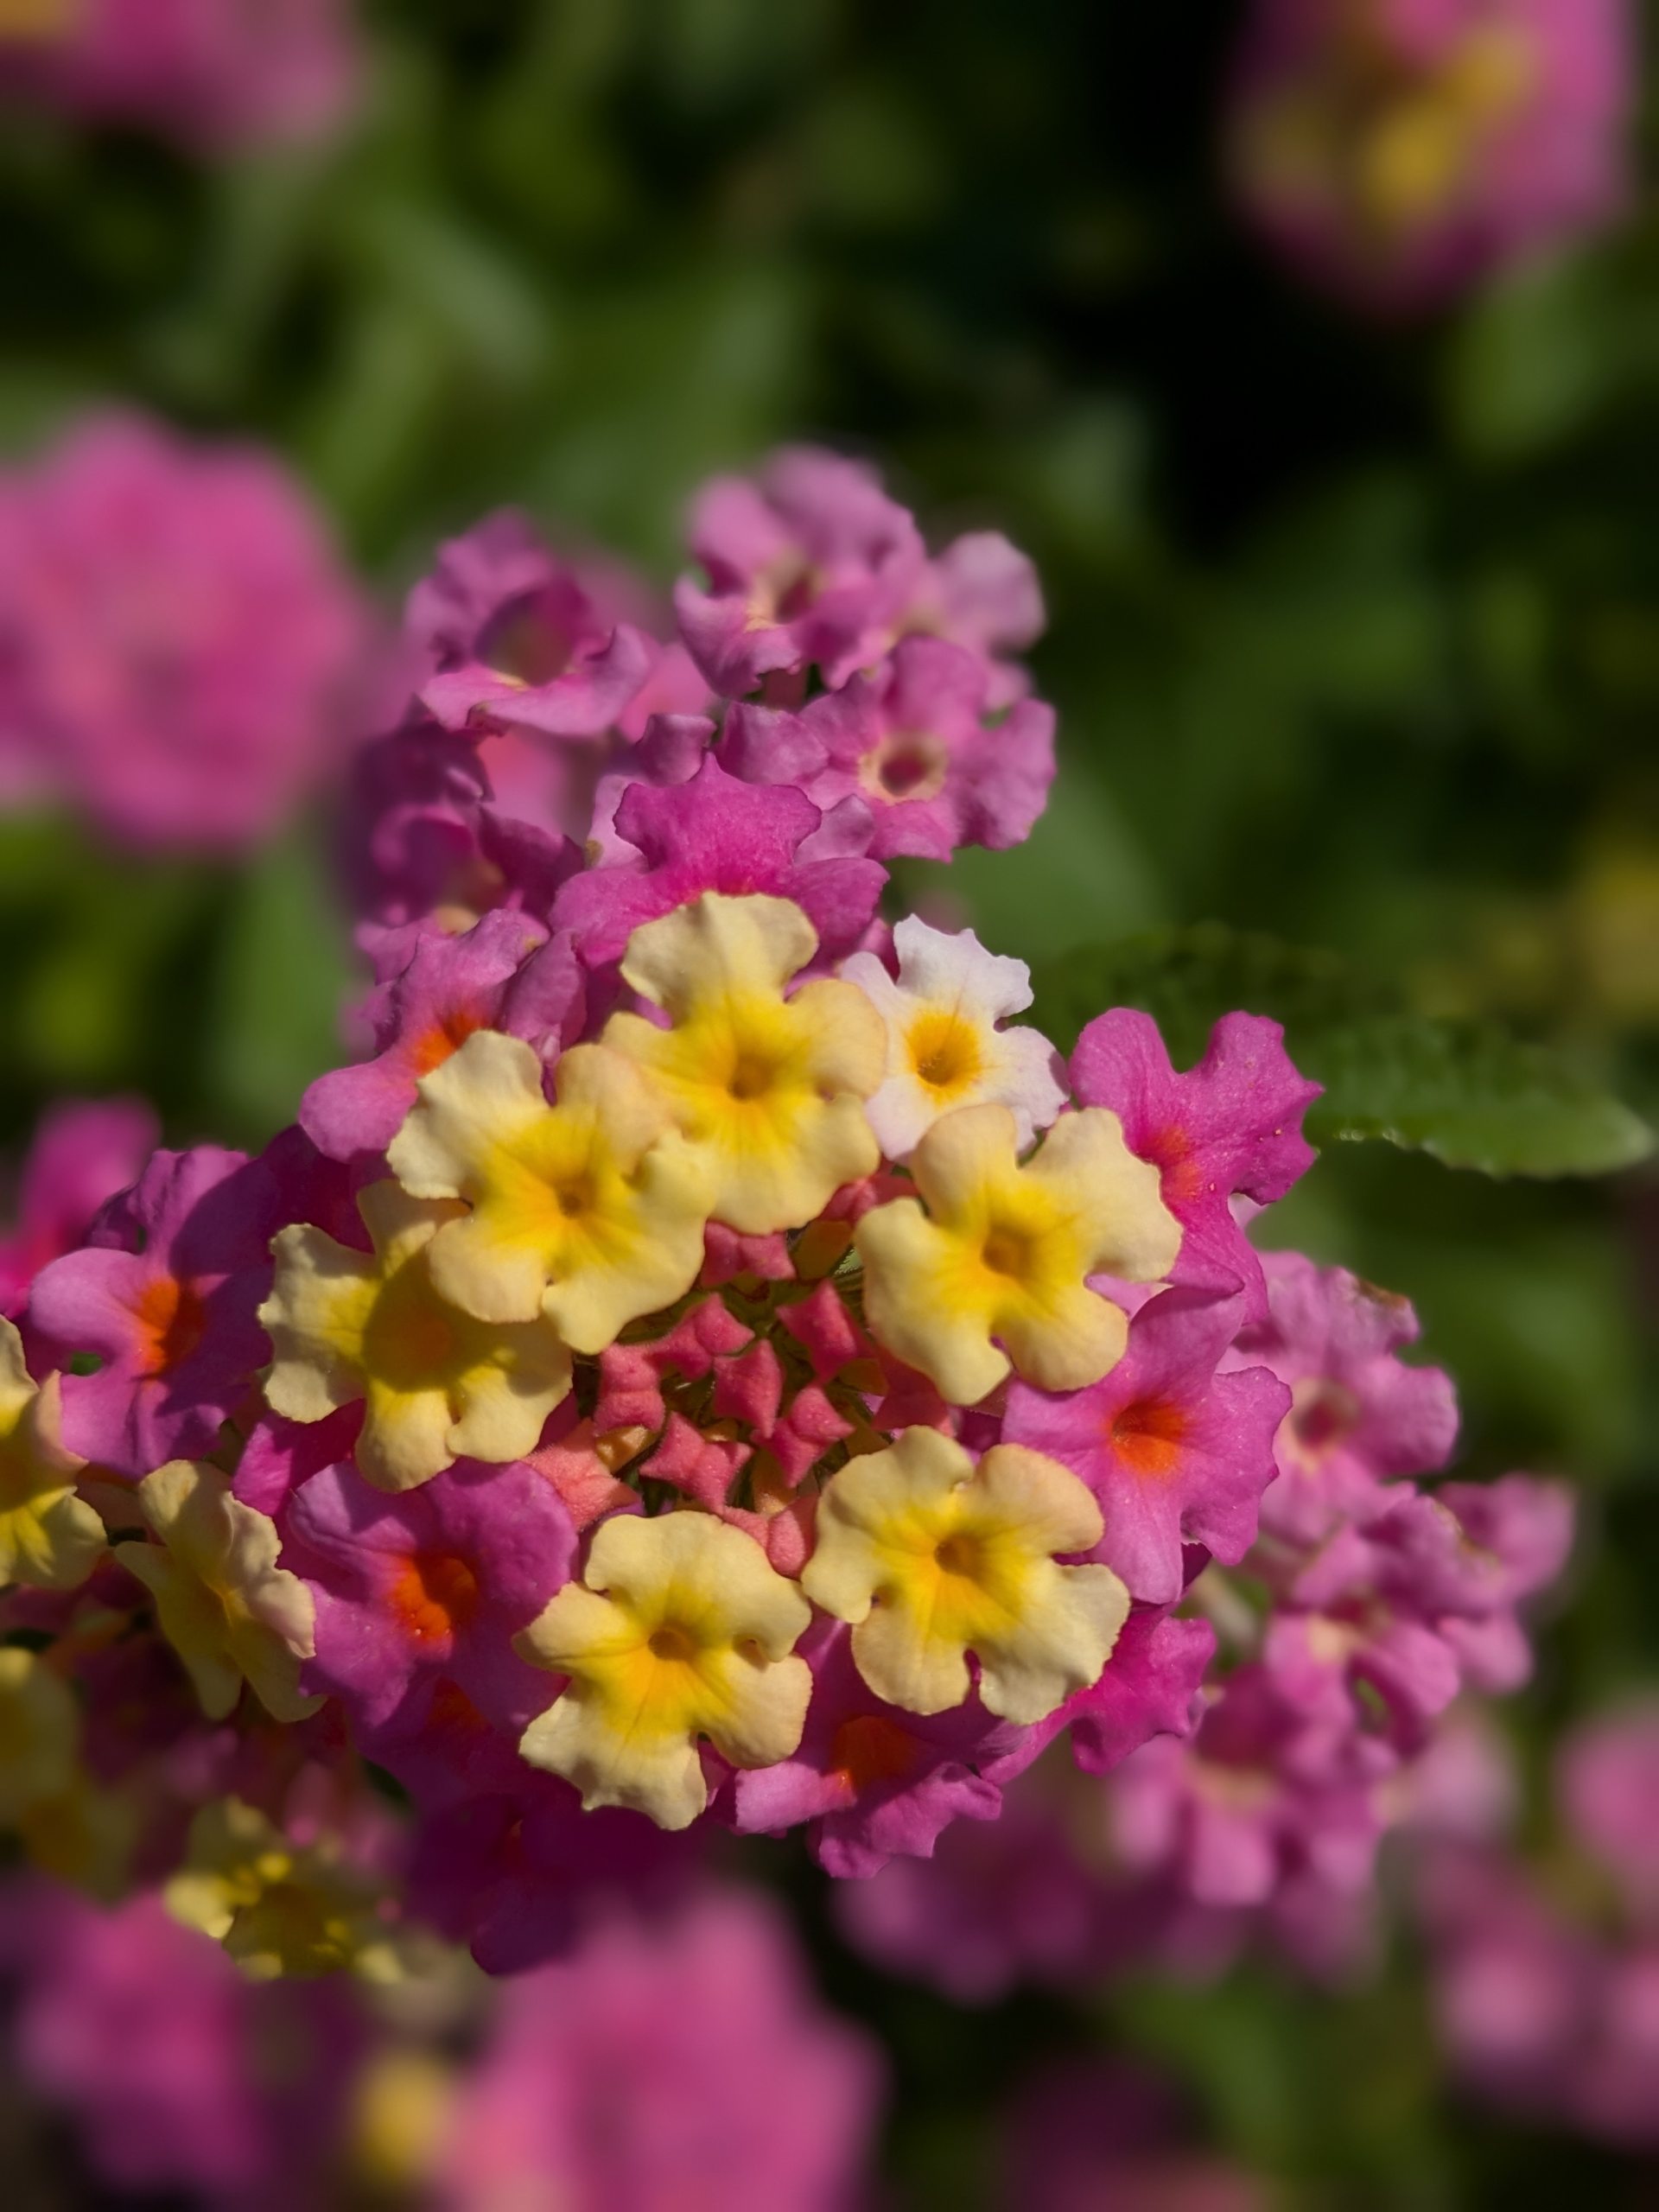
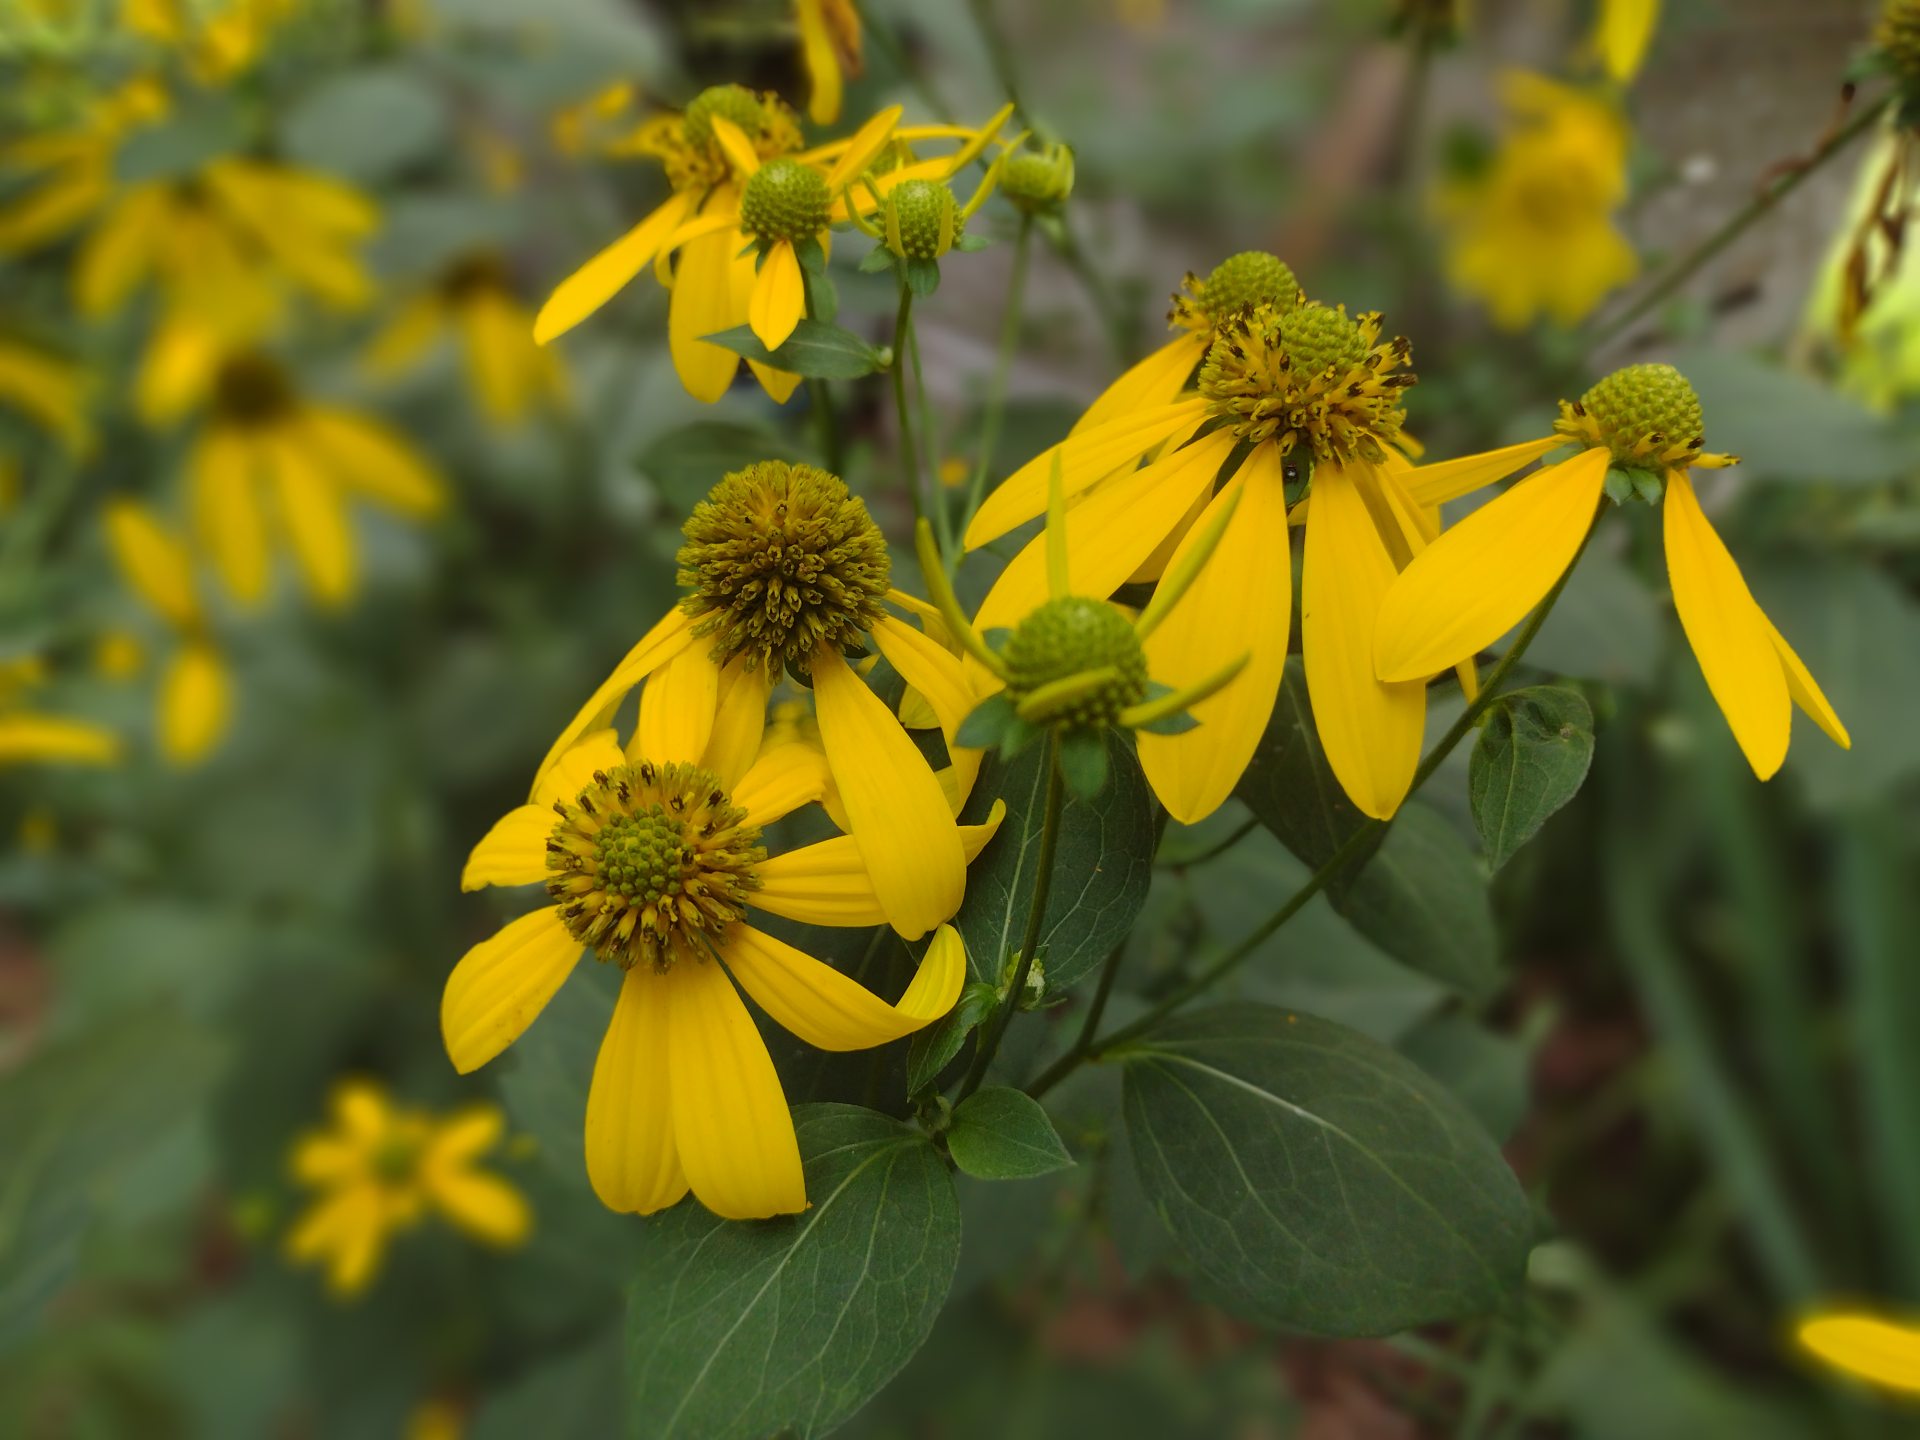
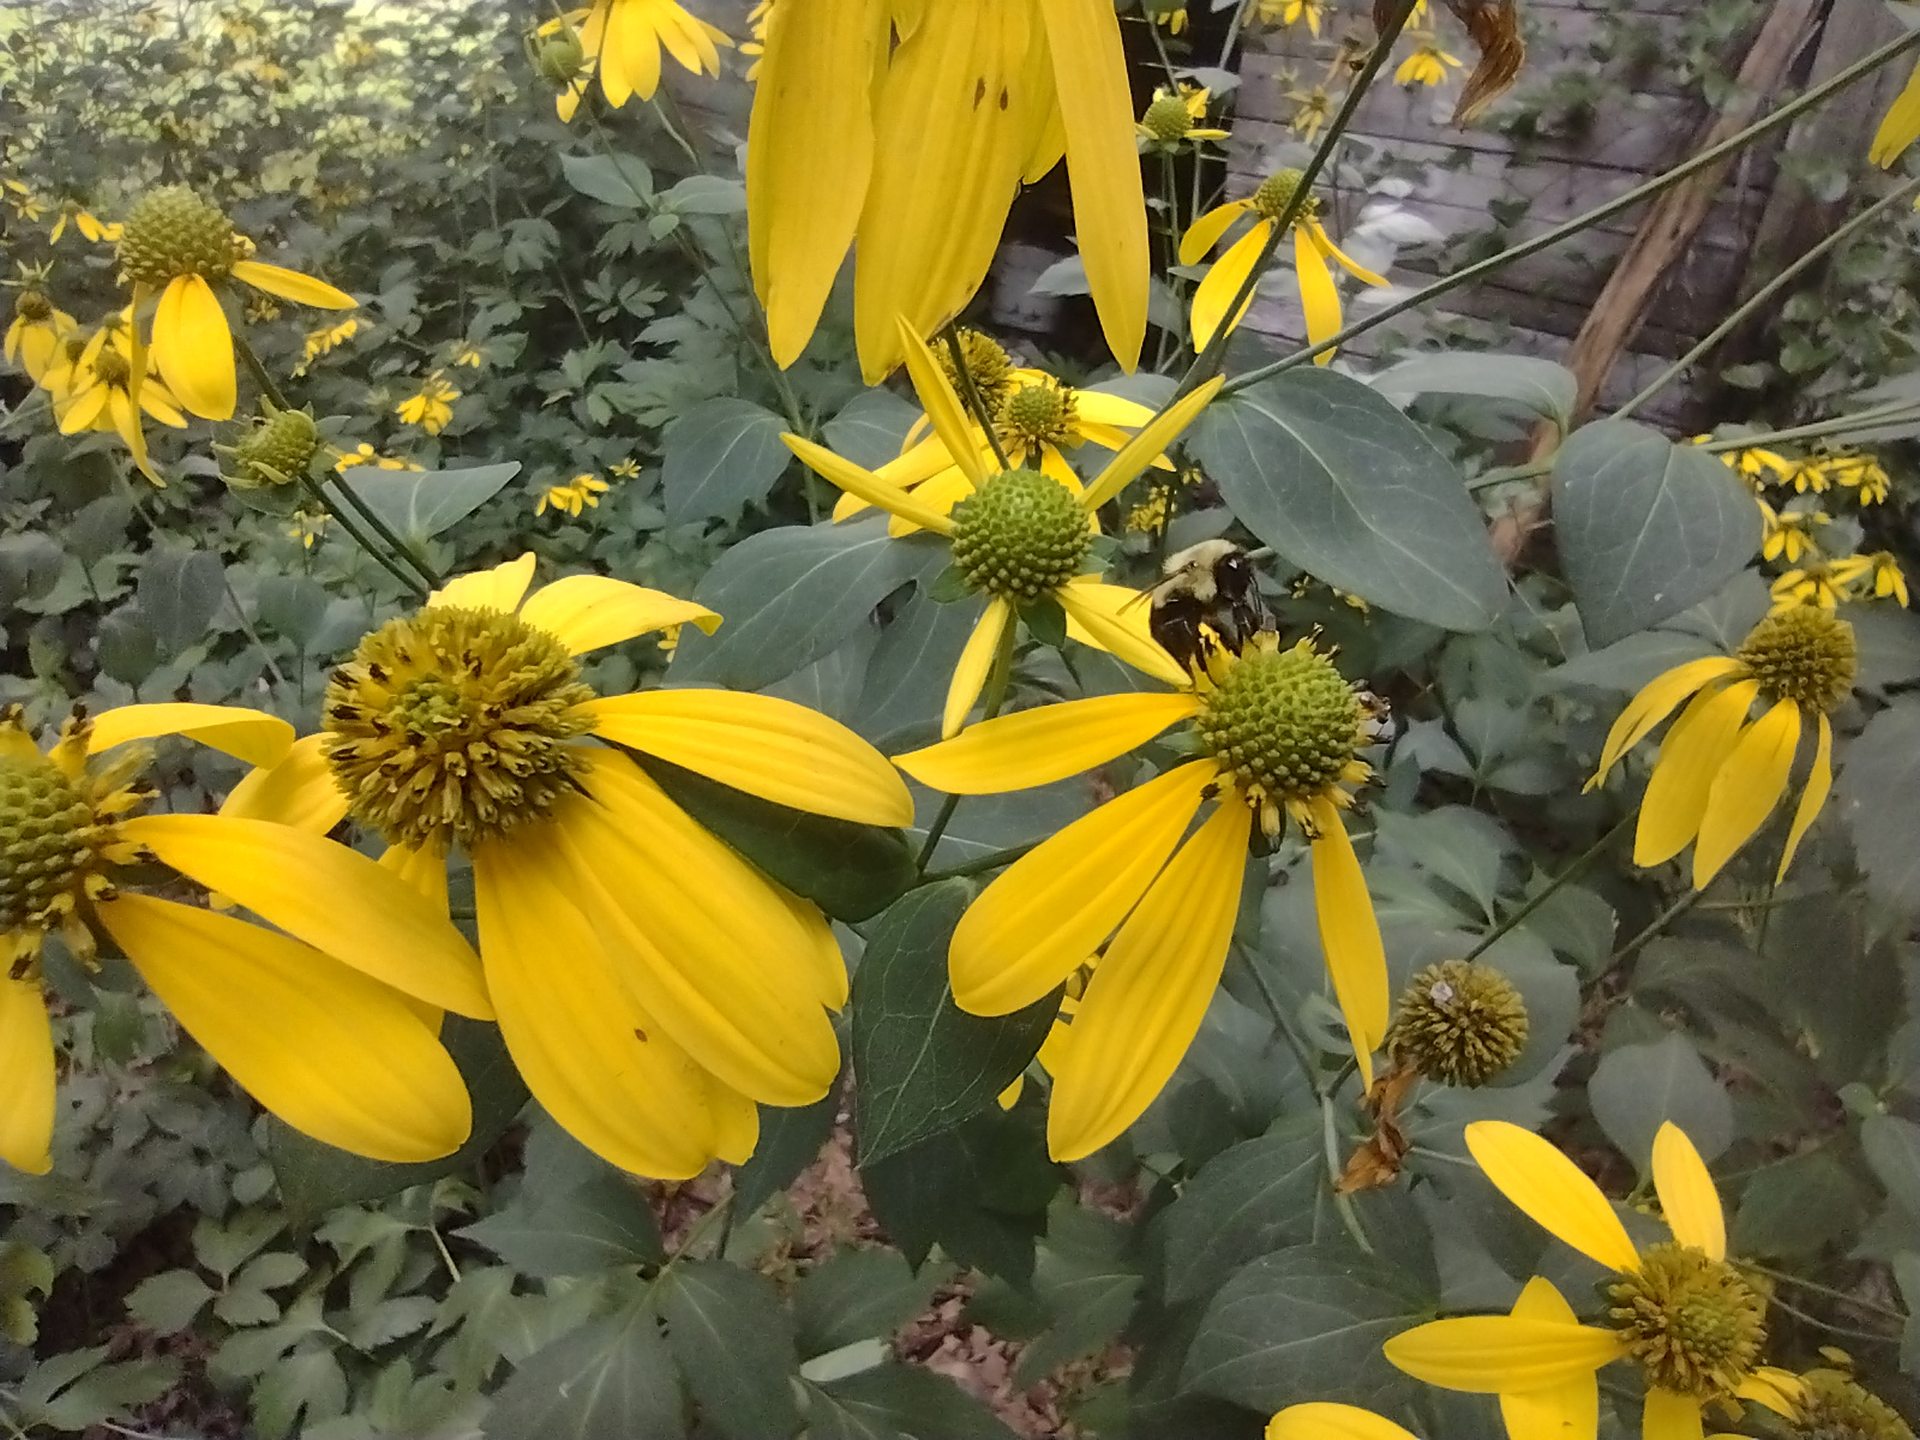
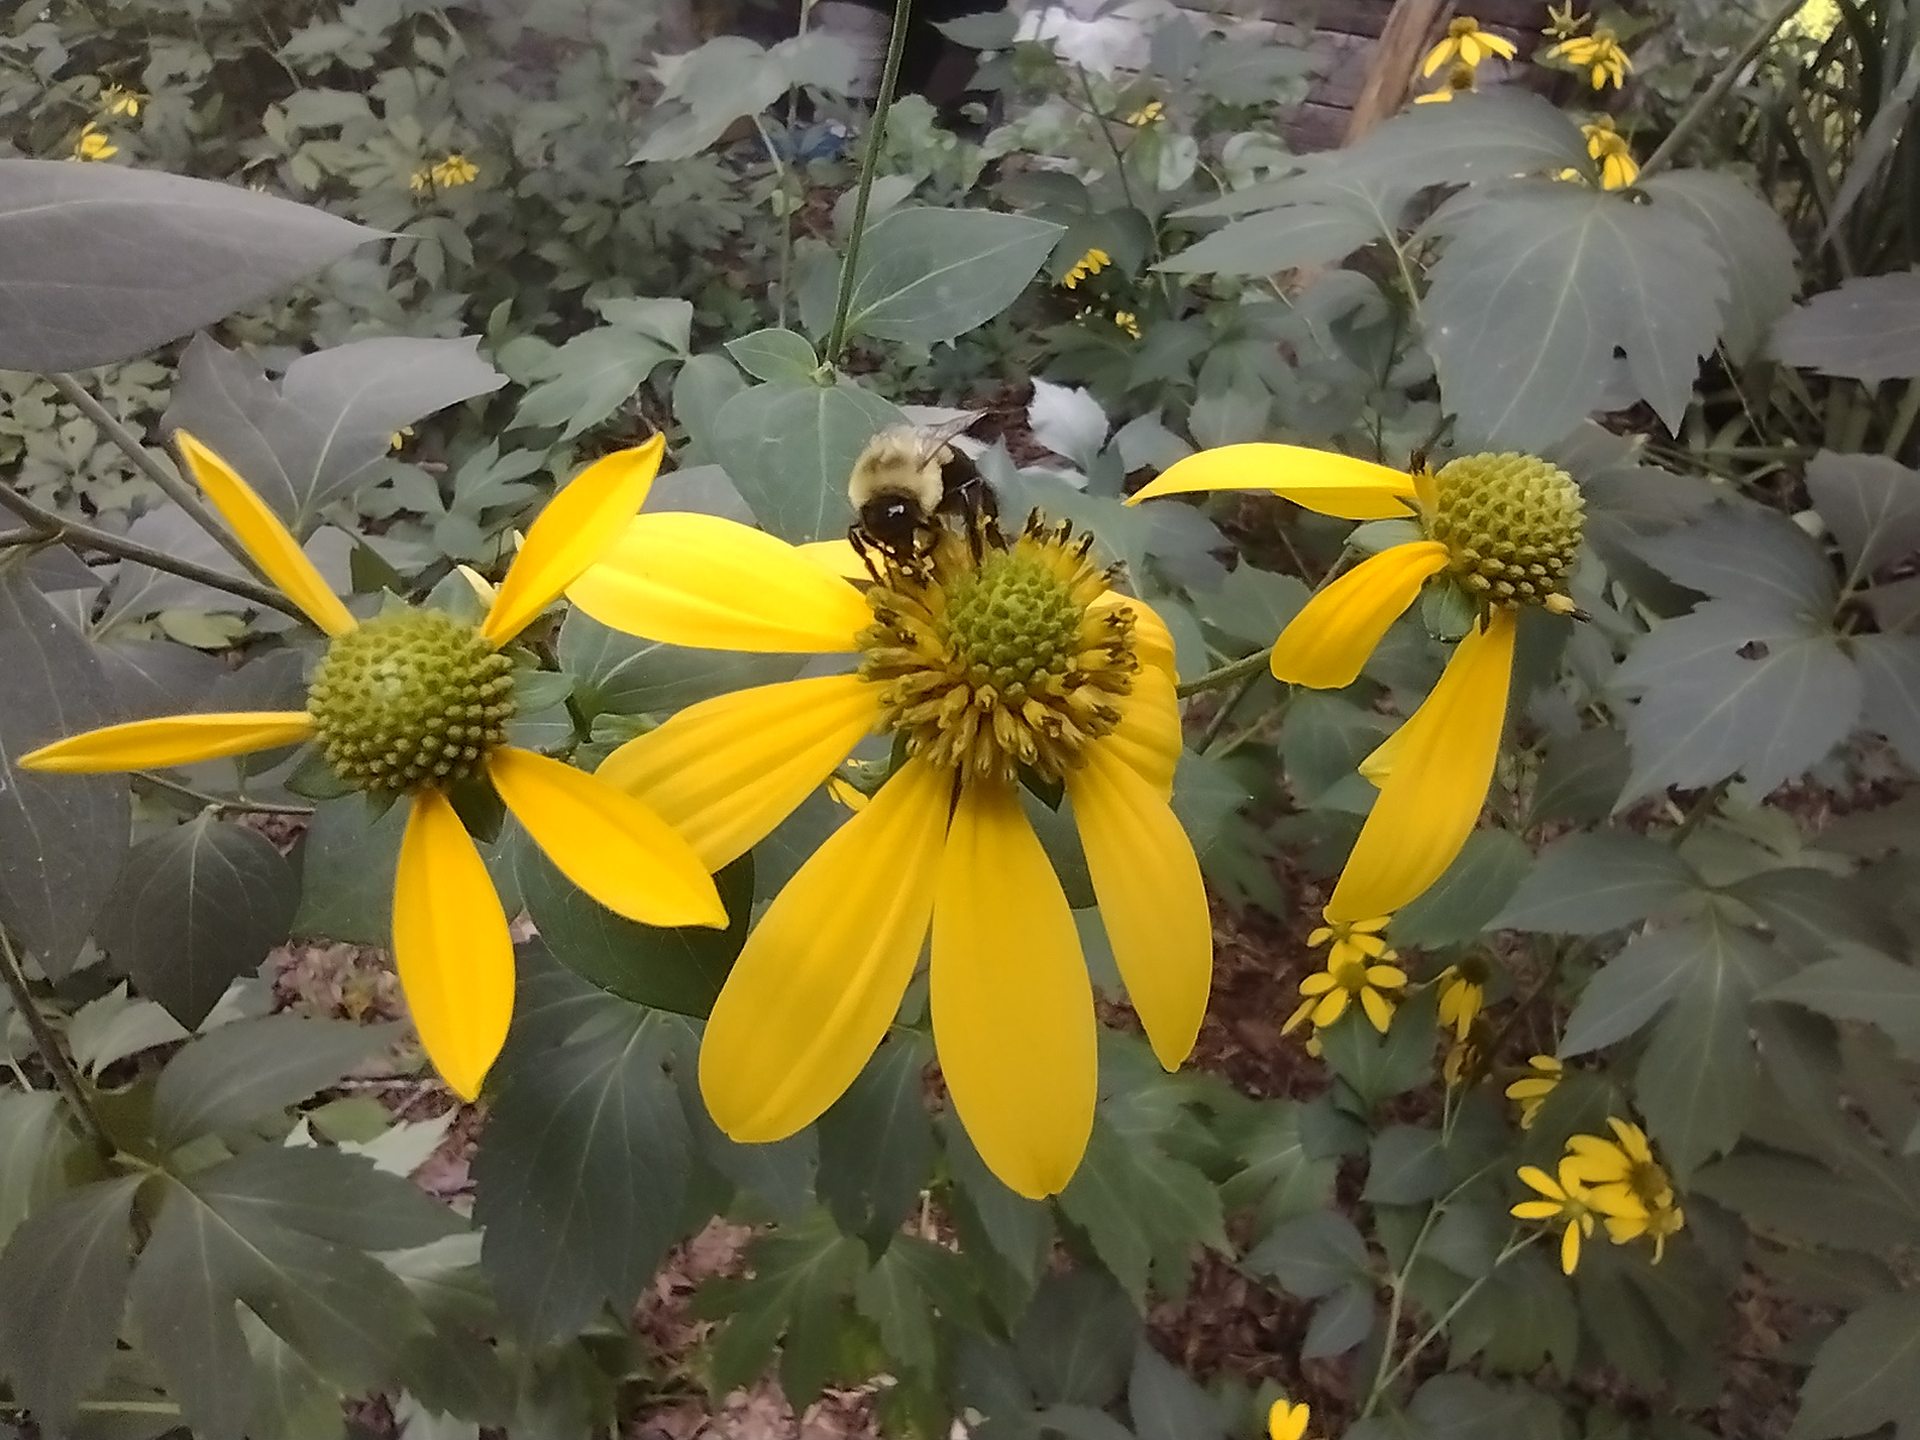
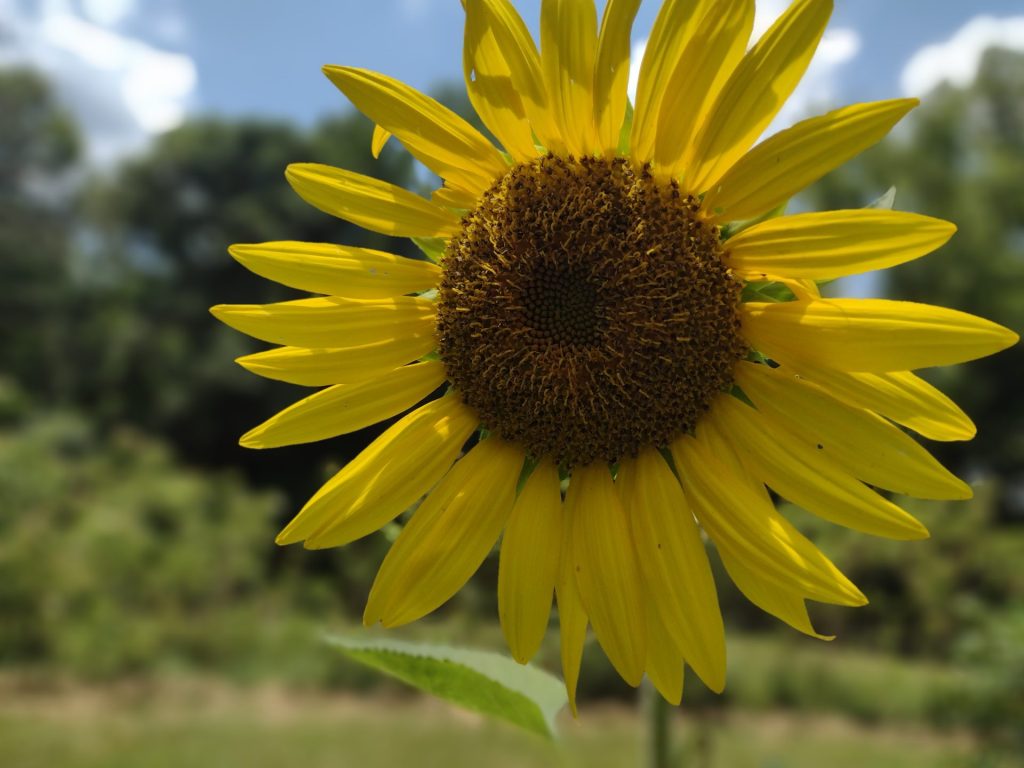
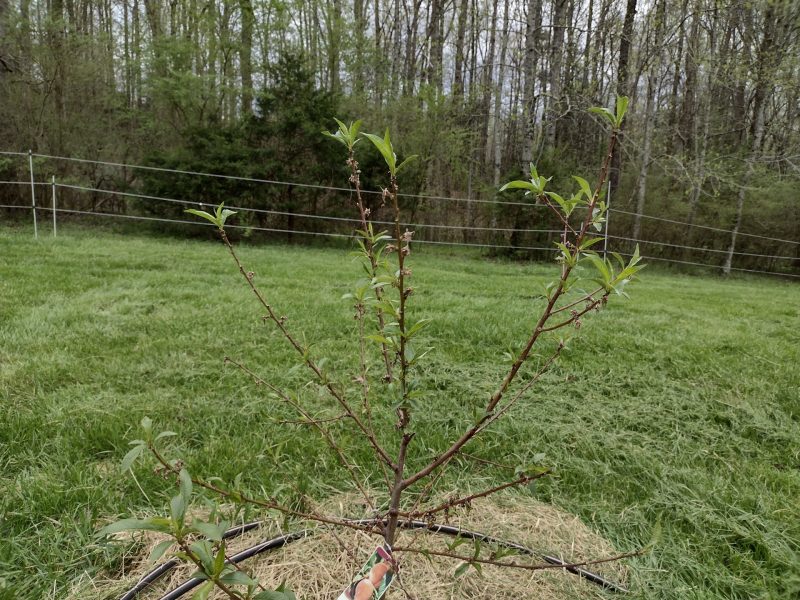
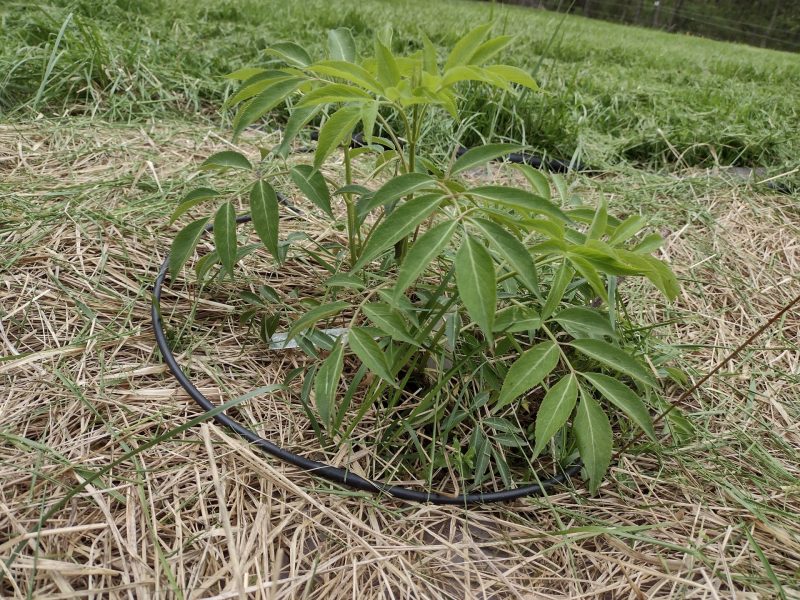
Our food forest is starting to grow with the warmer weather. Here are some pictures
The last two days have been a blur. We have been busy. Even with 4 people on the farm working hard, we still have more stuff to do before everything is been planted.
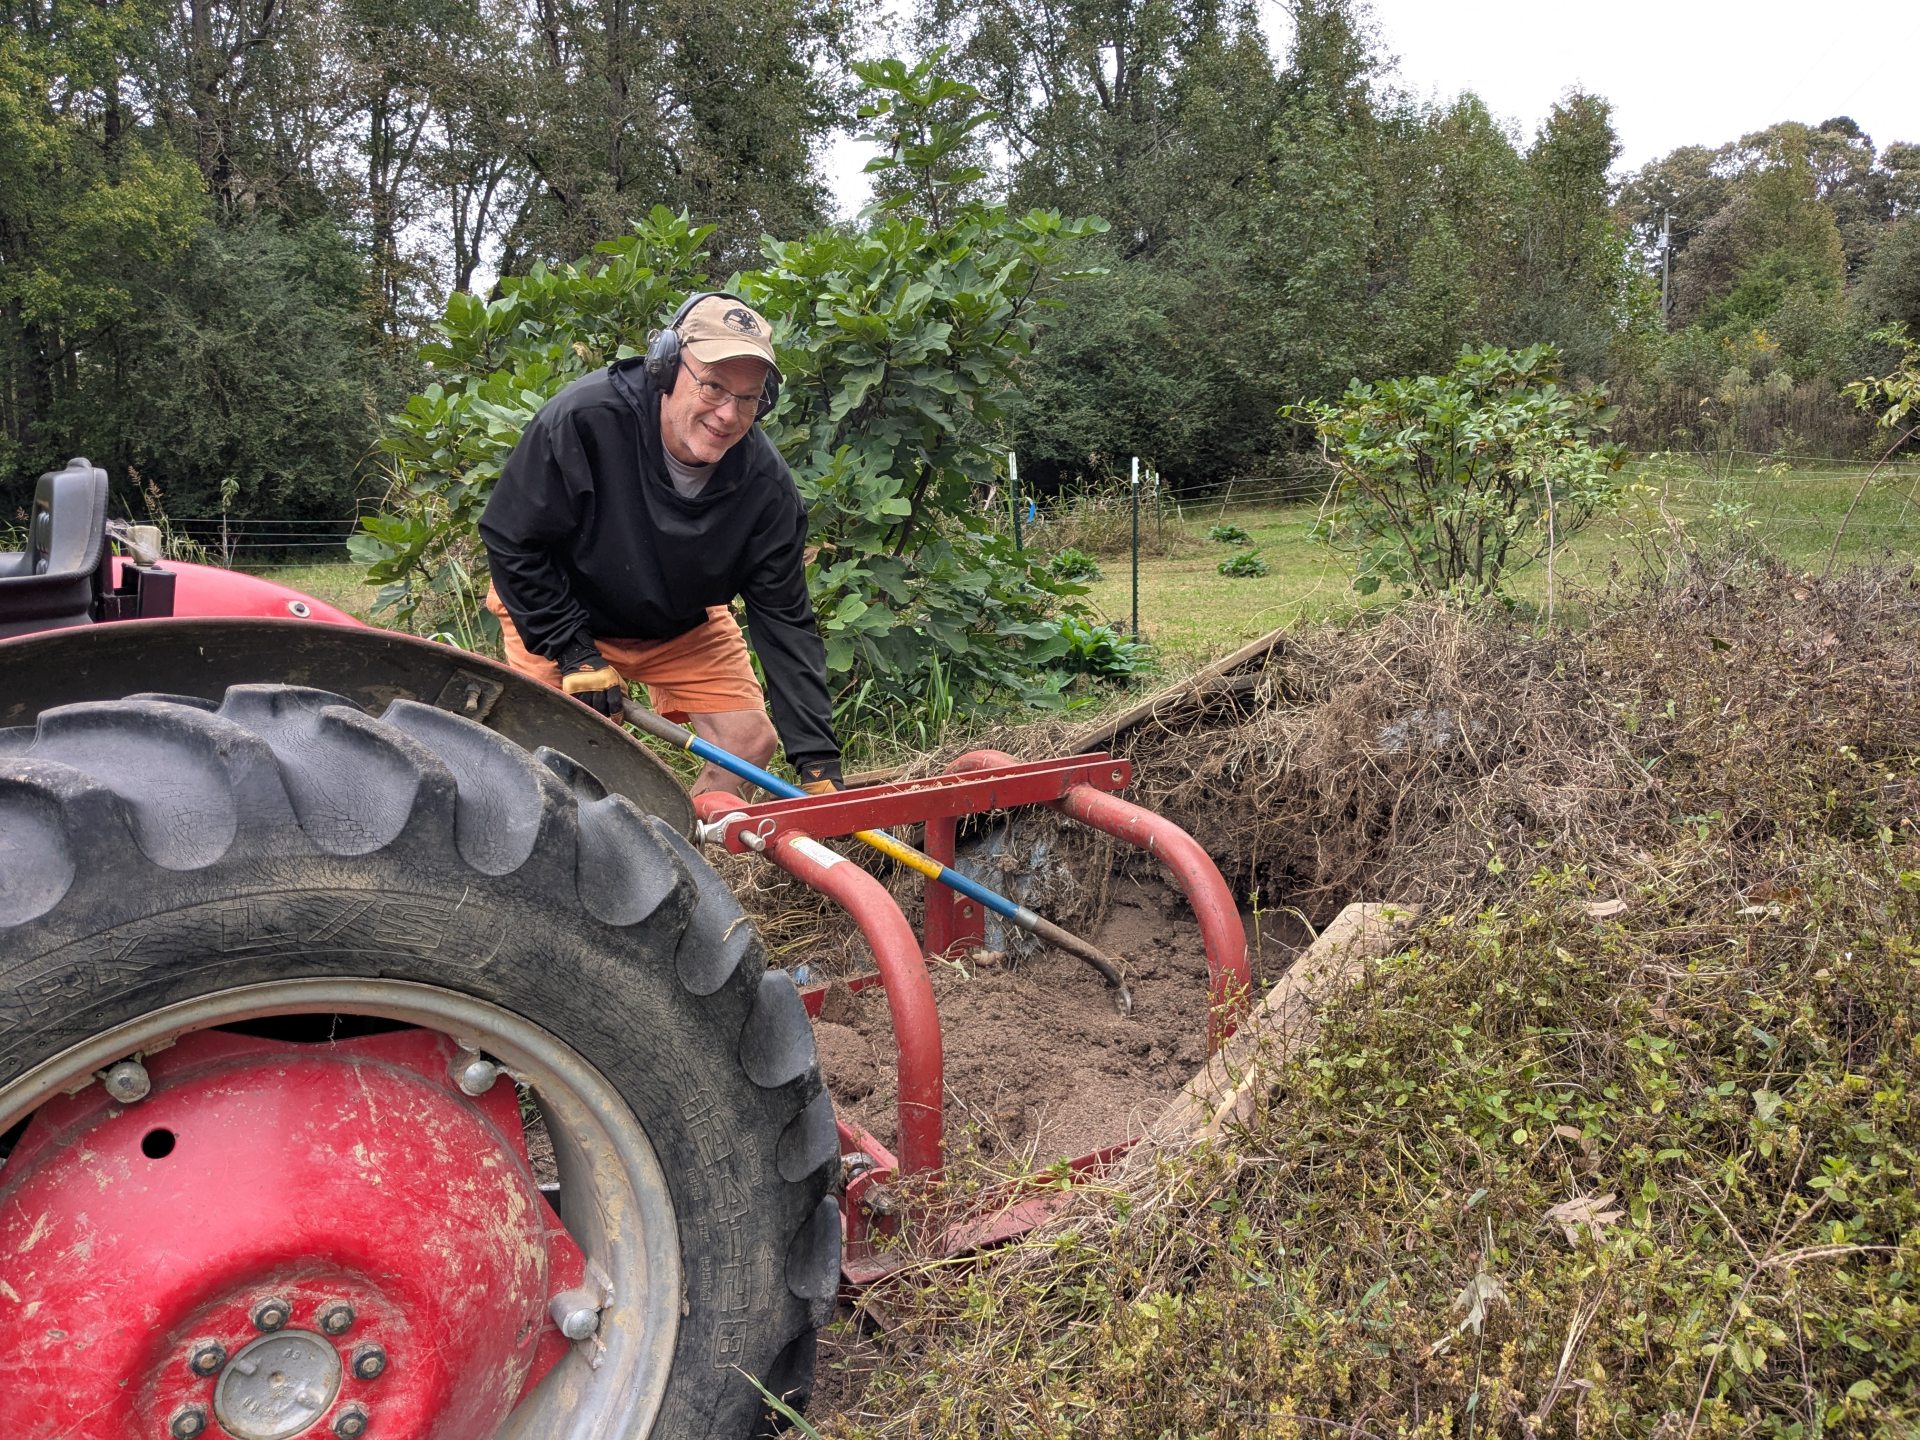
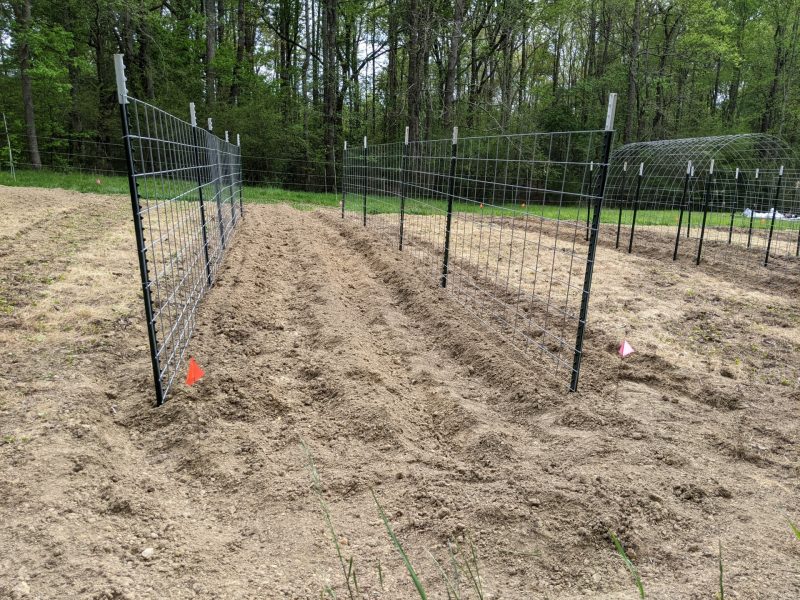
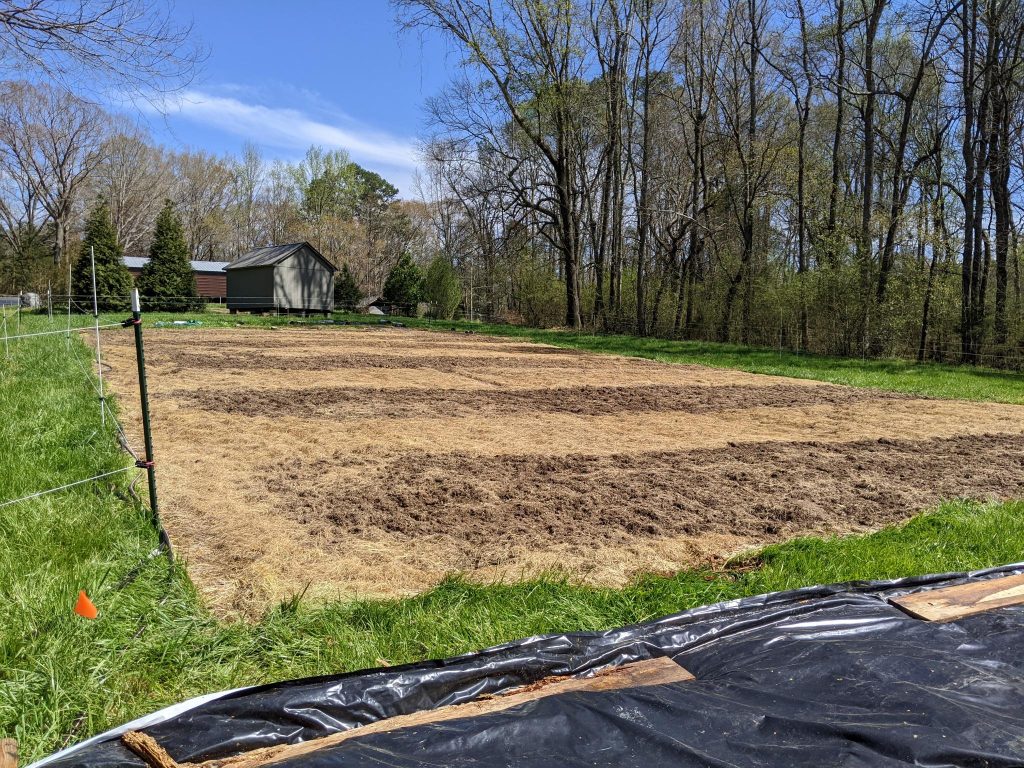
We are on still on a rapid learning curve as we work hard. The garden area in the pictures below was pasture for decades so we had to work to plow up the grassy area and then build new beds.
The BCS tiller was also a new piece of equipment for us. The biggest challenge we’ve had with the BCS is laying out beds so that the rows come out the width that we want. Our BCS tractor has the 5.5 inch extensions added to the the 749 tractor. This makes the tractor wider by 11 inches.
The vegetable garden beds are on a sloped face. To help minimize any erosion issues during rain events, we kept a 10 foot ribbon of grass between each plot. Each plot was laid out to have 2 rows per plot (30″ wide rows) with an 18″ wide walkway between each row. When I added up 3 walkways plus a quantity of 2 of the 30″ wide rows, then we should need a plot that is 9.5 feet wide. In practice, it just isn’t working out that way. I suspect we’ll have to till and hill a plot and measure to see where I’m off in my estimation of the total width of each 2 row plot. There is definitely a learning curve to becoming a better farmer.
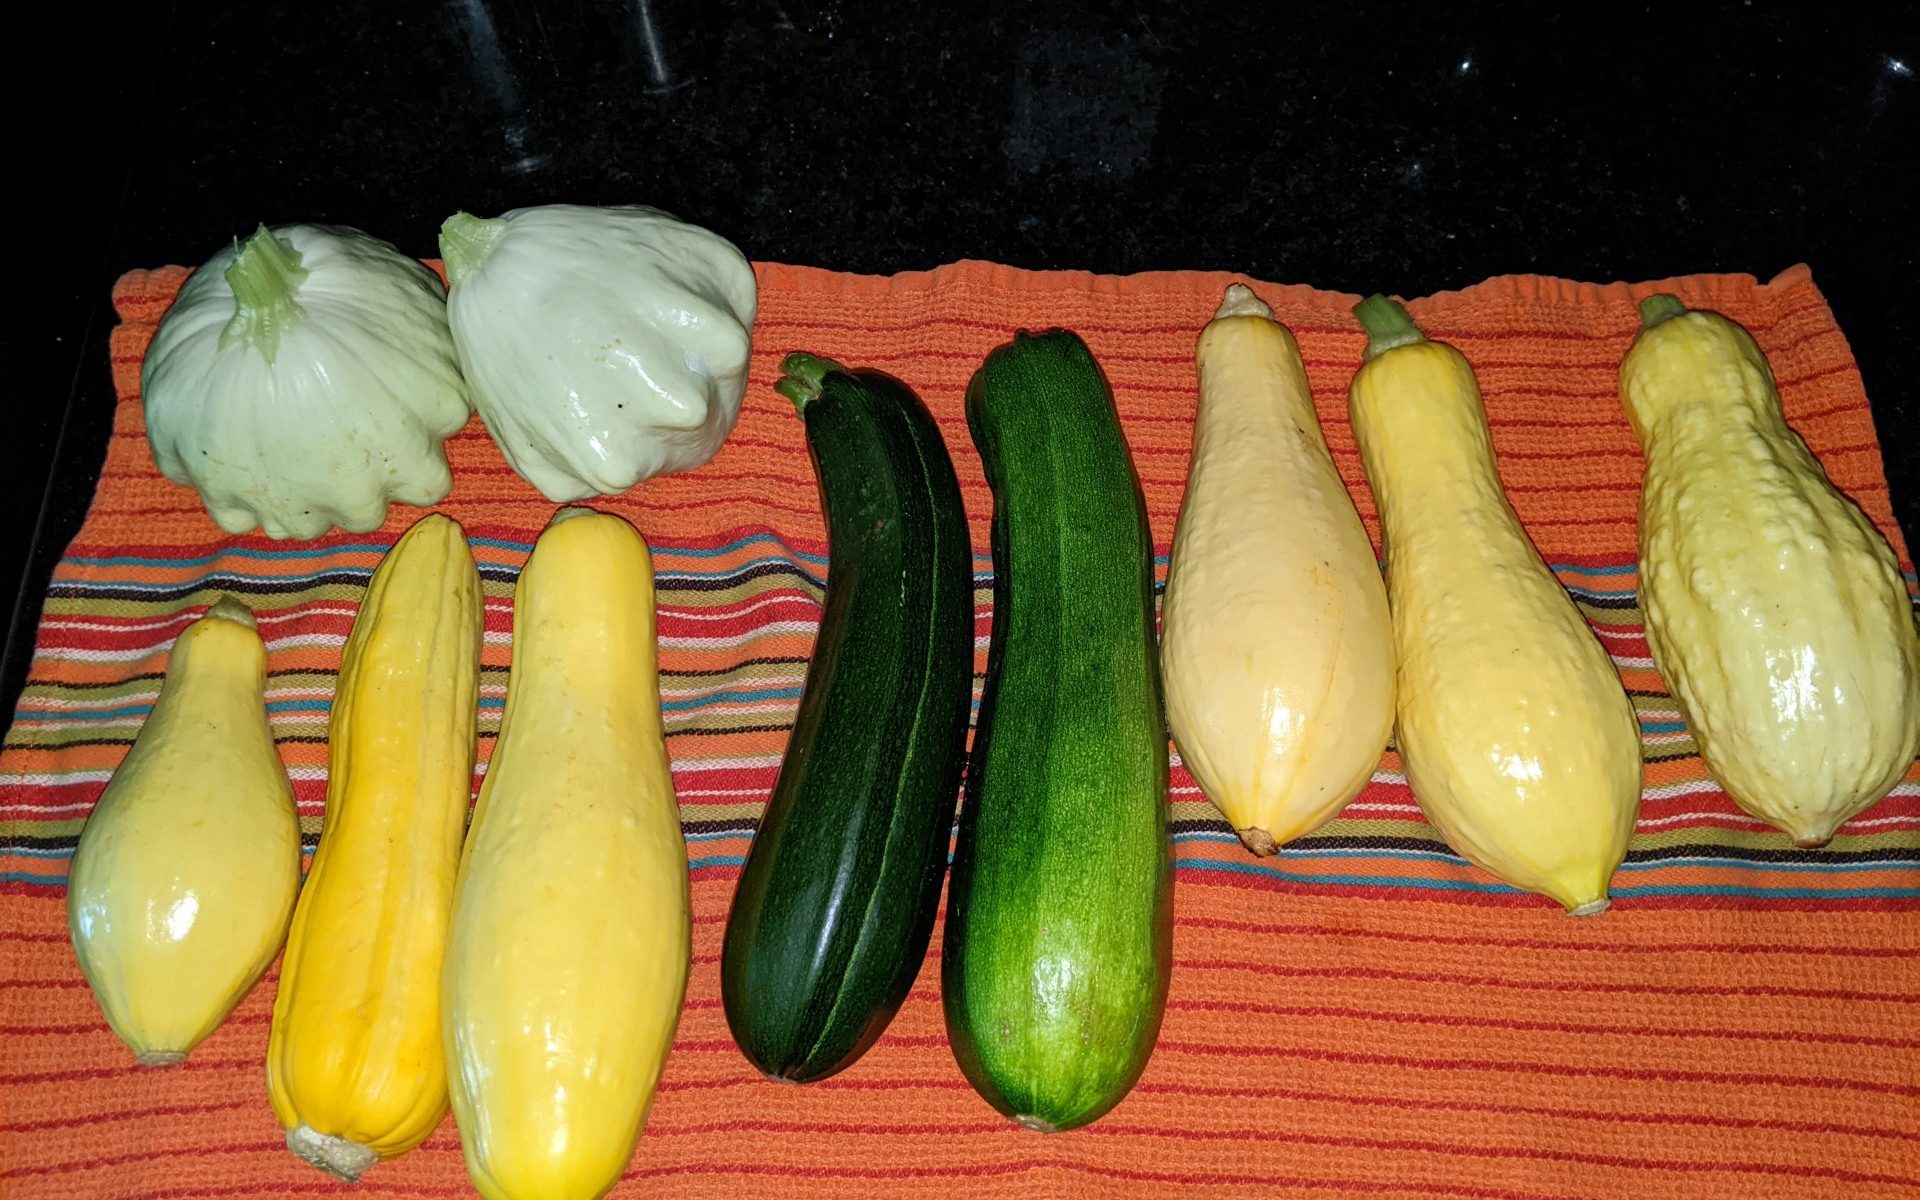
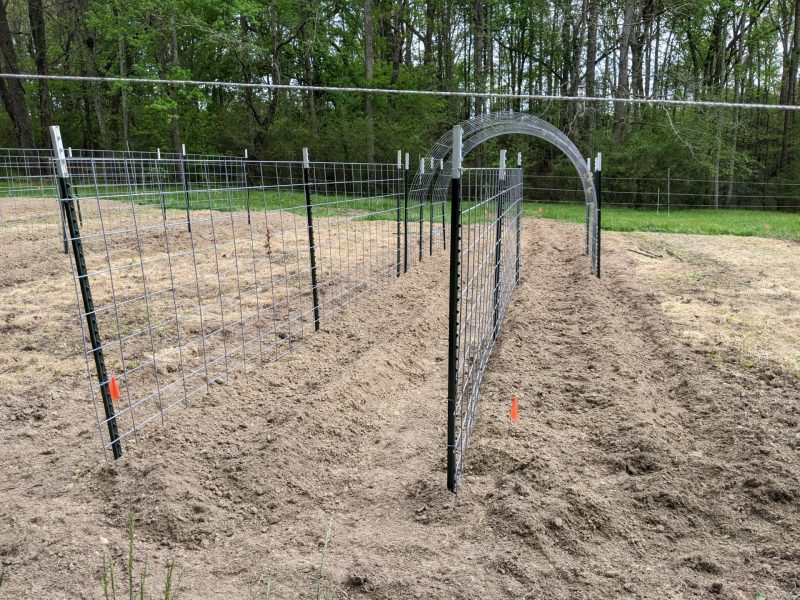
We just installed rows of trellis for pole beans and tromboncino squash. We are using a curved trellis for the tromboncino squash and pole beans. I keep seeing videos and picture of the curved and over trellis configuration, so we wanted to see at try and find out if it works as well as we keep hearing. The curved trellis (when covered with tromboncino squash) should provide provide shade for the young rhubarb.
One of my projects for this summer is to install posts in the field, near the rows, where we can hang the cattle panels (used in the trellis) this fall after we take the trellis down and store it for the winter.
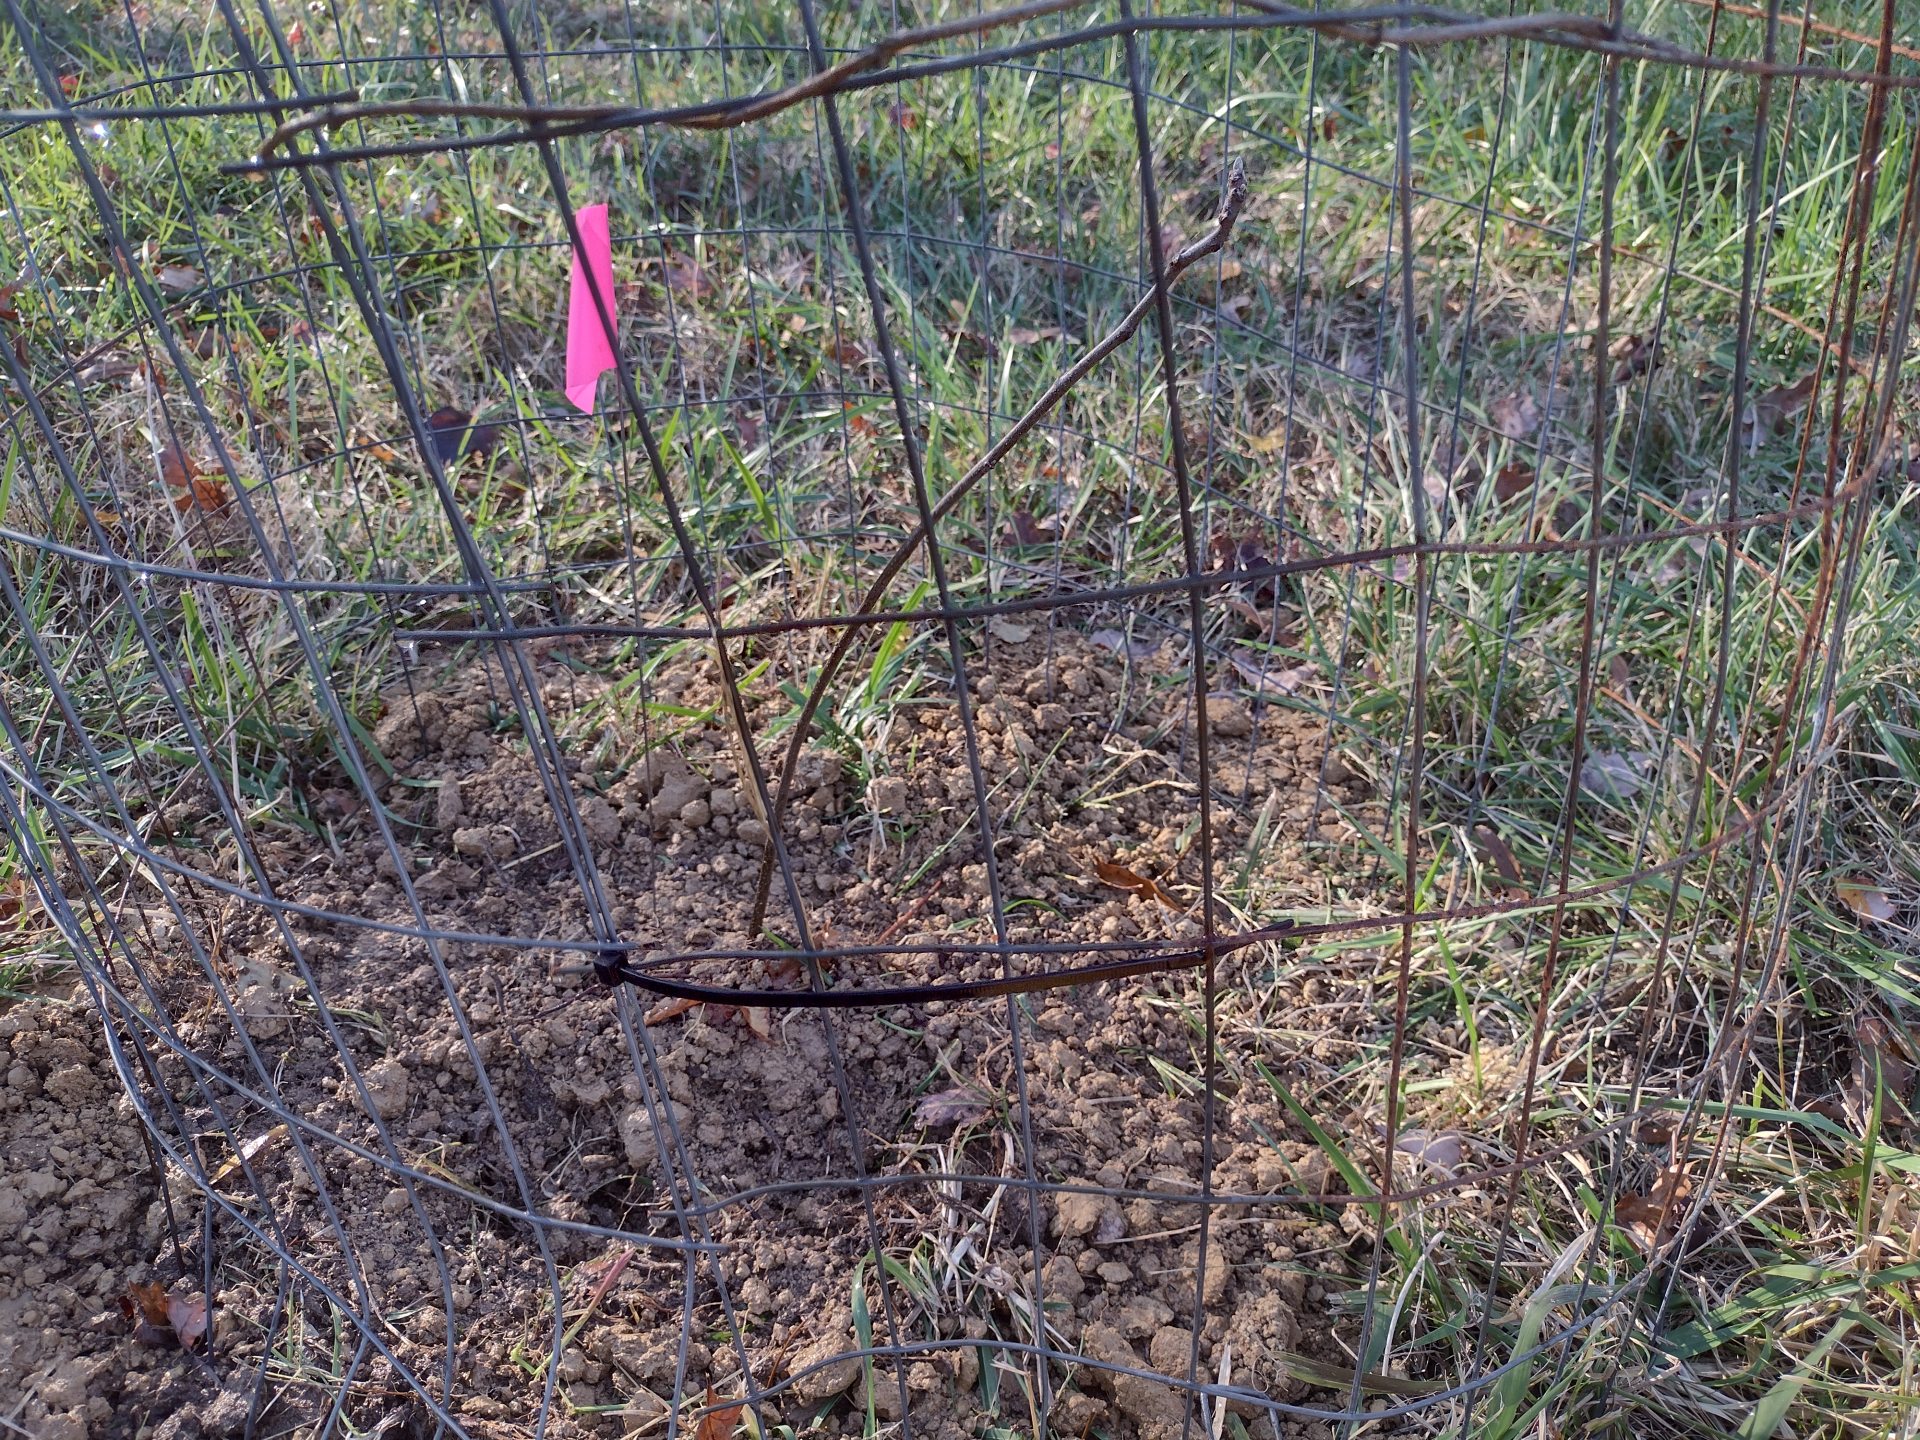
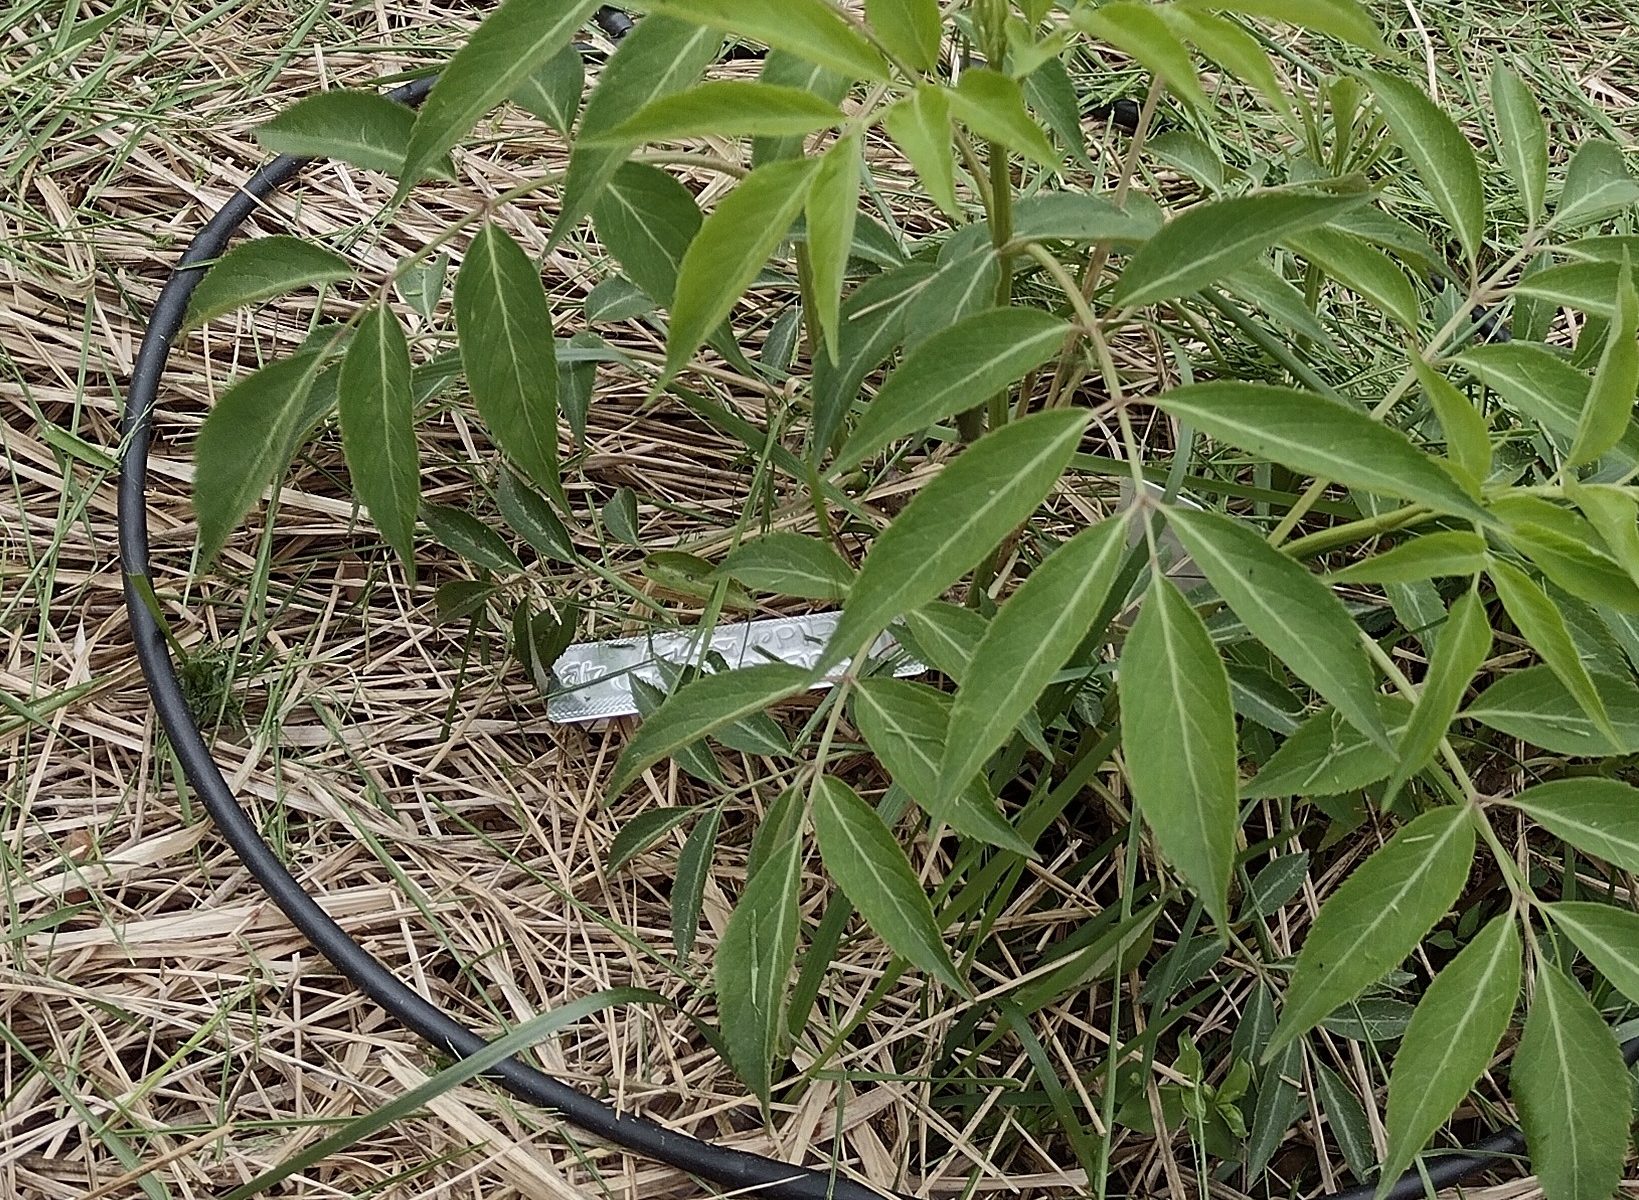
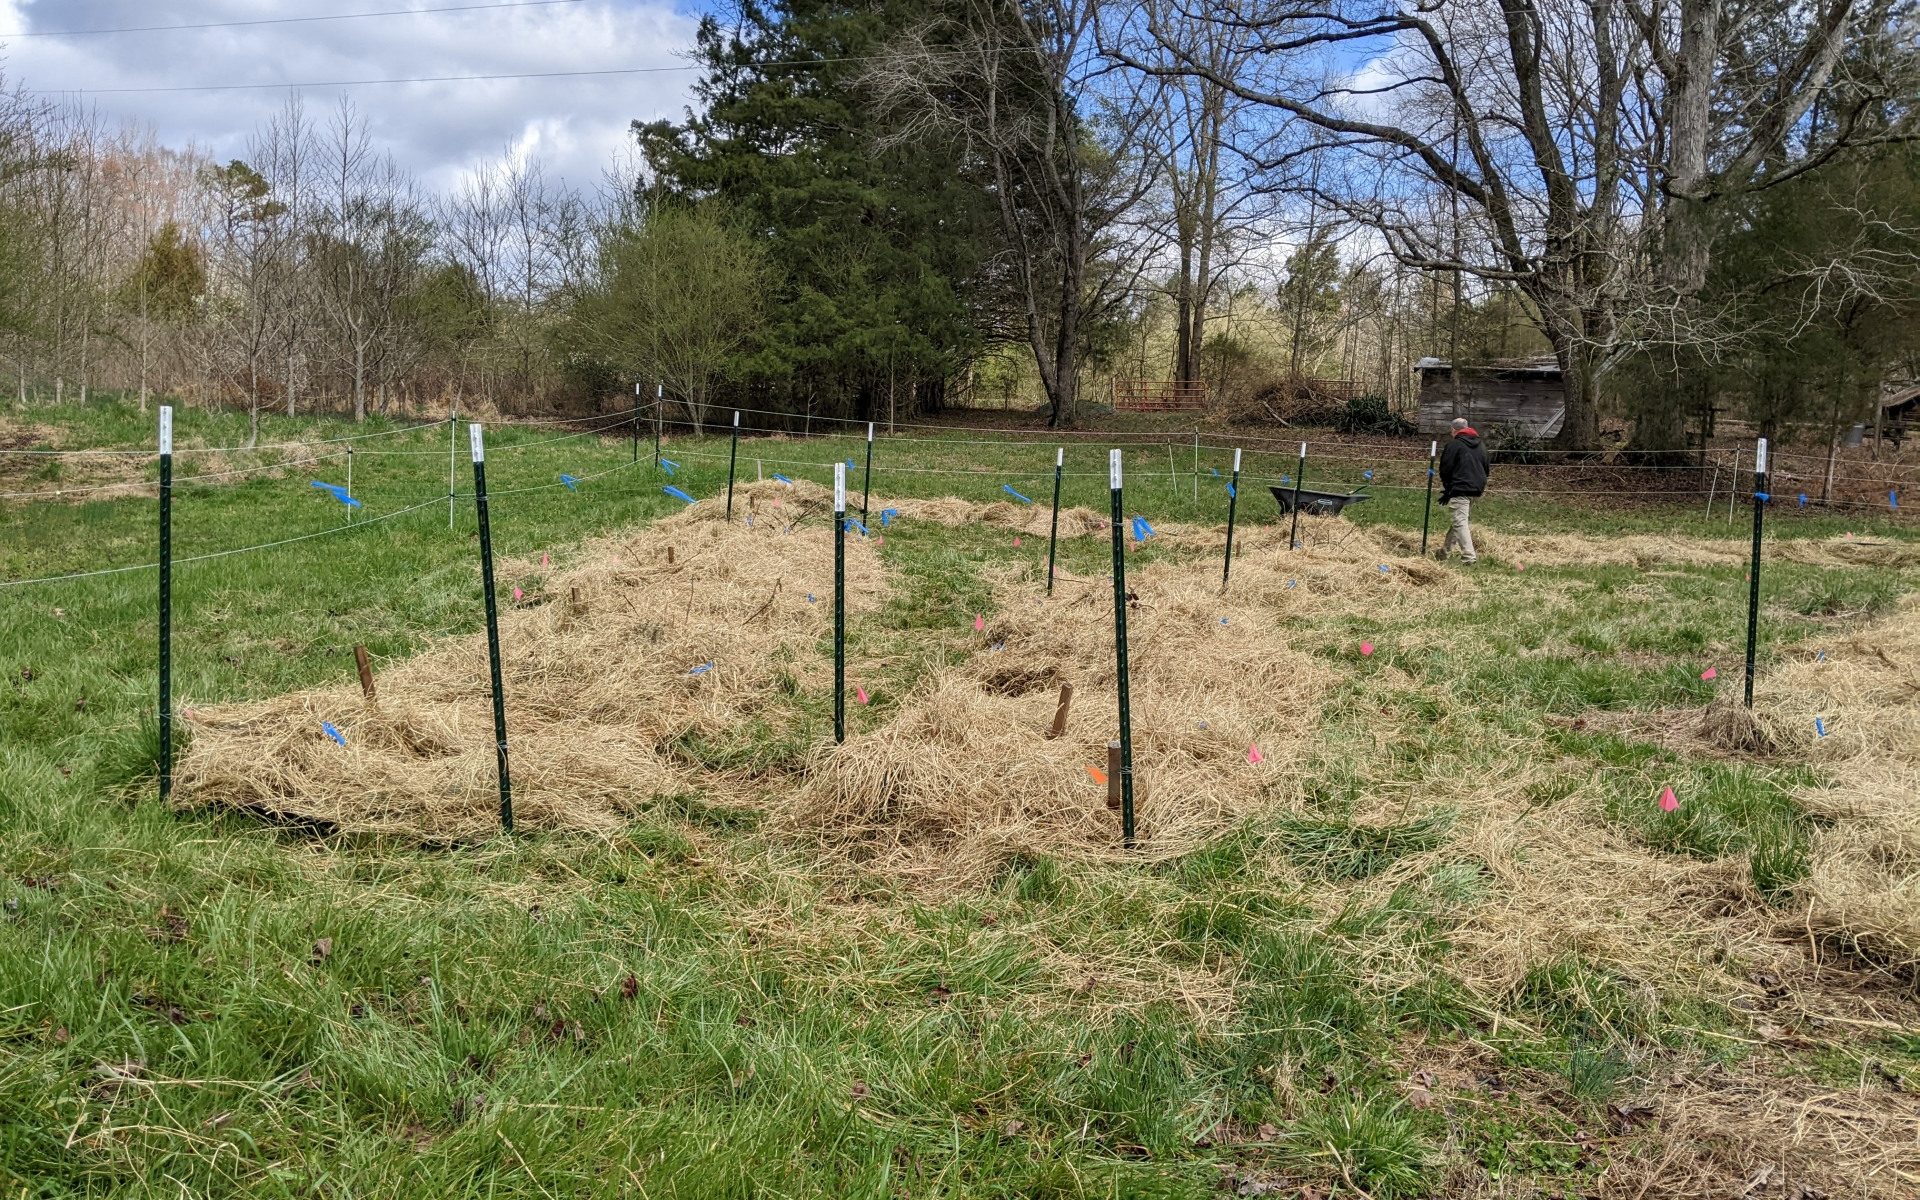
One of the projects this month was to map and tag each fruit bearing tree and bush. My wife took this project and ran with it. We now have a map that shows the location of each fruit bearing tree and bush, indicated by a unique tag number. The unique tags number are recorded in a spreadsheet. Information about each plant is recoded with the tag number, such as variety and date planted. This will also us to track historical data about each plant. This data is also useful when we propagate cuttings, allowing us to properly identify plants for sale.

It is the time of year where you never know if it is going to be an 80 degree day or a 40 degree day. We are still getting ready to start planting our summer garden. This was also the first time I mowed the grass for the season. More and more plants are starting to grow. The drip irrigation system is still a work in progress. Once we have the planting beds made then we can put down the drip tape and test the system.
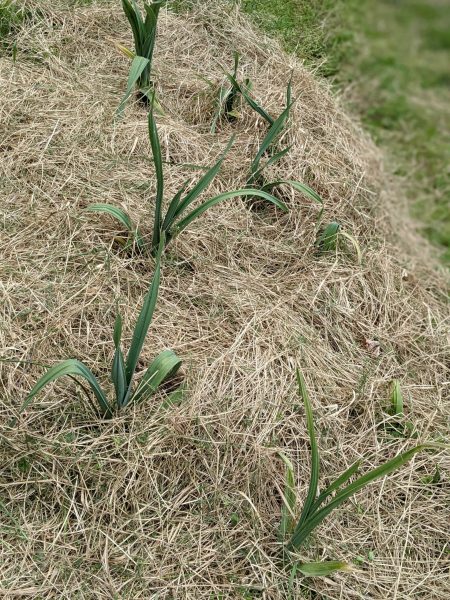
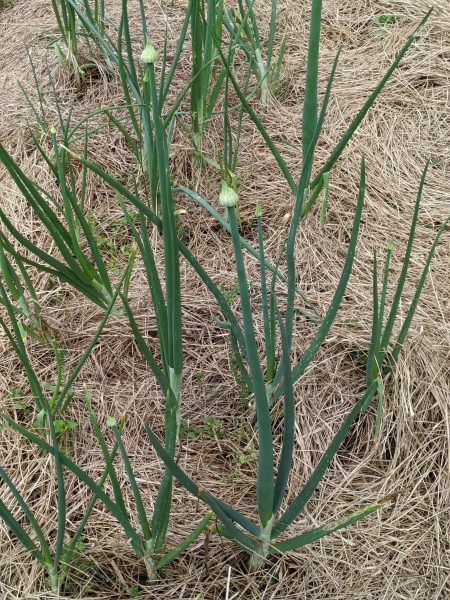
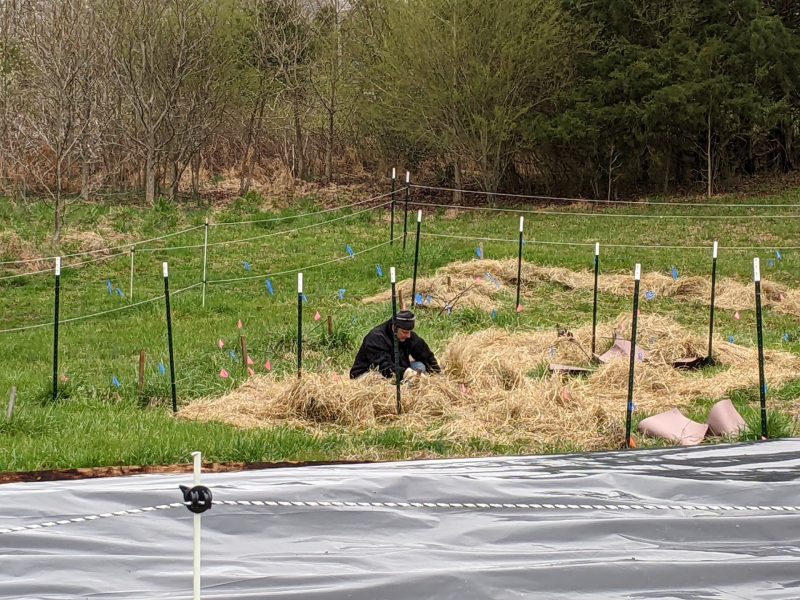
We had a fairly mild winter so the weeds started growing early in the garlic beds. This year we put down hay twice to try and suppress weed growth. Hopefully we can avoid a lot of weeding this way. I was pleasantly surprised that our garlic beds survived our neighbors cows getting loose and trampling the plants earlier in the winter.
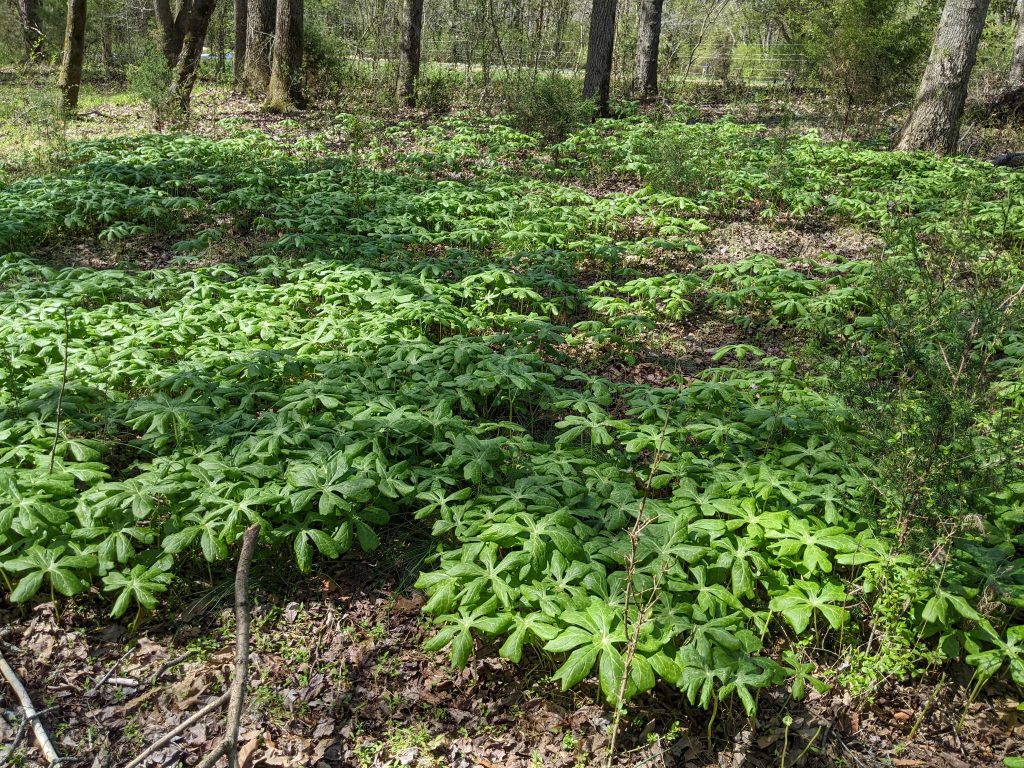
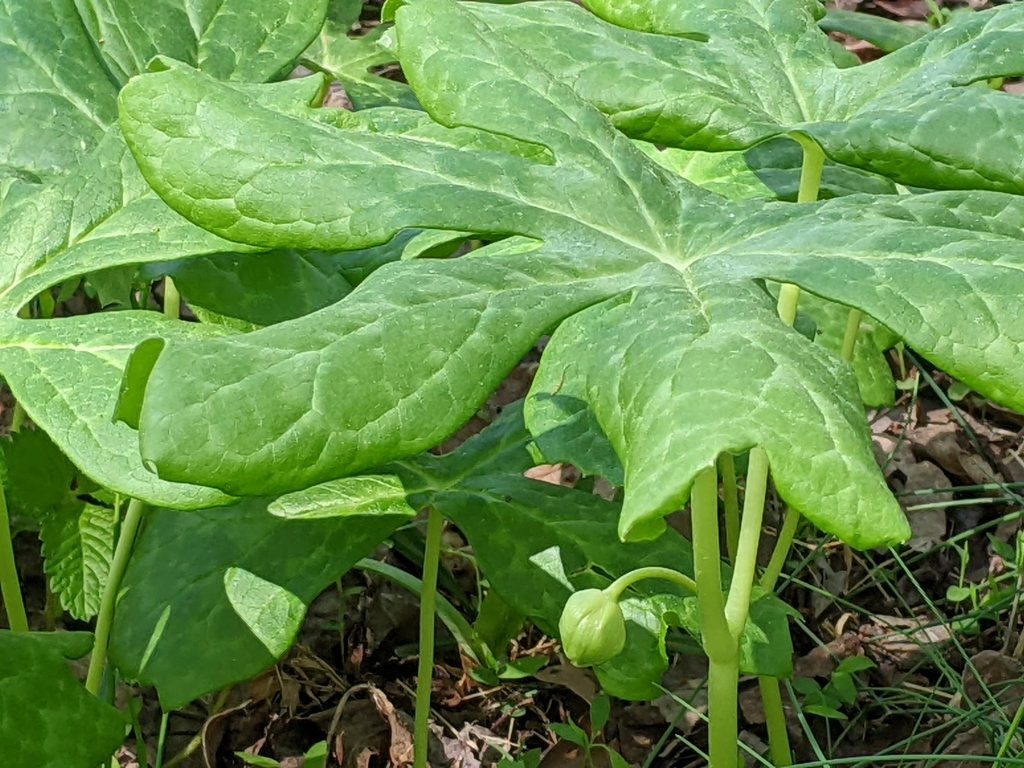
We have several patches of wild American Mandrake. It grows in the shady areas. I’m hoping that we can actually try some of the fruit this year. That would mean that we would have to time picking it just right. If we wait too long the squirrels and deer will beat us to the ripe fruit.
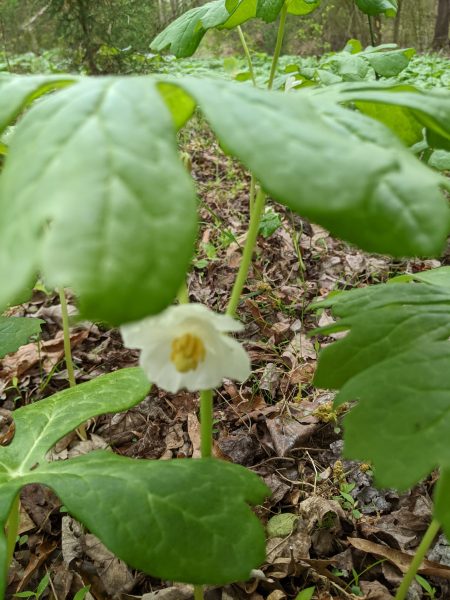
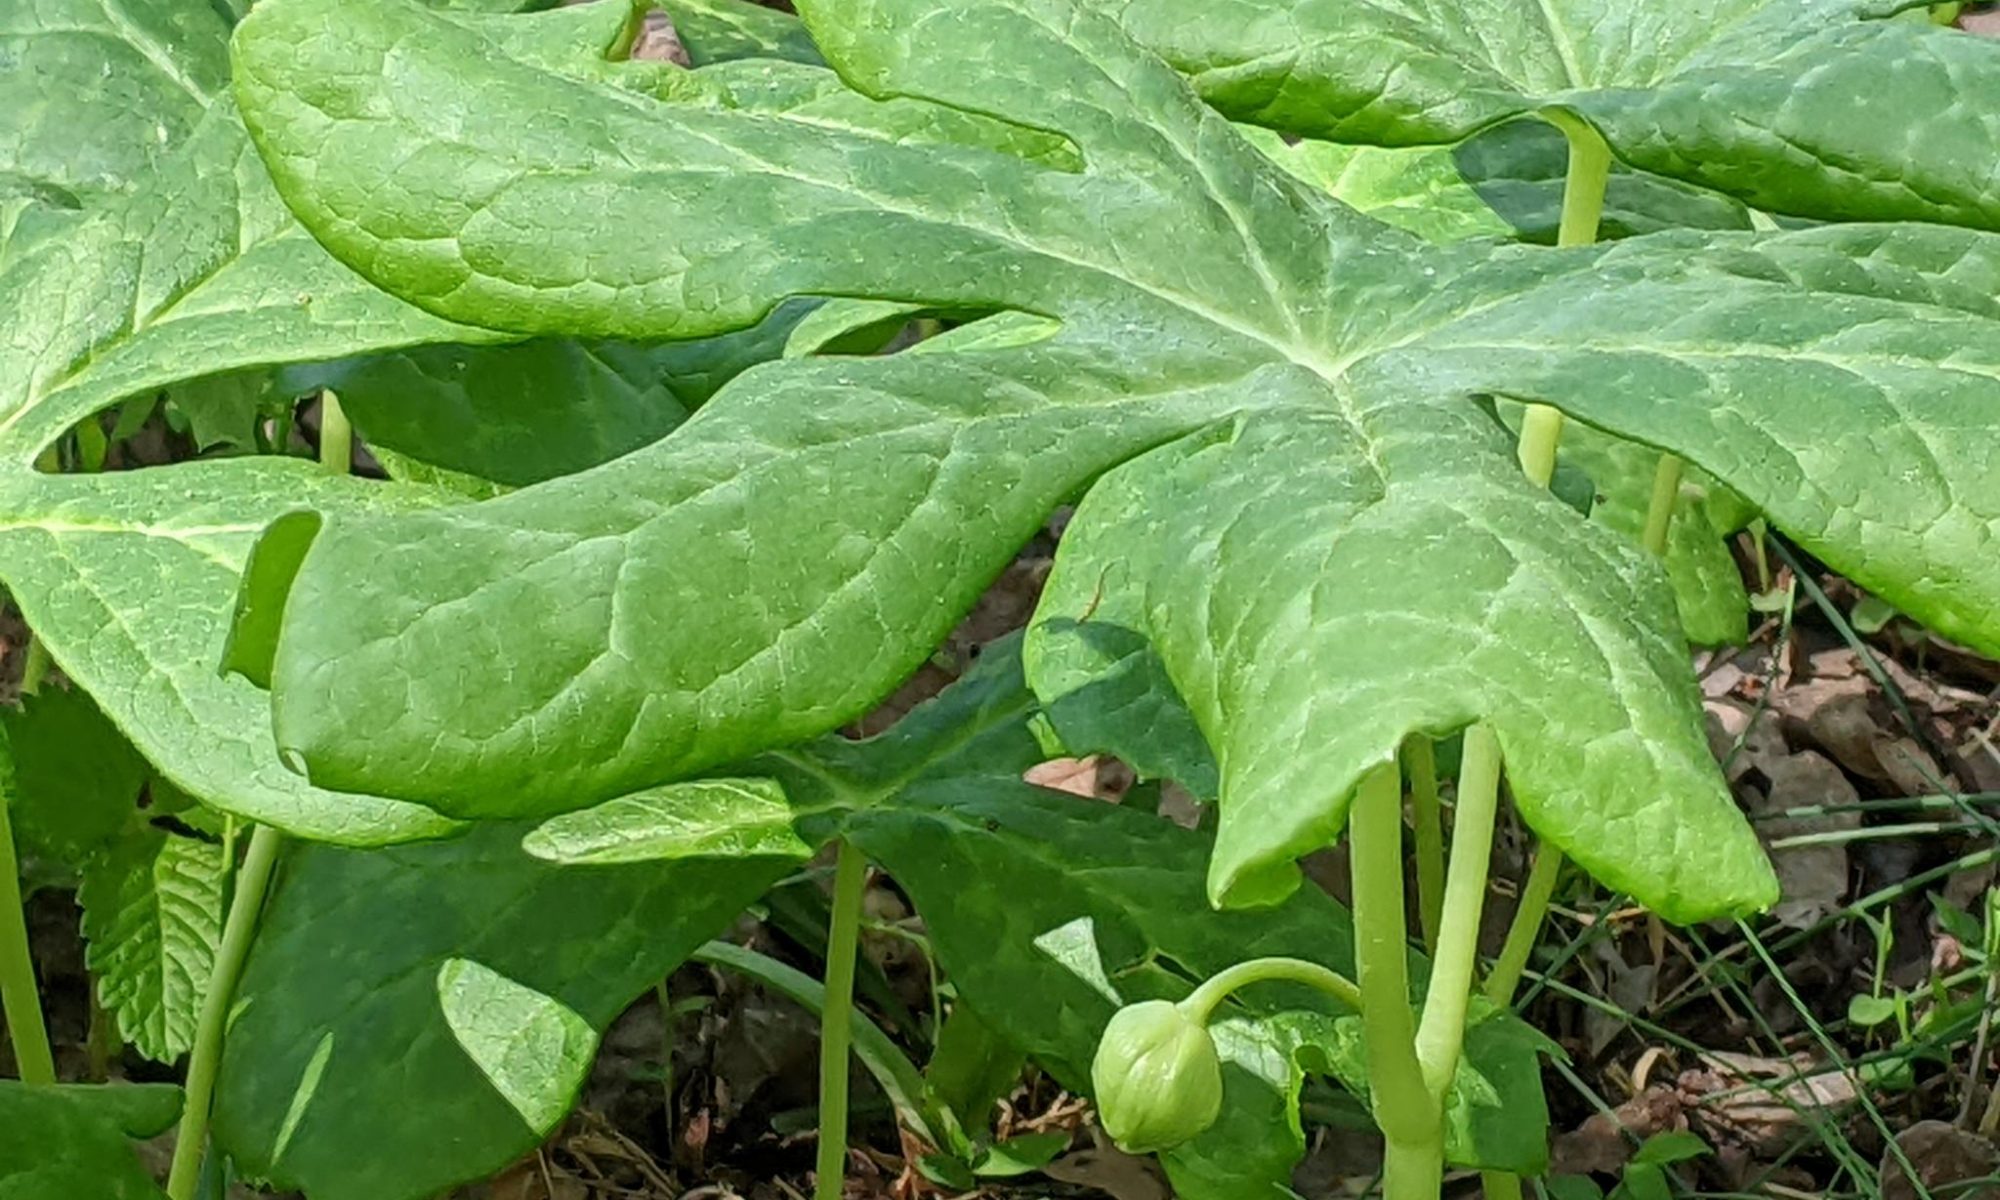
The Mayapples are up and thriving. We noticed the fruit starting to form. We are hoping to try the fruit this year, assuming we can beat the deer and raccoons from eating it first.
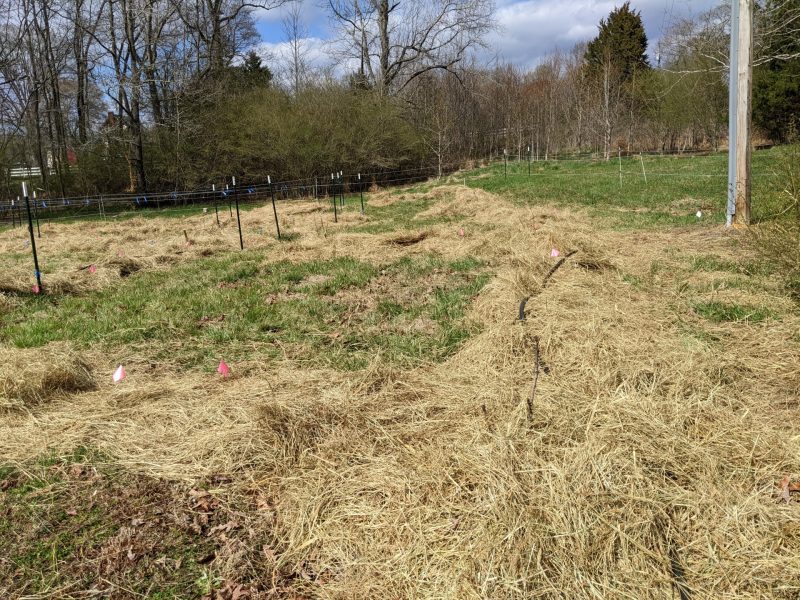
We put down silage tarps earlier in the winter. The goal is to help with weed control and terminate the fescue grass under the tarp. This weekend we moved the silage tarp from the vegetable rows to what will become a cover crop area adjacent to the first row of fig trees in field #2.
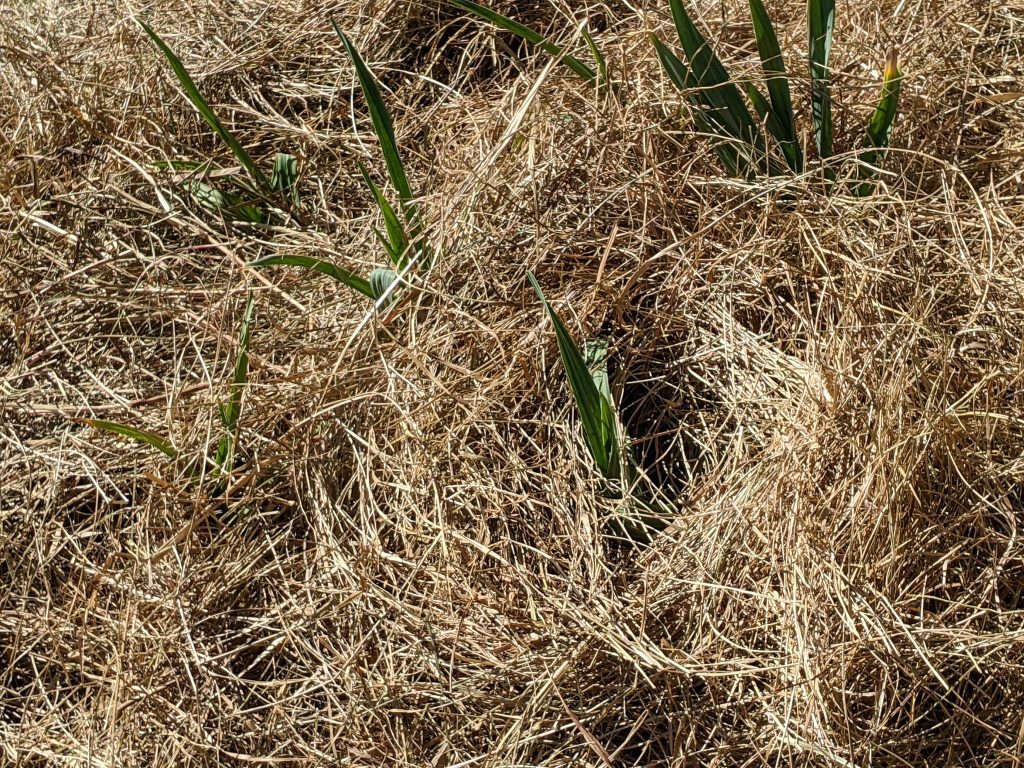
The garlic should be ready sometime in early July. This year we’ve used hay to help and control the weeds in the garlic bed. This is the second application of hay to these rows. The hay adds organic matter to the soil as it composts.
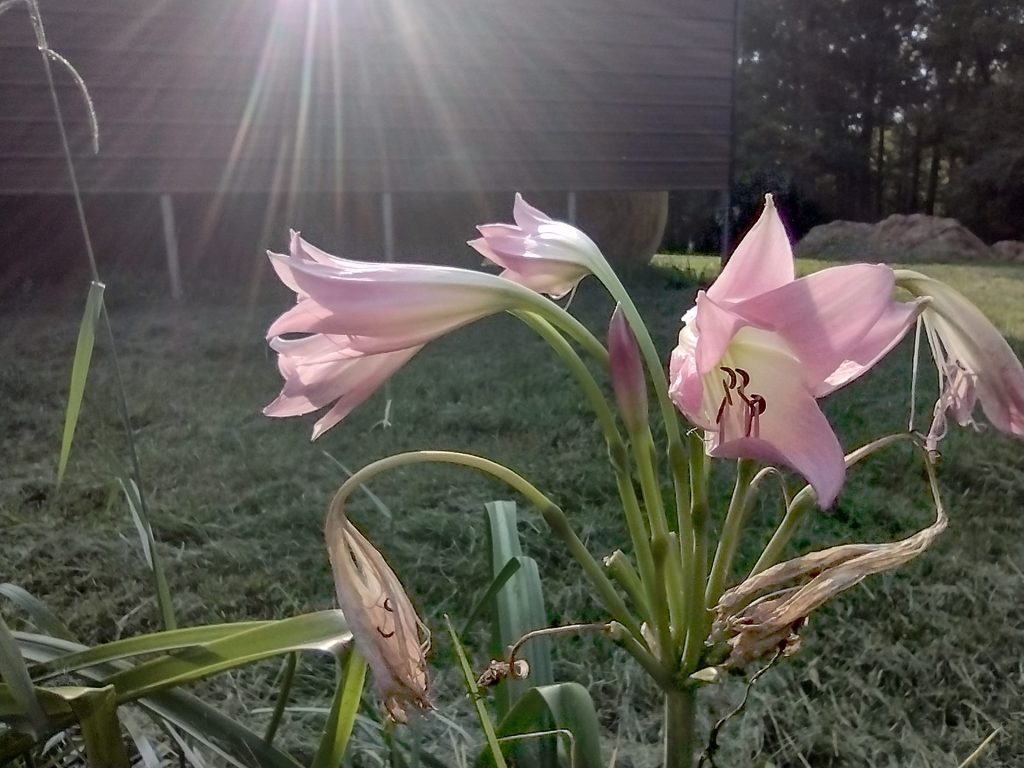
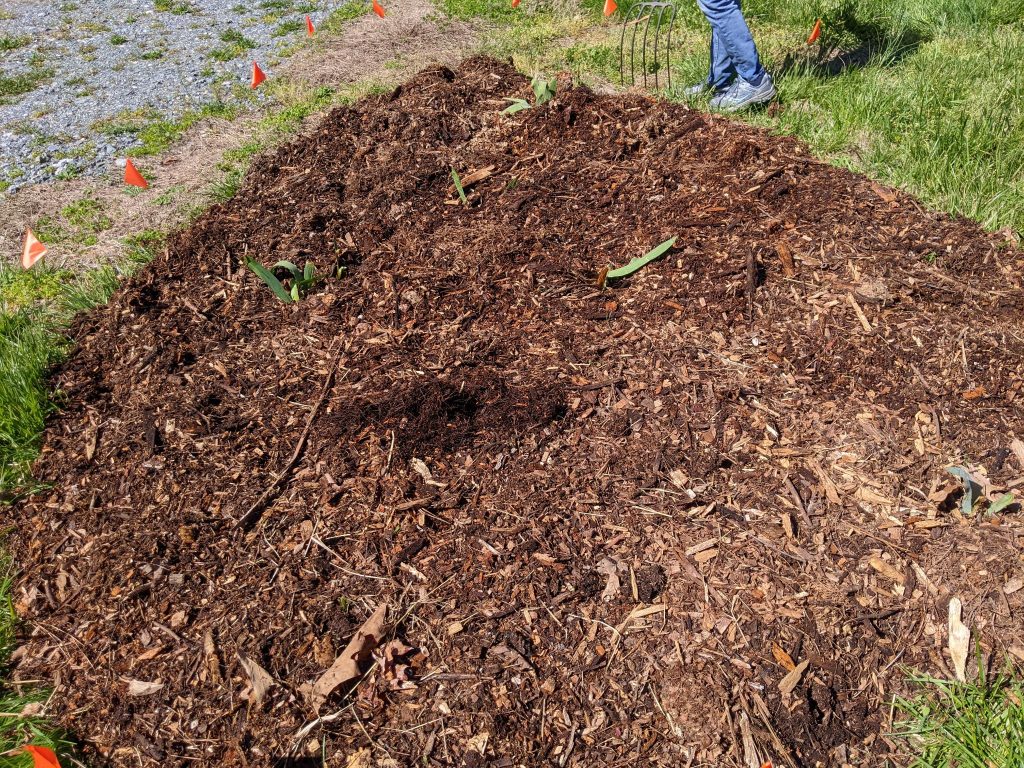
The Iris are coming up. We planted them in the fall. We just added partially composted wood chip mulch around them to help protect them from the summer heat and control weeds. The chips came from a local tree service company.
The weather on Saturday was kinda crazy. It started out fairly warm and then just kept getting colder.
We had planned to plant beets, peas and radish. The plan was to pull back the tarps and build beds to plant in. The silage tarp has been down for several weeks. Last weekend we added more tarps before the rain started. The plan was to roll back the tarps and build beds for the beets, peas and radish. Then we could plant in dry ground. Sounds like a good plan.
However, it was not a good plan. When we pulled back the silage tarp and the other tarps, what we found was some very wet ground. Once again I was unable to impose my timeline on the farm. I say that as a joke. Our transition from backyard gardening to a small scale farm has been quite a learning experience. I’ve found time and time again, that we can’t impose our timeline and our will on the farm. Instead we have to be flexible and understand that everything happens in due time.
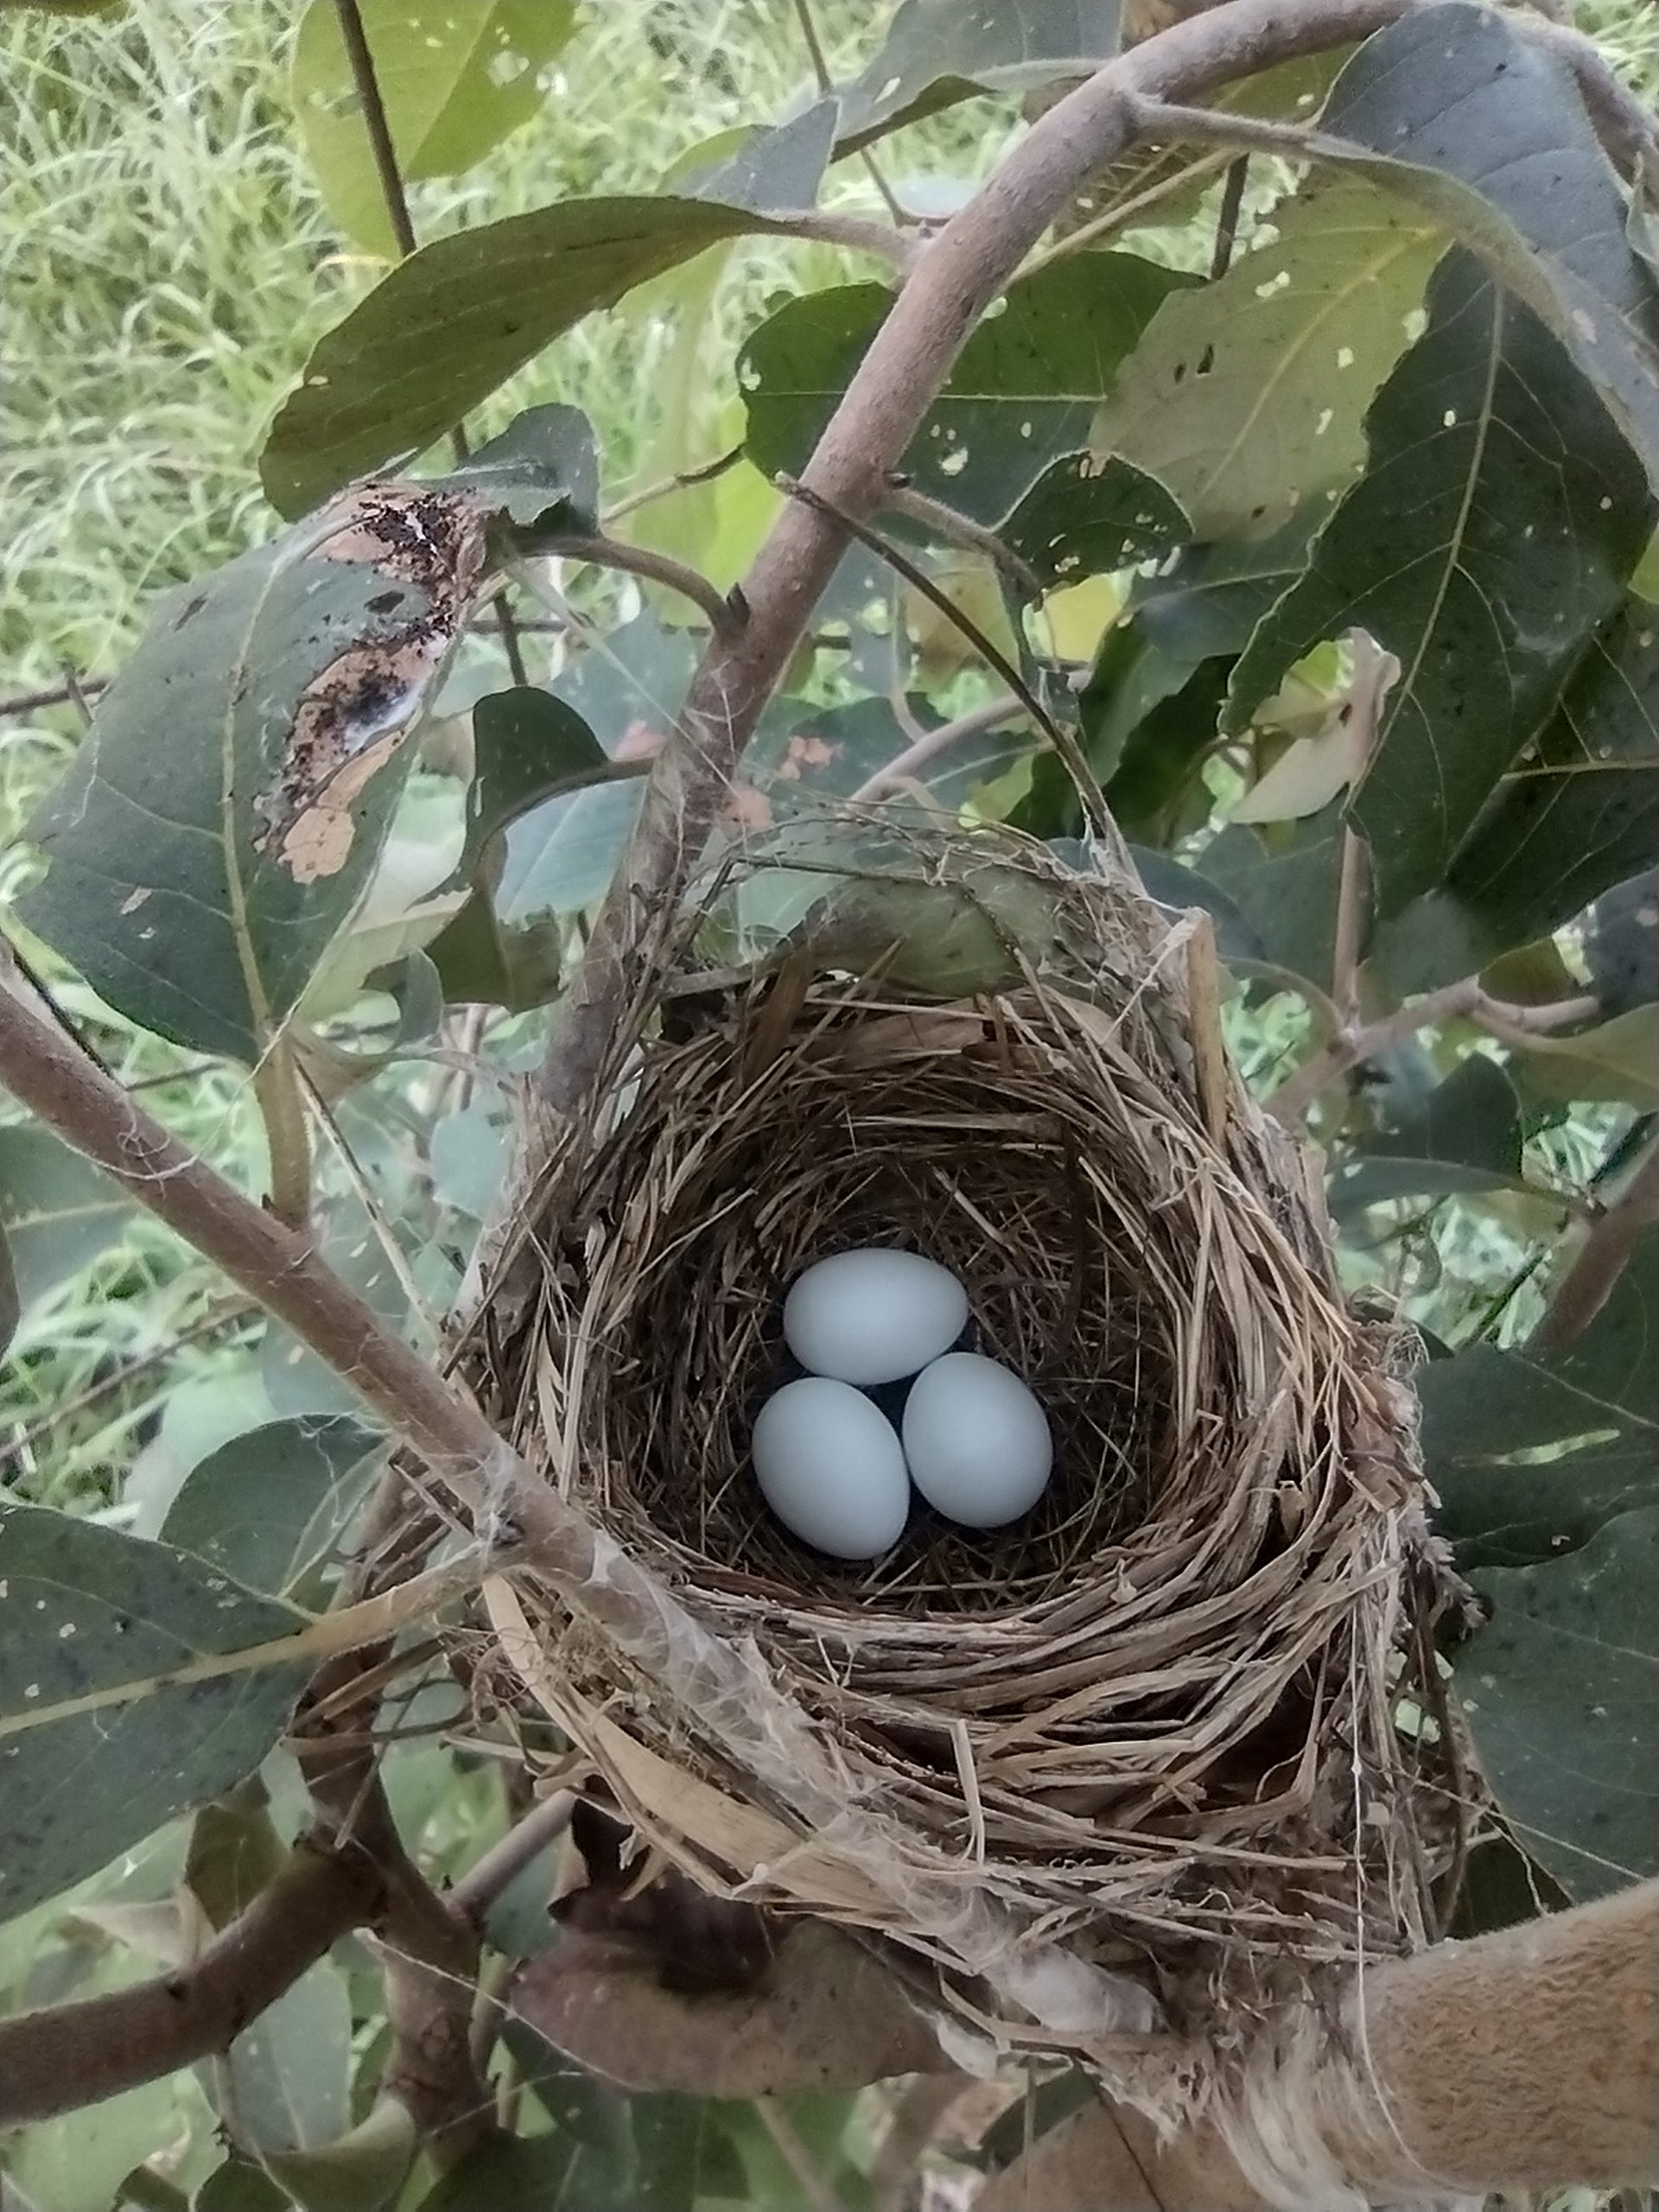
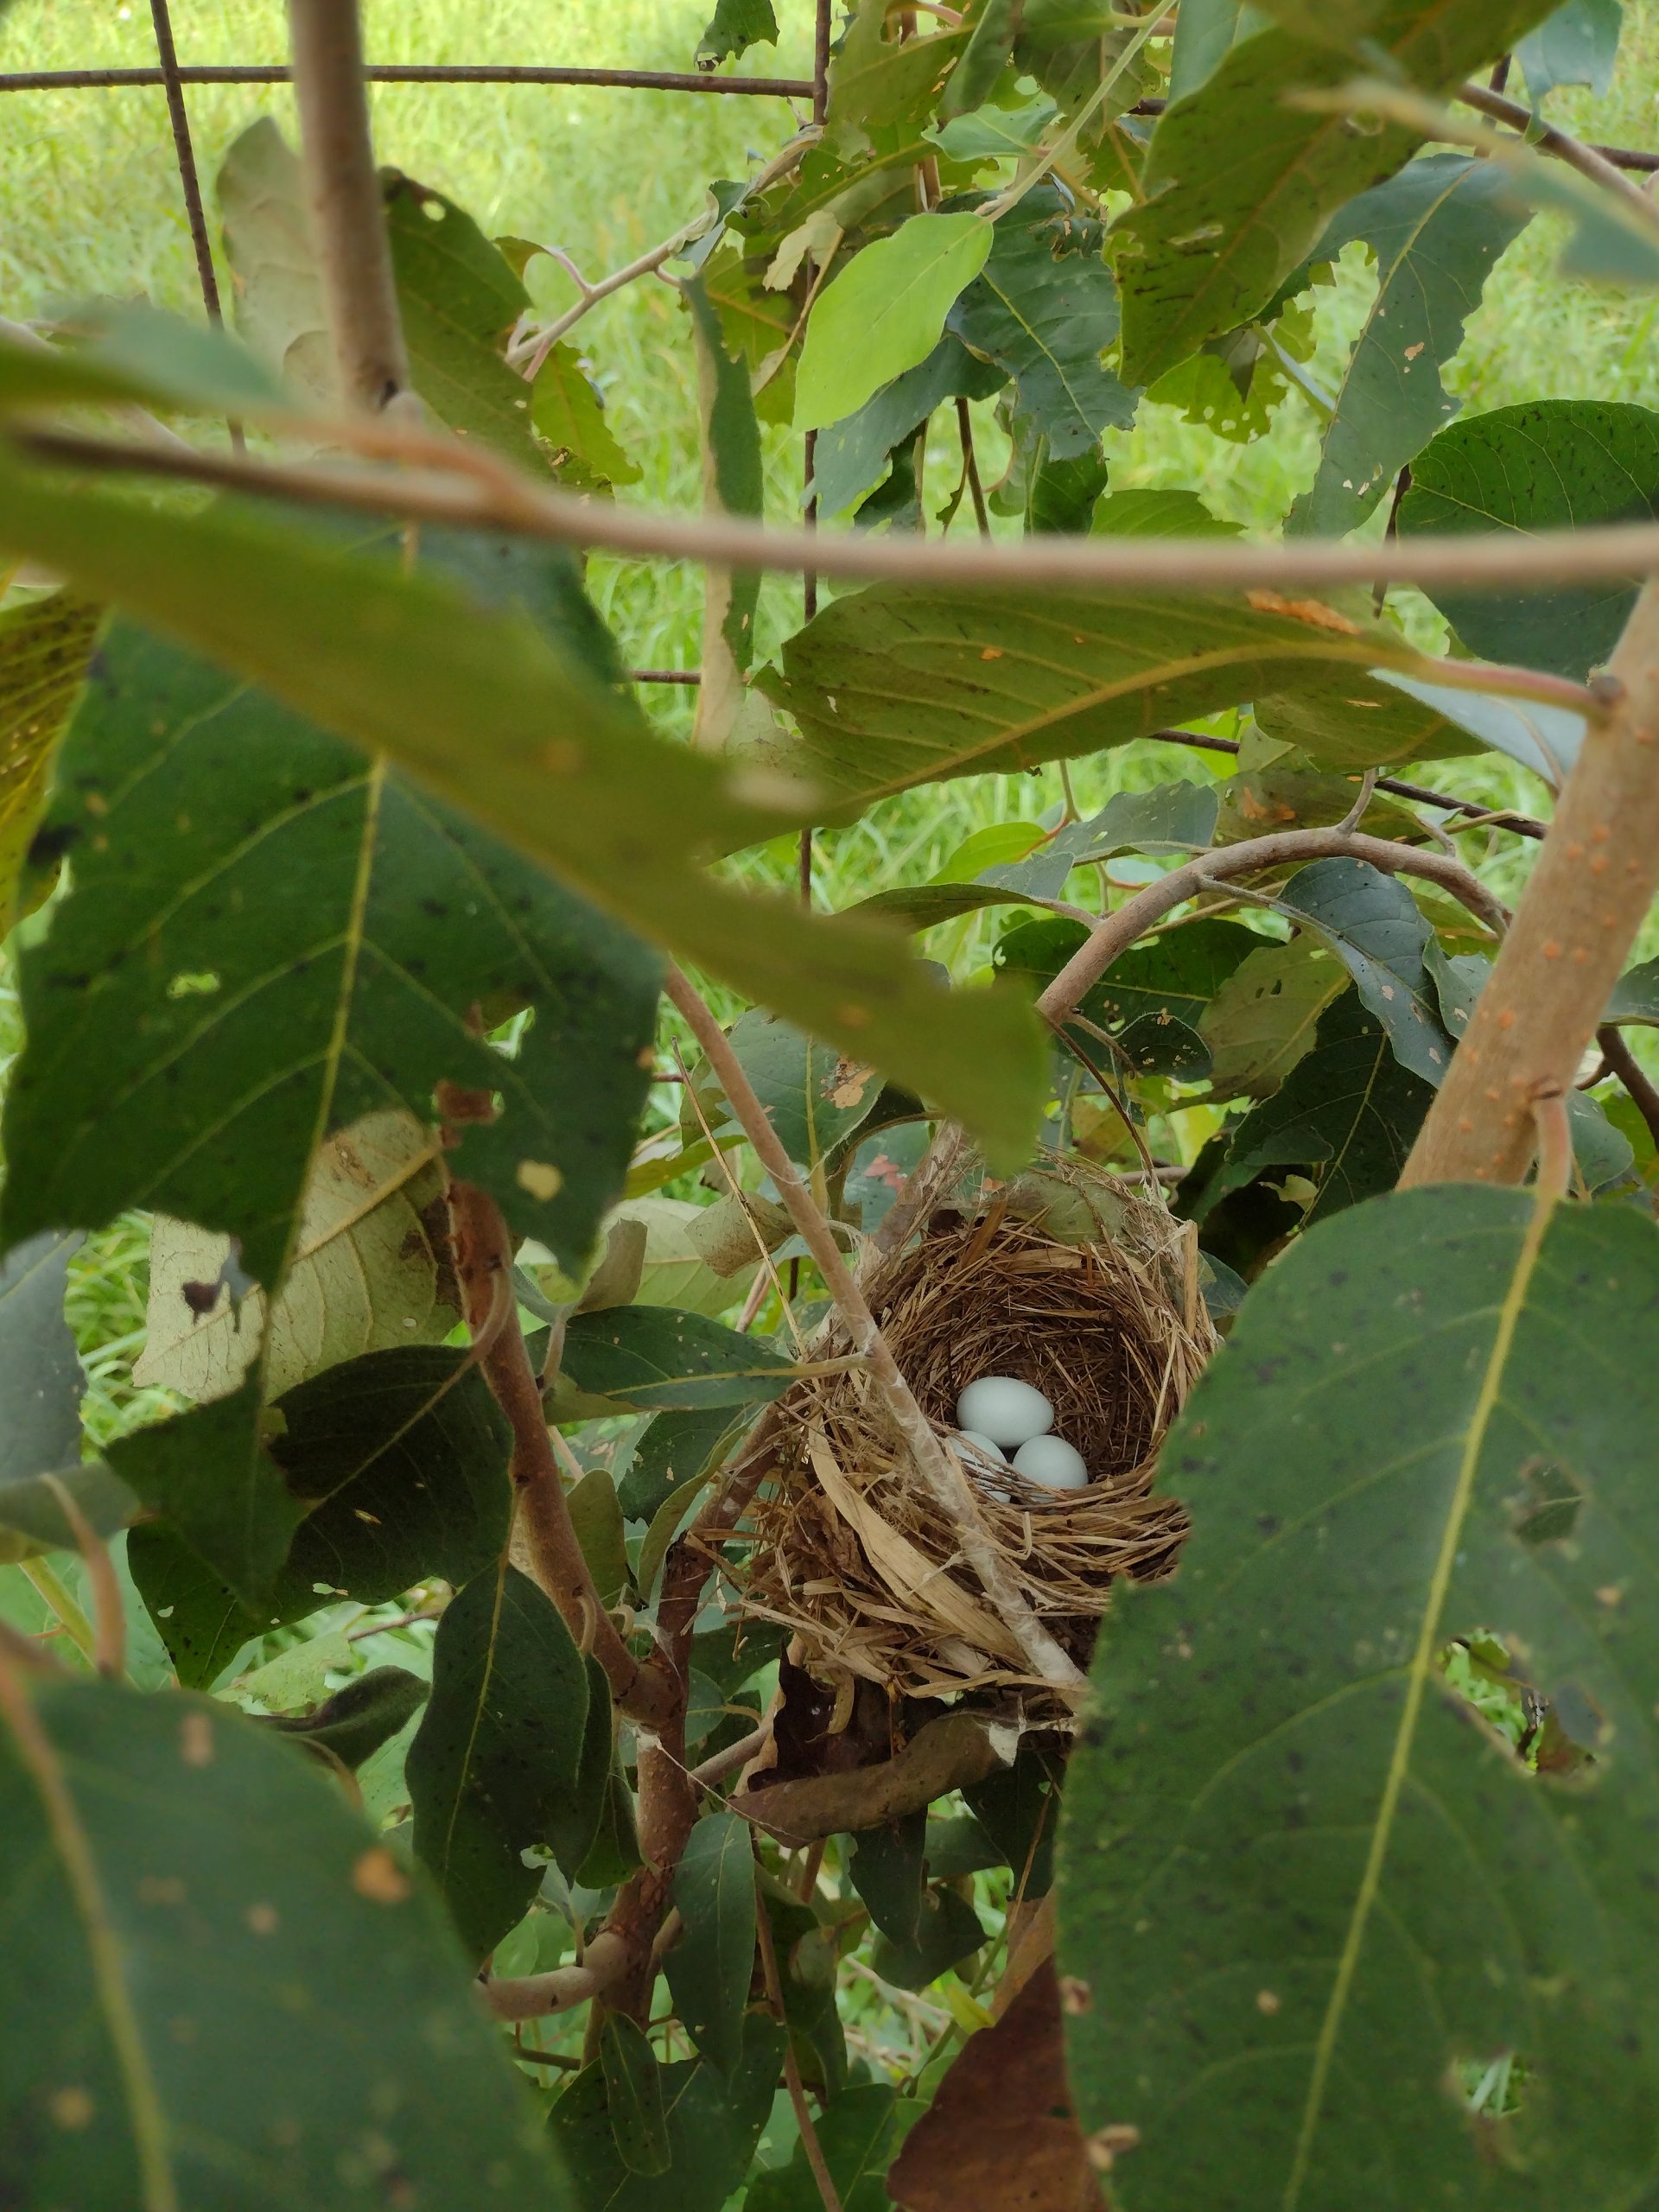
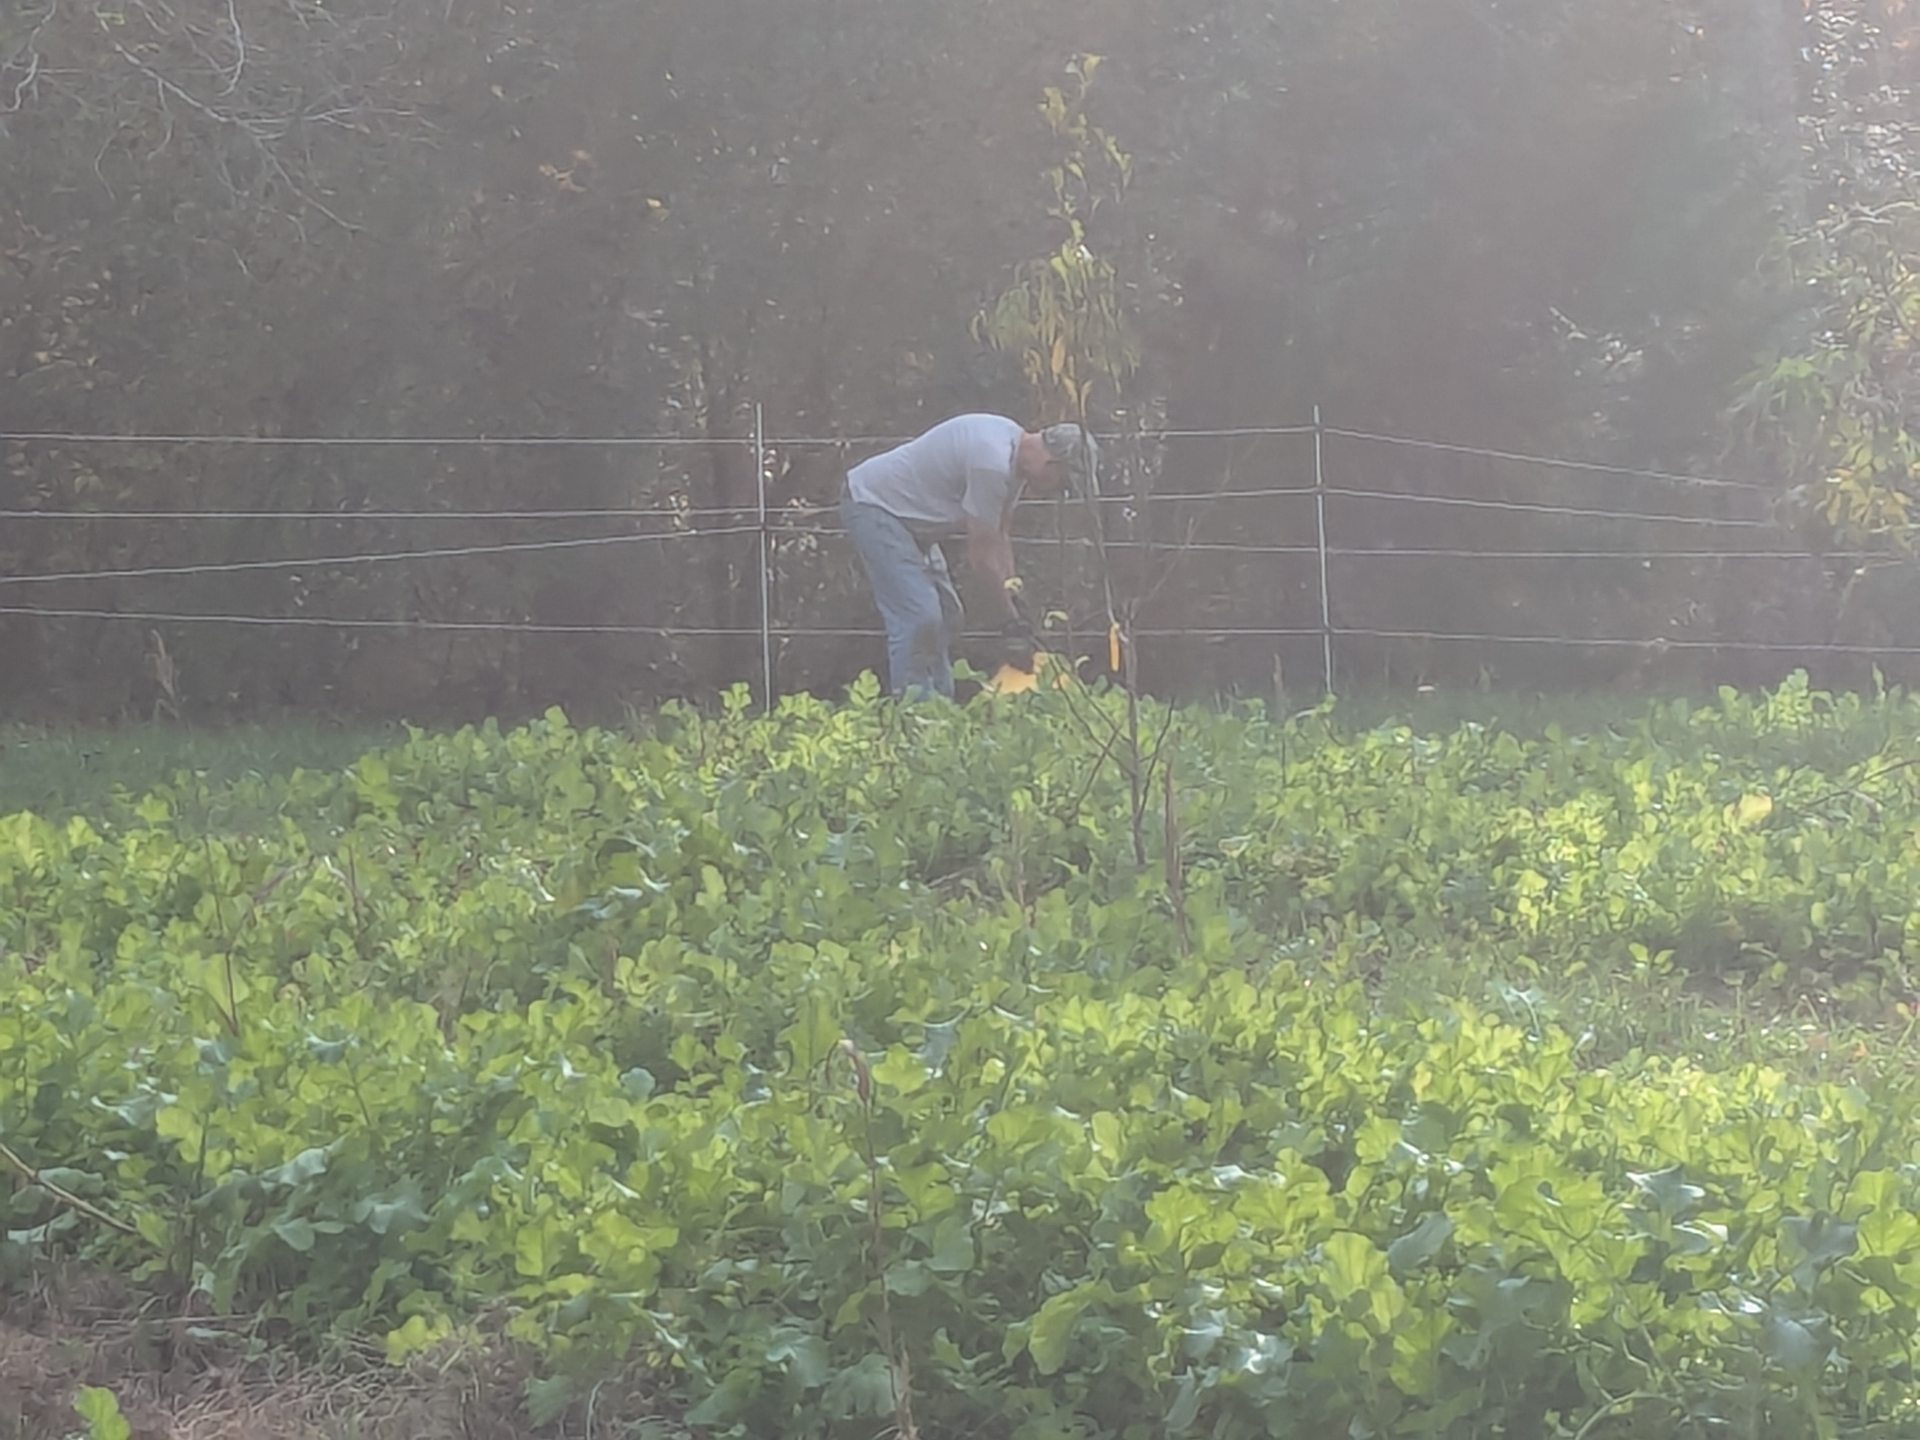
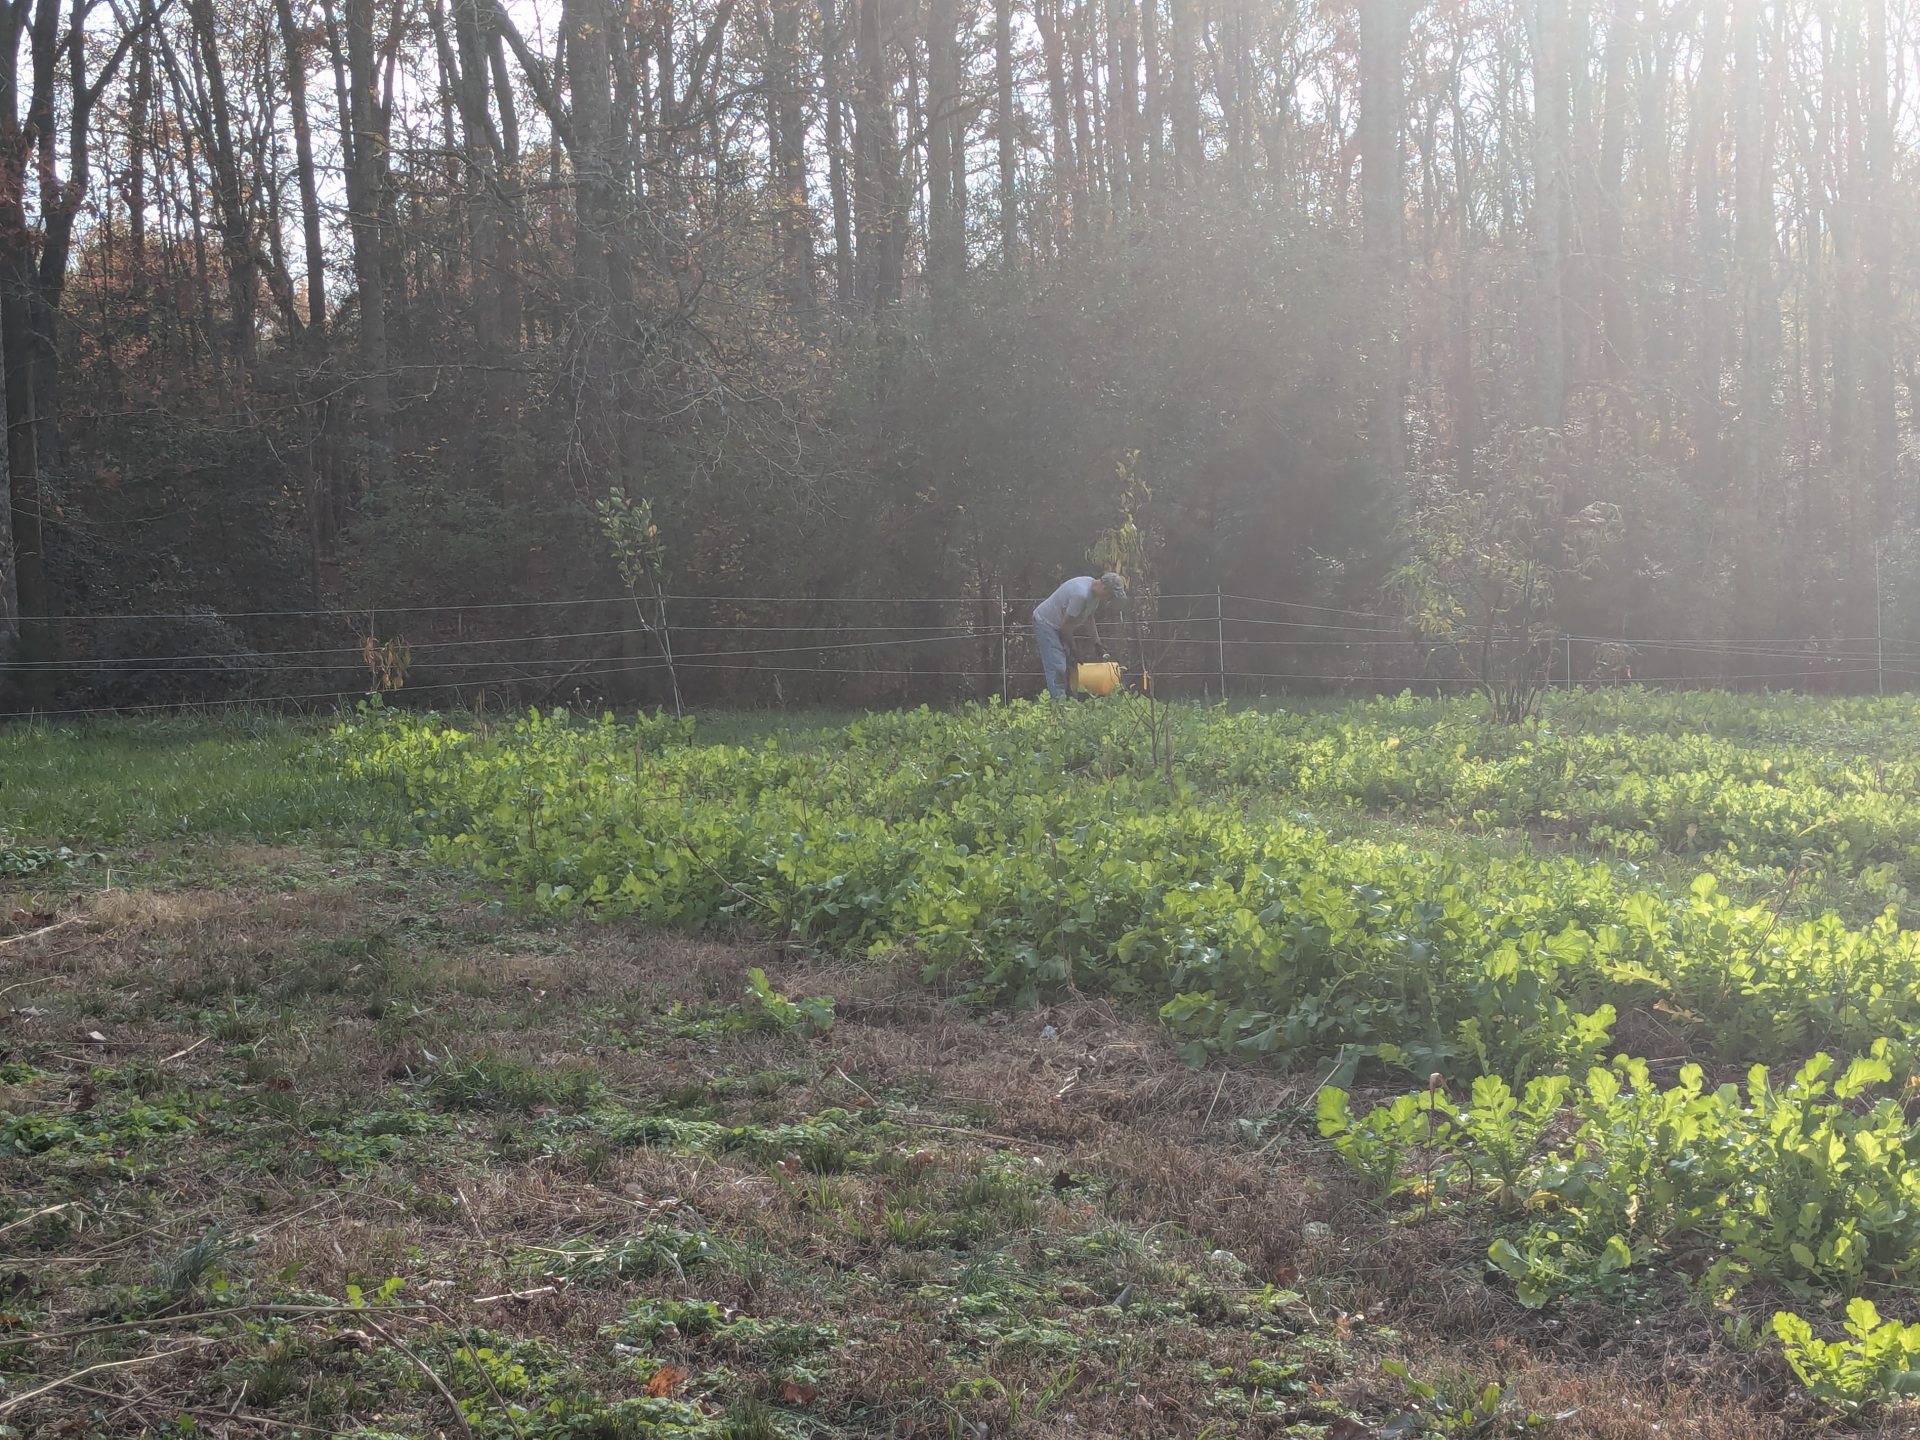
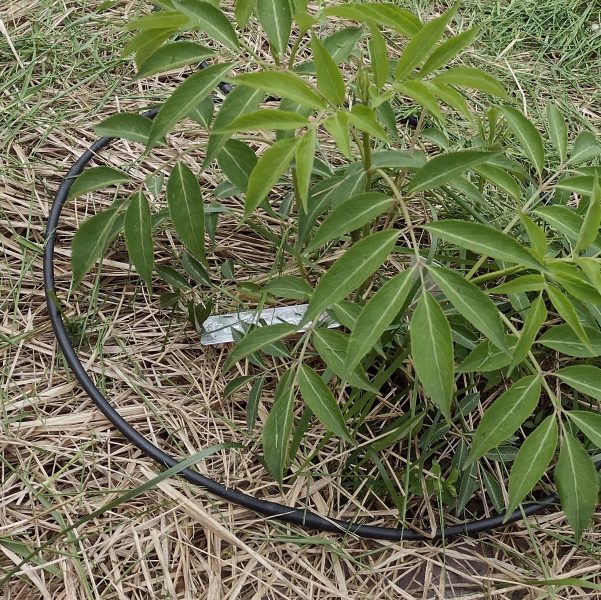
Our food forest area consists of a mulberry trees, elderberries, blackberries, raspberries and figs. There is also a hugelkultur mound at the edge. We started our food forest last year in a field with very established grass. The grass is good because it holds the soil in place but creates a few issues. The grass competes with the bushes and trees for resources. The grass also hides the drip irrigation lines and emitters, making it easy to hit with the lawnmower or weed eater. Keeping the grass cut in the immediate are around plants makes it easy to damage the plants if you get too close with the lawnmower or weed eater.
We spent the day putting down a biodegradable weed blocker. The weed blocker we use is a paper mulch from Chatham Farm Supply in Pittsboro, NC The weed blocker is manufactured by www.7springsfarm.com .
The steps:
We originally tried doing a long length of paper, but the wind kept that from working. Doing small pieces worked much better and were easier to manage on a windy day.

It is really important to make sure that before using hay or stray in your garden, you find out what chemicals were sprayed on the hay as it was growing. Some of the chemicals used in the production of hay (which is typically used for livestock food) are safe for live stock but may kill the plants in your garden. Some farmers assume that safe for livestock means safe for the garden, but often that isn’t the case.

What a busy few days. When it comes to homesteading there is always a lot to learn and share. We worked on the following:
Thanks again to everyone who helped!
If you missed out on this one, join us this fall. Info soon at www.nchomestead experience


