Winter Garden is Growing


Gentleman Farmer, Engineer and Extreme Innovator / Brainstormer
Some days are easier than others. Being flexible helps turn a frustrating day into a productive and happy one! The zero turn is fixed and the garlic bed is weeded and hay put down around the garlic.
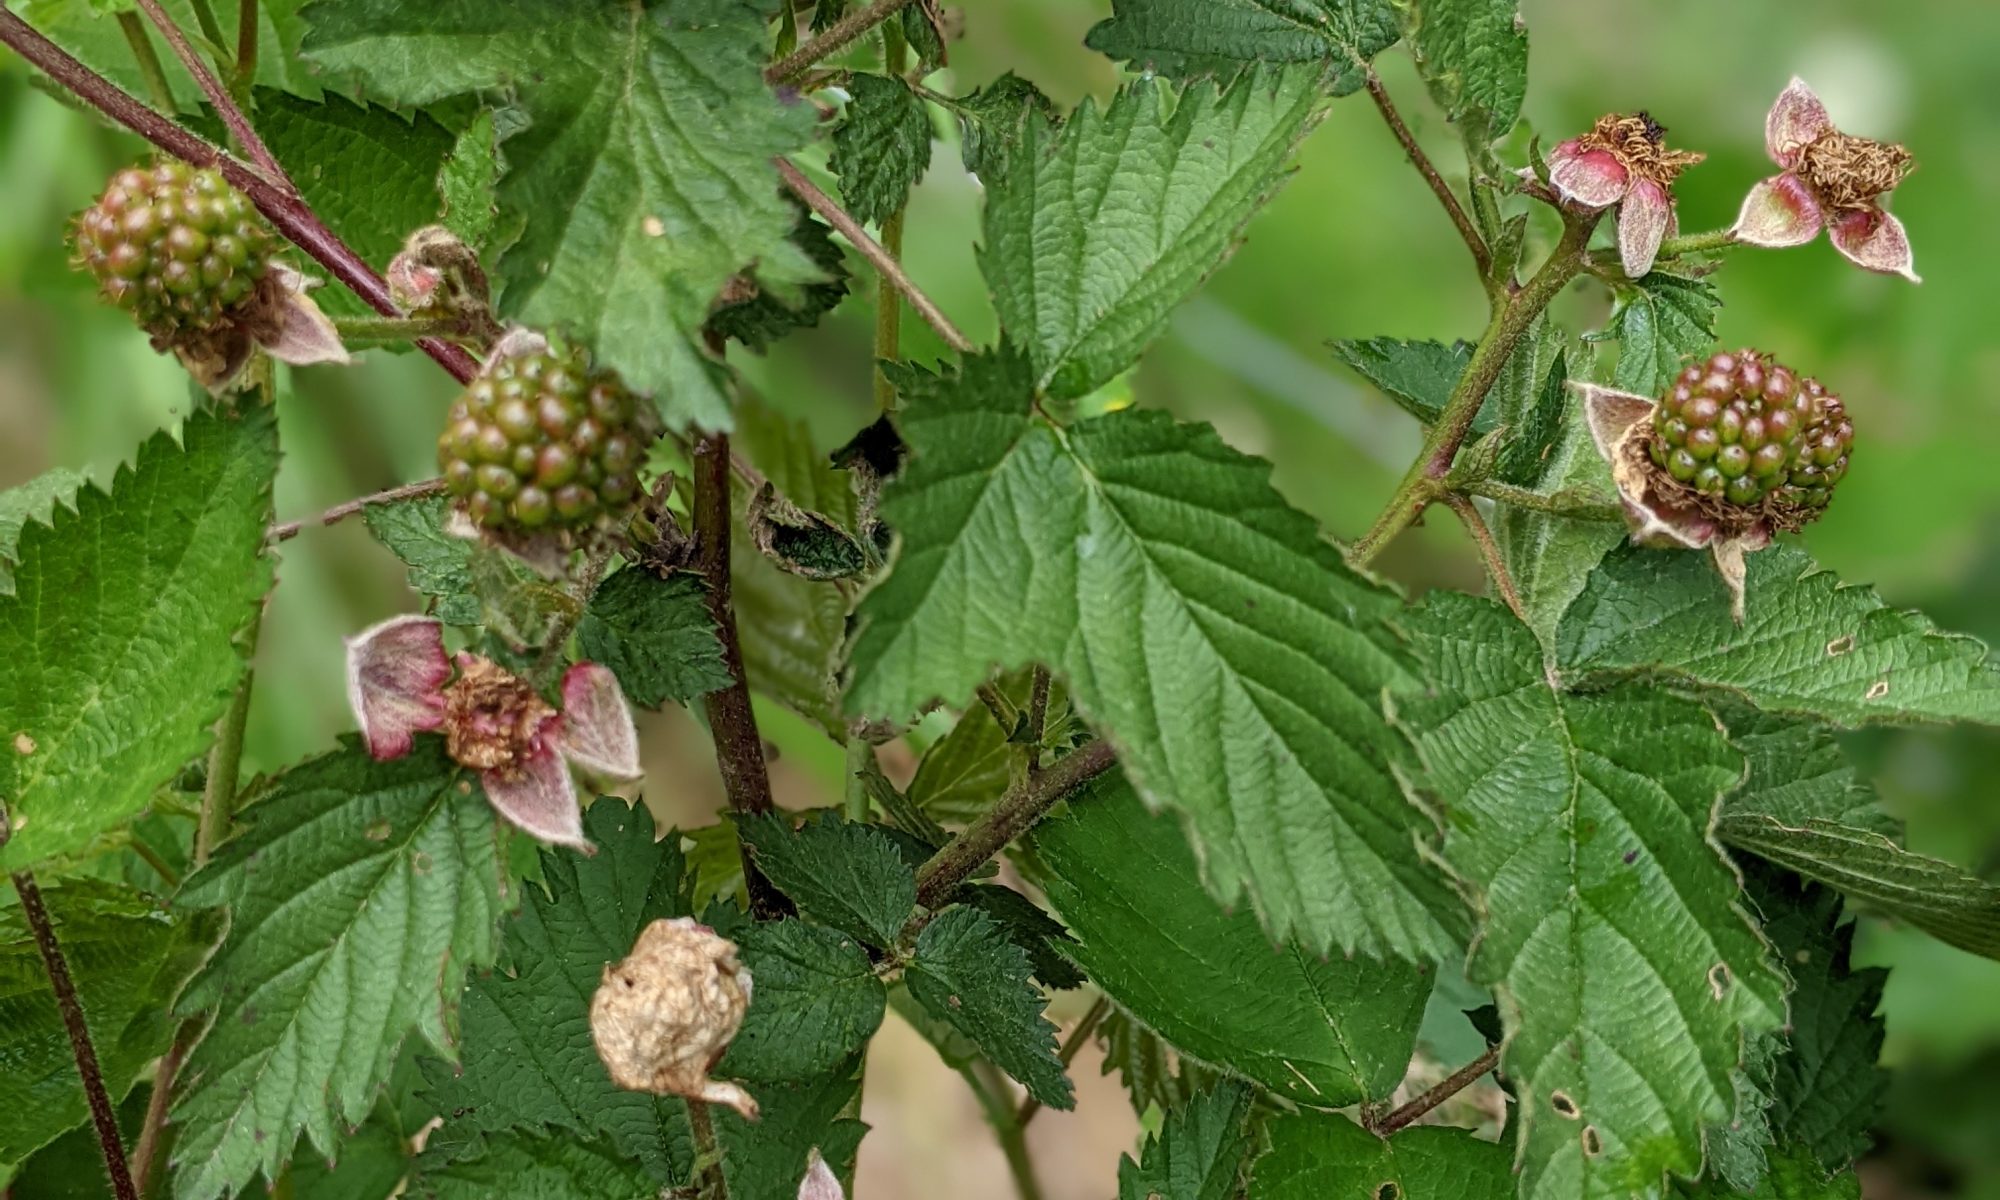
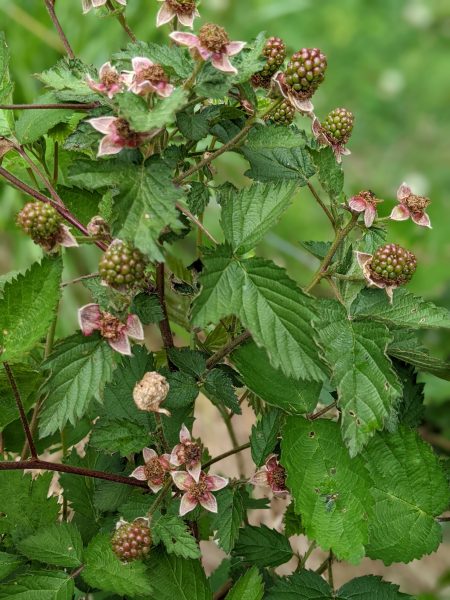
The blackberries are starting to fruit!
The last two days have been a blur. We have been busy. Even with 4 people on the farm working hard, we still have more stuff to do before everything is been planted.
We are on still on a rapid learning curve as we work hard. The garden area in the pictures below was pasture for decades so we had to work to plow up the grassy area and then build new beds.
The BCS tiller was also a new piece of equipment for us. The biggest challenge we’ve had with the BCS is laying out beds so that the rows come out the width that we want. Our BCS tractor has the 5.5 inch extensions added to the the 749 tractor. This makes the tractor wider by 11 inches.
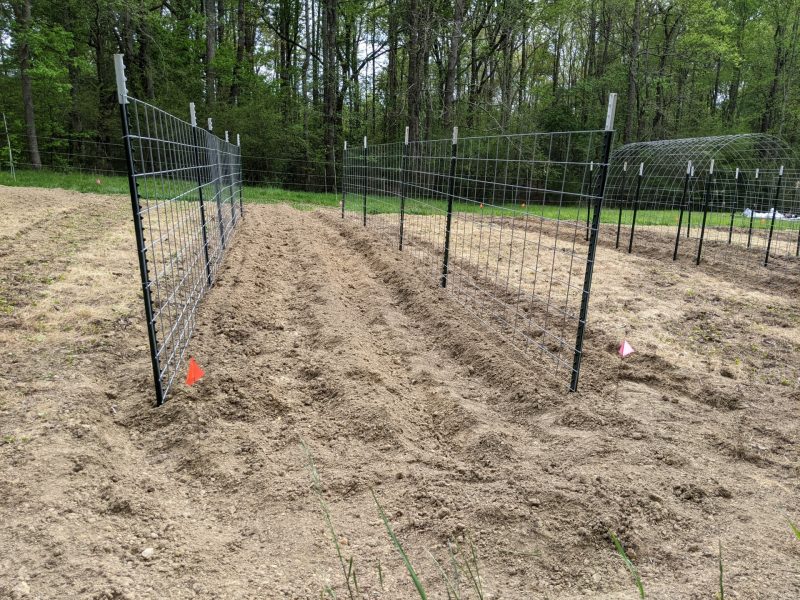
The vegetable garden beds are on a sloped face. To help minimize any erosion issues during rain events, we kept a 10 foot ribbon of grass between each plot. Each plot was laid out to have 2 rows per plot (30″ wide rows) with an 18″ wide walkway between each row. When I added up 3 walkways plus a quantity of 2 of the 30″ wide rows, then we should need a plot that is 9.5 feet wide. In practice, it just isn’t working out that way. I suspect we’ll have to till and hill a plot and measure to see where I’m off in my estimation of the total width of each 2 row plot. There is definitely a learning curve to becoming a better farmer.
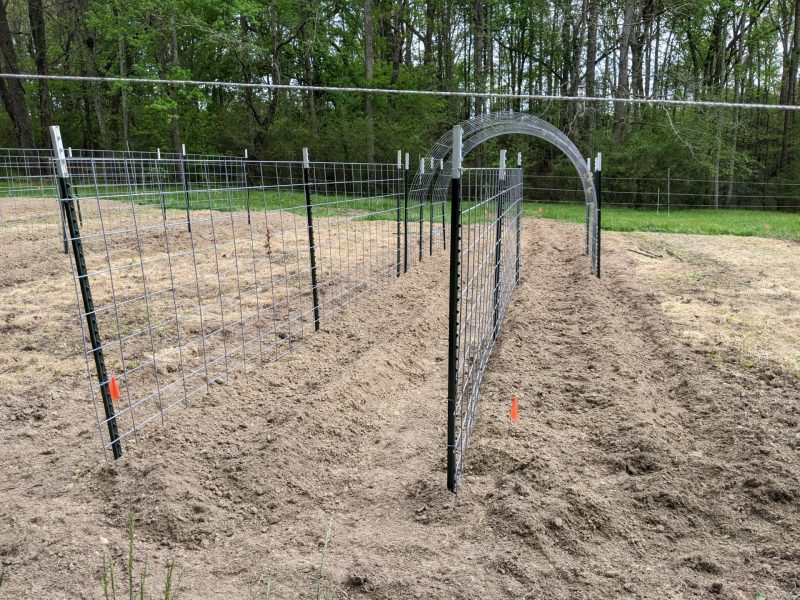
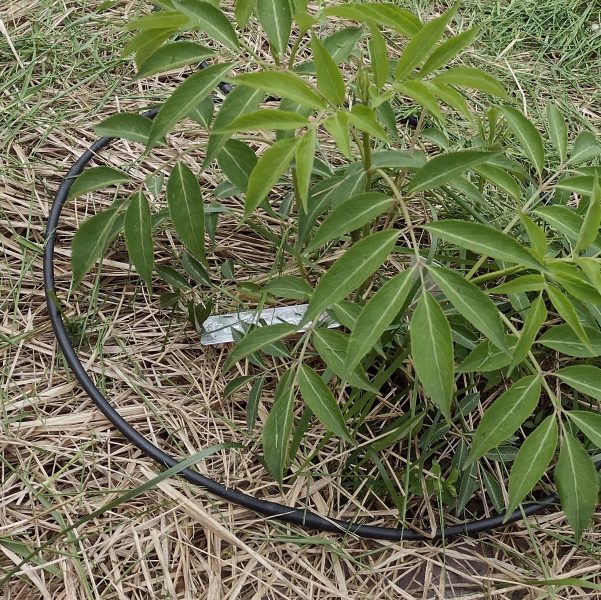
We just installed rows of trellis for pole beans and tromboncino squash. We are using a curved trellis for the tromboncino squash and pole beans. I keep seeing videos and picture of the curved and over trellis configuration, so we wanted to see at try and find out if it works as well as we keep hearing. The curved trellis (when covered with tromboncino squash) should provide provide shade for the young rhubarb.
One of my projects for this summer is to install posts in the field, near the rows, where we can hang the cattle panels (used in the trellis) this fall after we take the trellis down and store it for the winter.
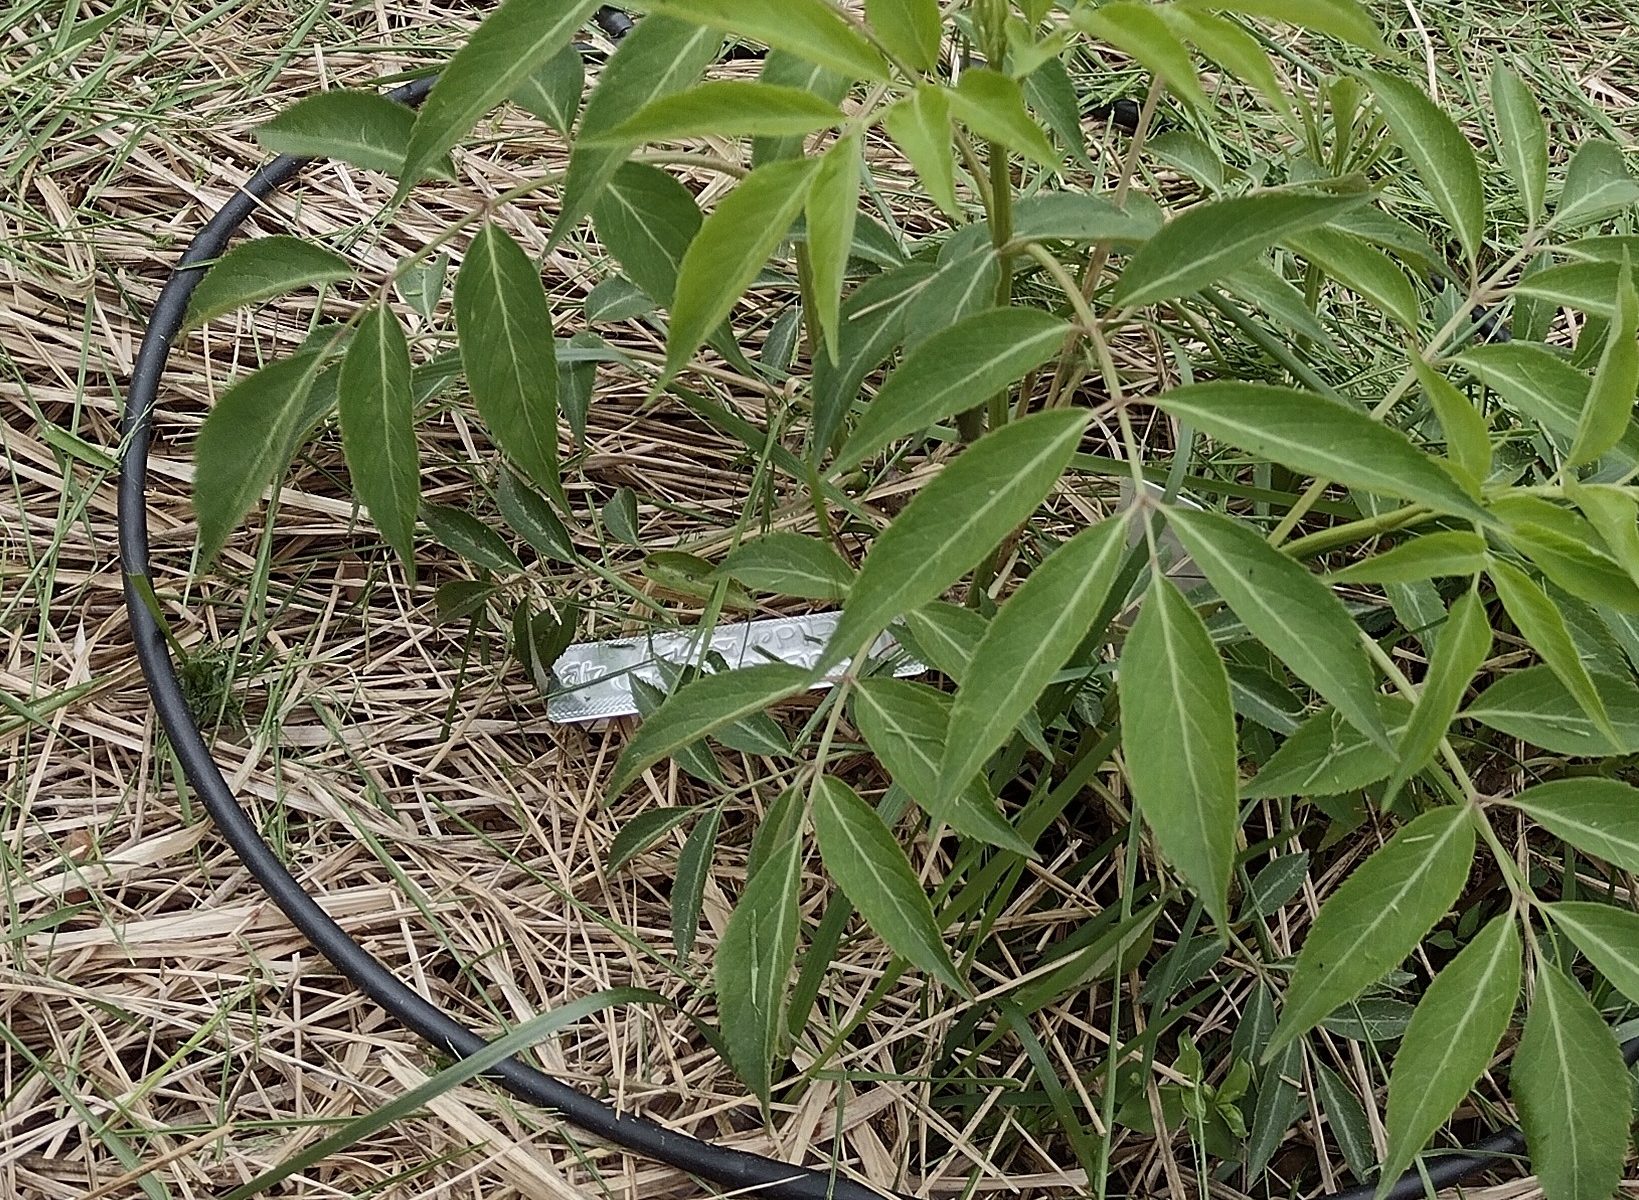
One of the projects this month was to map and tag each fruit bearing tree and bush. My wife took this project and ran with it. We now have a map that shows the location of each fruit bearing tree and bush, indicated by a unique tag number. The unique tags number are recorded in a spreadsheet. Information about each plant is recoded with the tag number, such as variety and date planted. This will also us to track historical data about each plant. This data is also useful when we propagate cuttings, allowing us to properly identify plants for sale.
Let’s start off with what is a Hugelkultur mound. Here is a great video that explains Hugelkultur

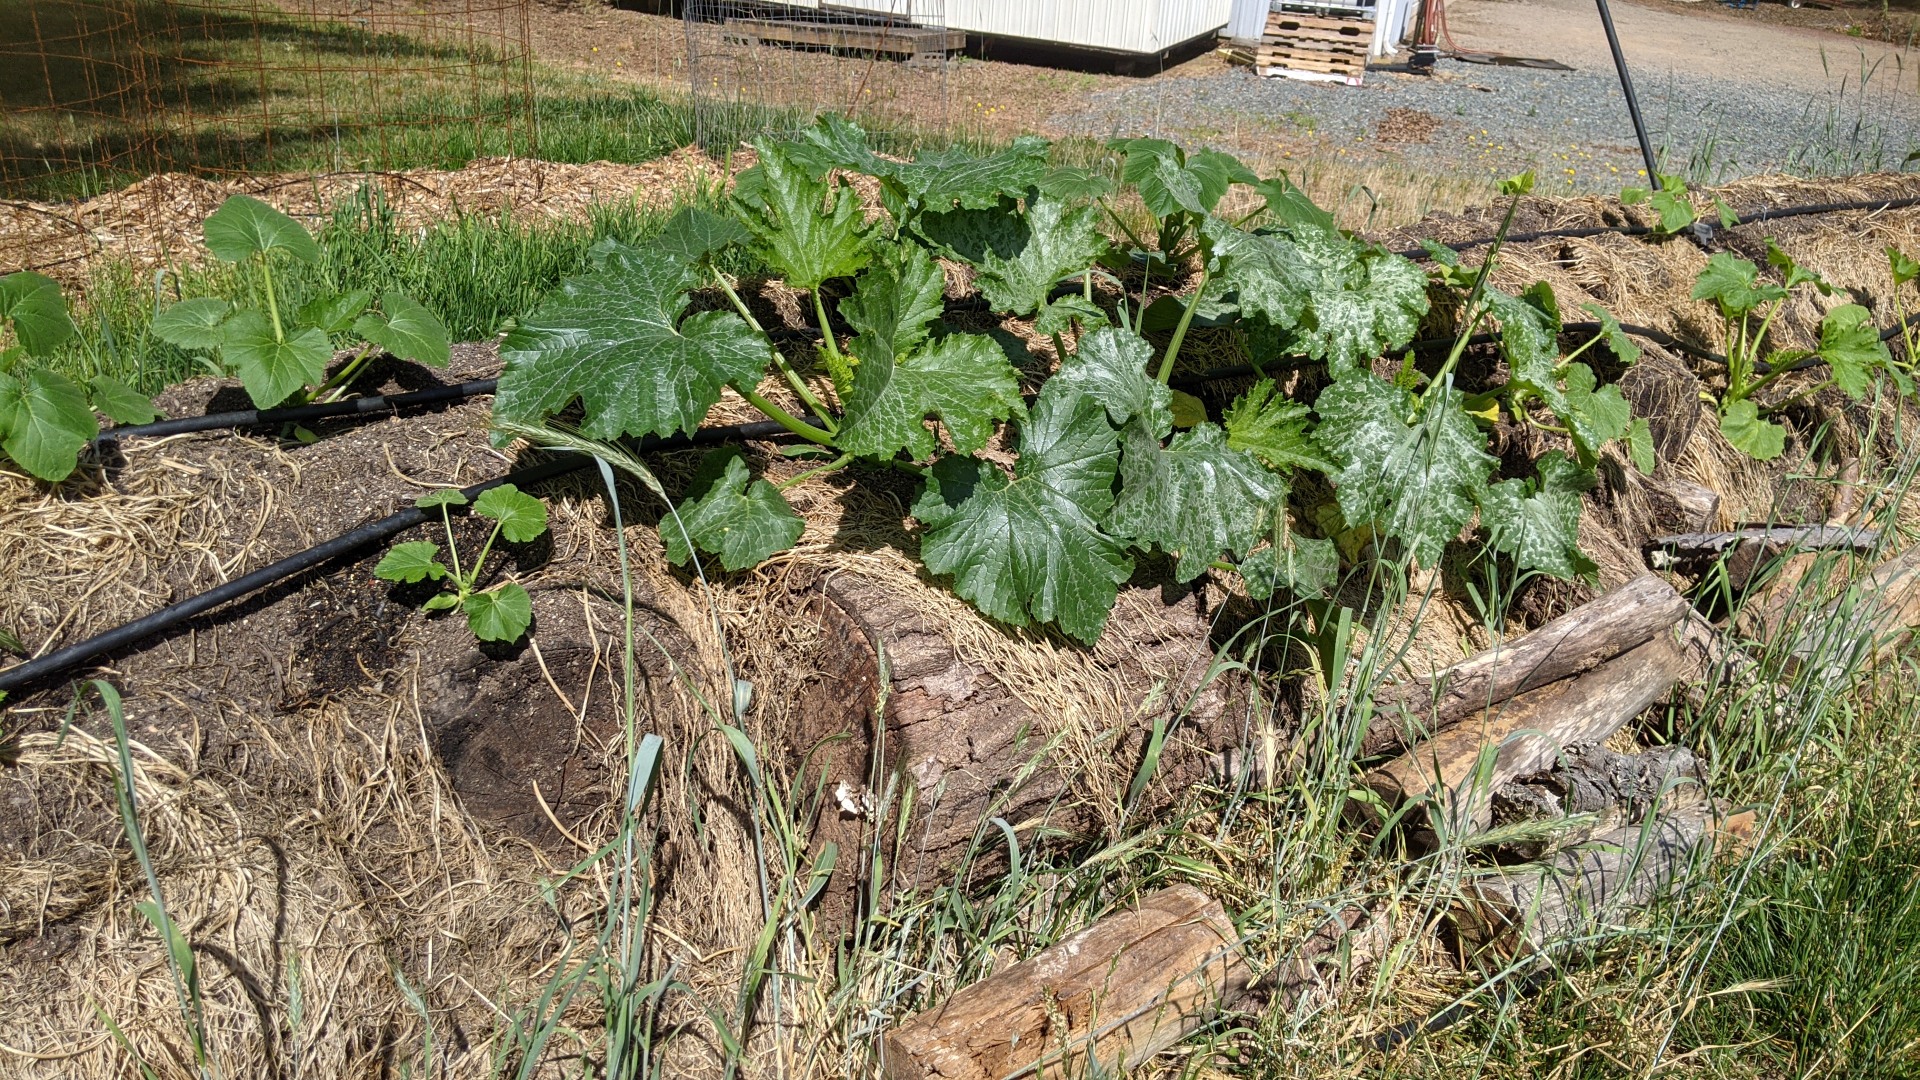
We built our first hugelkultur mound in our garden at home. The mound is about 35 feet long and used trees that we had cleared on the back of the property. It has worked great for growing squash. We use drip watering to keep the plants watered. We have noticed that the hugel mound requires more water than the conventional garden areas. I expect that to reverse as the logs in the hugelkultur mound (about 1-2 years since the trees were cut) decompose.
My original goal with to build at least 2 large hugelkultur mounds on our hobby farm property. We had a great growing experience with the hugelkultur mound at our house, so why not try it on a larger scale.
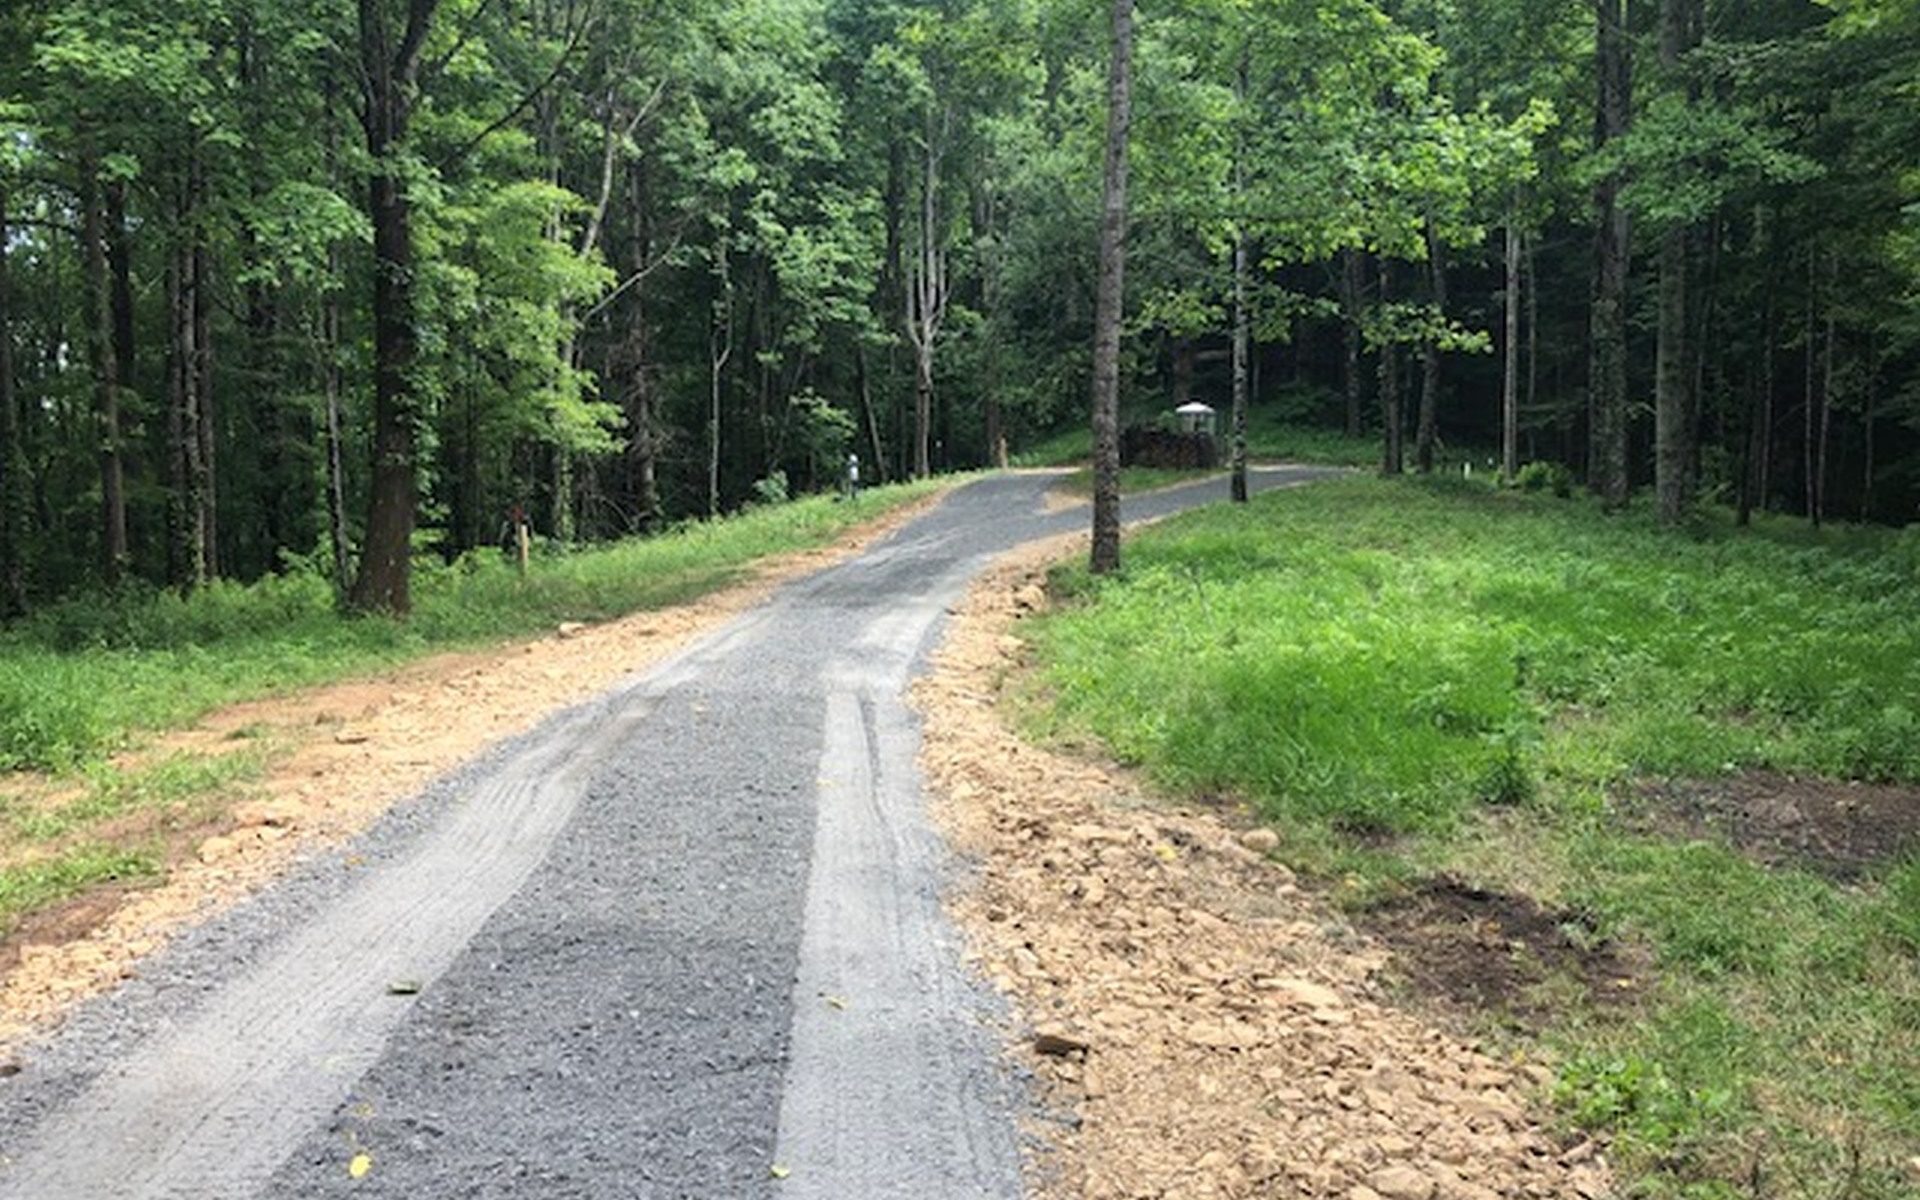
When we put in the driveway, there were two problems what we were able to turn into opportunities. The first is what to do with the top soil that was removed before the membrane and gravel can go down. We also had to decide out what to do with the tree trunks and limbs from the trees that were cut down to build the driveway.
There was never going to be a better time to build the first hugelkultur mound on the new property. So we used the logs, limbs and top soil to build the first one. The mound ended up being 85 feet long, 30 feet wide and about 8 feet tall.

We installed drip irrigation and planted winter squash, watermelons, pumpkins and cantelopes. I was pleasantly surprised by the number of winter squash and pumpkins.
One of the tasks for Saturday was to cover the entire mound with a 35 x 100 foot silage cover. Of course it wasn’t windy until after we started spreading the silage cover. Do you remember going out into the parking lot in elementary school where your class surrounded a parachute? This felt pretty similar with the wind getting under the tarp.


You can see the bumps where the wind kept getting under the tarp as we were getting it in place and held down.

Once the tarp was in place, we’ll leave it there until just before we plant at the end of April as way to suppress any weeds.
My wife and I have this love / hate relationship dynamic with horseradish. We only eat a small amount of it, but we have several family members and friends that really like it. We mostly use it in Connie’s homemade cocktail sauce or on roast beef. Here is a chart showing the pros/cons with horseradish. This should help you decide if you want to grow it. My suggestion is to give it a try, just grow it in an area where you can mow around it to keep it contained where you want it. It will outgrow many garden plants, including asparagus – sorry Connie.
One strategy is to have enough plants that you can harvest about every 3 months. That way you can always have fresh horseradish on hand. The spring and summer harvests may not be as strong as the fall harvest but fresh still wins.
| Pros | Cons |
| Easy to Grow | Can be mildly invasive, best to grow it somewhere that you can mow around (easiest way to contain it, in my opinion) |
| Roots did deep in the soil, which is good to breakup soil | It can be invasive, so you need to make sure it doesn’t spread into unwanted parts of the garden |
| Very hardy | If it spreads into an unwanted area that you can’t mow then you have to week that area to control it |
| Deep roots help breakup soils to a depth of 1-2 feet | Have to dig deeply to remove the roots for processing. Takes time to eliminate from an area because of the roots you miss when digging the plant up to process |
| Tastes great in cocktail sauce or on roast beef. Stores about 3 months (refrigerated). Very easy to grow and you can dig it up any time to make more horseradish sauce | Limited uses. No way to preserve long term after processing (if there is, please let me know) |
| Easy to process | Can be time consuming to peel smaller roots |
| Medicinal uses | None |
| Can be harvested any time in the season | Best if harvested late in the season for best flavor, but not a requirement. Look for yellow leaves, usually after first frost. |
| Limited storage life after processing | Easy to store in the refrigerator |
| Plant pulls minerals from deep soil | None |
| Leaves are mineral laden and make great compost, just leave them where they fall | None |
| Leaves are great supplement for chickens – https://tinyurl.com/2p85yuuz | None |
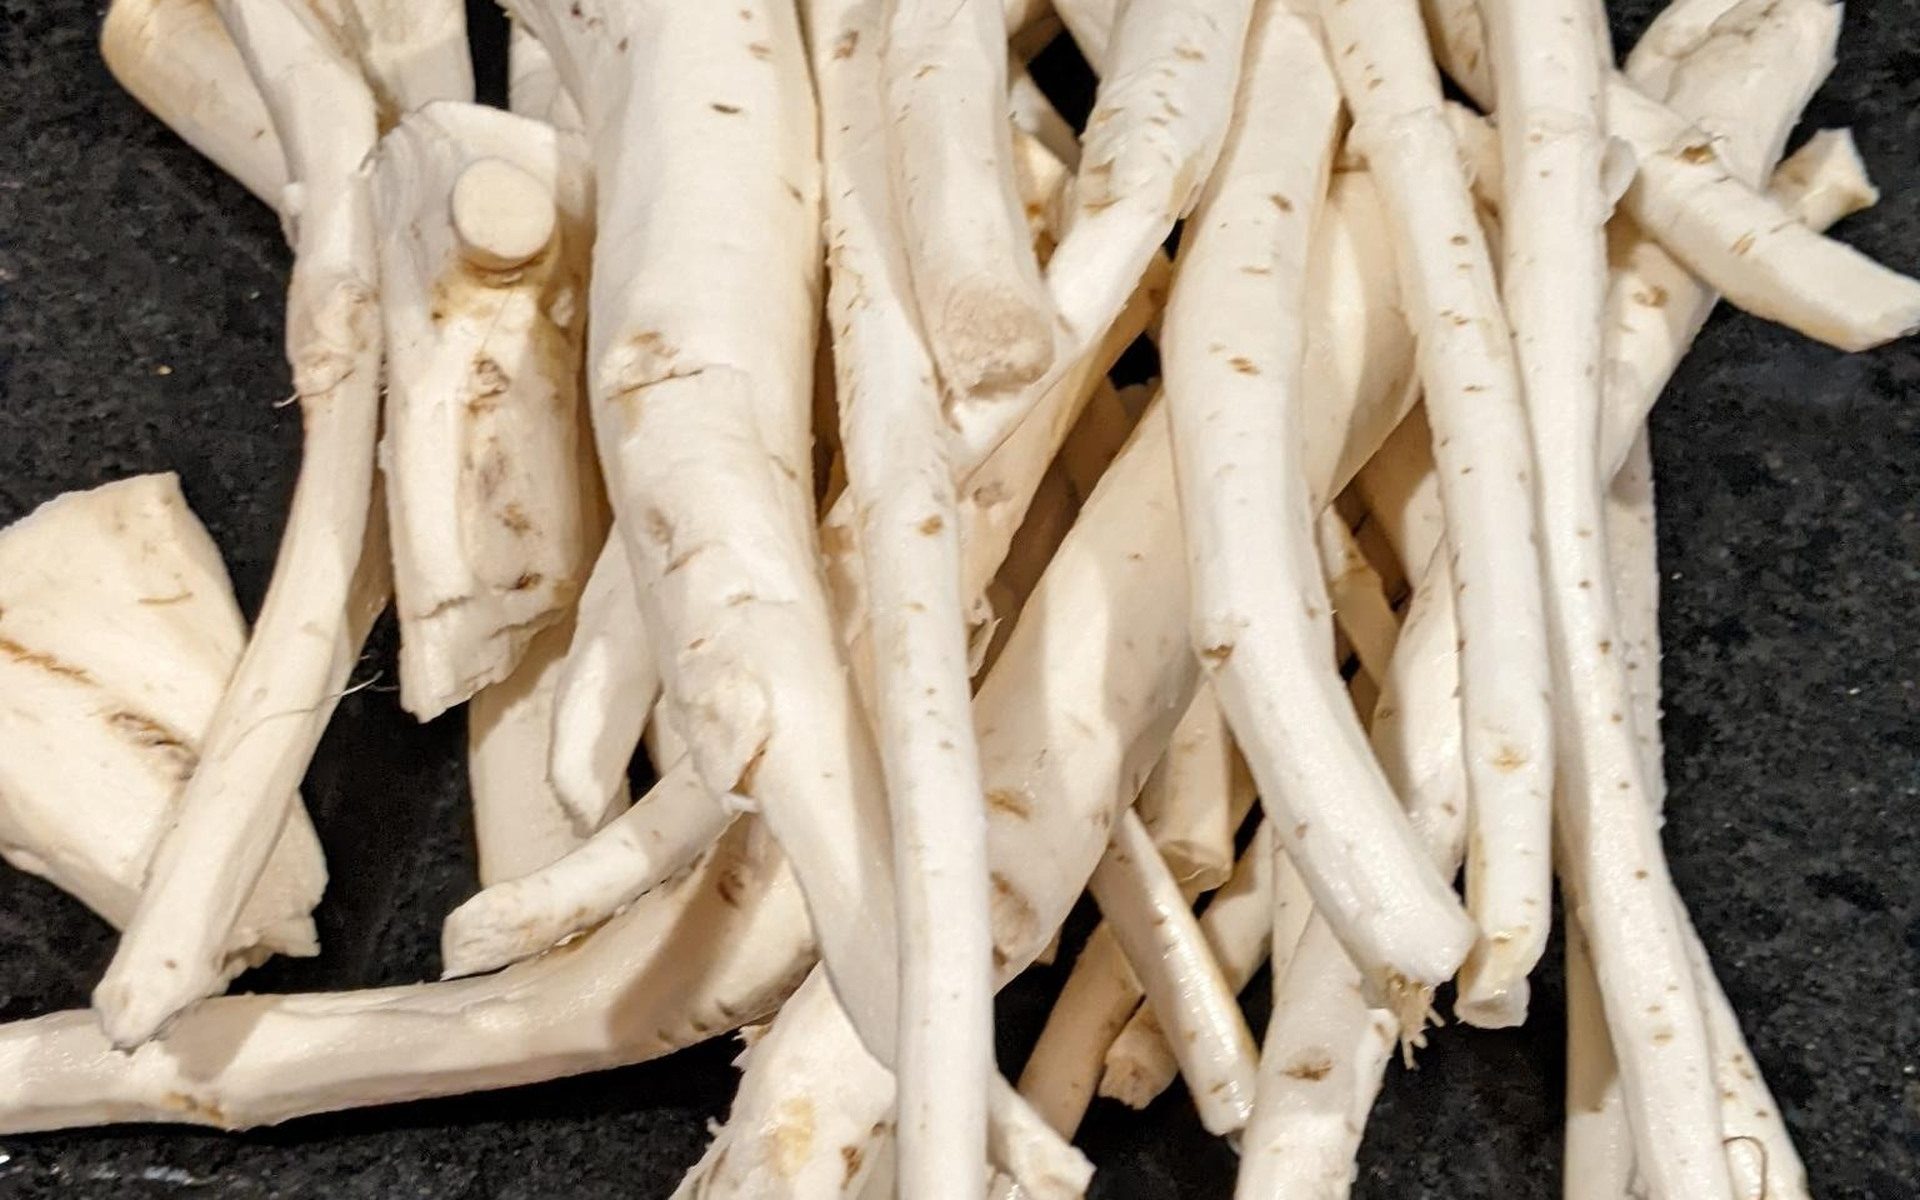
Step 1 – Wash roots and peel
I washed them outside first (they can be pretty dirty). Then wash them again in the sink. Make sure to remove any dark veins. Use safety glasses and good ventilation to protect your eyes.

Step 2 – Chop the roots up so they fit in the food processor

Step 3 – Pulse in food processor until finely chopped but not mushy.
Wait at least 2 minutes before adding the vinegar. The longer you wait the hotter the horseradish will get.

Step 4 – Take one lb of horseradish and add 1/2 cup of white vinegar and 1 cup of cold water. Add approximately 1 teaspoon of kosher salt (adjust to your taste preference

Step 5 – Pour into jars – we use smaller jars because most of the time the amount of horseradish used is fairly small. These are great Christmas presents.


Enjoy!
Note – we’ve had limited success vacuum sealing the jars. I suspect that we would need to do the vacuum sealing process fairly slowly to avoid making a mess.
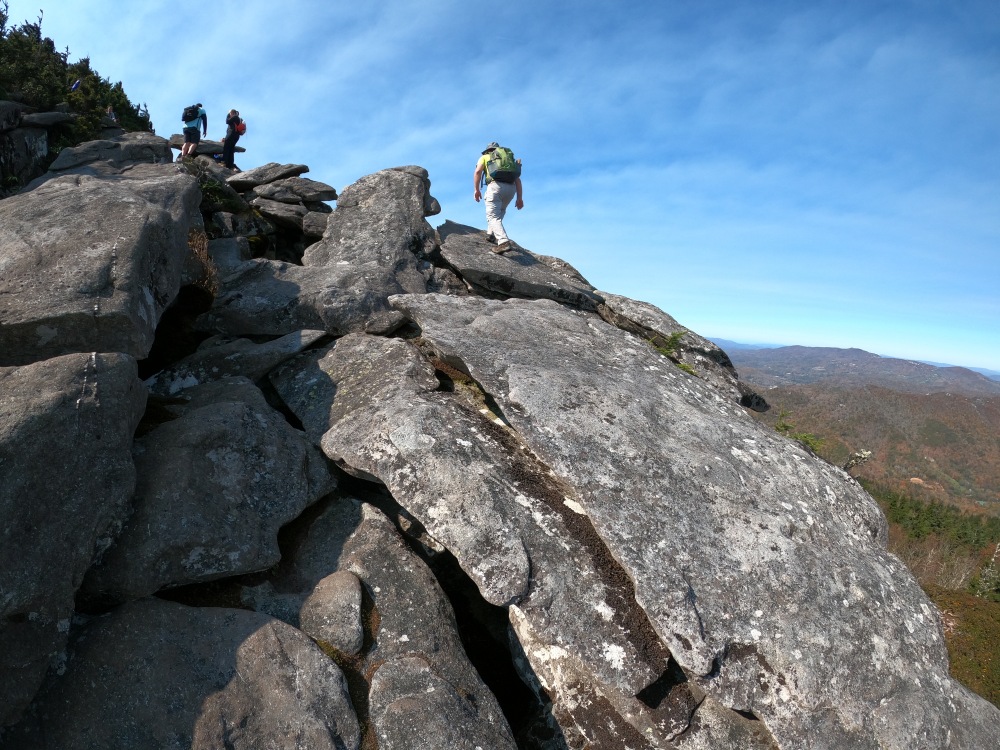
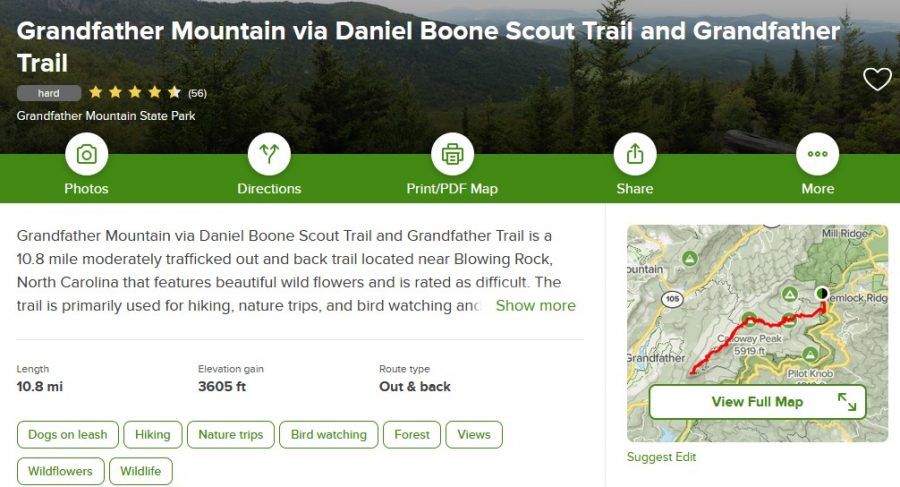
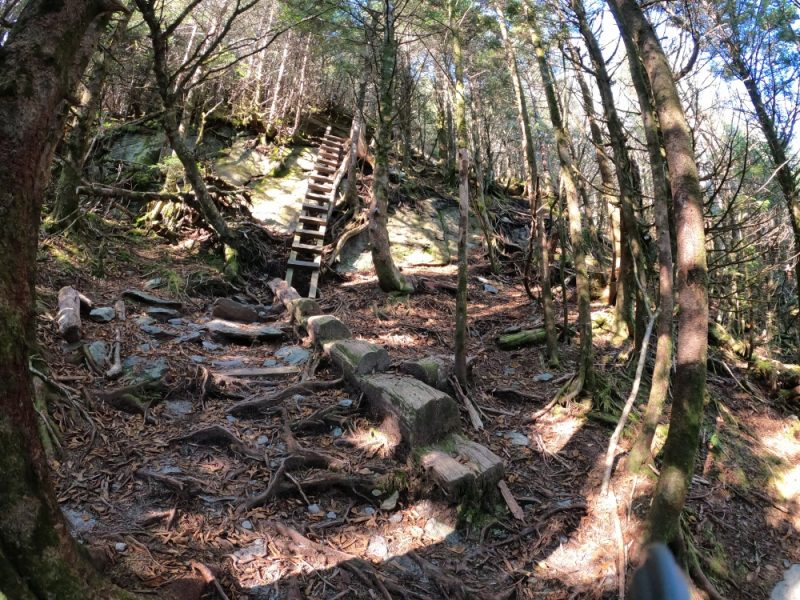
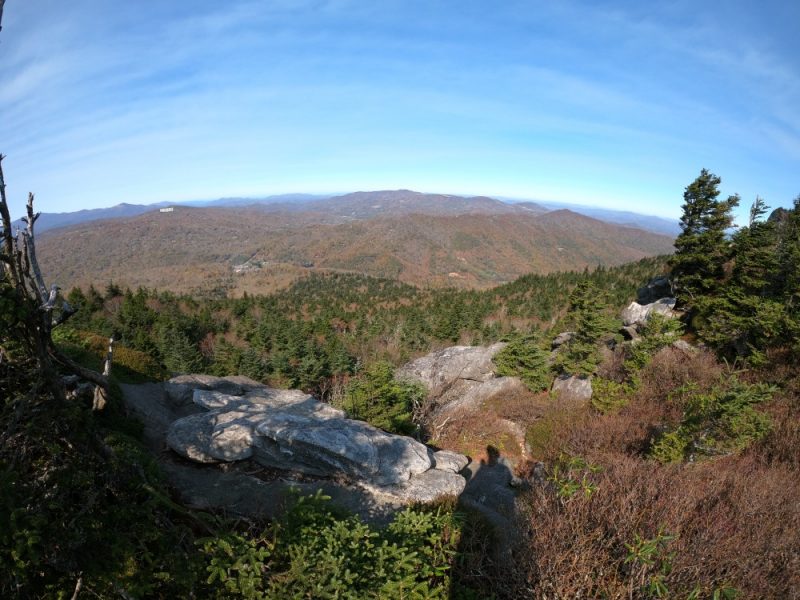
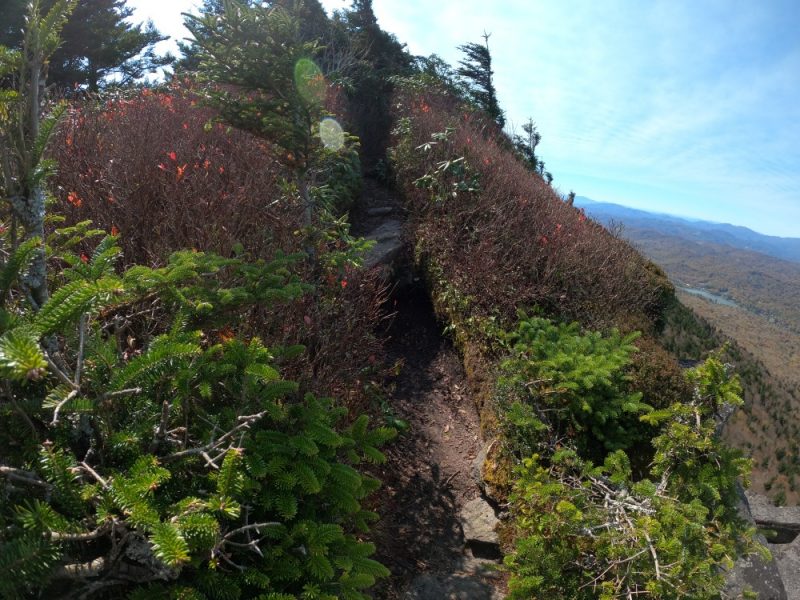
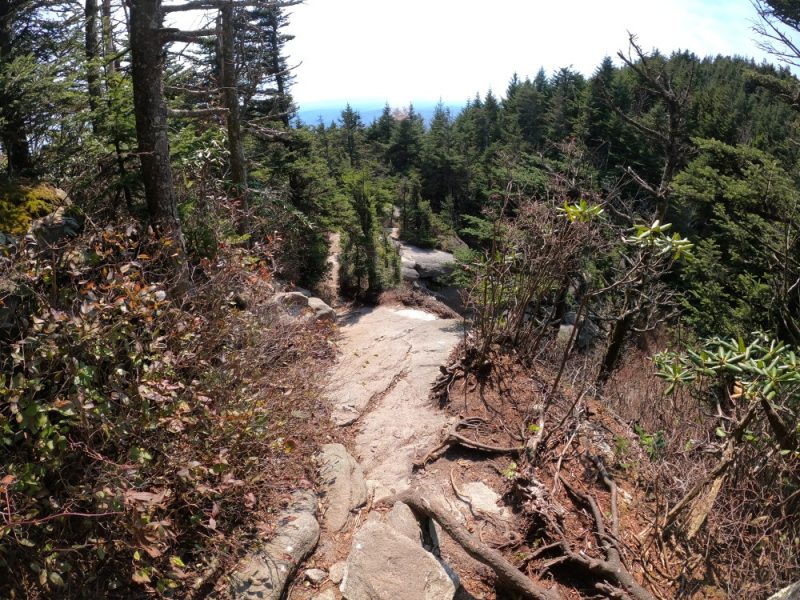
If you are looking for a great hike that is challenging and very, very beautiful then this might just fit the bill. This is probably one of the most technical hikes in NC, but there is view after view after view.
Connie dropped us off on the Blue Ride Parkway and picked us up at the top of Grandfather Mountain, which turned out to be a good thing. There was a lot of traffic on the Grandfather Mtn trail and it was slow going at times. The hike up was about 6 hours.
If you want to do the hike up the mountain only, then you will need to arrange for a ride or have someone pick you up at the top of Grandfather Mountain. If you want someone to pick you up on the top of Grandfather Mountain, you’ll need to buy a pass, well in advance. There are a limited number of parking spots, so they sell passes with a window of time on a specific day to enter the park with a vehicle. You can purchase the pass to Grandfather mountain here. You don’t need to purchase a pass to hike in the park, but you will need a pass to enter the park with a vehicle. Grandfather Mountain does operate a shuttle service up the mountain, but I’m not sure how that works.
Alltrails.com is a great resource for hiking in this area. Click on the image to read about the trail and the hike.
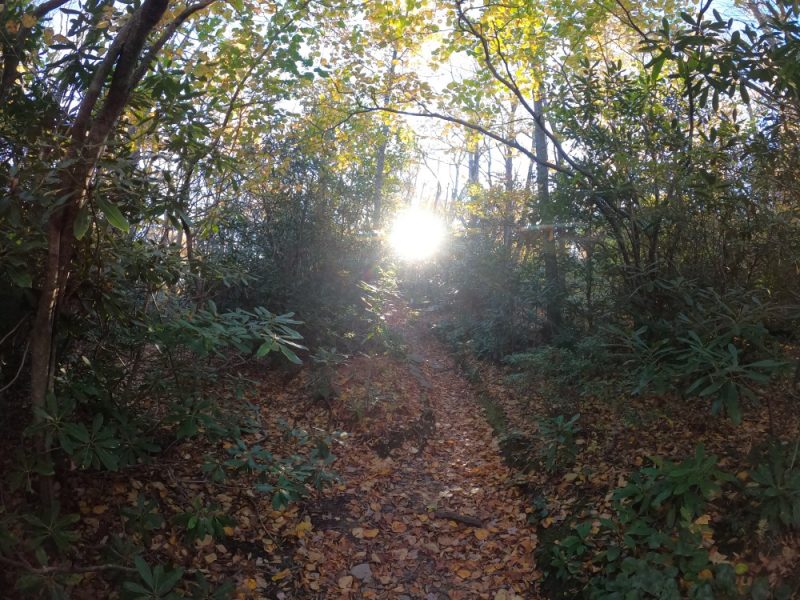
The Daniel Boone Scout Trail portion of the hike is not very technical and the climb is gradual throughout the trail. The first part of the hike is on the Tanawha Trail. The Scout Trail turns right and heads up the mountain after a short hike from the parking lot on the Blue Ridge Parkway. The only gotcha on the Daniel Boone Scout Trail is the trail markings and trail configuration just past the trailhead (leaving from the parking lot on the Parkway). The signage is a little confusing where the Scout trail turns off the Tanawha Trail.
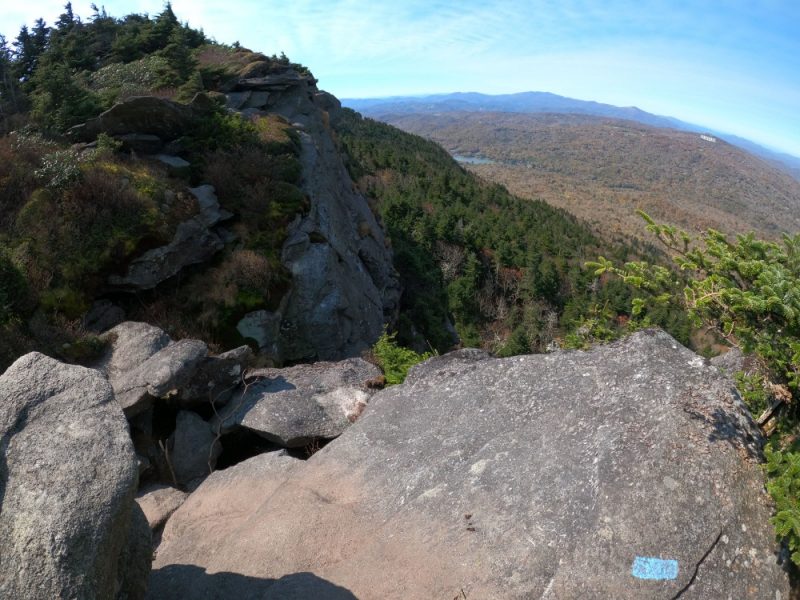
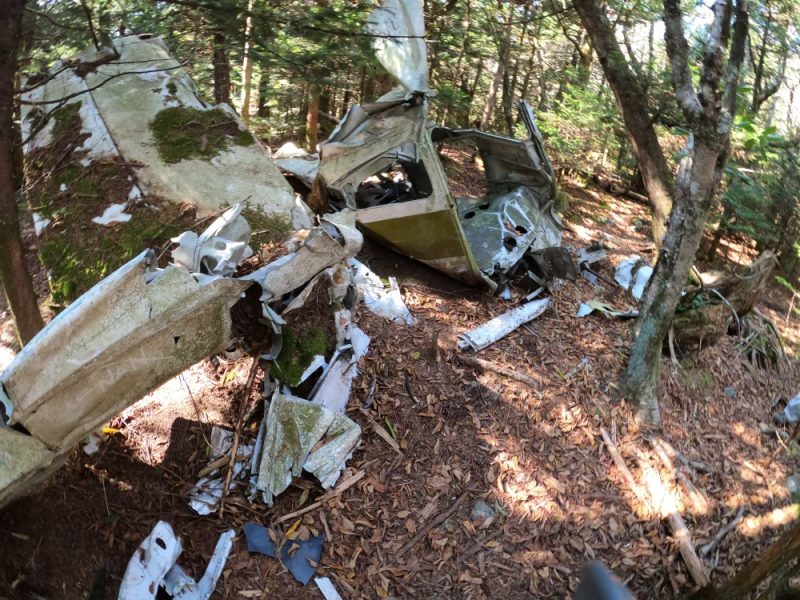
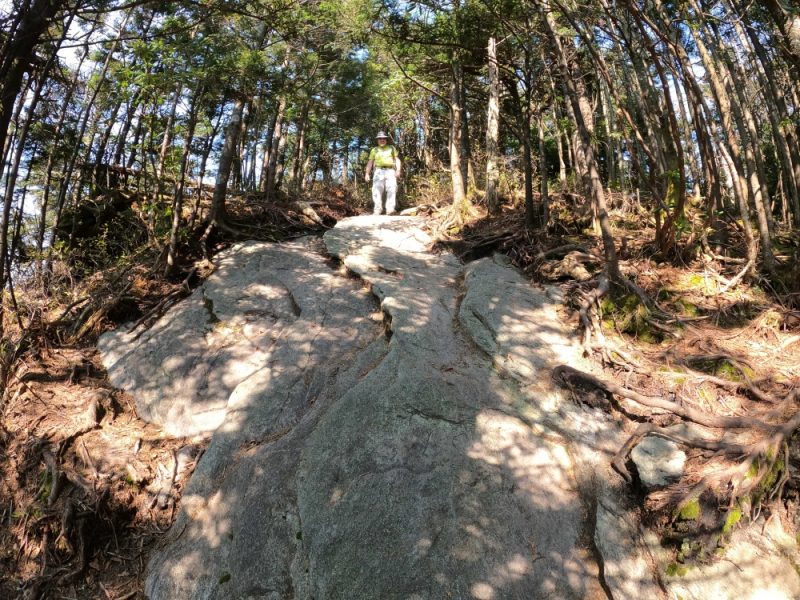
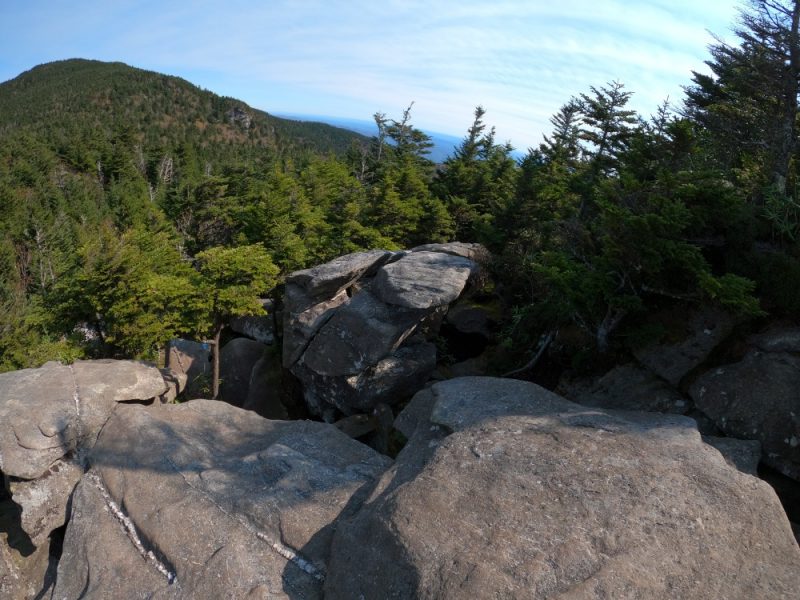
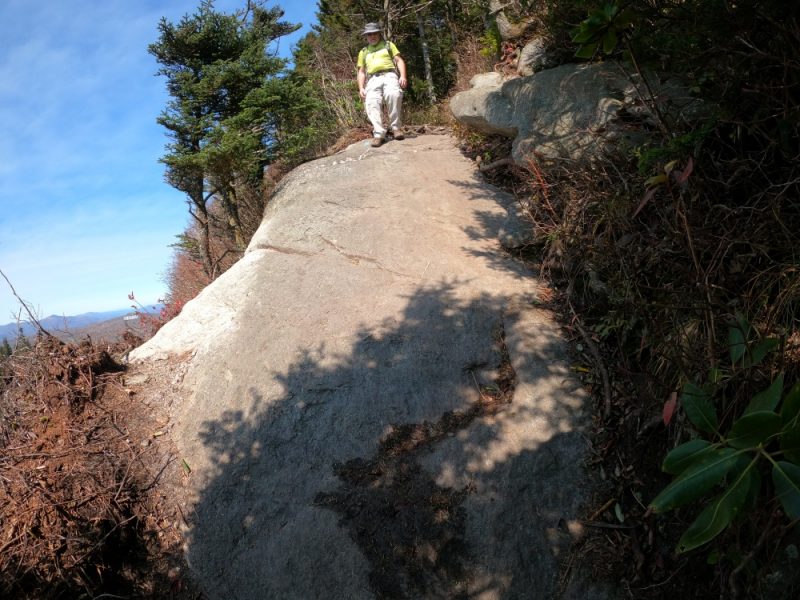
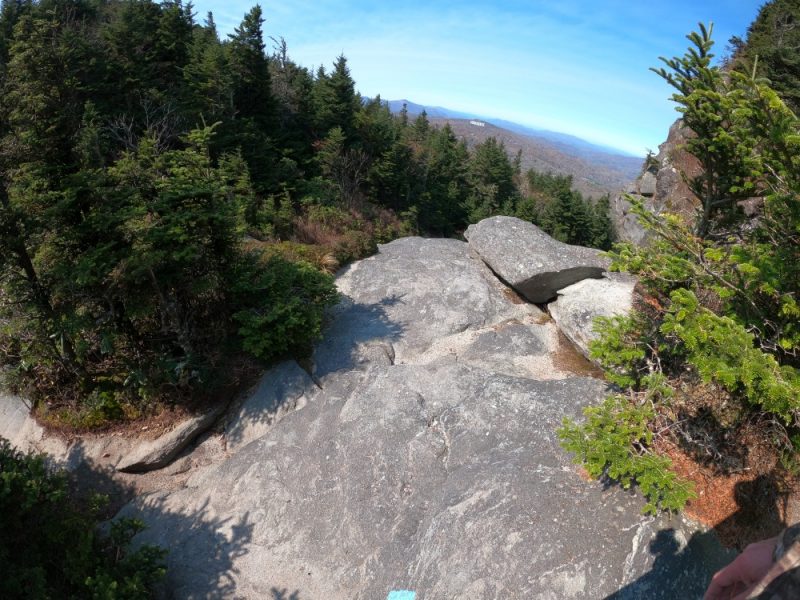
The Grandfather Mountain portion of the trail gets very technical in spots. There are lots of spots where you have to be very careful because of the steep drop offs and slick, or even icy, rocks. There were icy spots during our hike in mid-Oct. There are ladders and very exposed climbs, but it truly is beautiful.
One option to consider is just doing the Grandfather Mountain Trail. You would start at the parking lot near the swinging bridge, and do the trail as an out and back (returning to the parking lot on the top of Grandfather Mountain).


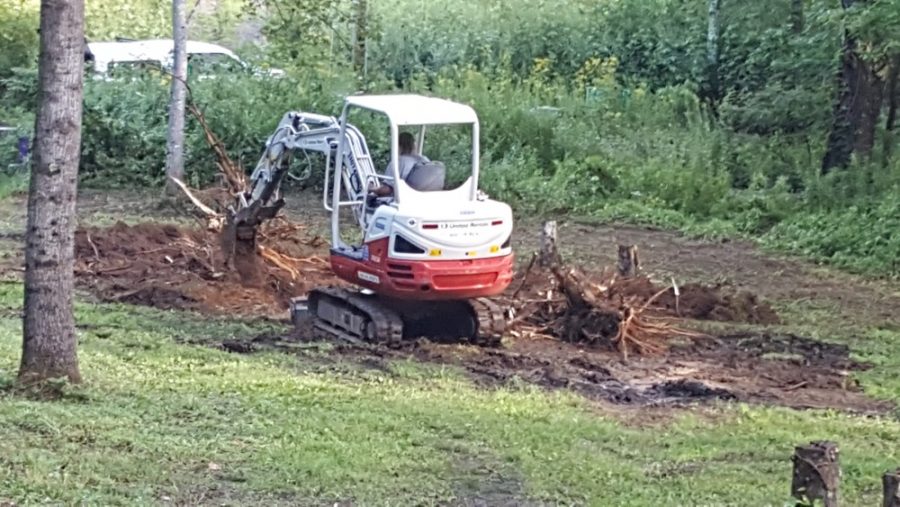
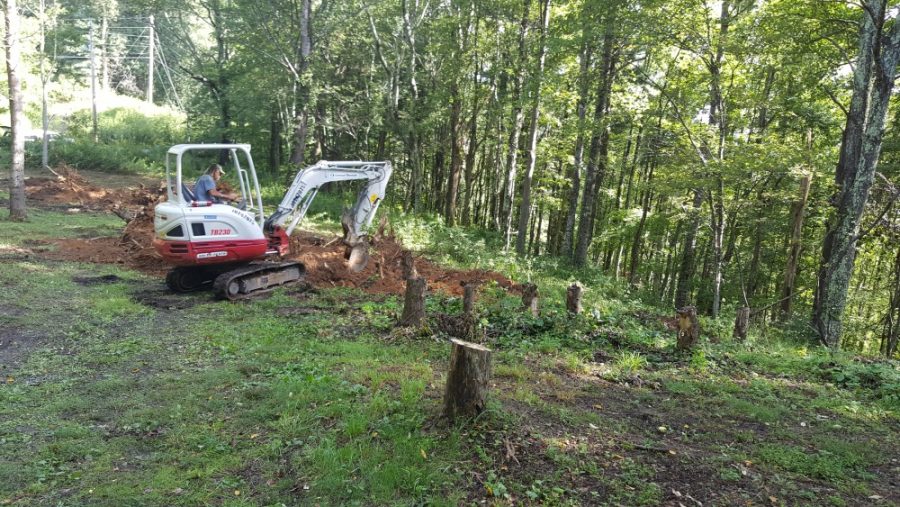
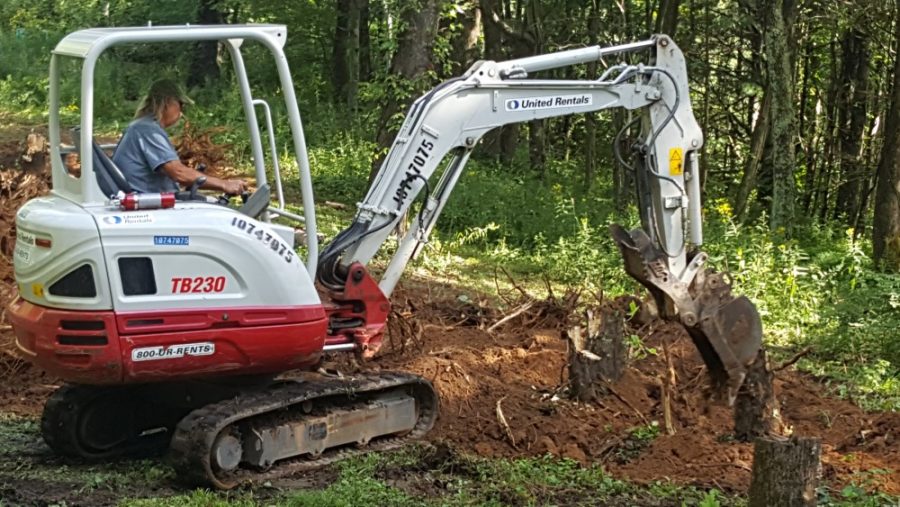
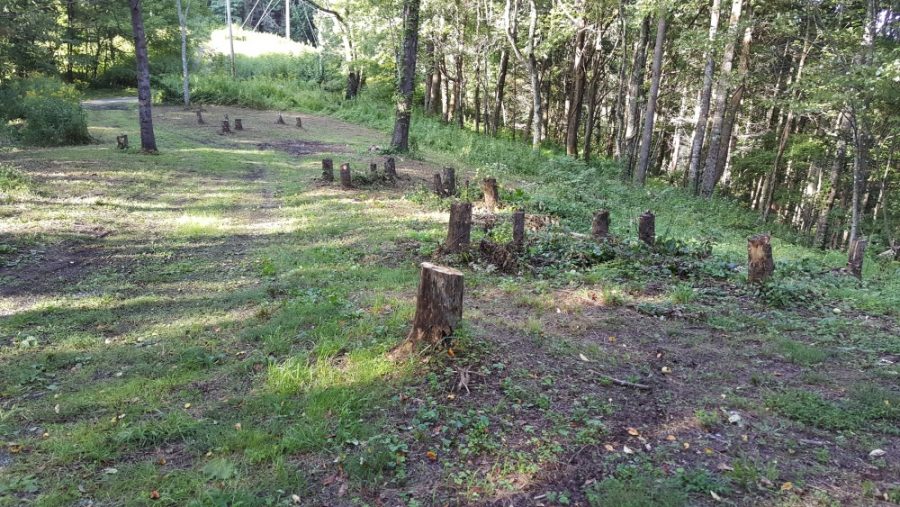
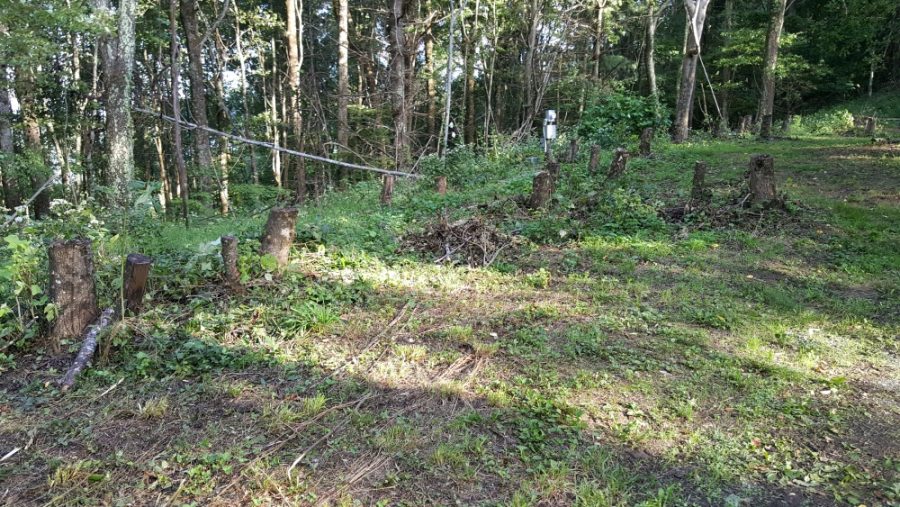
We accomplished a lot on Day 1. Most of the stumps were removed. The brush and logs that were left from the last trip were cut up and pushed into piles on the side of the property. I also was able to start cutting some of the unhealthy trees on the perimeter.
The brush piles are good for the wildlife. They provide shelter for birds like grouse. They also provide places for a momma deer to stash a young fawn while she feeds else where. My wife was pulling brush into a pile (on the previous trip) and suddenly realized the was a fawn tucked away just a few feet from where she was working. We had been working in the area all day and the fawn had been there. We didn’t realize it until Connie saw it.
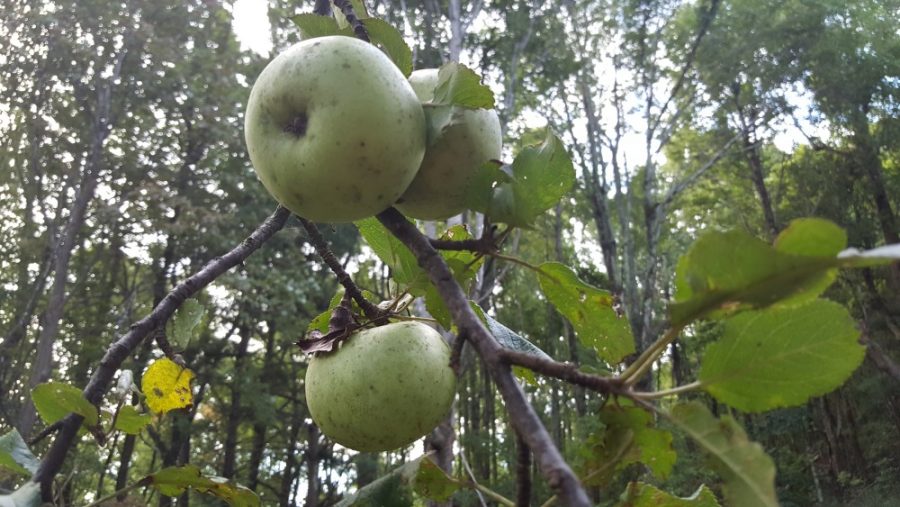
The apple tree in the middle of the campsite has been a subject of much discussion. The tree has struggled to survive under a canopy of faster growing Ash and Poplar trees. We cleared the trees that shaded the apple tree earlier in the year. The apple tree has put on a bunch of new growth with the extra sunlight hitting it.
The challenge is that the apple tree is in a spot that it is exposed to vehicular damage so we had to adjust the plans for the driveway to protect the apple tree. When we discussed the tree as a family, the consensus was to cut it down. I was the lone hold out to keep the tree. We’ll need to top the tree next year to keep it healthy and trim away growth that isn’t good for the tree long term.
It is important to note that those green apples are sooooo sour that the deer are even reluctant to eat them. You’ll see an apple on the ground with a couple of bites missing, like the deer tried it and walked away. They are cooking apples, just way too sour to do anything else with.
The saga of the apple tree continues, well see how it goes.

We’re working on the campground. Join us to see how it looks before the heavy equipment arrives.
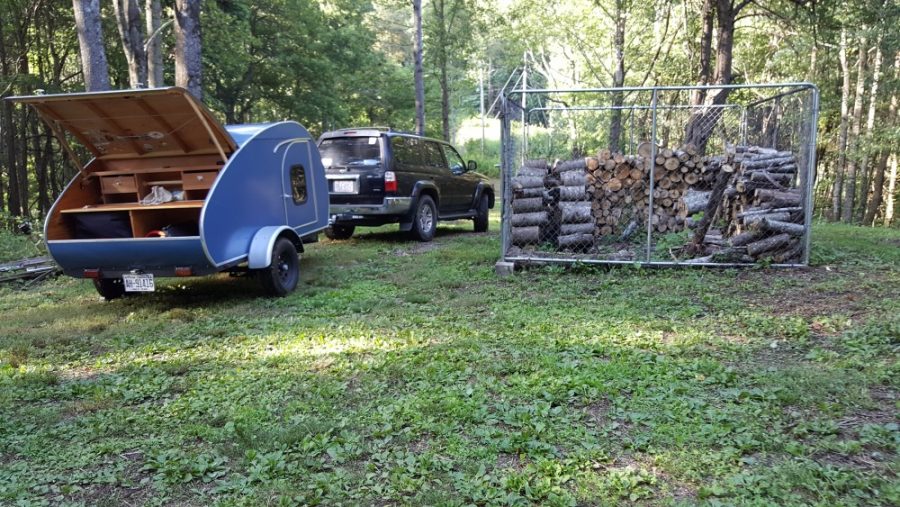
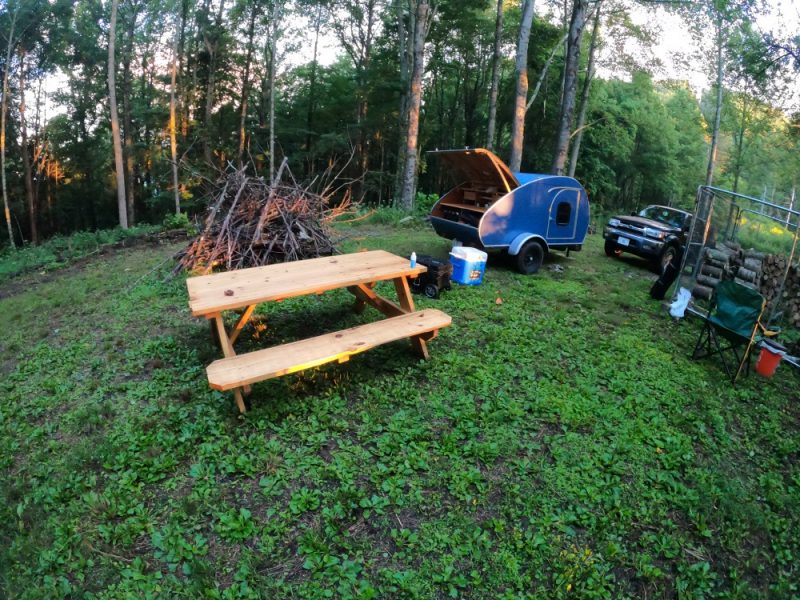
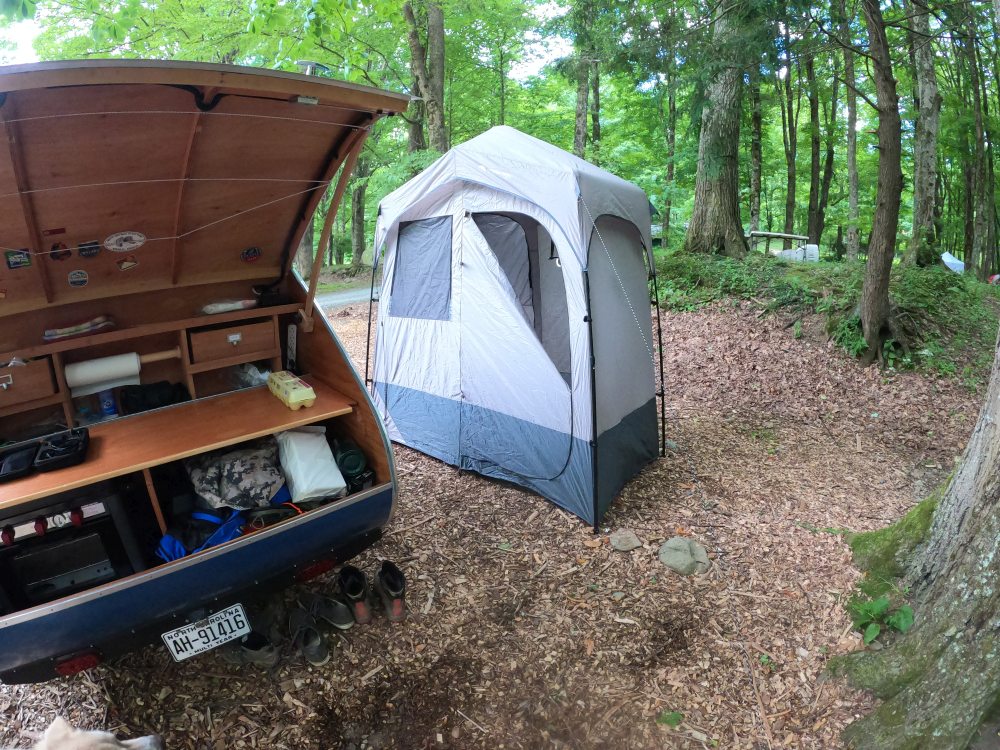
Thinking about going camping soon? The video below shows how we tried to stay safe last weekend and avoid the Covid virus while we were camping at Grandfather Campground in Banner Elk, NC.
The goal was to not enter the shower or bathhouse. Instead we used our pop up shower tent and portable, propane hot water heater to shower at our campsite. We used our portable poop bucket for those needs.
Stay safe out there!

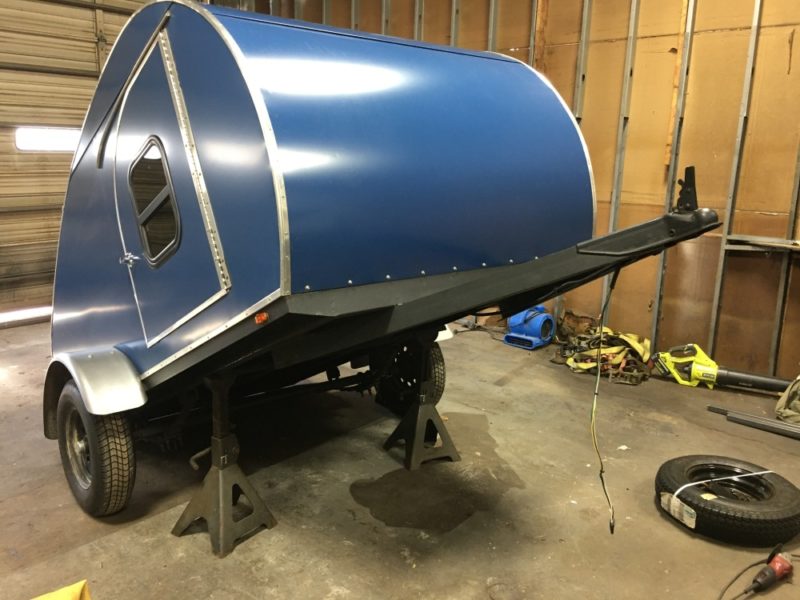
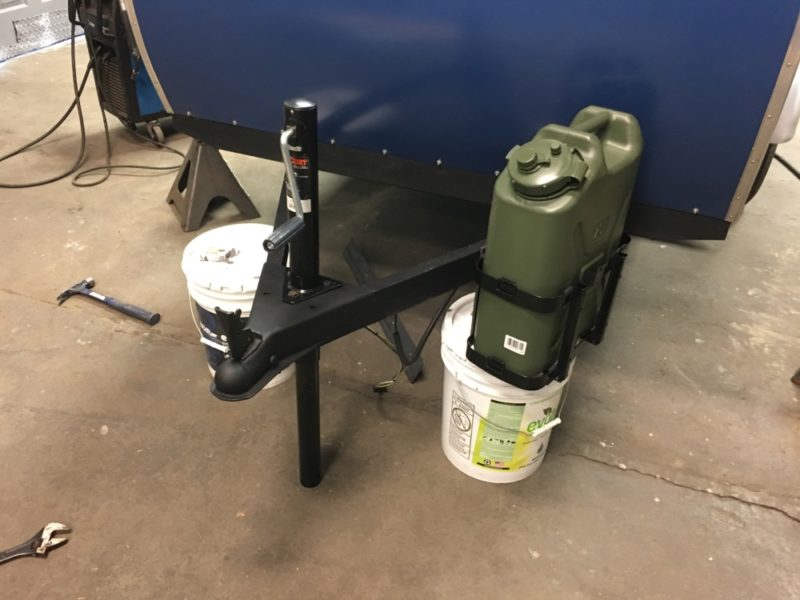
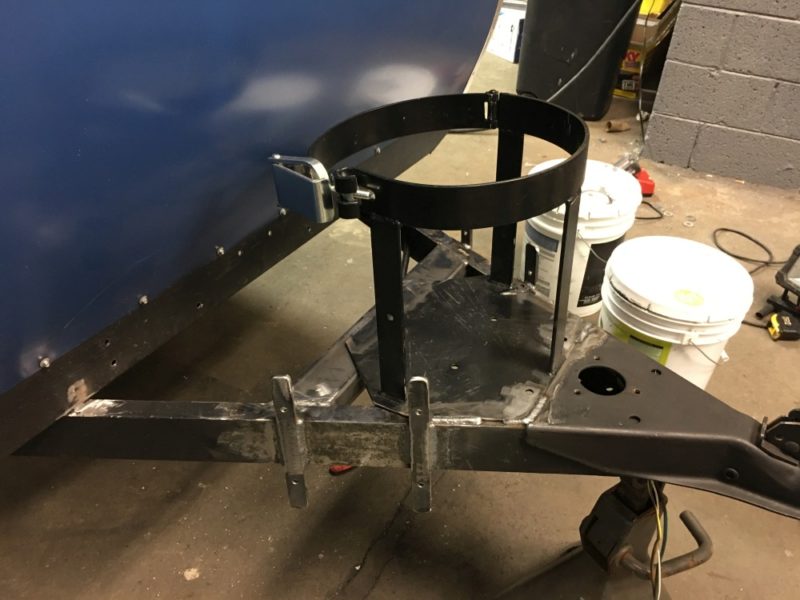
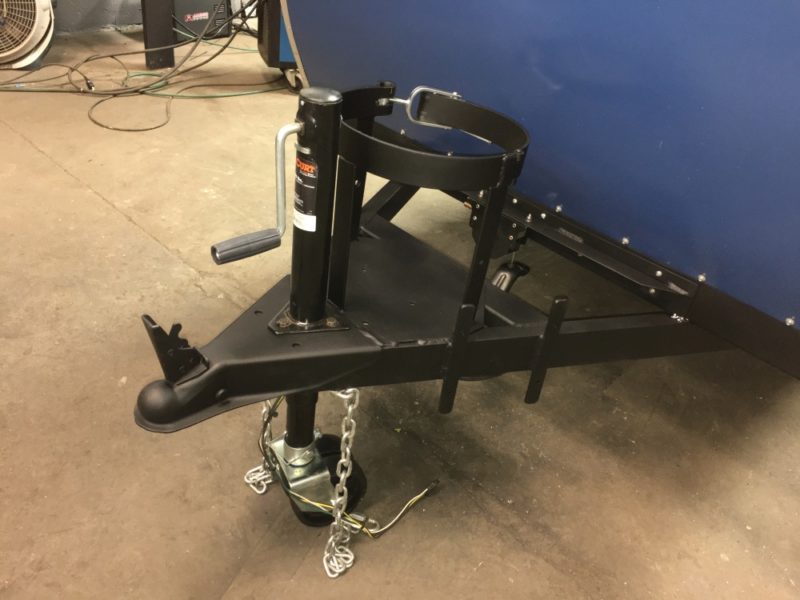
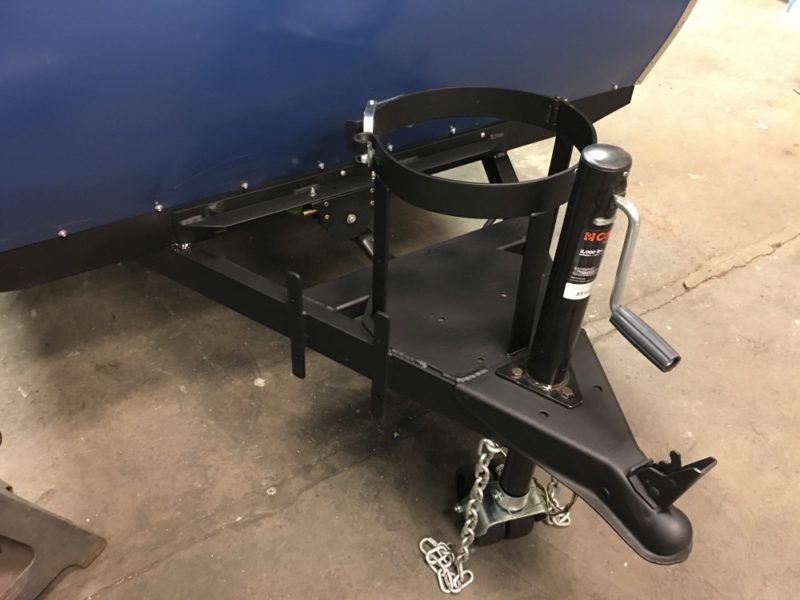
The teardrop trailer has been a work in process. We’ve wanted to add more capability and storage, but I didn’t want to have a big impact on ground clearance or break over angle. Moving water, propane and the spare tire to the trailer means more space in the tow rig (either or Wrangler TJ or 4Runner).
Another challenge is the 200 lb tongue weight limit on the Wrangler. Once we get everything loaded on the trailer, I can check the tongue weight. I had relocated the battery to the rear of the trailer and that will help off set some of the additional tongue weight that we are about to add.
Items for this round of upgrades:
First step was to trip check that the bumper on the tow vehicle wouldn’t hit the jerry cans at the minimum turning circle. That also required a Bojangle biscuit since I was already in the Bojangles parking lot. This was just before the virus hit.
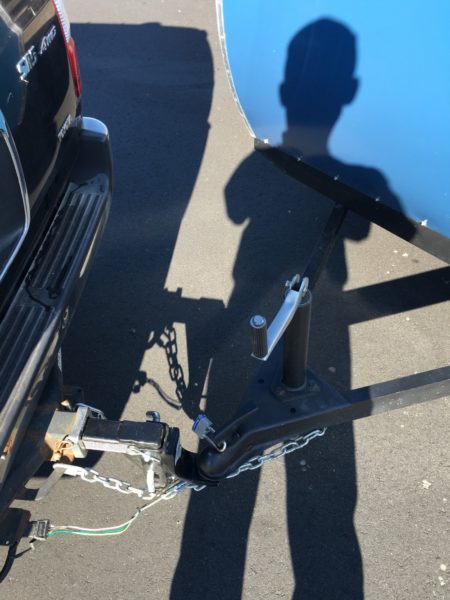
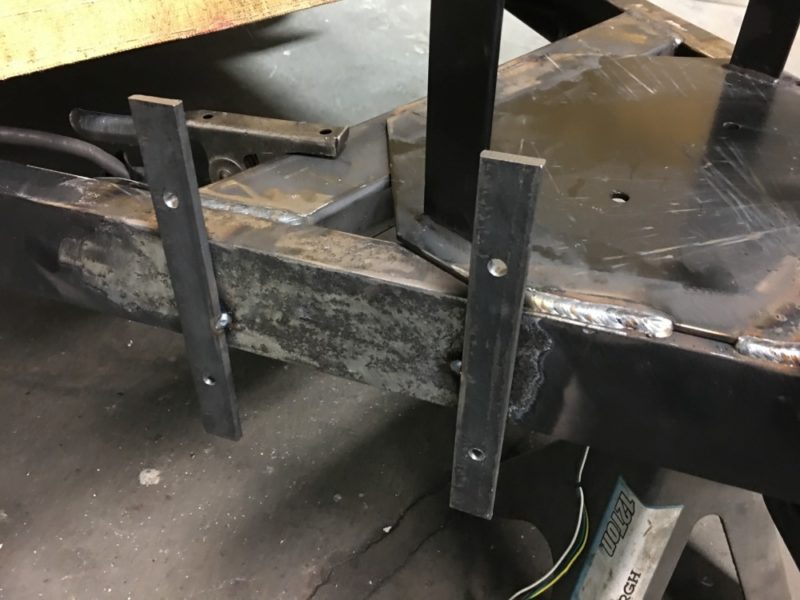
Once we had the lower guide plate for the jack removed we could start verifying the layout of the can holder, tongue jack, propane tank and spare jack.
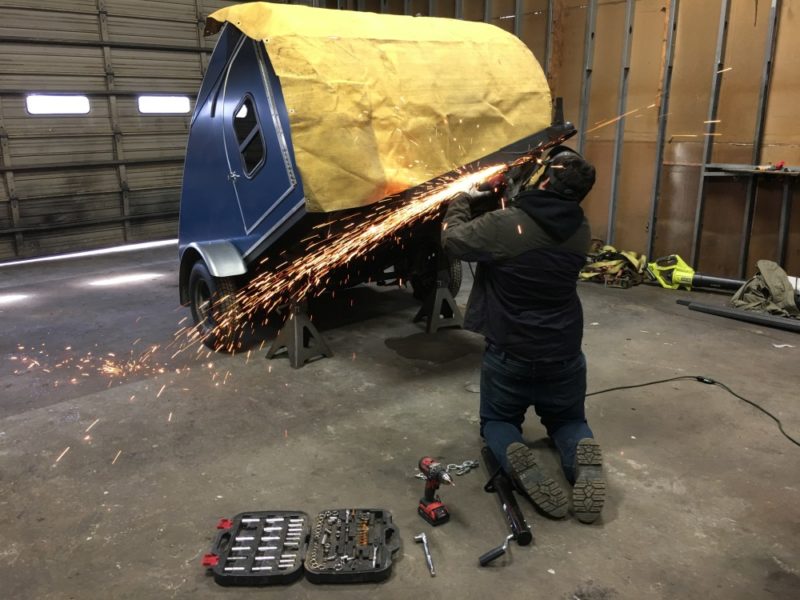
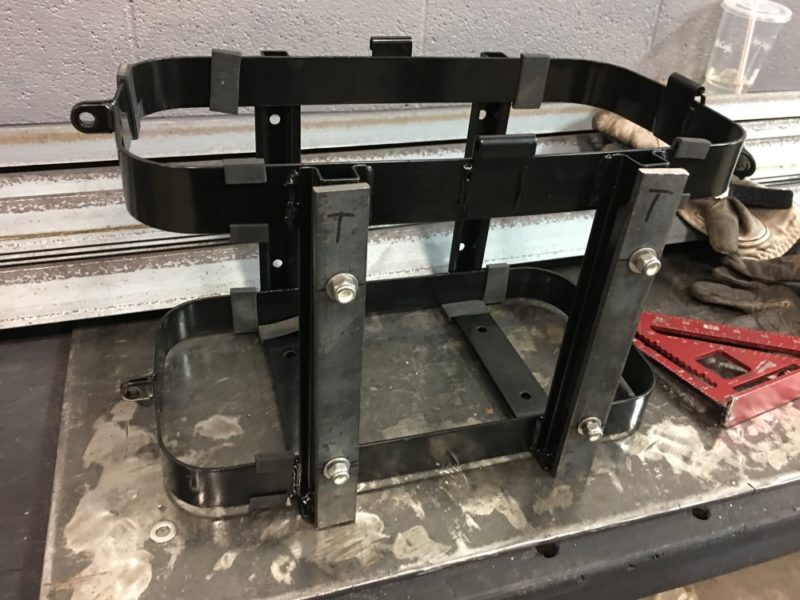
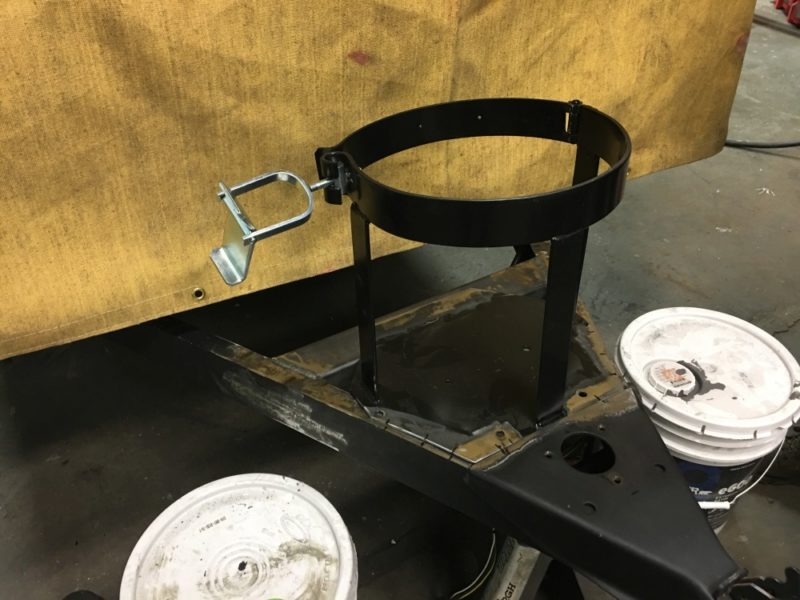
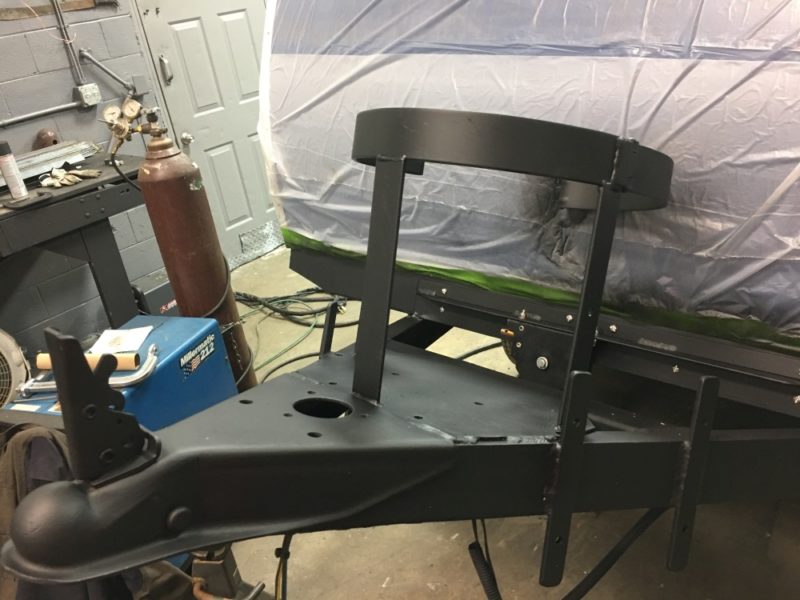
Next step is to fabricate simple brackets to attach the tank holder. Then the brackets were attached to the tank holder and squared up before welding the brackets to the trailer frame.
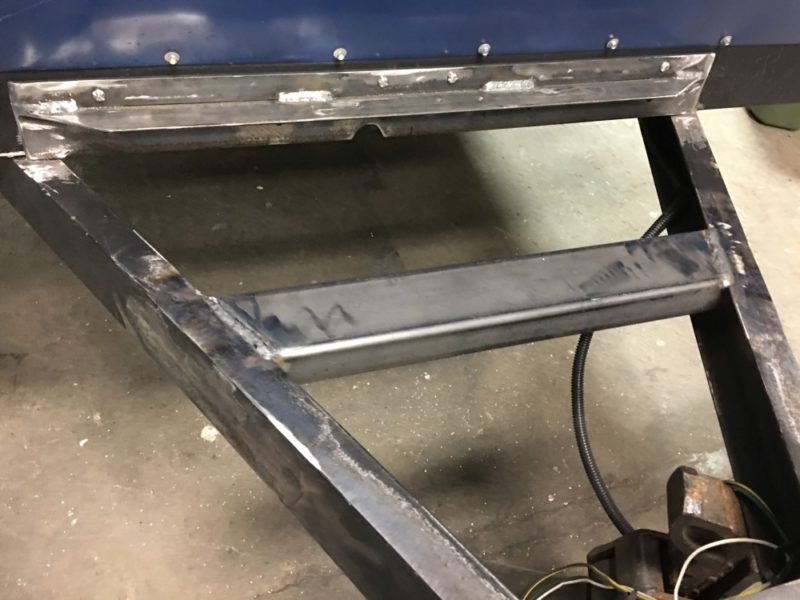
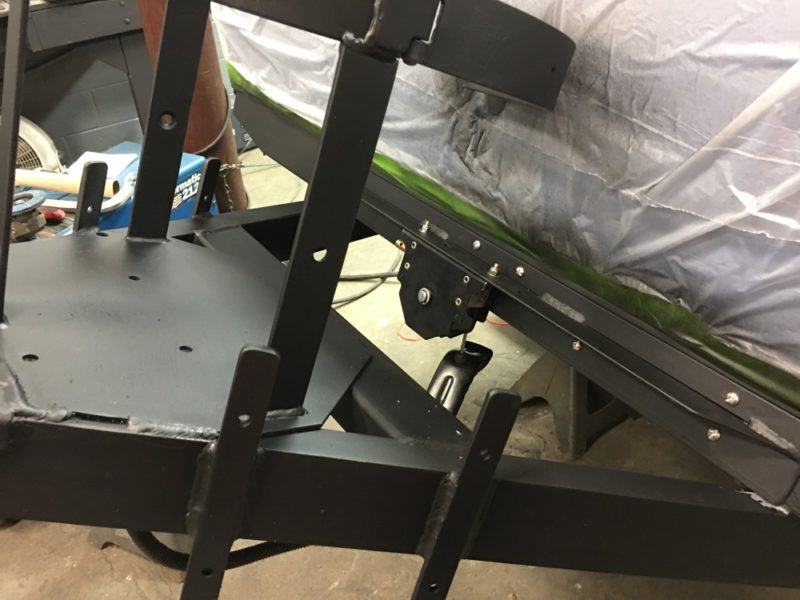
One of the challenges was attaching some sort of frame to the front rail of the trailer frame without getting the weld bead too close to the blue skin and causing heat damage to the skin finish.
We also found a structural weld that was not adequate and could have caused a failure on the trail. The tire winch mount is bolted along the top and welded along the bottom. The weld pattern also addressed the frame weld issue and fixed the weak spot with the bad weld.
It was a lot of work. It would not have happened without Maverick Metal Works
Once we have the trailer out and outfitted, we’ll take some pictures and show off the new gear.
Here are my thoughts on
Our local disinformation from the state / county / public schools is so bad that PeakProsperity.com was pointing out the inaccuracy of info provided by Wake County public schools and the Wake county health department in conjunction with NC DHHS.
I’m not a medical professional, but I’ve been following the virus very closely. I hope this helps you make proactive decisions that could save lives.