Getting a farm up and going has been a big project. Sometimes it seems like the world has gone crazy, but on the farm there is a peace and serenity. We’re getting ready for growing season and the plants don’t care about politics or ideology, they just want great soil, rain and sunshine. So after a day or working on the farm we get a break from all the covid and politics and it is wonderful.
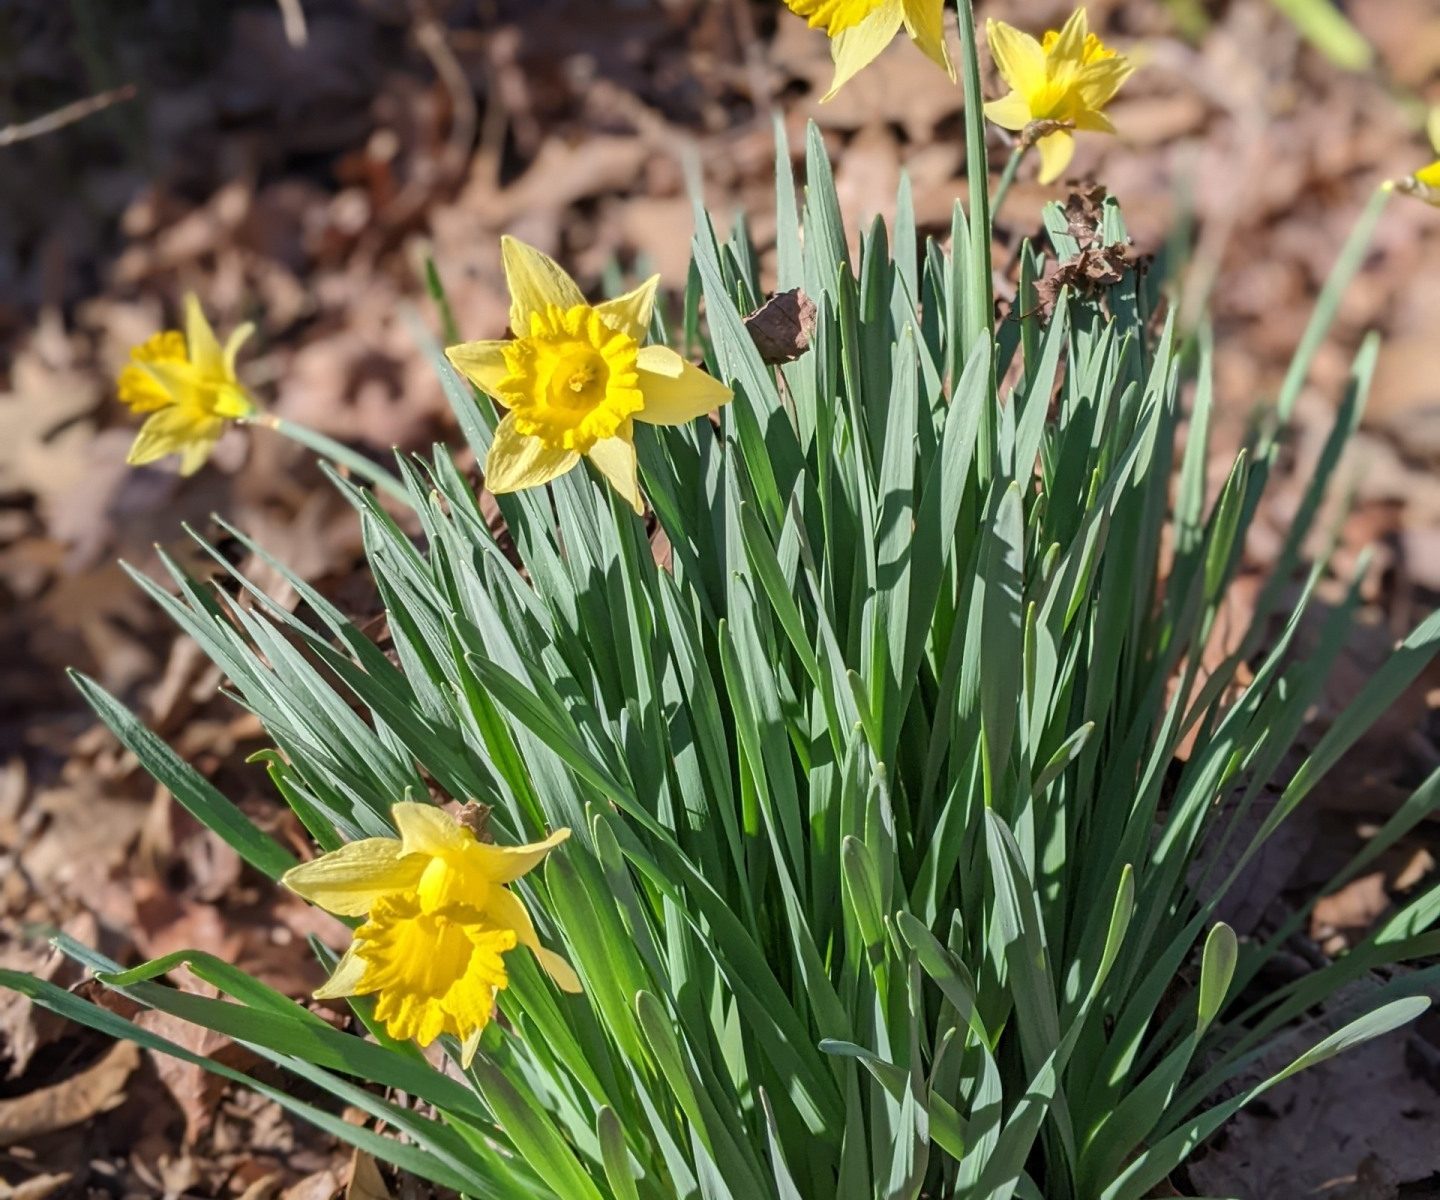
Amazing there are flowers blooming on the farm in February
This was a busy week. We used our new BCS tractor for the first time. That went well. It should be a great tool for use in the garden.
Putting in the Blackberry Trellis
Having another set of hands made things so much easier. I drove the t-posts in the ground while Connie and her sister put the wire up.
Setting the wire between the t-postsWe’ll need to put flags on the wire so you can see it when walking through the blackberries
Using an A-Frame to Help Determine Fig Planting Locations
We are getting ready for our 2022 NC Homestead Experience. One of the tasks is to locate where the fig trees and elderberry plants go. I wanted to plan ahead with the locations so I can add swales. So I used an A frame level. It only took a few minutes to build it. This allowed me to place the trees at the same elevation line on the hill. Here is a great primer on a frames in permaculture
A-frame ready to useAssembled using a bolt, wing nut and washerPlumb line is made from paracordPlastic coke bottle filled with water and a hole in the lid makes a great weightMark indicating when the bottom of the legs of the a-frame are level
Let’s start off with what is a Hugelkultur mound. Here is a great video that explains Hugelkultur
Our First Hugelkultur Mound
Hugelkultur mound in the garden at our house
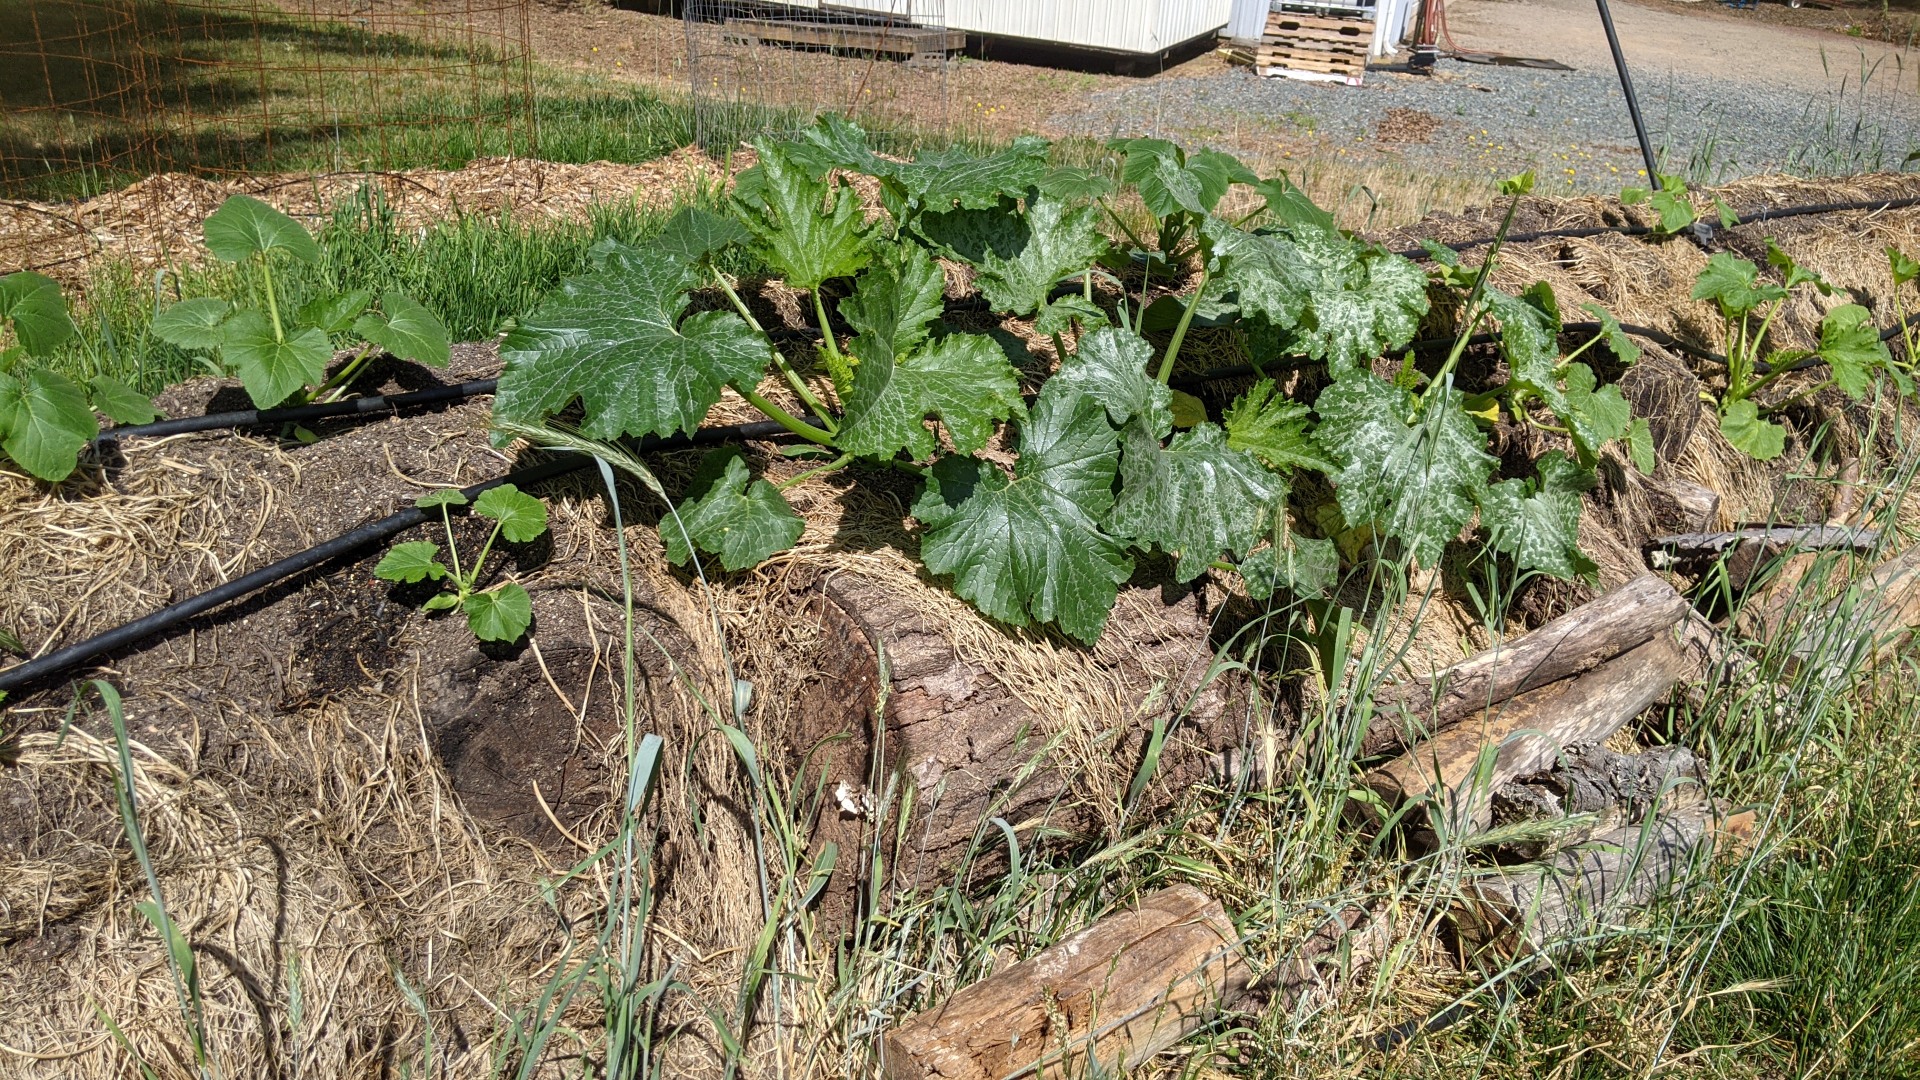
We built our first hugelkultur mound in our garden at home. The mound is about 35 feet long and used trees that we had cleared on the back of the property. It has worked great for growing squash. We use drip watering to keep the plants watered. We have noticed that the hugel mound requires more water than the conventional garden areas. I expect that to reverse as the logs in the hugelkultur mound (about 1-2 years since the trees were cut) decompose.
The Hugelkultur Mound at the Farm
My original goal with to build at least 2 large hugelkultur mounds on our hobby farm property. We had a great growing experience with the hugelkultur mound at our house, so why not try it on a larger scale.
When we put in the driveway, there were two problems what we were able to turn into opportunities. The first is what to do with the top soil that was removed before the membrane and gravel can go down. We also had to decide out what to do with the tree trunks and limbs from the trees that were cut down to build the driveway.
Perfect Opportunity
There was never going to be a better time to build the first hugelkultur mound on the new property. So we used the logs, limbs and top soil to build the first one. The mound ended up being 85 feet long, 30 feet wide and about 8 feet tall.
The hugelkultur mound starting to come alive
We installed drip irrigation and planted winter squash, watermelons, pumpkins and cantelopes. I was pleasantly surprised by the number of winter squash and pumpkins.
Getting Ready for the Growing Season
One of the tasks for Saturday was to cover the entire mound with a 35 x 100 foot silage cover. Of course it wasn’t windy until after we started spreading the silage cover. Do you remember going out into the parking lot in elementary school where your class surrounded a parachute? This felt pretty similar with the wind getting under the tarp.
Chasing the bubble where the wind got under the tarpThe wind did not make this any easier. But we were making progress
You can see the bumps where the wind kept getting under the tarp as we were getting it in place and held down.
Much better
Once the tarp was in place, we’ll leave it there until just before we plant at the end of April as way to suppress any weeds.