Sometimes the moment is just enough. I am a blessed man.


Gentleman Farmer, Engineer and Extreme Innovator / Brainstormer

Sometimes the moment is just enough. I am a blessed man.
While camping, one thing you’ll end up developing are traditions. Some are big, some are gigantic, some are small, but all are valuable.
How to build traditions.
Over time, enjoyable repeated activities can grow into traditions. Or, traditions can happen by accident. Something may work well once, so you repeat it. By the tenth time you realize you have a tradition. Keep in mind that when you do something that is comfortable and enjoyable, you’ll keep doing it. You may find that it is important to your family to go camping on a certain date or a particular place because it brings back special memories and there is an expectation that you’re going to make more good memories—that’s a tradition.
Repetition builds traditions.
I’ll give you an easy example. There’s a restaurant in Winston-Salem, TJ’s Deli, that Connie and I tend to stop at when we’re headed for the mountains because it’s on our way. They have awesome, homemade sandwiches and to-die-for fried mushrooms. Now, don’t get me wrong, this isn’t a fancy place, more like a hole-in-the-wall, but the draw is the food and the tradition. We order the same meal every time, a gigantic sandwich and fried mushrooms on the side—I always save some of the mushrooms for the remaining drive. Even when we travel with friends, we stop there. Every time.
Is having a meal partway to your destination part of camping? No, but it can be part of the entire camping experience. When we head west to camp, we usually work our departure around stopping at TJ’s Deli for a meal, which we both look forward to. The detour helps break up the trip and I think the tradition is nifty.
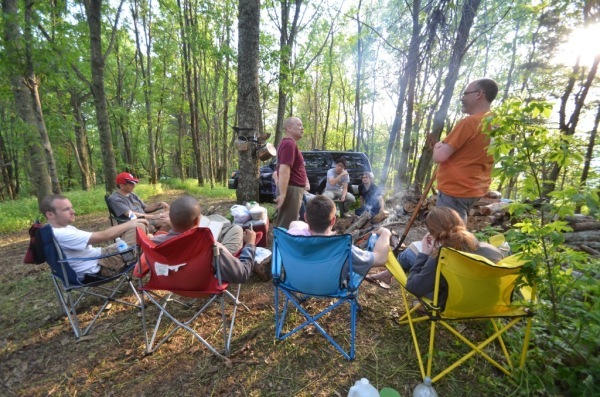
Another tradition we have is camping at Troublesome Gap every Memorial Day weekend. We are so predictable that friends call to ask if we are going this year. Those calls made me realize traditions can even spark a camping interest with friends.
Tradition looks different to different people.
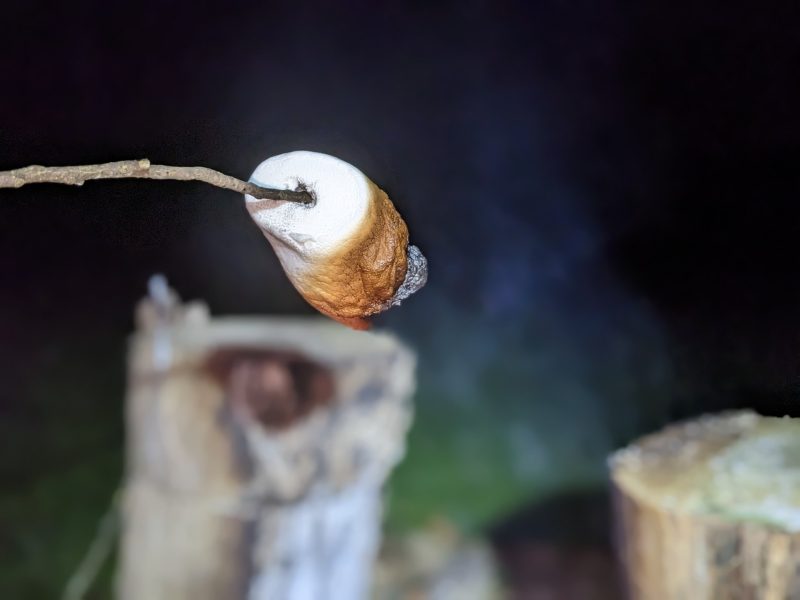
You may never go to the same restaurant twice, but you may have a tradition of stopping at some restaurant on your way to the camping site. You may never camp at the same location, but you may set your supplies up in the same order every time. Or you’ll always be sure to have a campfire. Or roast marshmallows.
You could lean towards more open spaces because you like to throw your daughter up in the air in the middle of a grassy field. Or perhaps you like to take a morning walk right as the sun is beginning to rise and dew still licks the grass blades. Maybe one of your kids is an early riser who likes to get up with you and help build the morning fire, which is a teachable moment by the way.
Priceless moments.
You guessed it, when a tradition is created, most likely a priceless moment will as well. Look for those traditions, spur them along, and allow them to happen. Some occur organically. Some we purposefully build. You can’t force them, but you can encourage and grow and build them.
Keep up with traditions.
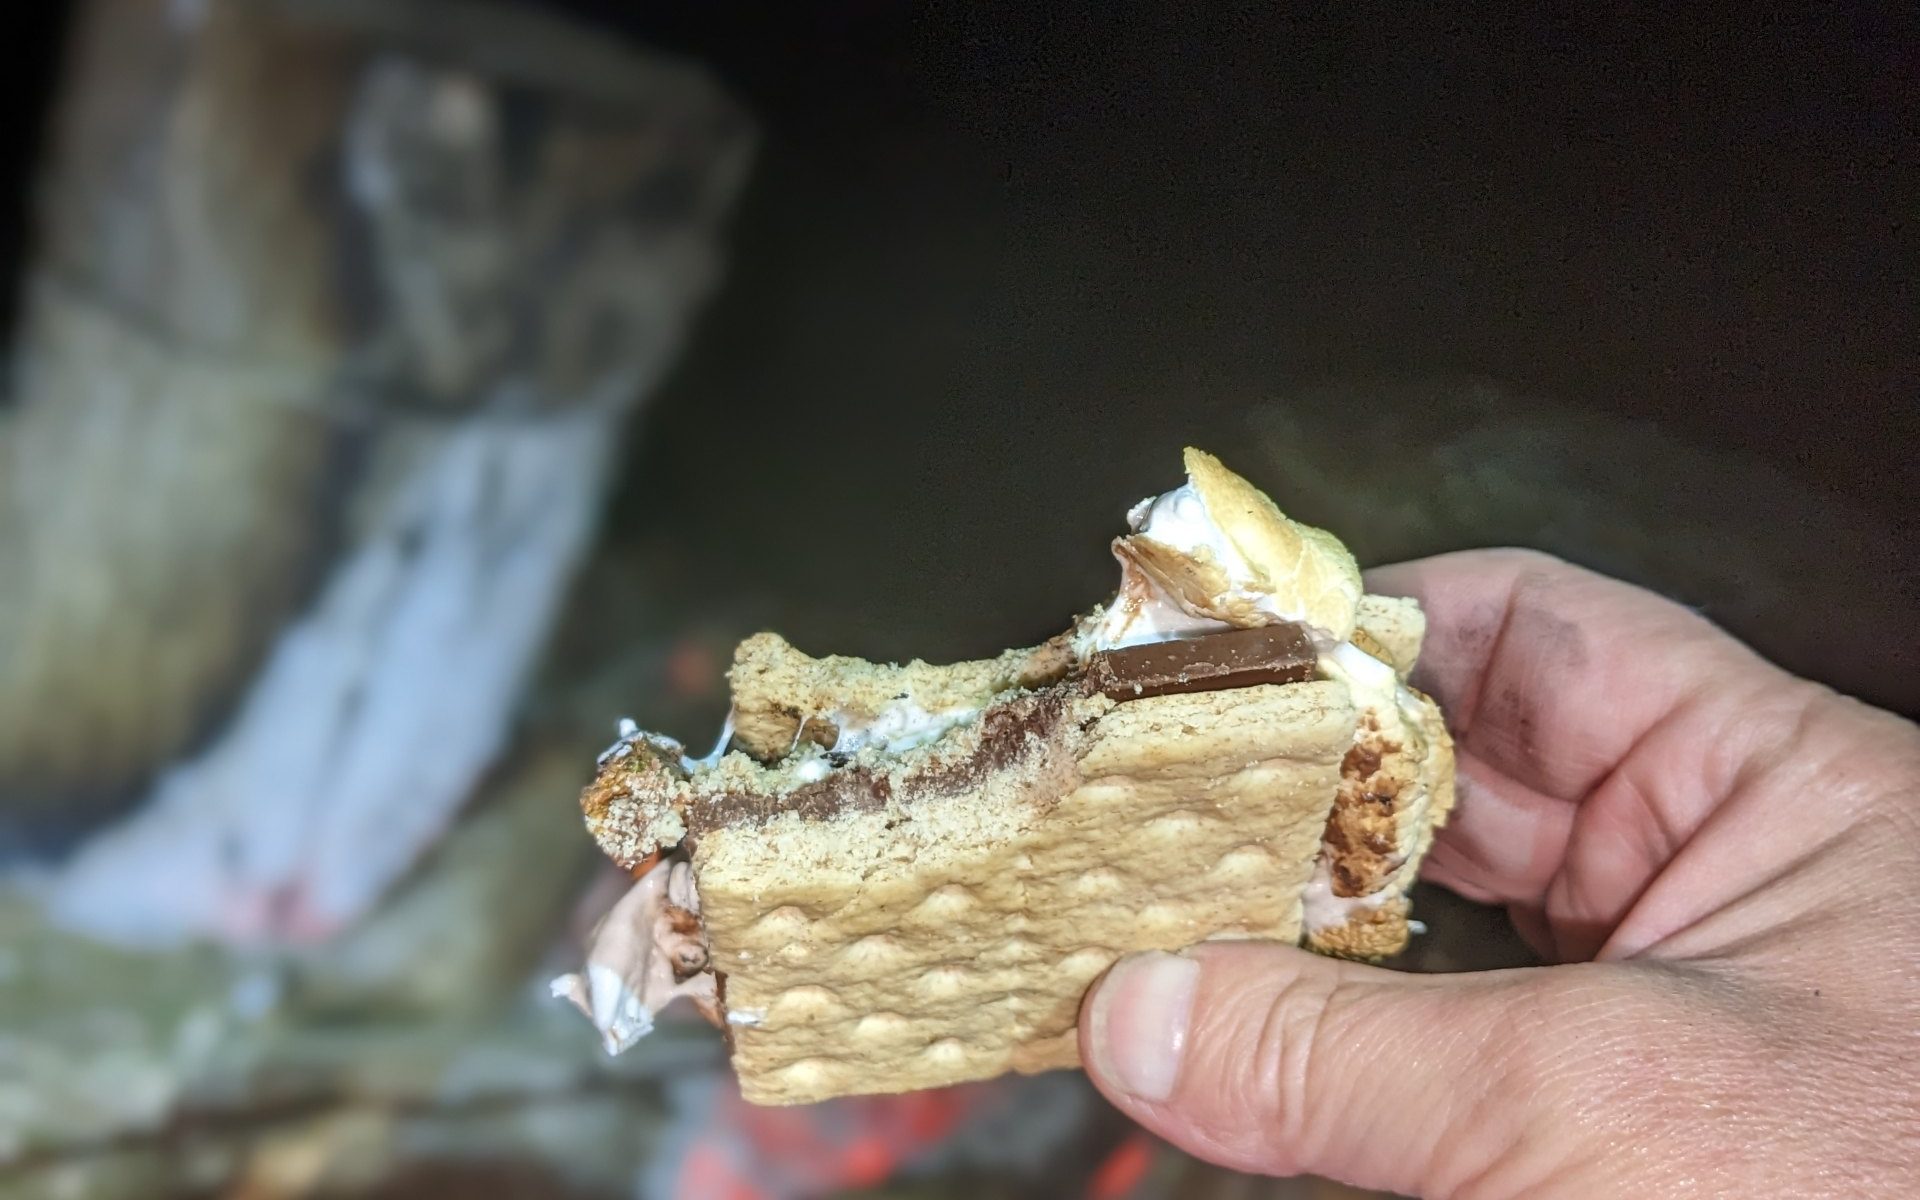
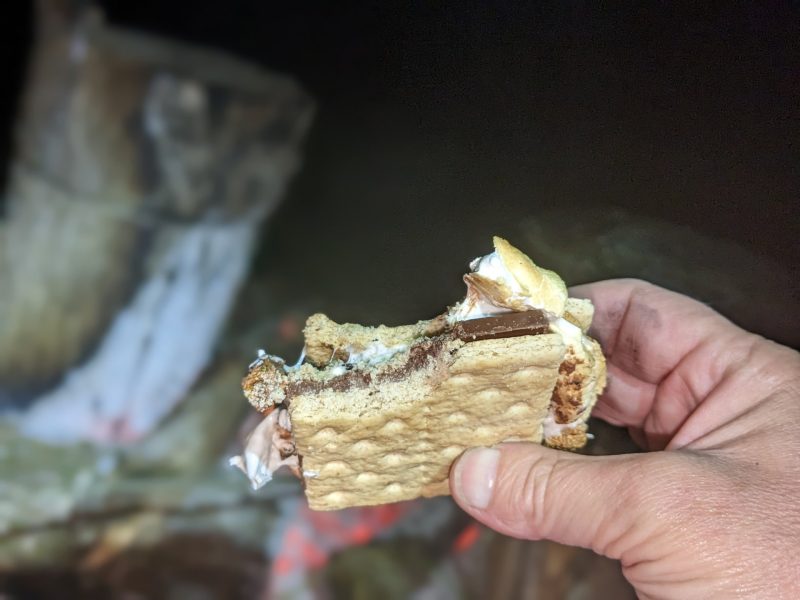
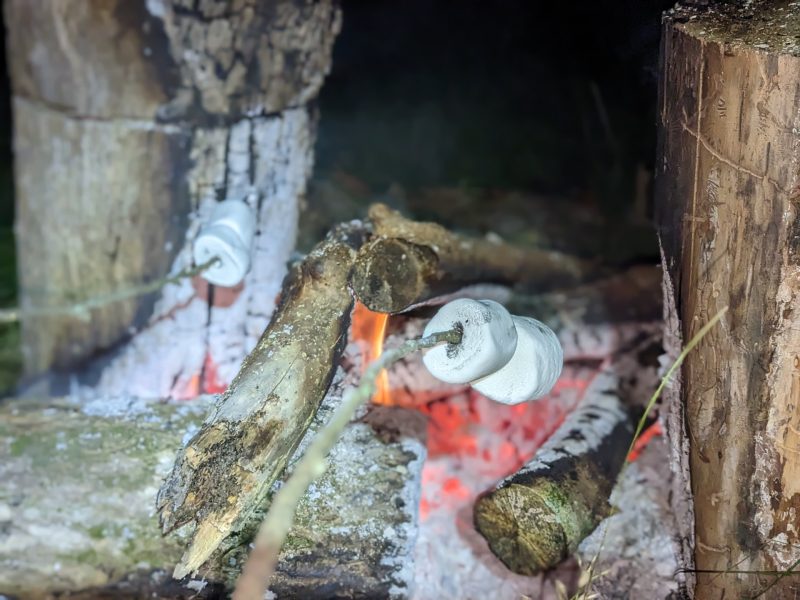
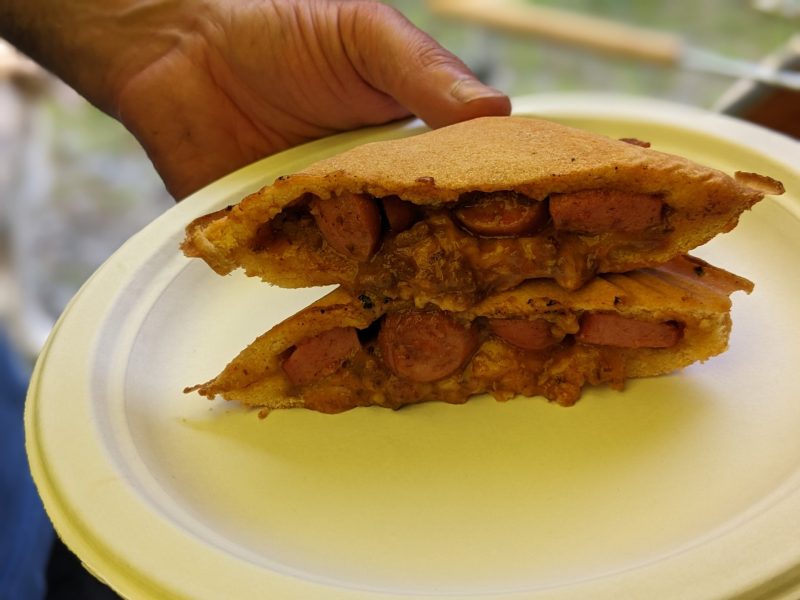
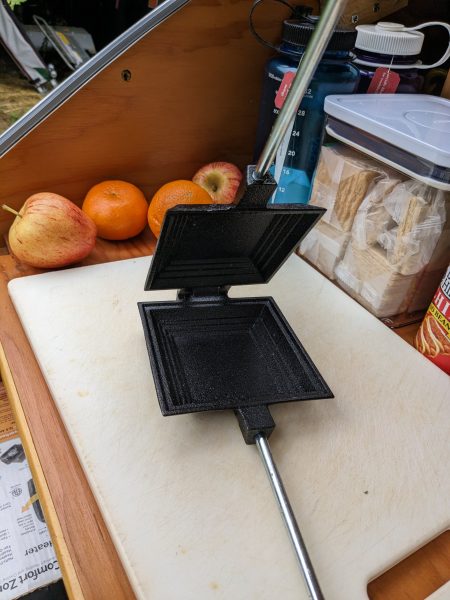
When camping with others, they’re watching. So if you always have a ham sandwich with onions the second day for lunch or you always have s’mores the first night over a roaring campfire, then your family may be disappointed when the activity doesn’t happen. Usually these traditions are special camping experiences, not something you normally do at home. Some traditions are hard and fast, and some of them aren’t. You’ll just have to work that out depending on your family.
Anyone can start a tradition.
Sometimes you’ll do the most obscure activity with your kids, maybe throwing knives into an old stump or forging your own path in the woods. It may not make an impact on you, but your child doesn’t forget and wants to do the same activity the next time you go camping. It’s usually the simplest things.
Perhaps you take your family on a spectacular hike and see breathtaking scenery, but the thing your kids remember from their day is the mound of soil behind the apple tree they created dirt castles from. Whenever you get the chance to interact with your children, do so. Even if it’s making dirt castles under a canopy of low-lying tree limbs. Those are the moments to grab and revel in.
If you are single and reading this book, then you can still build great traditions while camping with friends or family, or going on a solo trip. If you are divorced or widowed, a camping trip could be just the thing you need to get out of your day-to-day rut and create wonderful new experiences. While I’m spending a lot of time talking about family camping, there are still many ways to enjoy a trip while single, divorced, or widowed.
Be flexible.
If you’re into schedules, that’s great. But keep in mind, if someone in the family is enjoying an activity, put that hike off for an hour. If there’s rain in the forecast, consider doing an activity closer to the campsite. Agendas don’t matter, the memories and time together does.
Stories grow over time.
Kids remember events. Some of those stories grow like fish that you caught. You know the story of an angler who catches a twelve inch fish and by the time he tells the story about six times, its two feet long. Well, sometimes memories are that way too. Sometimes they’re precise; other timess they’re not even close. But, what matters is the memory.
I’ll give you an example that’s not camping related. When one of my daughters was in elementary school, I began going to school and having lunch with her once a week. Kids won’t be young forever, in fact there may come a time when they don’t want to spend much time with you. Anticipating this, I made a point of making that weekly meal a priority. A number of years into this tradition, my daughter noted I’d been coming to have lunch with her every week since whatever grade. She enjoyed it, I enjoyed it, and so it remained a tradition, a thing between just the two of us. She valued the time I carved out for us. Over the years when she’d tell the story, she’d share we’d been lunching together longer than we actually had. Should I correct her? No. Am I trying to encourage her to be inaccurate? No. I guess the thing is it pleased her that we had lunch together once a week. And so, it was a big deal that became a bigger and bigger part of her life. And her nailing down exactly when we started doing it really didn’t matter. What mattered was how appreciative she was because we were making lifelong memories.
Interests change.
Your kid’s interests will change over the years. Be flexible. Something that is important to him this year may be boring four years from now. This means your camping trips may change. The important thing is to give your kids attention, relate to them, and listen to what they want.
At some point you or your kids will look back and be thankful you hiked every waterfall trail in North Carolina, or made s’mores every night around the camp fire, or took the time to find a thick enough branch to make a walking stick the first night of each trip. Those were traditions and you enjoyed yourselves and made memories. But, there may come a day when your kids decide they’d rather spend time with their friends and that’s okay. You need to roll with it. You’ve spent years developing a set of experiences and memories that you can share and remember forever.
Continually ask questions and listen to see what the people in your family want to do this year and next. If we can be flexible and go with the flow as interests and needs change, then we have the chance of keeping the tradition of camping alive and the opportunity for creating more memories. In fact, a lifetime of them.
Also keep in mind that your interests and capabilities change. Maybe you used to be able to hike ten miles a day when you were younger, but now perhaps four is your max. Or maybe you used to hike only difficult trails, but you’ve learned that moderate means success. On the other hand, if you want to push yourself then take a long hike. Maybe you used to hike moderate trails, but after hiking a challenging trail you realized you have the capability to hike longer and more difficult trails, so push yourself and revel in that accomplishment. If you are camping solo, then this may be a good time to enjoy the fruits of your physical fitness efforts with a long challenging hike. Alternatively, taking your athletic, teenage kids, on a difficult hike may be something they really enjoy. Just keep your capabilities and stamina in mind so everyone, including you, can enjoy the physical challenge.
Quality time.
Whether it is a yearly guy’s trip, or a monthly trip with young kids, or maybe a romantic getaway with your wife, the important thing is to be free from distractions and spend quality time with loved ones. If you have more than one child, each parent should try to spend concentrated time with individual kids. You may find your children consider this quality time a tradition. Now, note that tradition for traditions sake is worthless, unless you are accomplishing something important.
Traditions are usually simple.
Many times traditions aren’t bound up in spending some ridiculous amount of money, but are instead simple. It may be somewhere you ate, and spent the majority of the meal laughing. It may be playing in the mud behind the apple tree. It may be hiking a specific trail that you’ve hiked every year for twenty years.
For example, if your wife or child is asking to go on a particular hike again, you need to figure out if they want to go on a general hike or a specific trail and for what reason. What do they really want? What’s important to them? Ask questions and dig. Because they may be looking for the smiles, laughter, and love they felt on a past hike. Maybe it was just you and them on that trail. Perhaps Mom wasn’t there, or maybe Dad wasn’t there, and was just the two of y’all. That’s the moment you’ll realize there is a new tradition of going on this hike, perhaps just the two of you. And it’ll be a special time. Then you make your plans based on this information and how you can make it work.
Don’t try to please everyone.
Depending on the age of your children and how many you have, satisfying only one for the next ten minutes might be your only option. Sometimes everybody’s in tune and sometimes they’re not. In those challenging moments, you may want to break up your group. If you have two children with two totally different interests at the moment, maybe Mom goes with one child and Dad with the other. Breaking that up gives you the opportunity to pursue those varied interests. And there again, build those great memories. But, maybe you have a situation where everybody wants to do something together. You can figure it out even if it’s not always easy.
Plan, but don’t plan.
One tip I suggest is make a list of activities available for your location. If you don’t plan, but instead wait until the last second, generally whatever you wanted to do won’t happen. Say there’s a national forest right down the road; maybe you pack into the car and go there to experience the wonder of it all. Perhaps there’s a body of water close by so you get into a canoe or a row boat or a paddle boat. That can be fun as well. Keep in mind though, you may have camping trips where what everybody wants to do is sit by the fire and relax. And all of a sudden, it may explode into a hiking trip, and then they go back to sitting by the fire. So, planning is great, but also be flexible and see what happens. But, don’t forget the simple things like running around in the woods to just explore. You can also make a game of the mundane activities that it takes to put together a campsite—like, accumulating stones to edge the fire or gathering kindling and firewood. My point is to make time for organized hikes or rafting trips, but leave gaps available for exploration and inspired play time. Sometimes the simplest and least expensive things are what we remember.
Always keep budget in mind.
I have found it’s not the amount of money you spend; it’s the fun, fellowship, and relationship building. Keep in mind, if you spend money on something and it stresses you out, everyone will pick up on the stress and fun diminishes. Perhaps you can do something that costs close to nothing and still enjoy yourselves. I have found the best trips right-size your activities with your budget, your physical capabilities, and everyone’s expectations.
In the process of talking with folks about this book, I’m not surprised to hear they have such fond memories of camping as a child. I hope you can find your own traditions, and develop those priceless moments everybody will cherish for a lifetime.
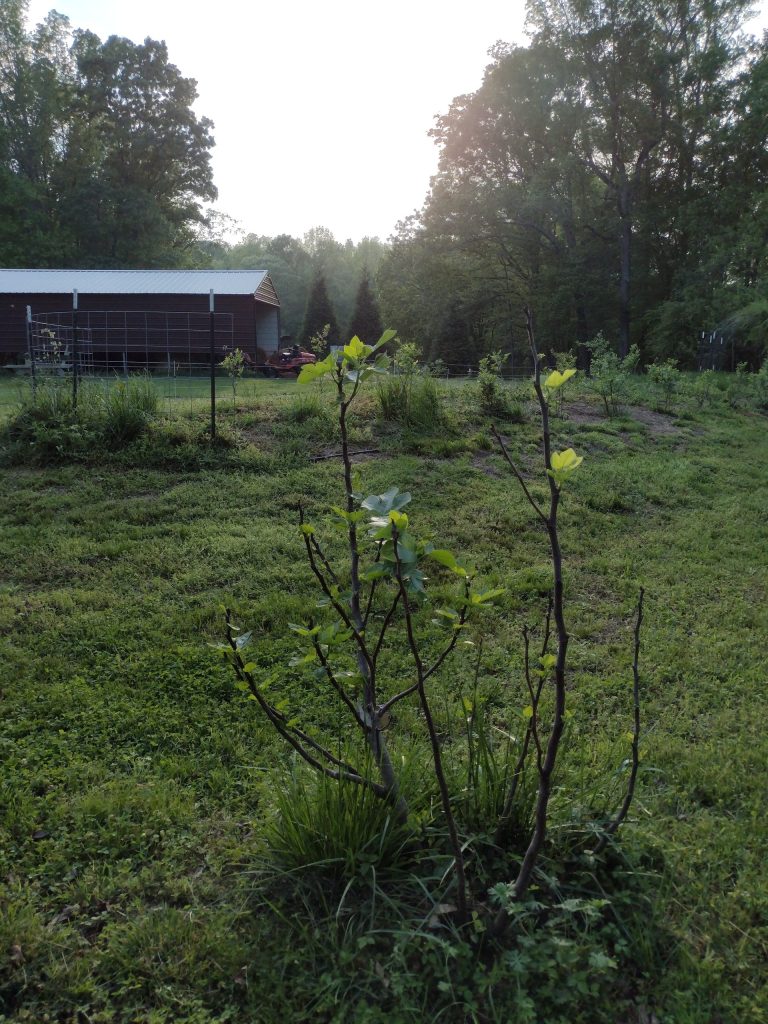
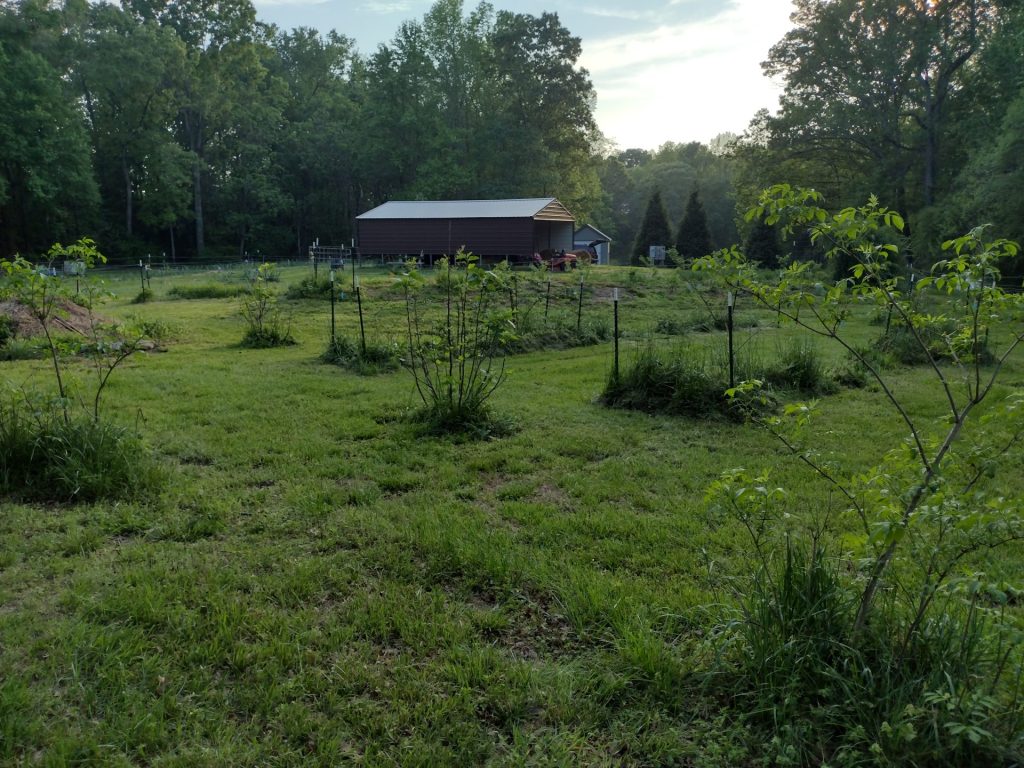
Every year we do a farm tour on Simply Us Farm. This is a great chance to meet the farmers and see the farm. We’ll show you our work in progress and talk about how we do regenerative farming.
Farm tour includes
– detailed tour (family friendly)
– 1/2 lb of honey from our remote mountain location of Troublesome Gap, NC
What to Bring
Just bring yourself and your family and comfortable shoes. We plan to walk on grassy fields and uneven ground.
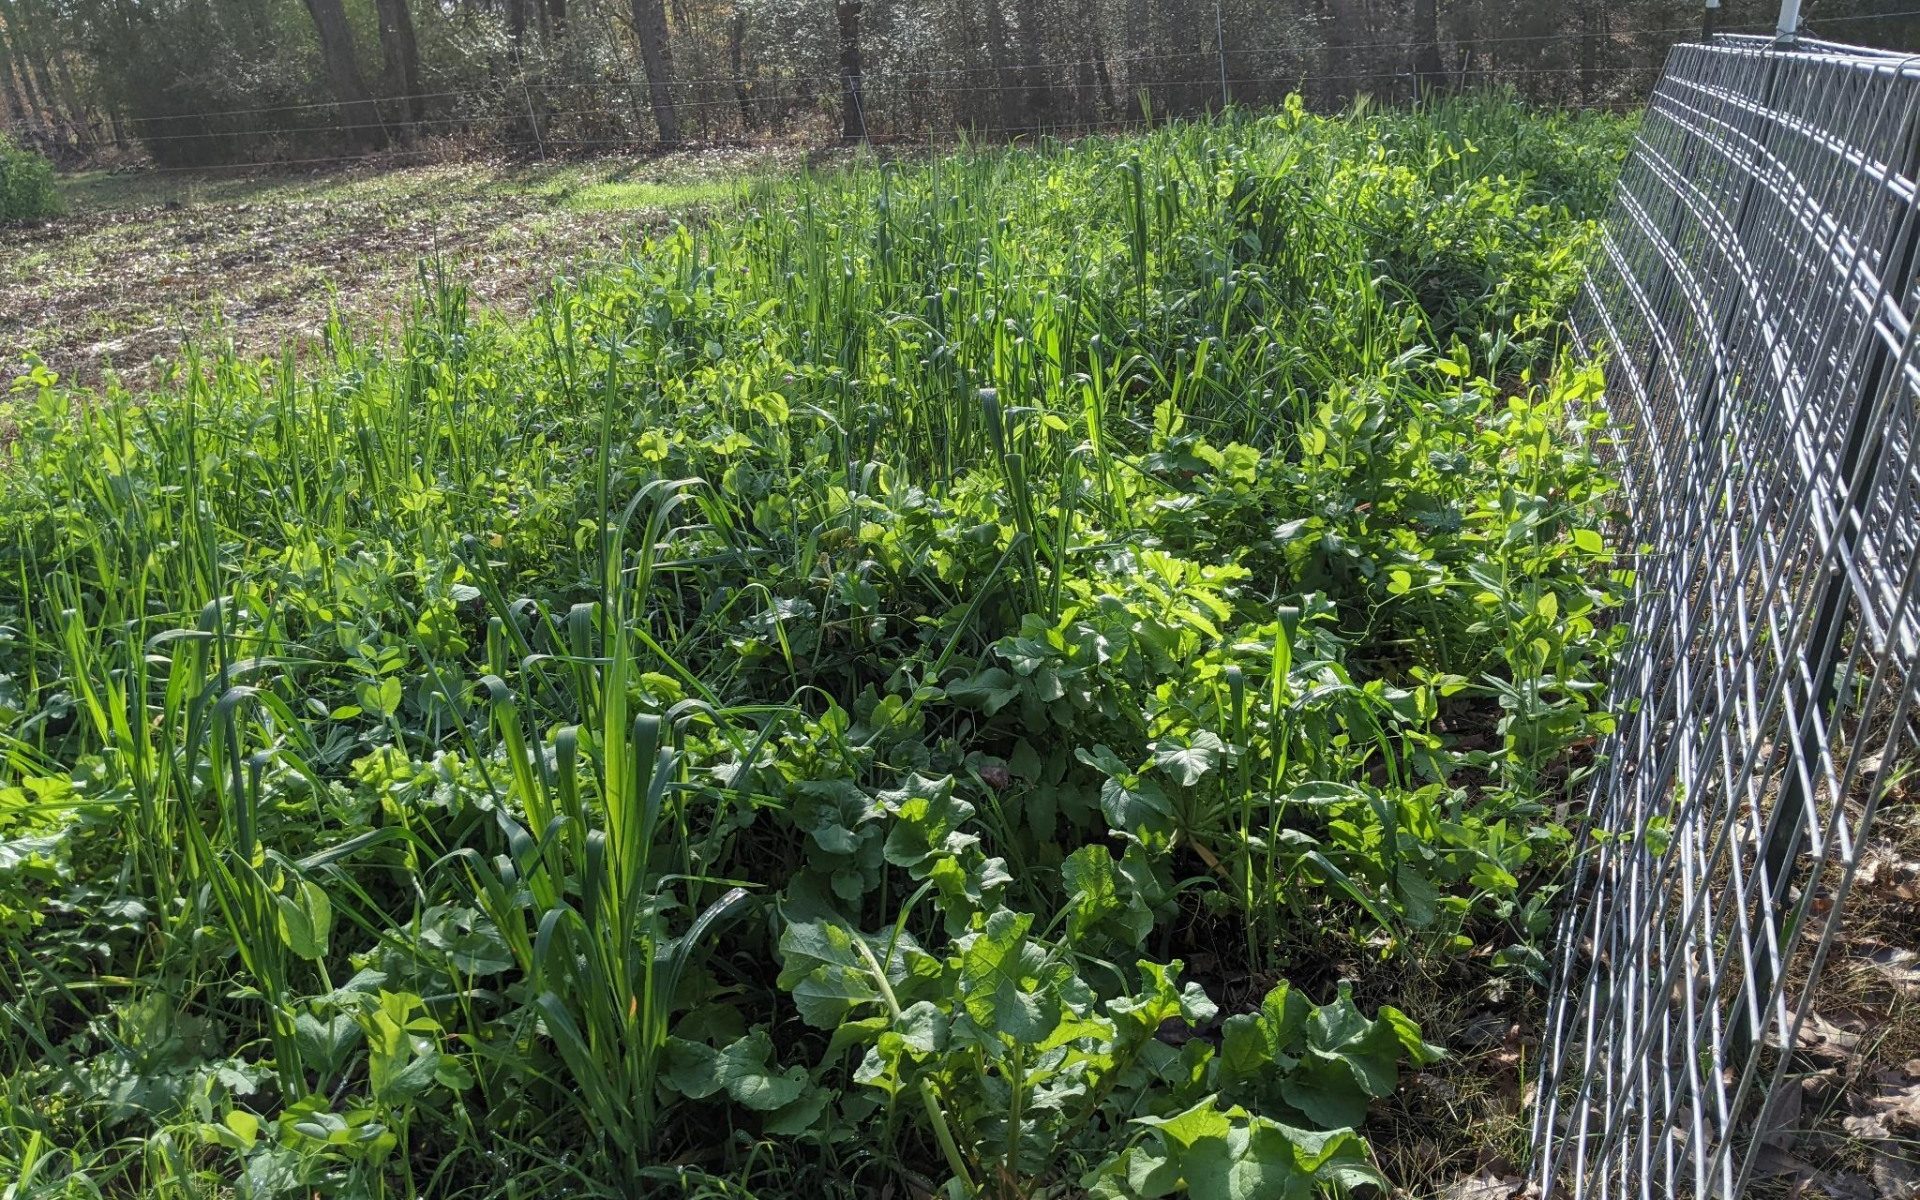
We are Dirt Farmers and Pesticide / Insecticide Free
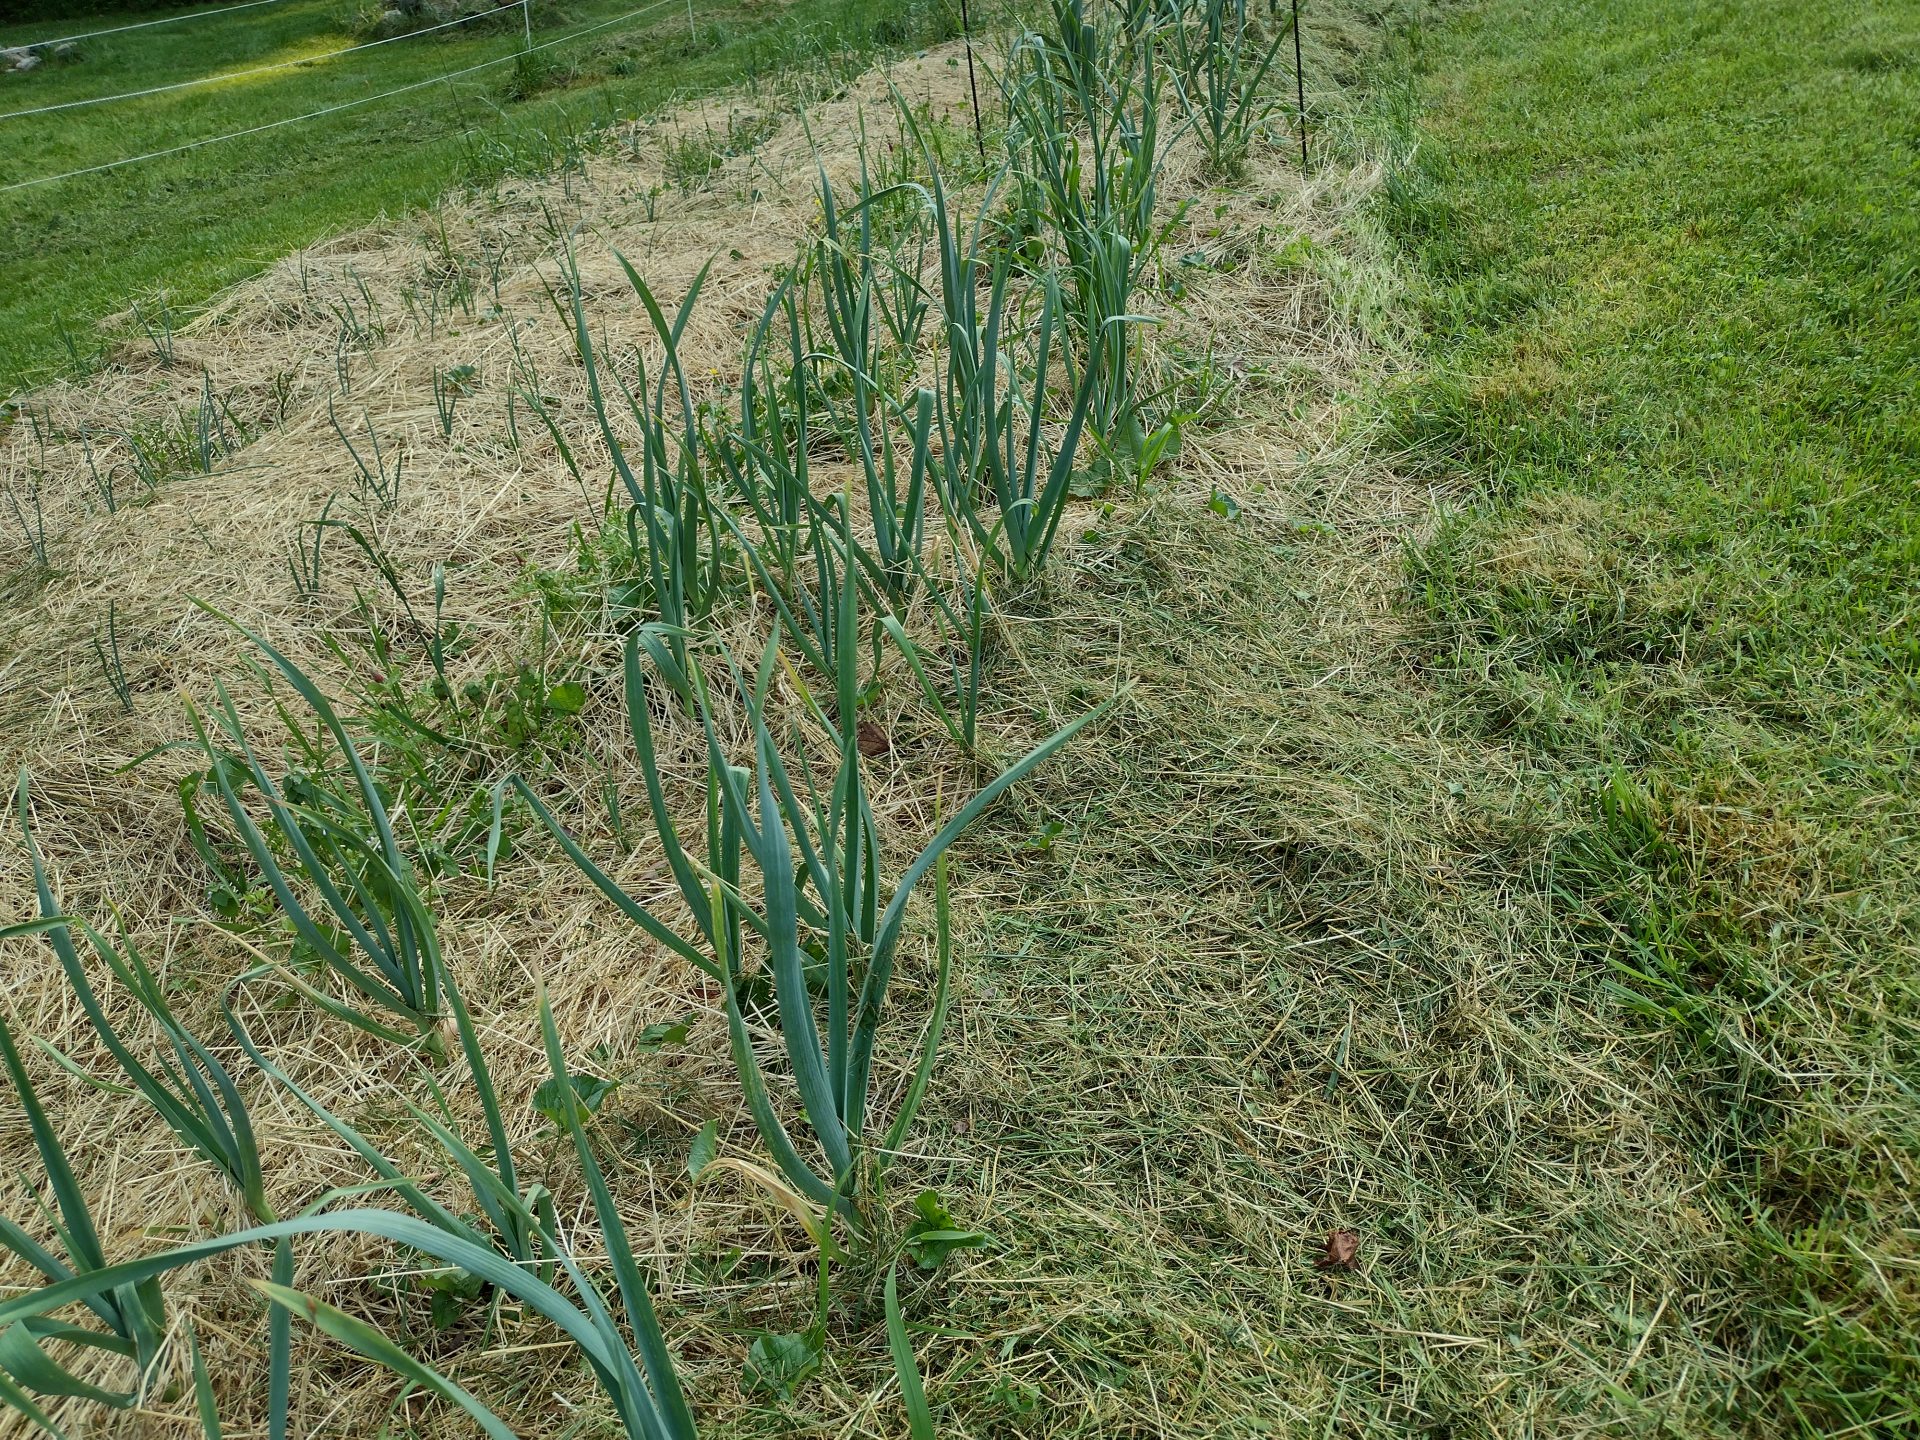
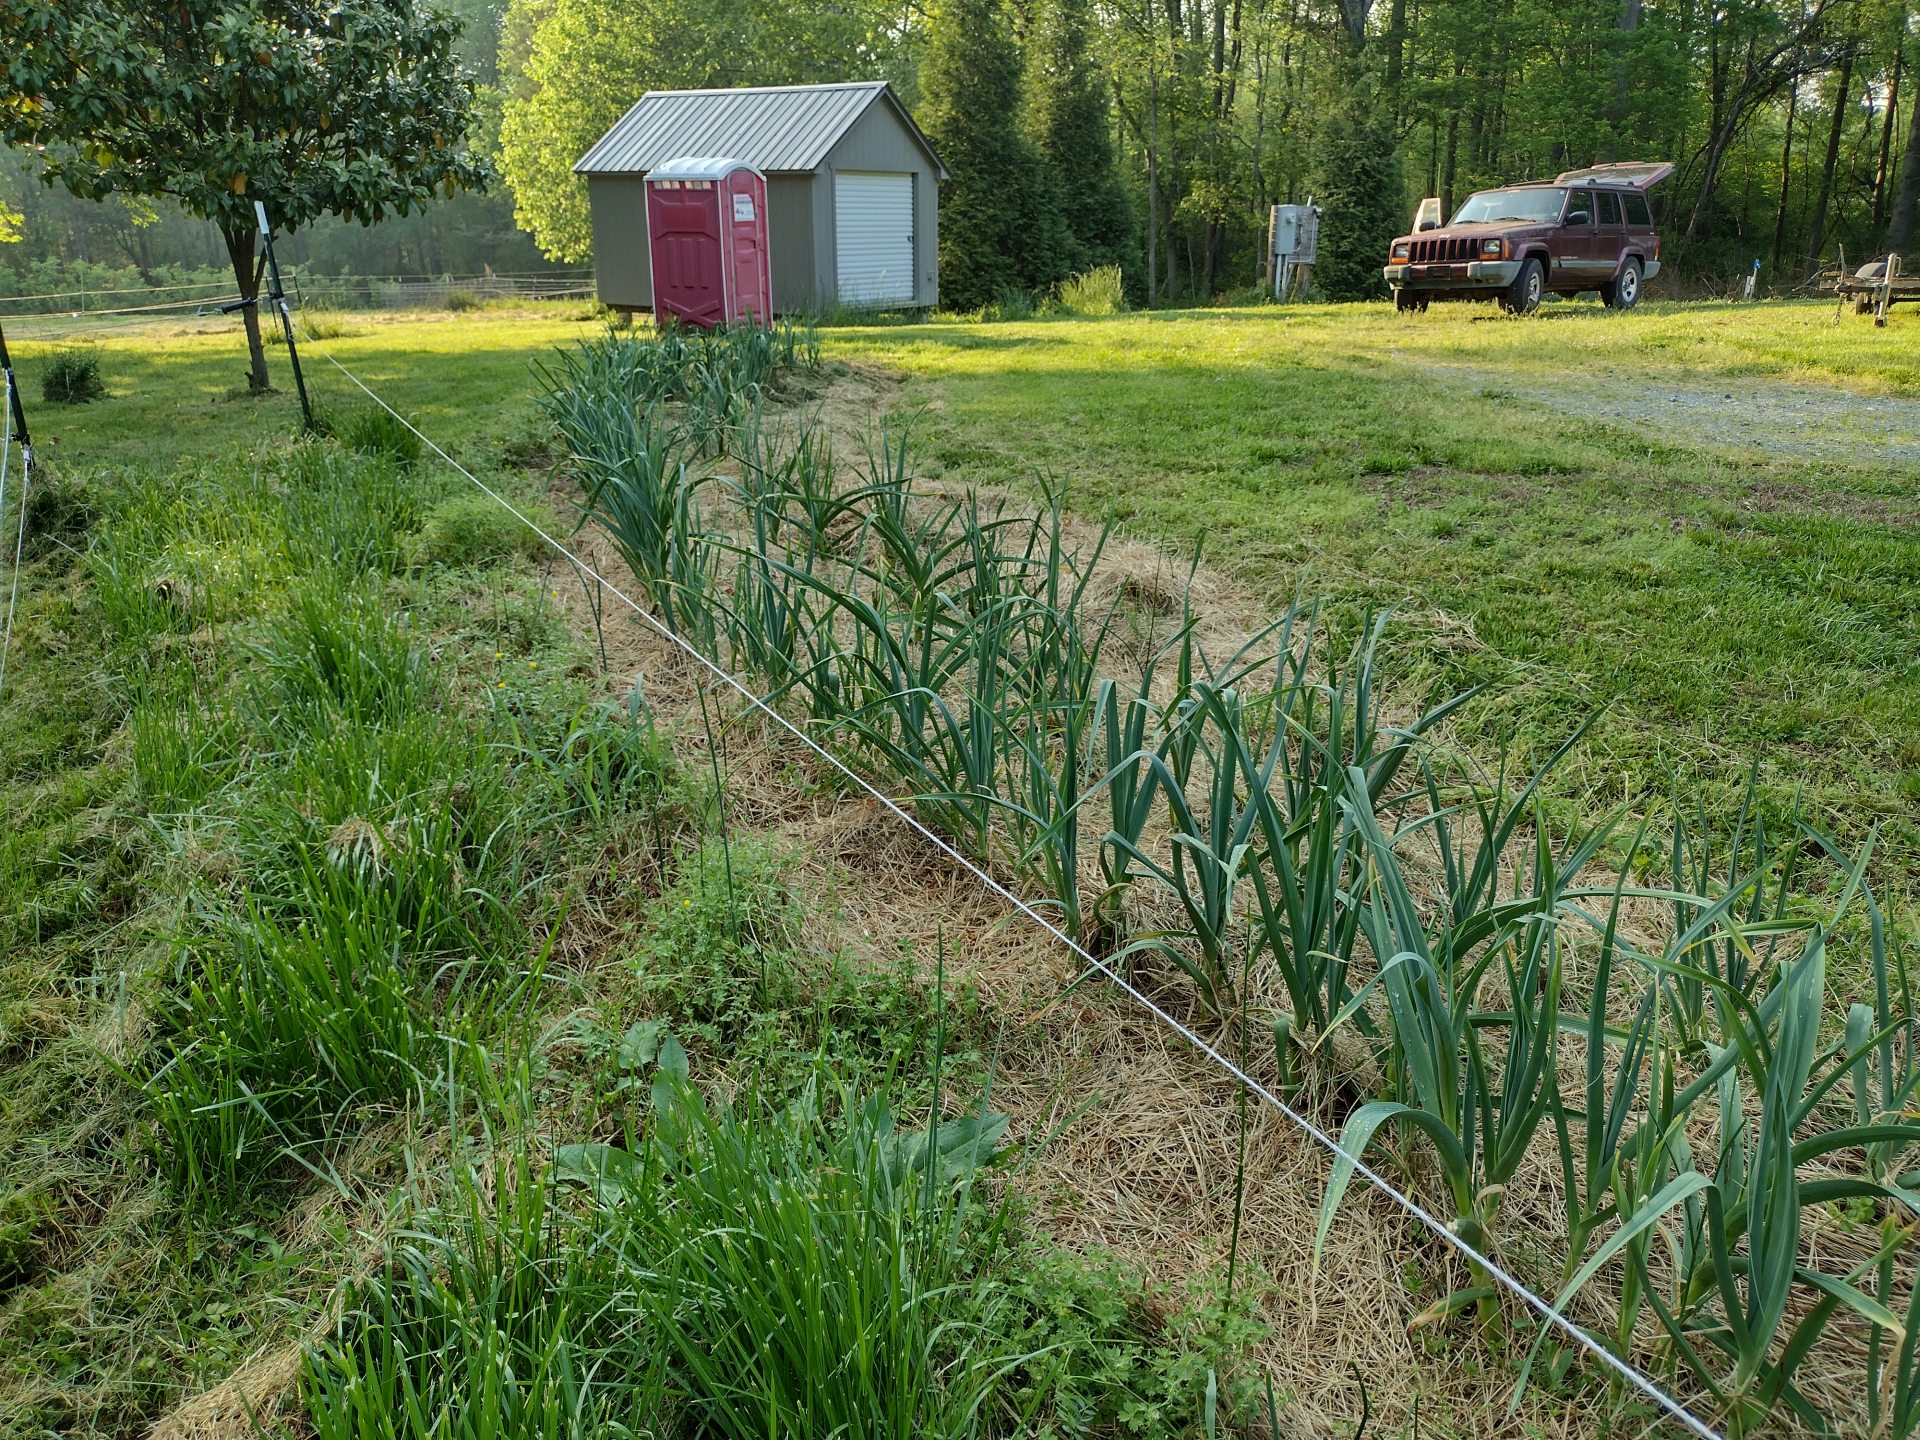
If we grow good dirt, then plants will grow and produce abundantly. We use a minimum of organic fertlizers. We avoid the use of synthetic fertilizers. We also don’t use any pesticides or insecticides. We do use natural amendments like woodchips, hay (pesticide / herbicide free) and feather meal.
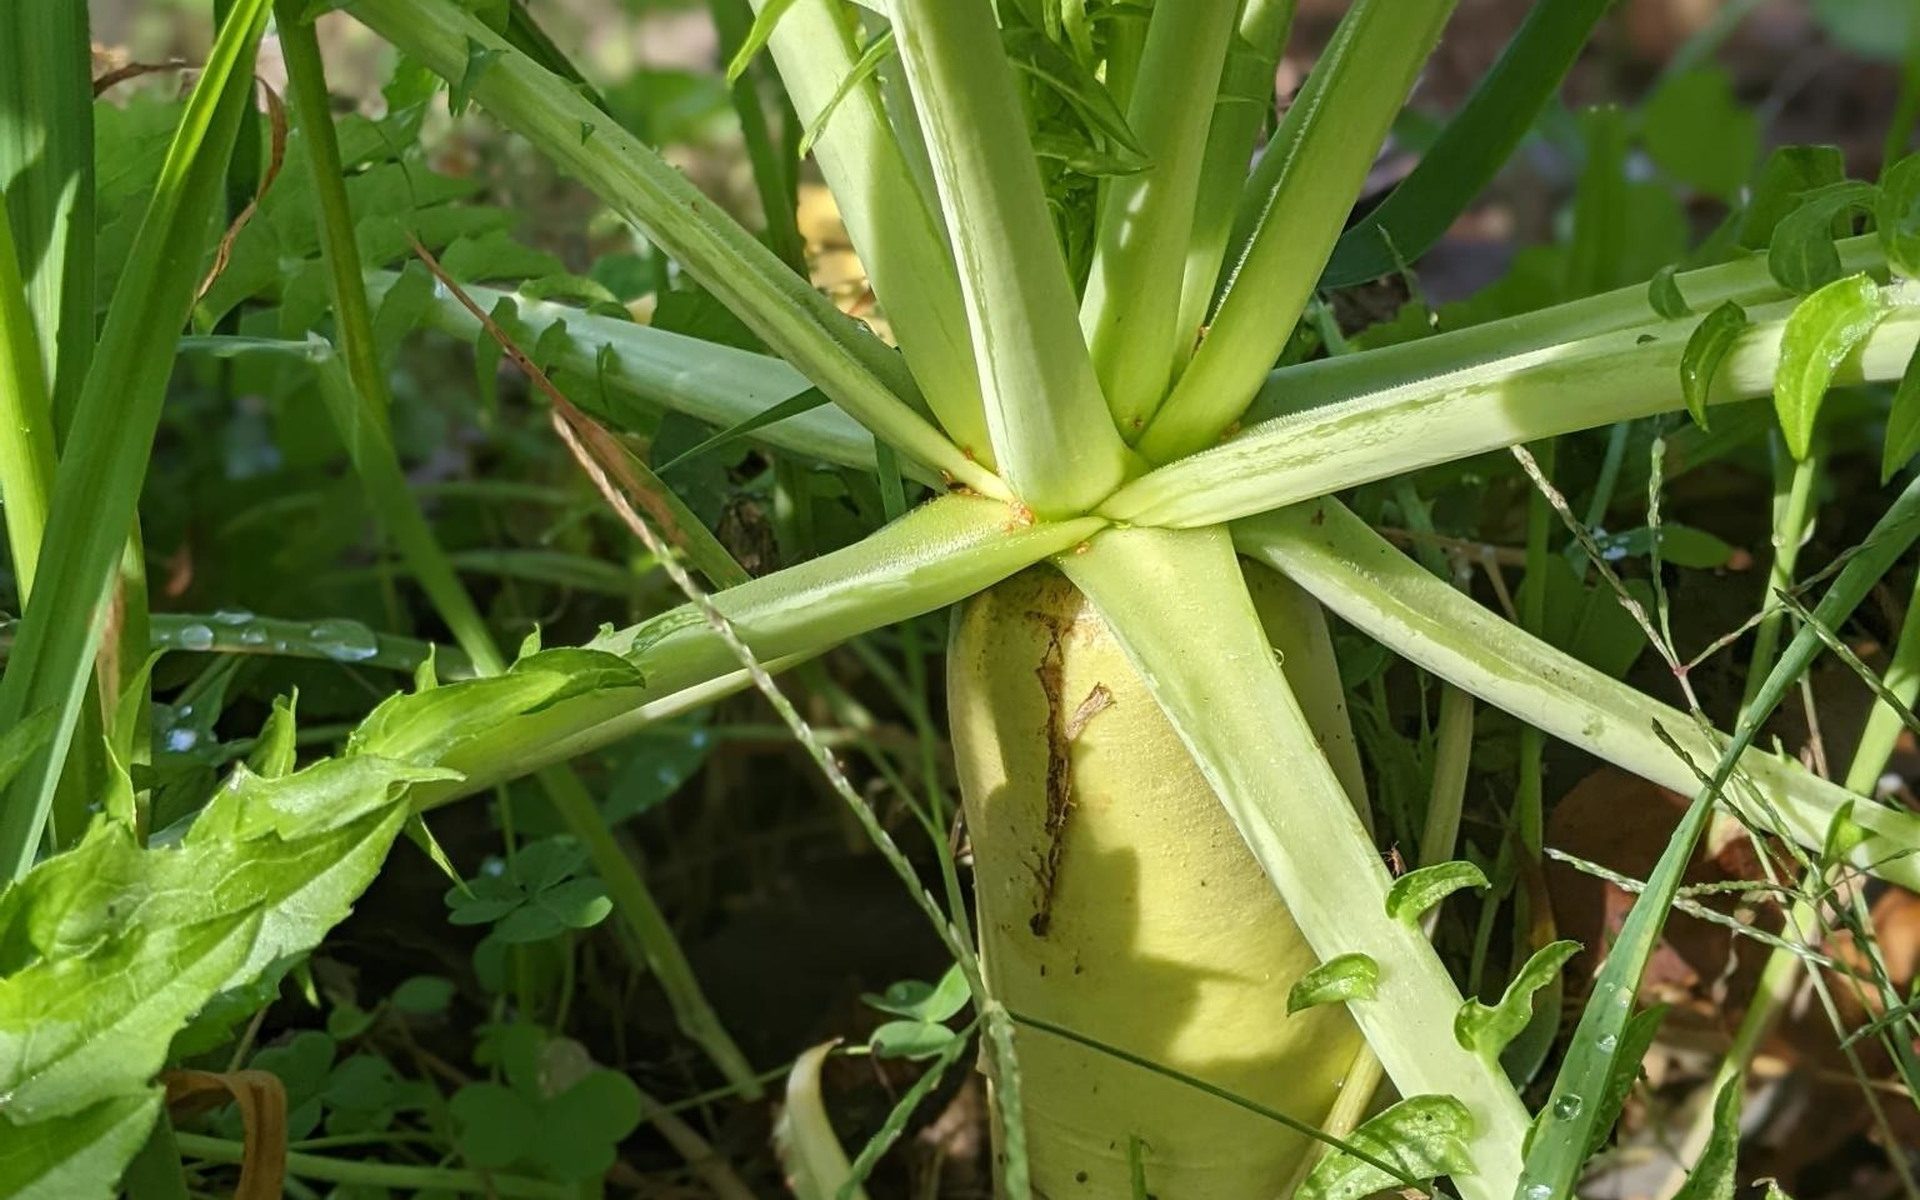
Diversity of Plants and Trees on the Farm
Let us introduce you to some of the variety of plants, bushes and trees on the farm including
Row Crops
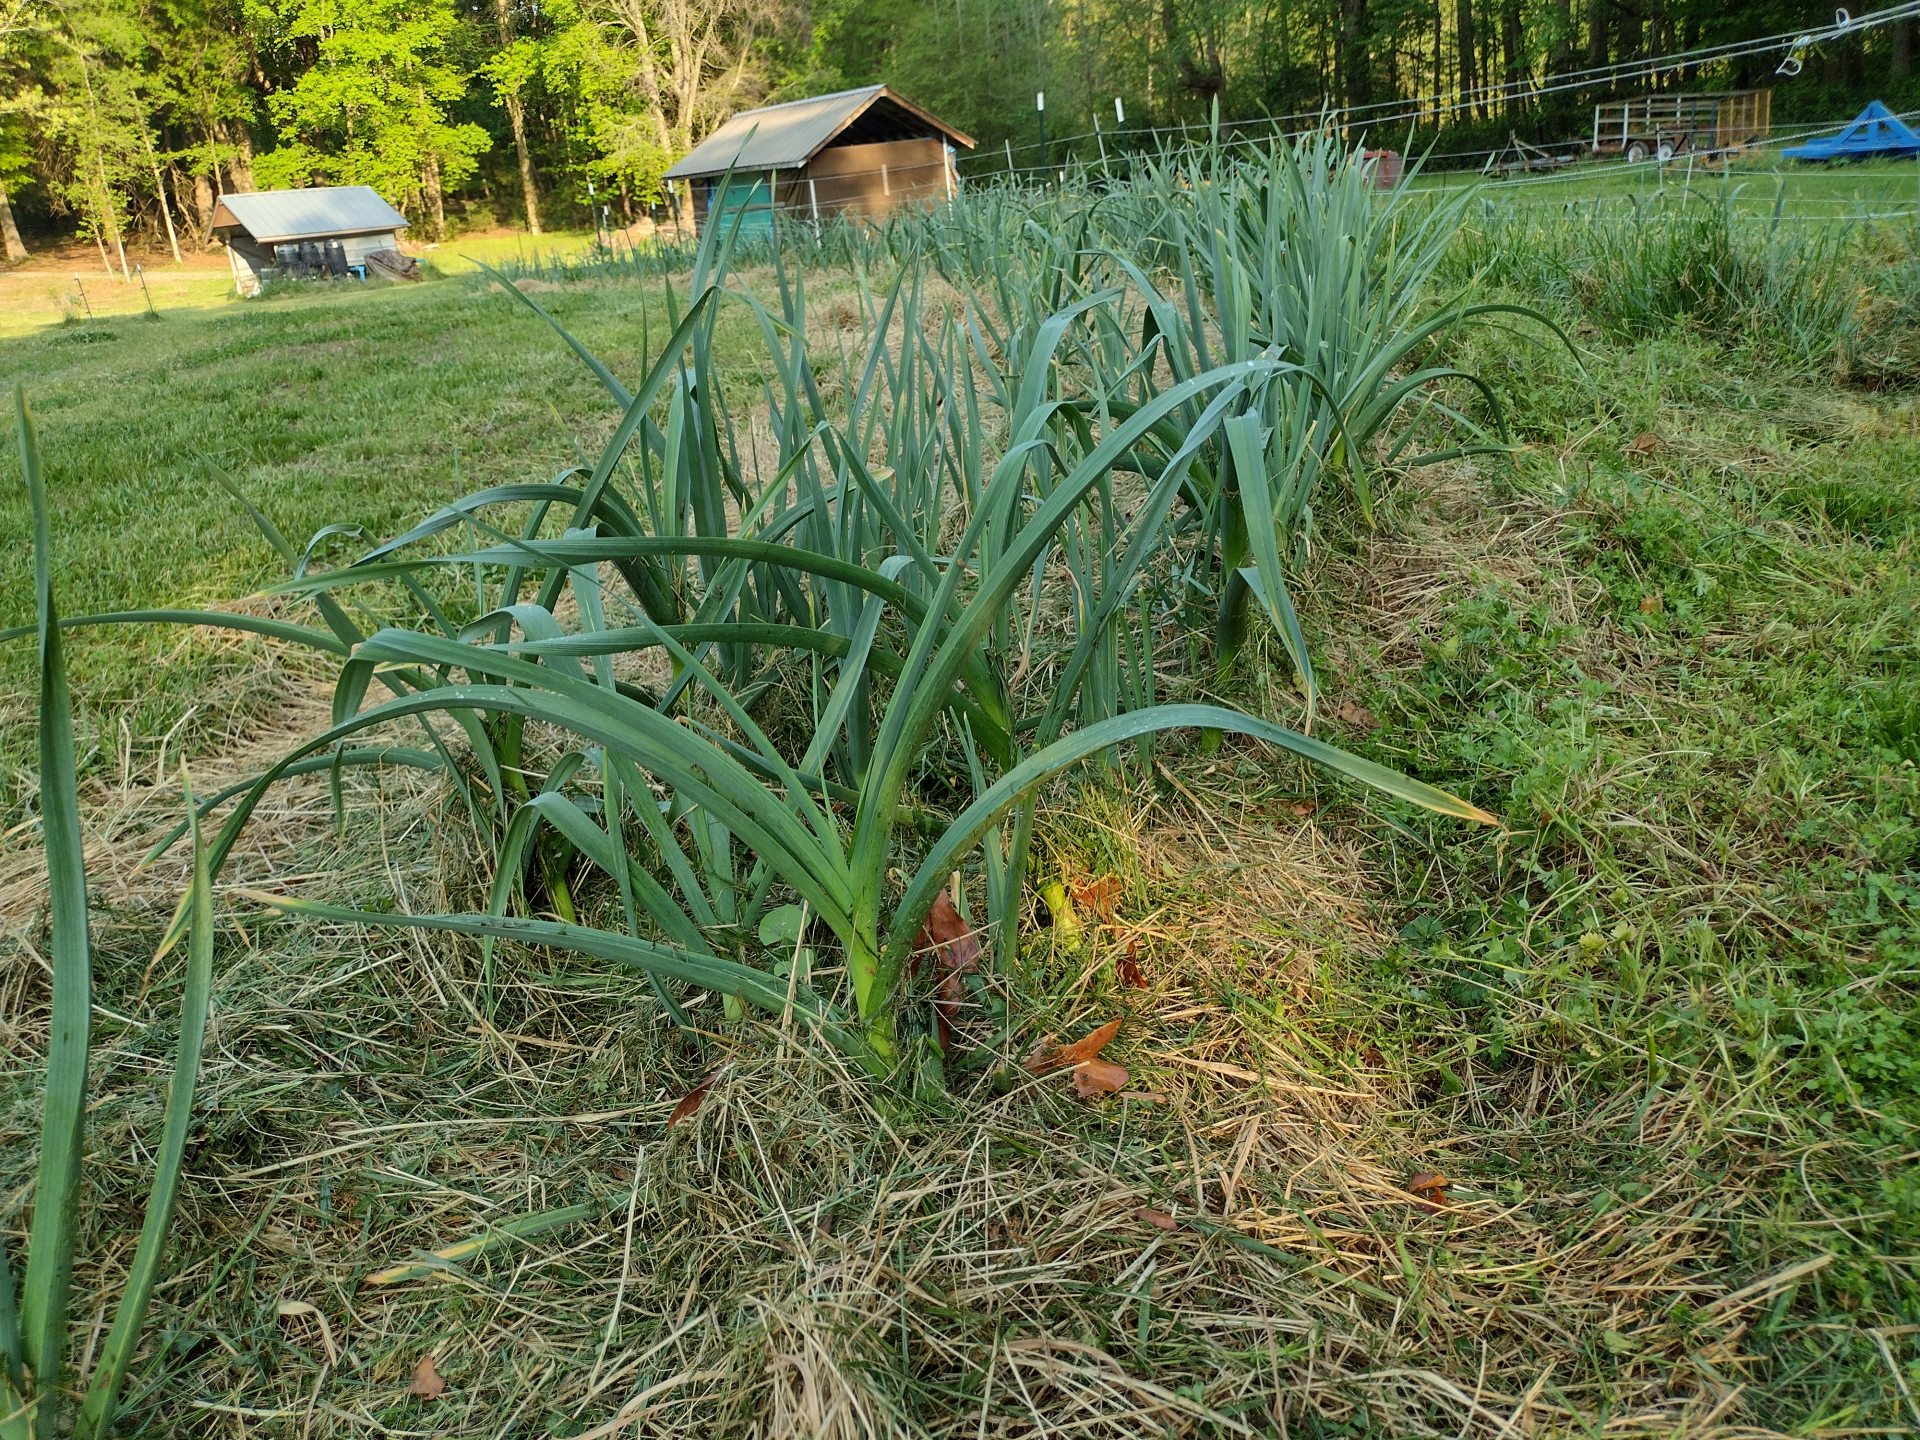
– garlic and onions
– potatoes
– moringa
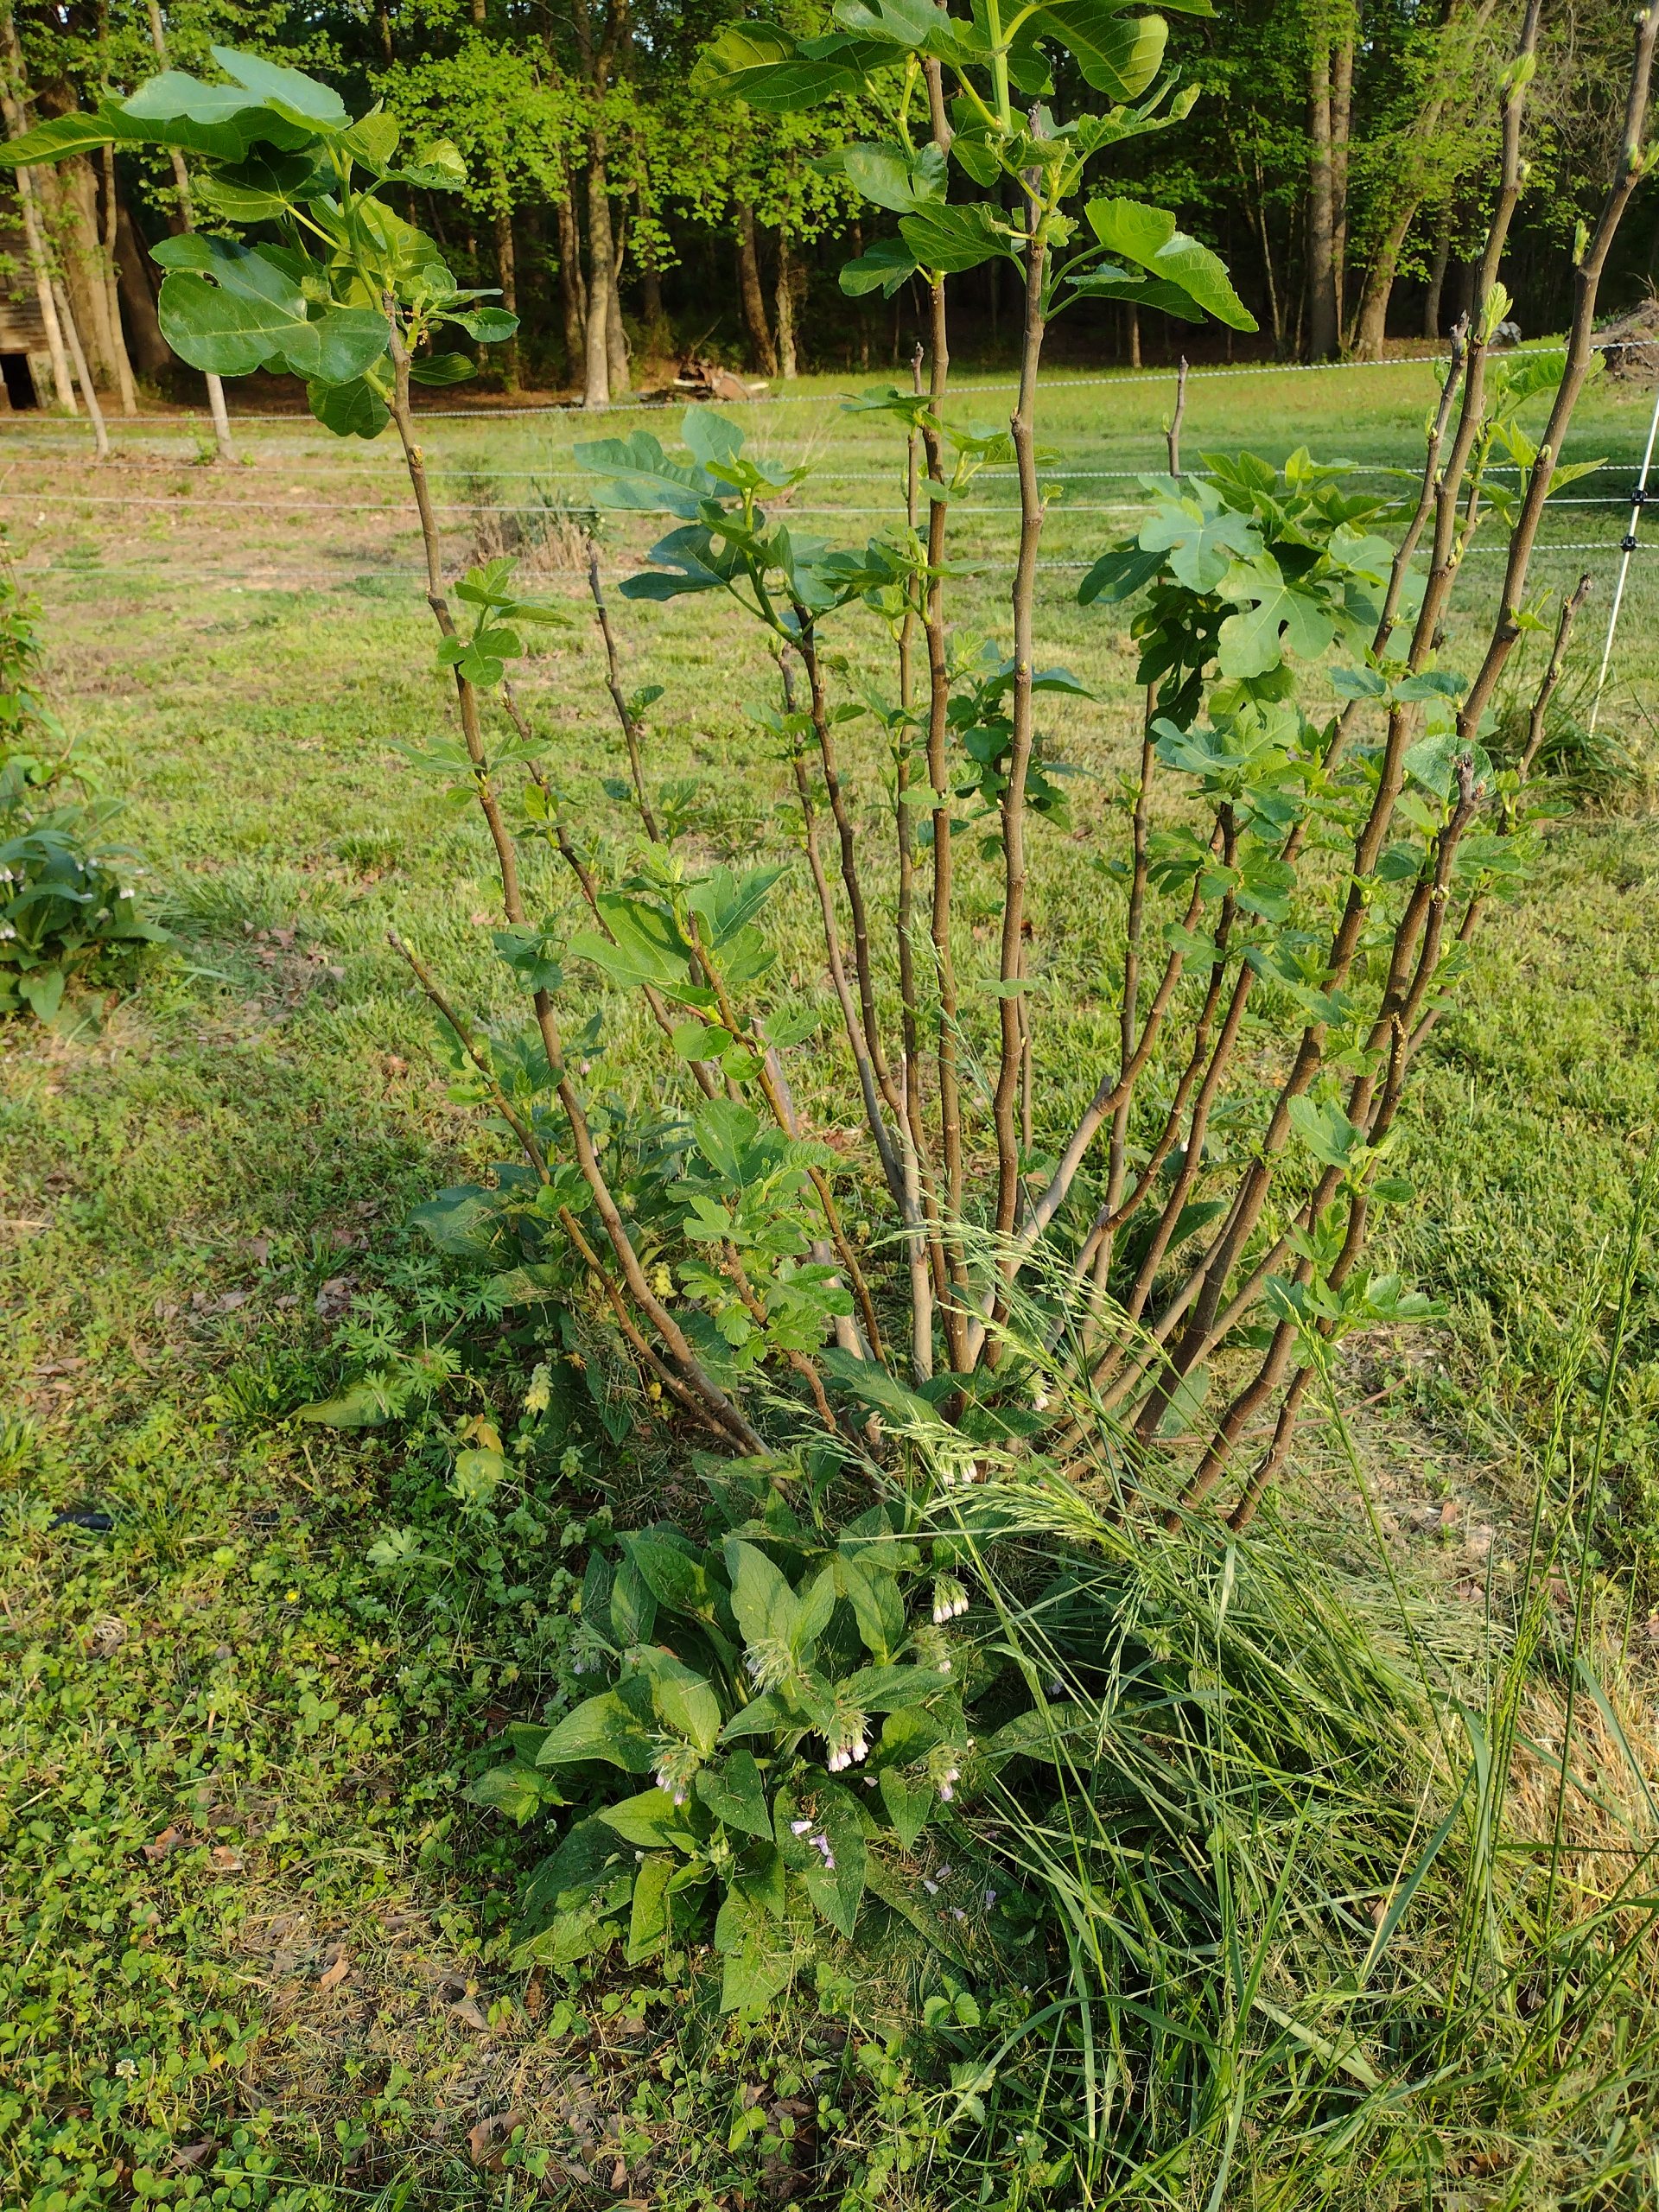
Fruit Bearing Trees
– mulberry
– hazel
– black walnut
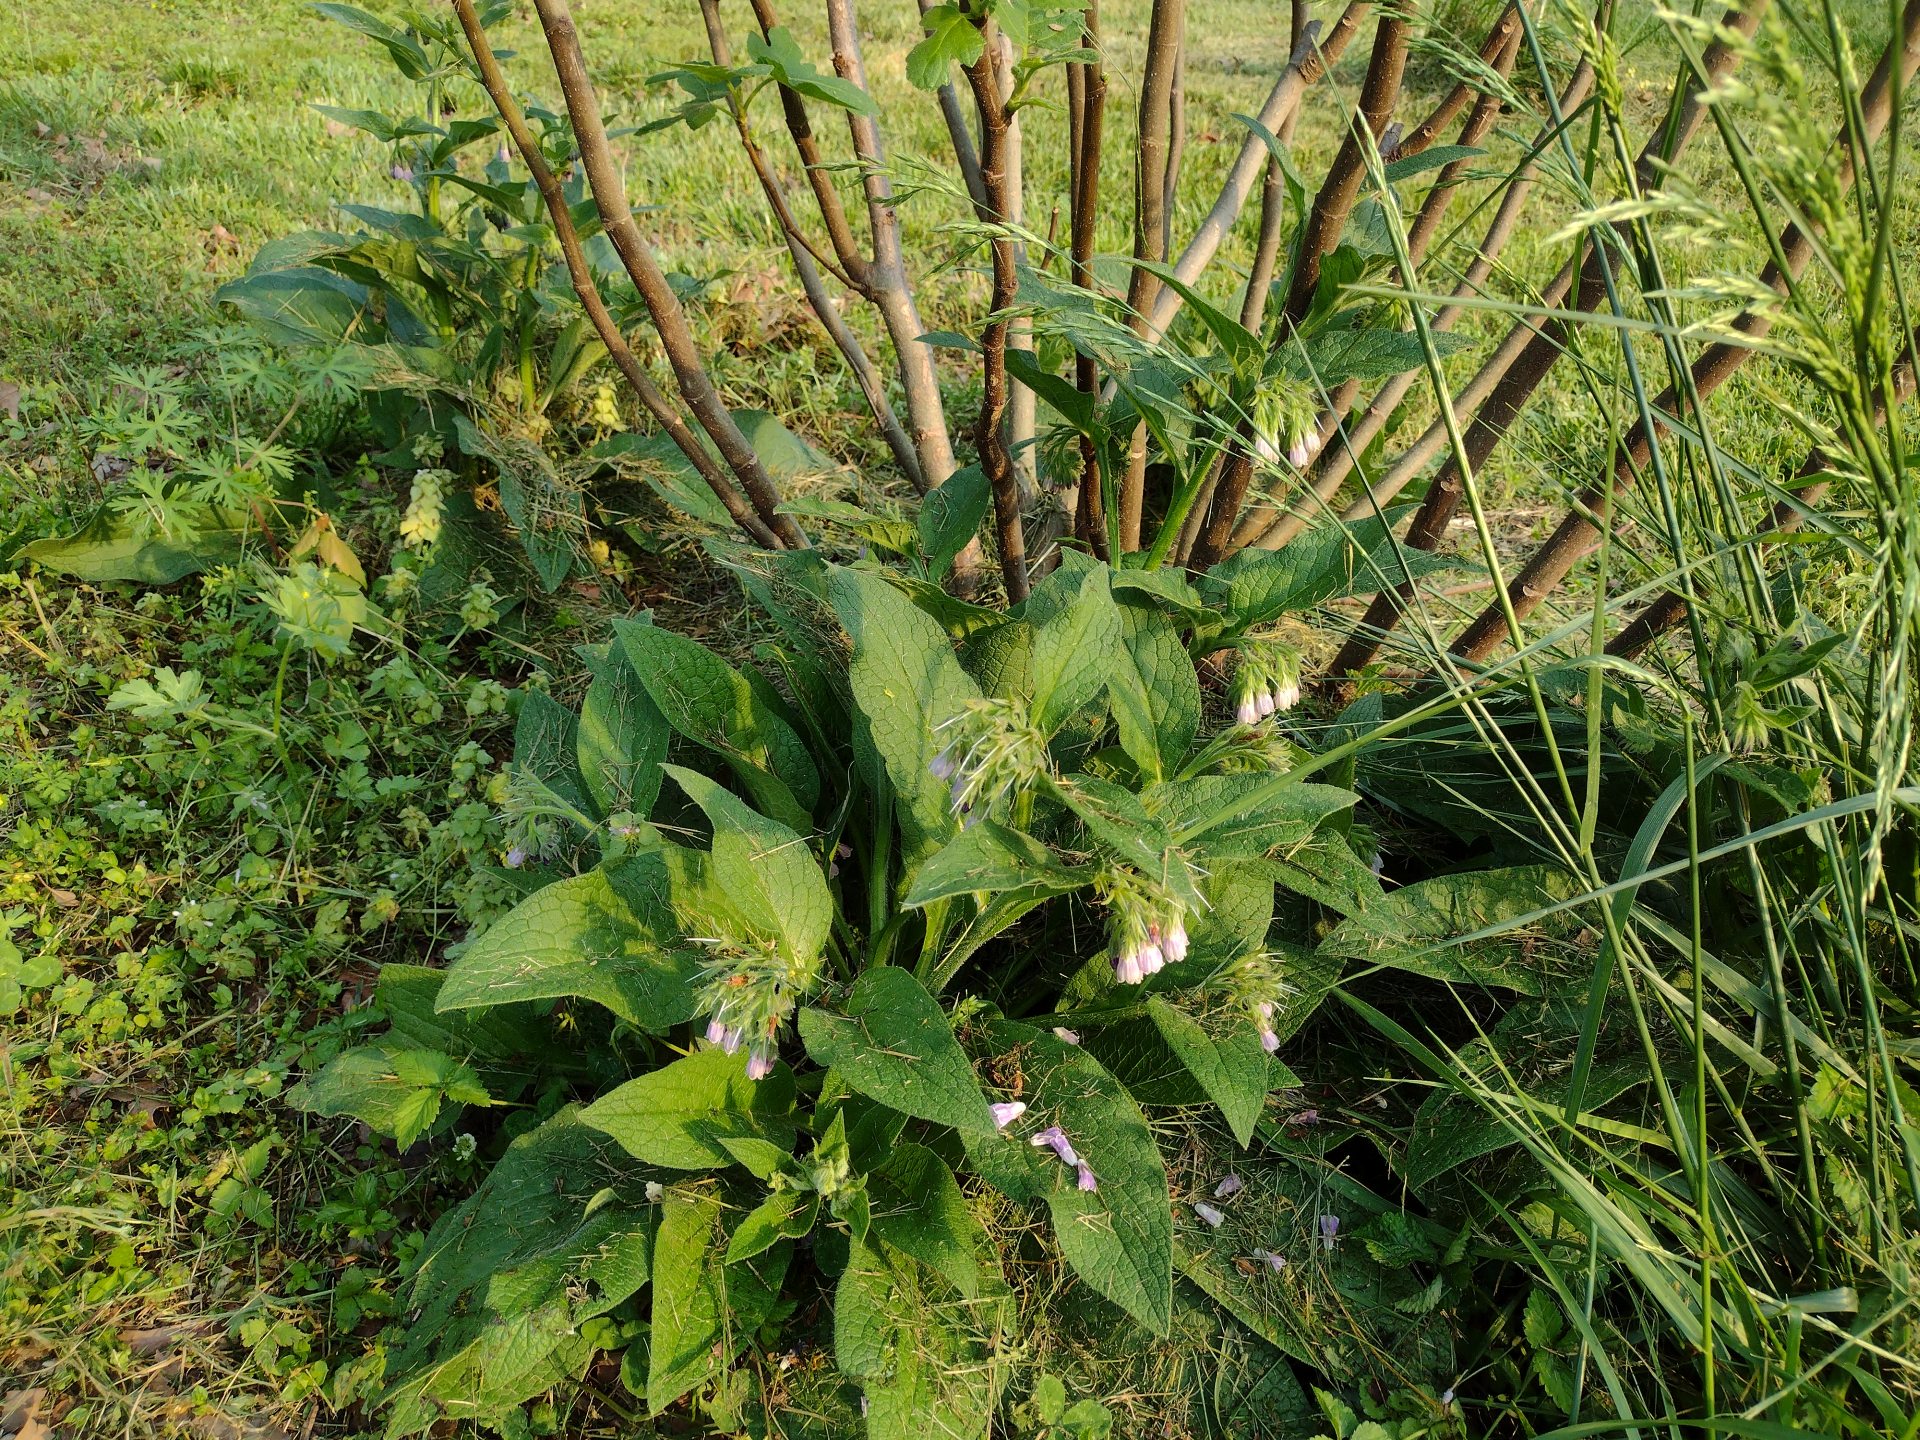
– figs
– olive
– persimmon
– paw paw
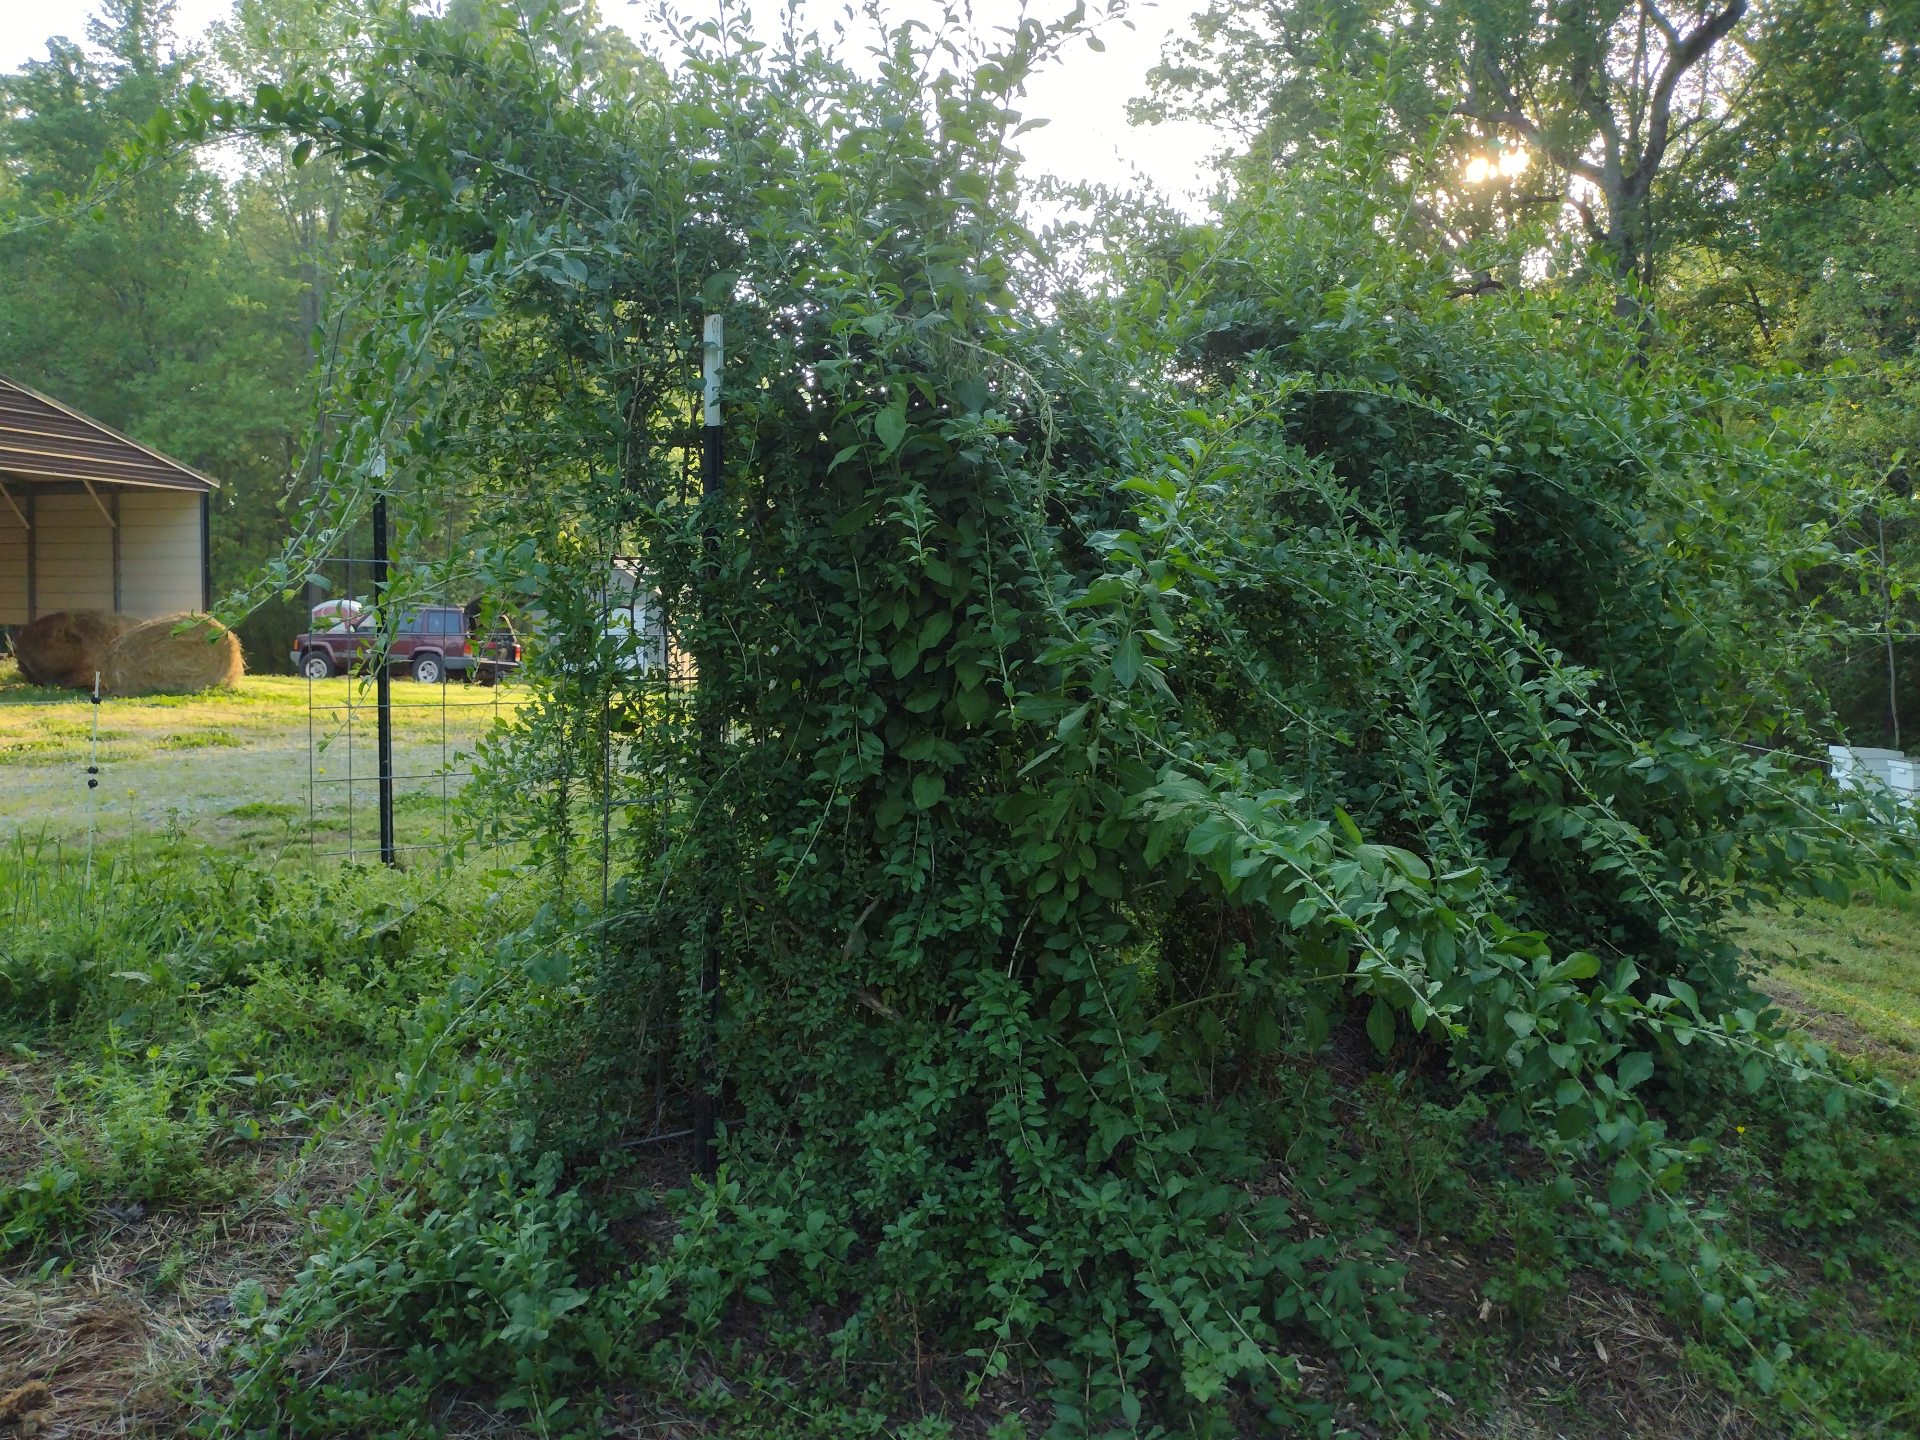
Fruit Bearing Bushes
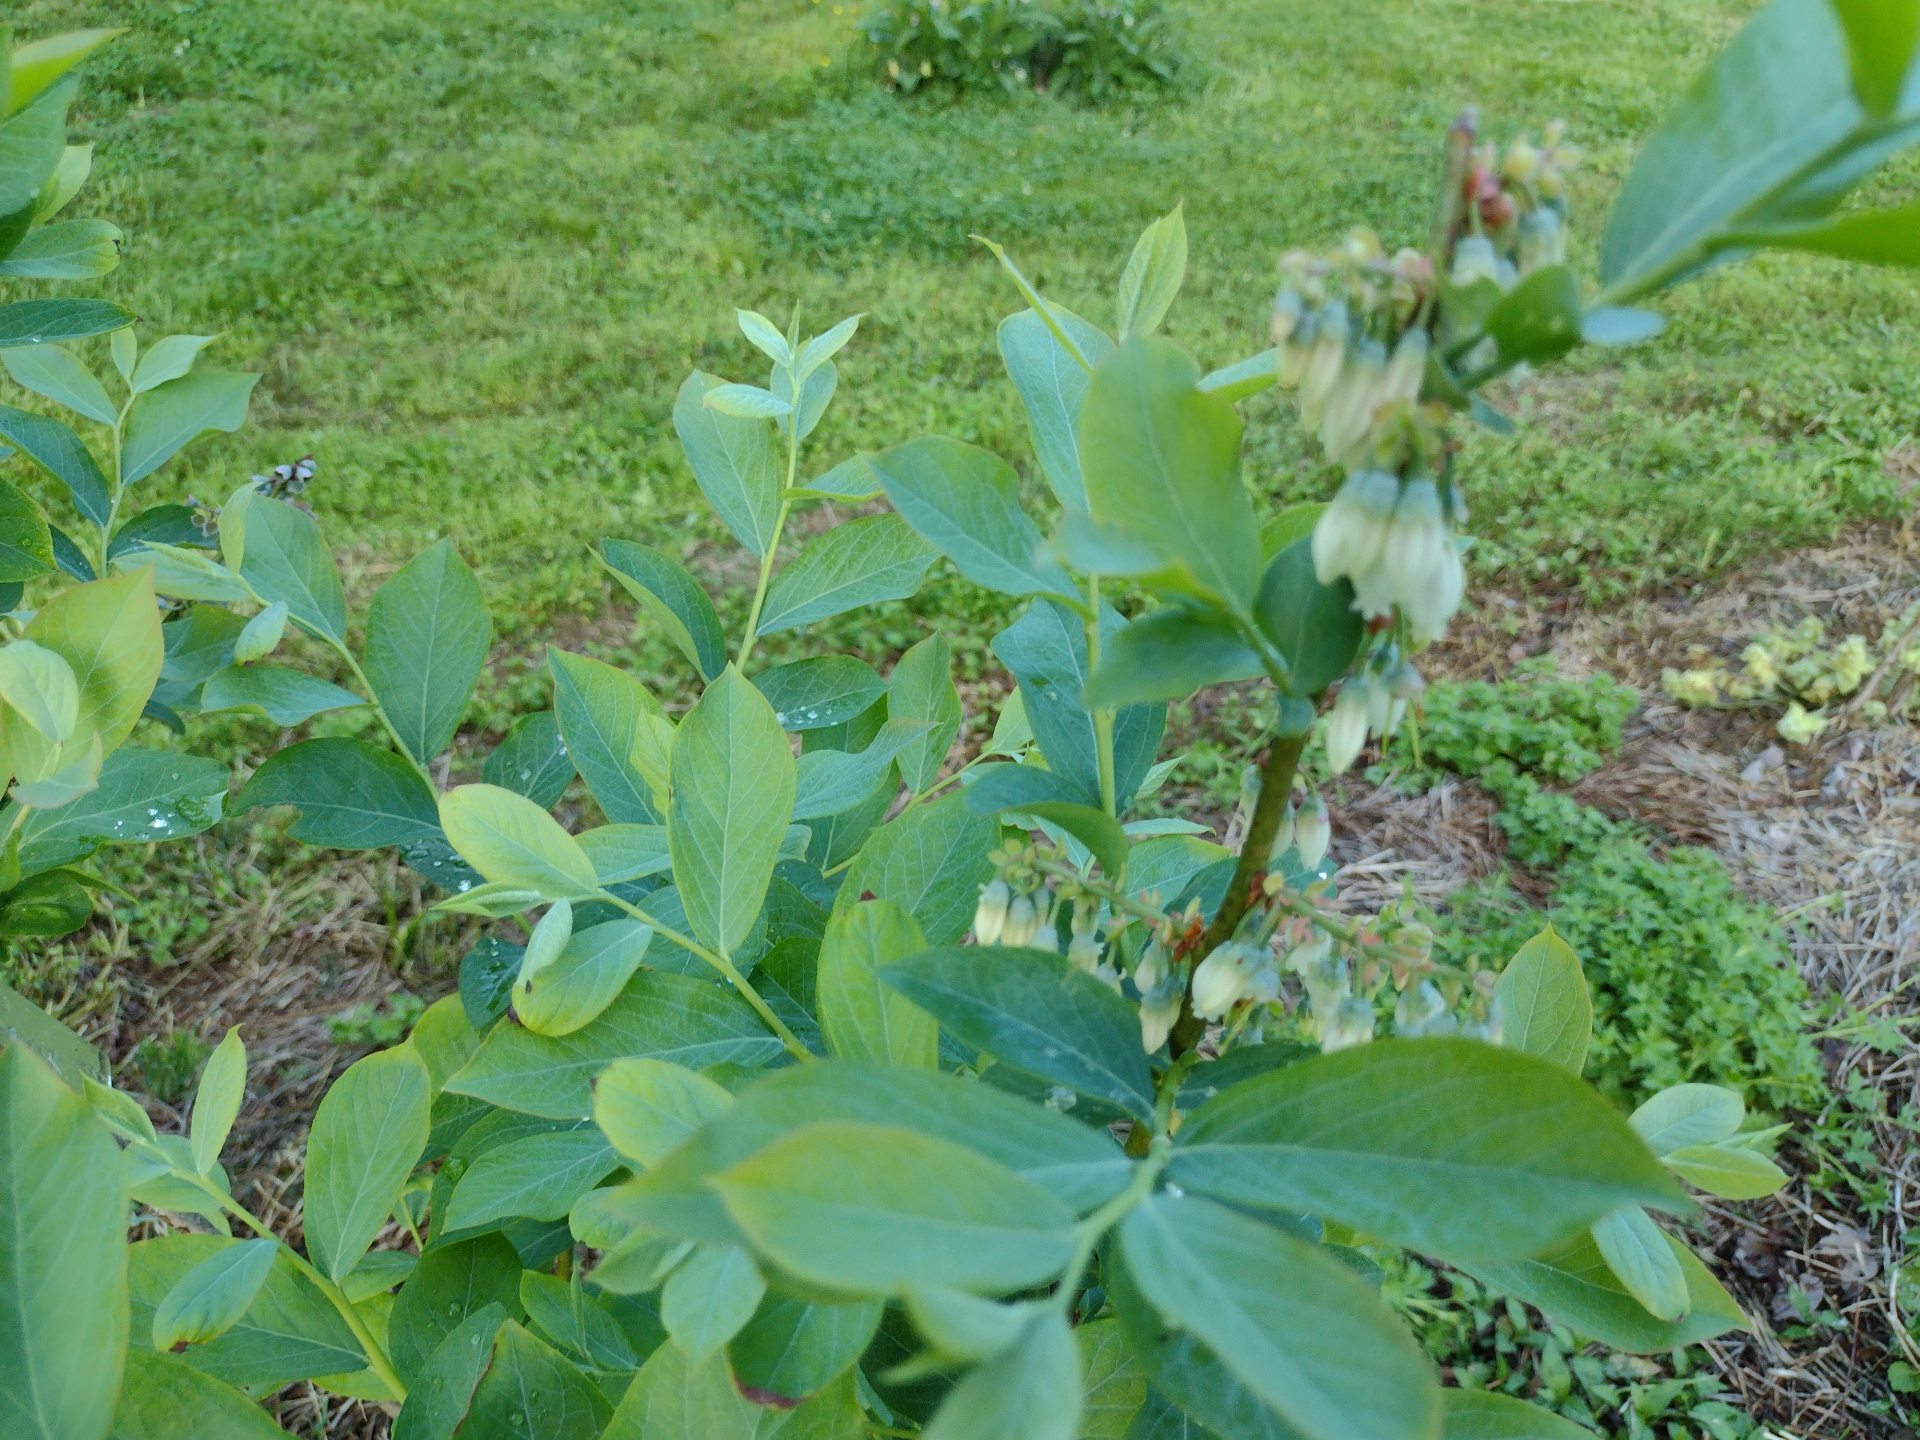
– blueberry
– goji berry
– elderberry
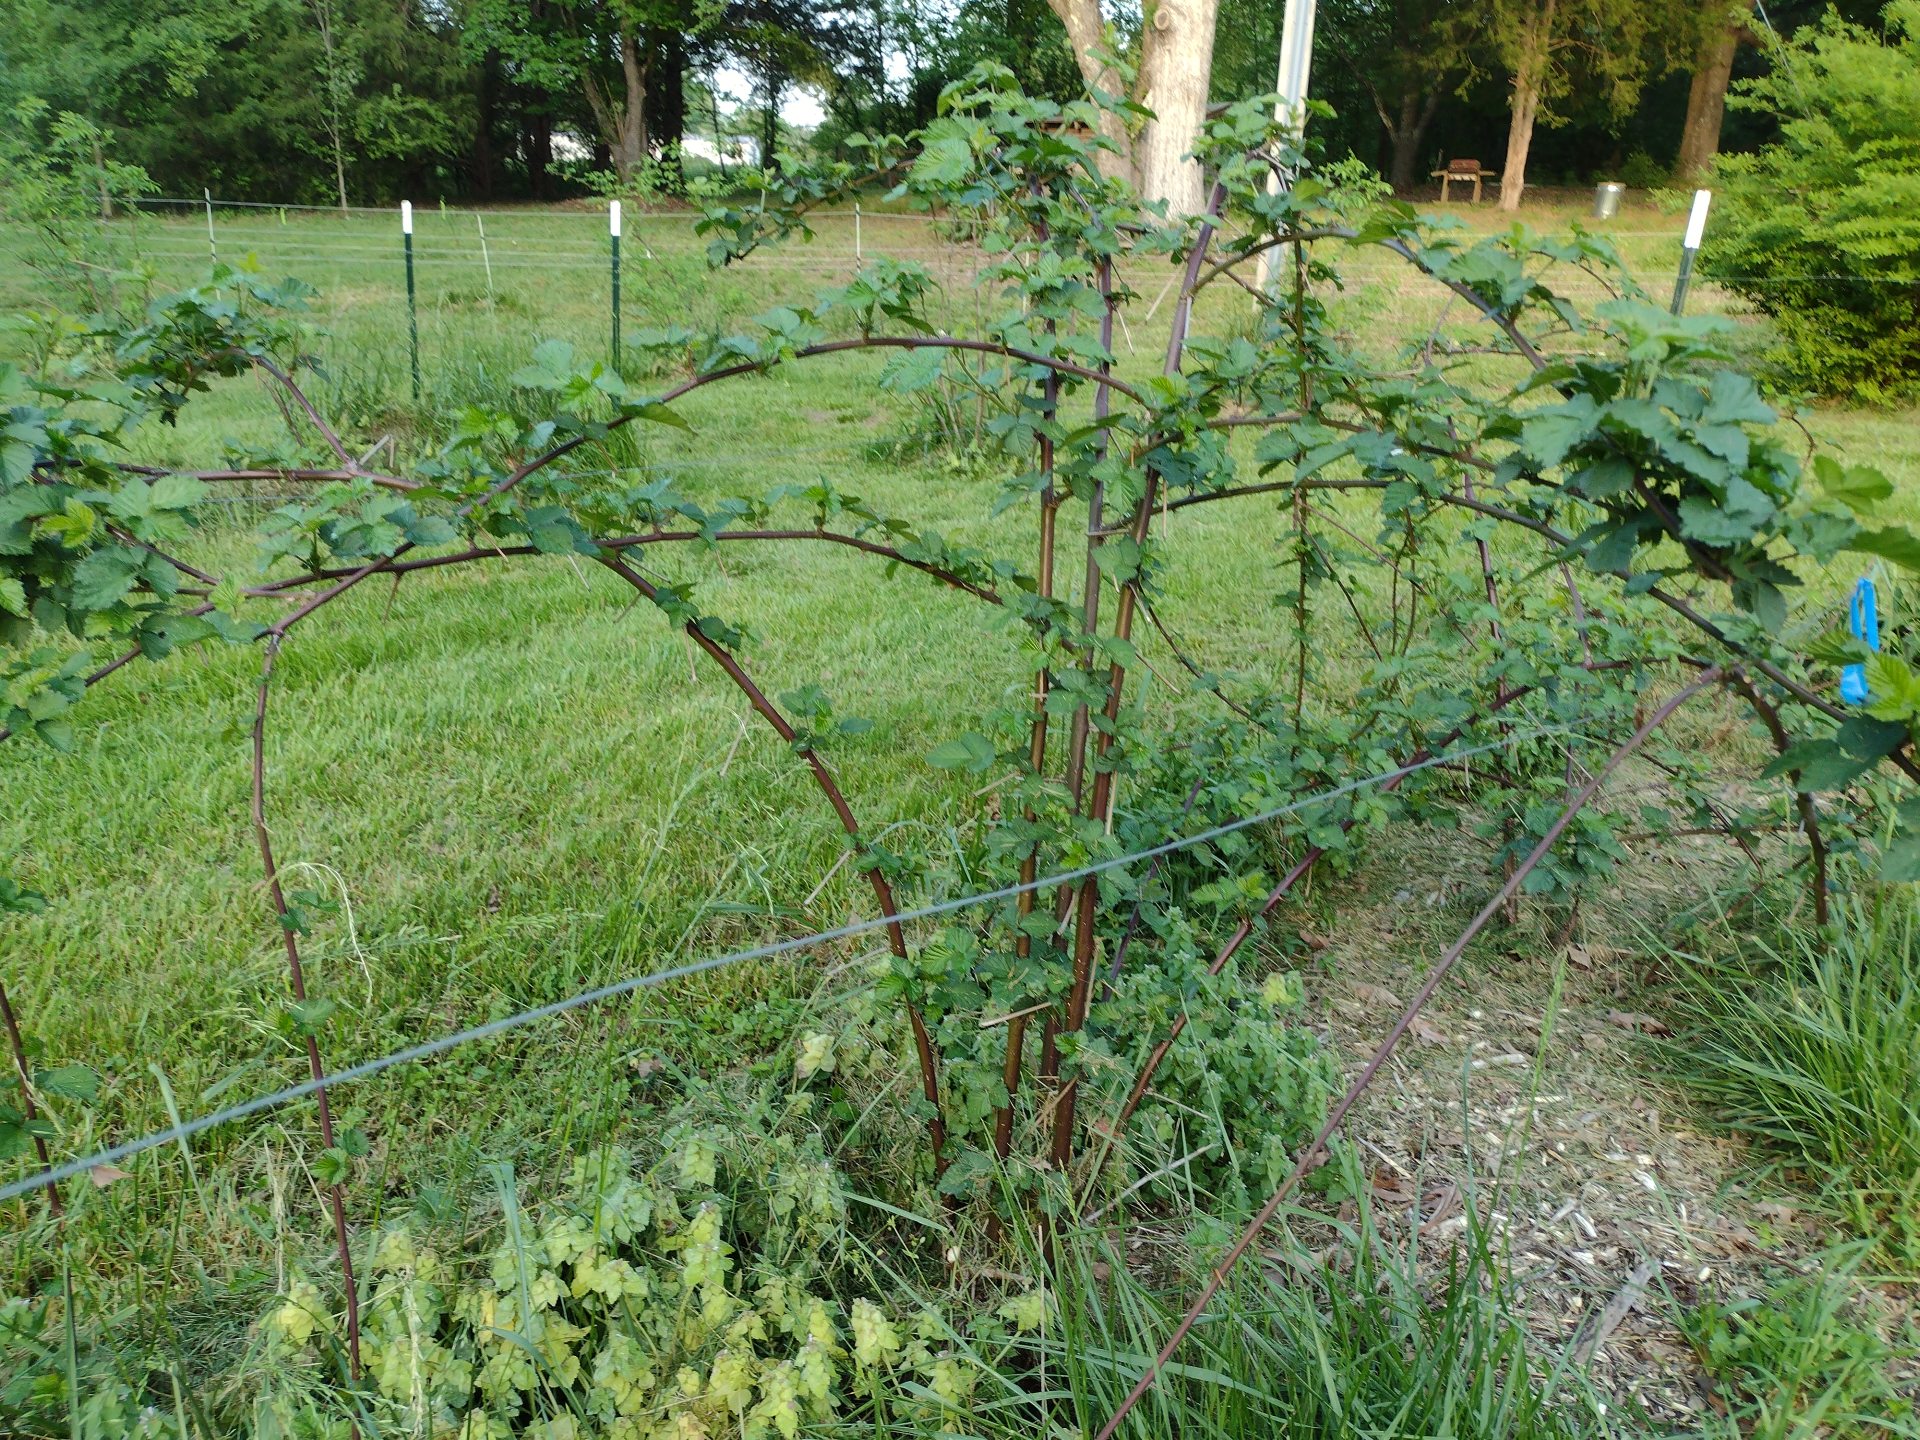
– blackberry
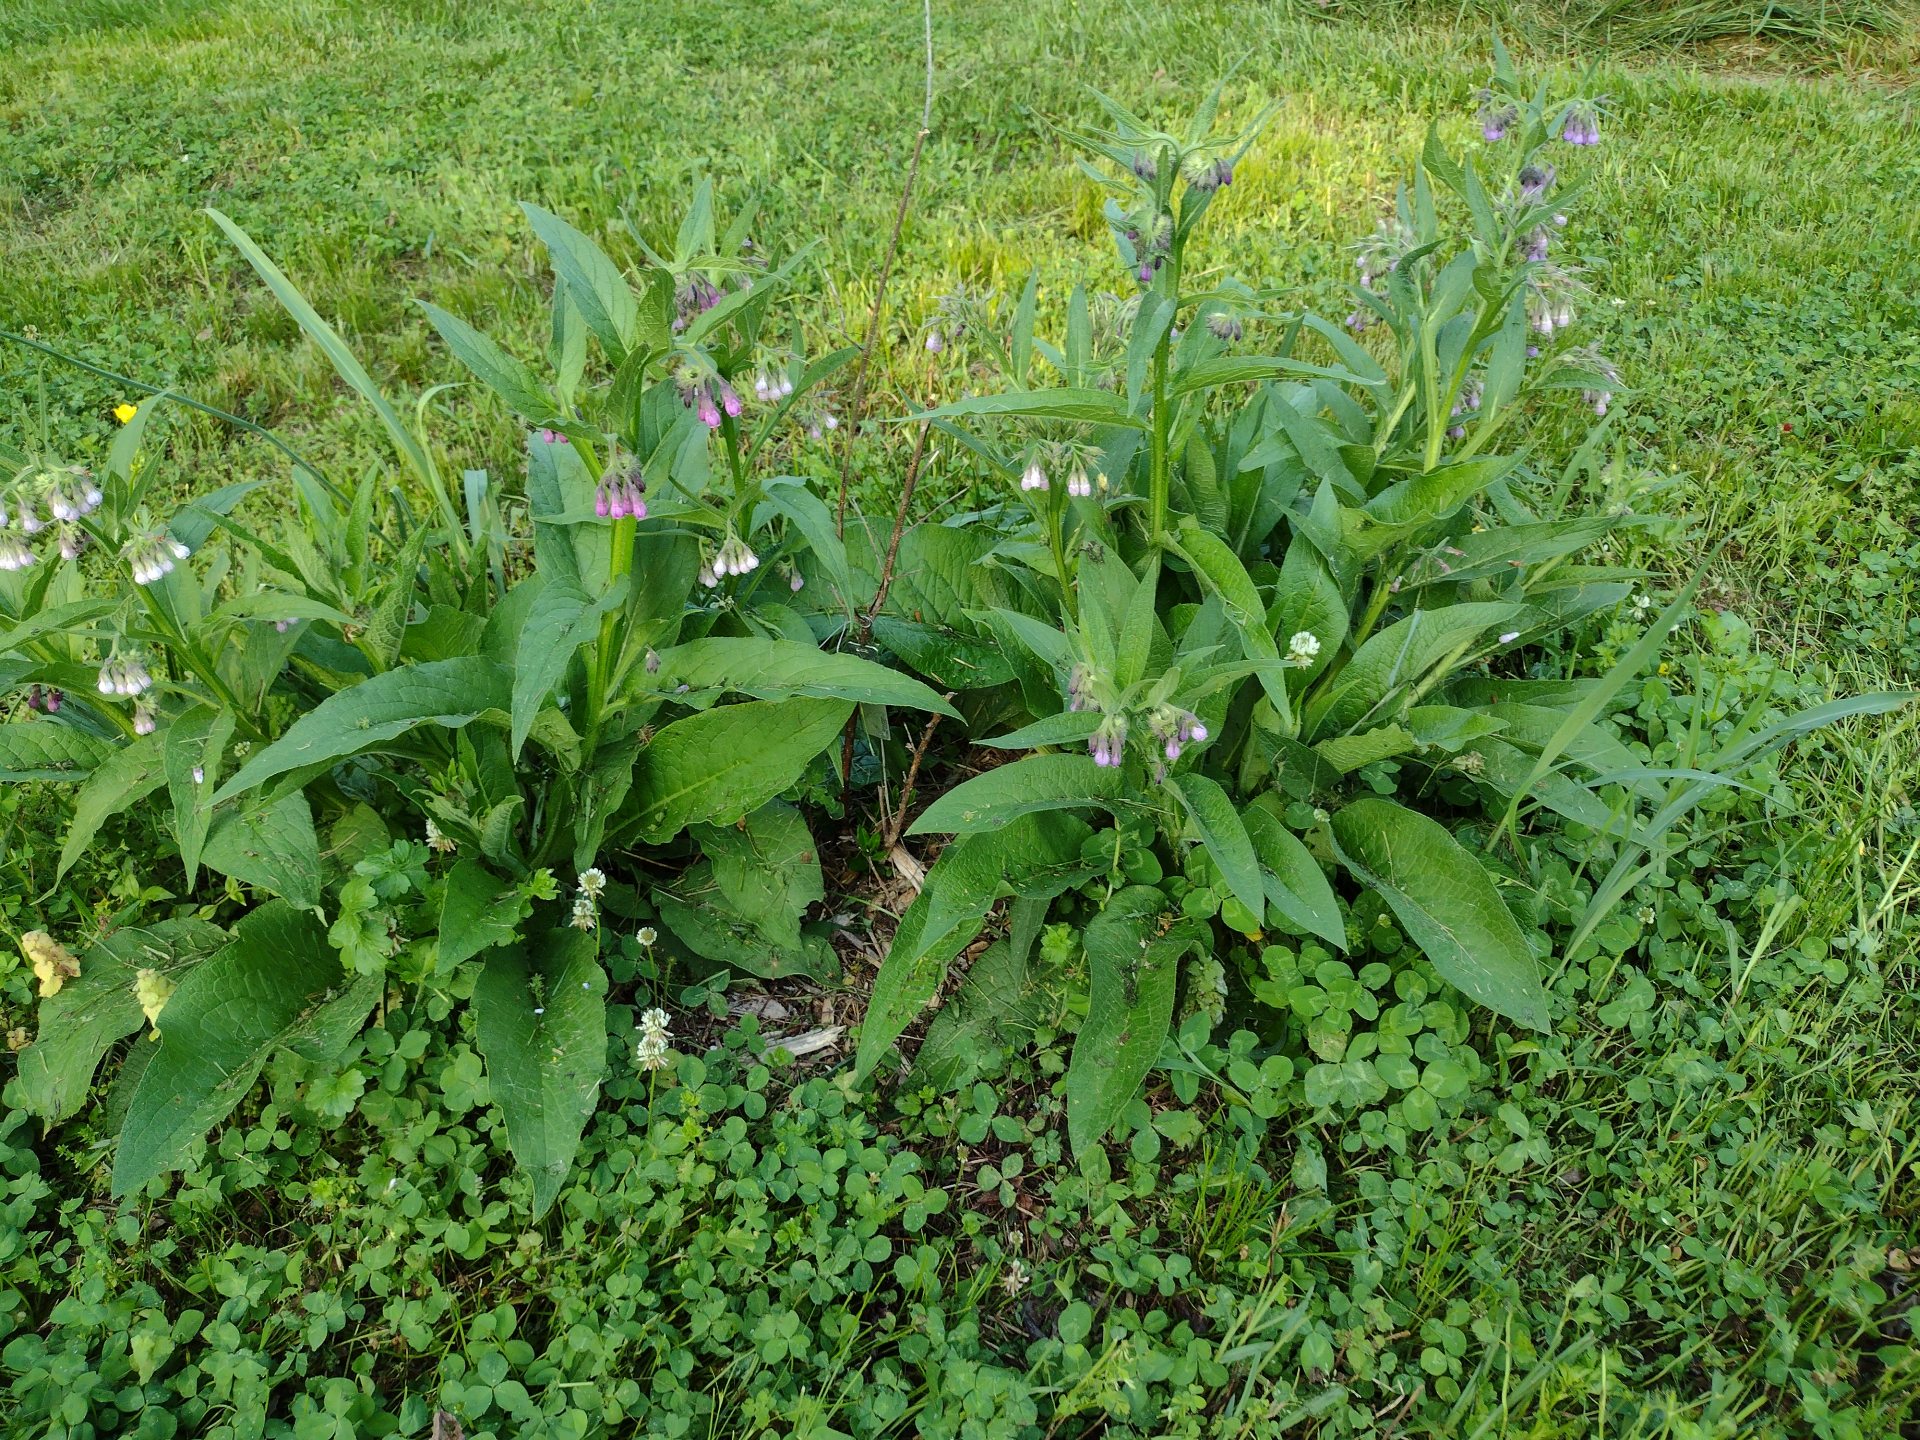
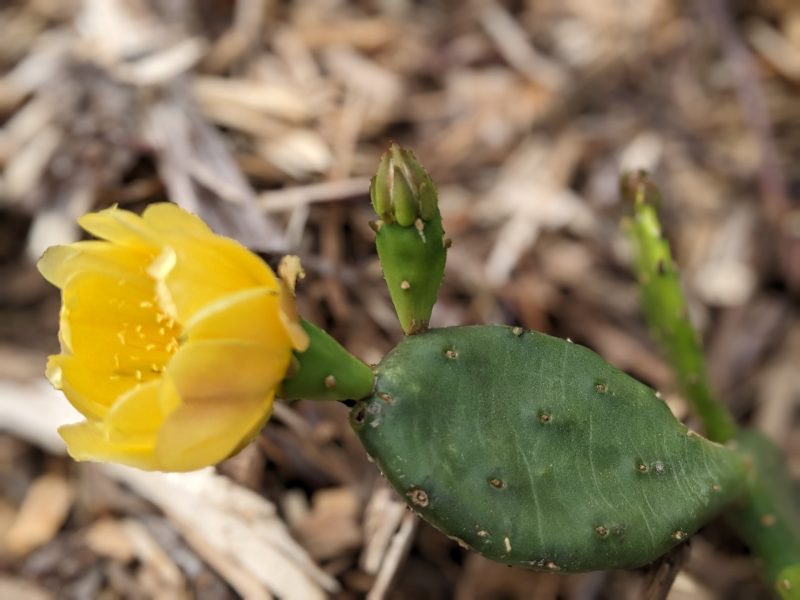
Specialty
– native cactus (edible / nopales)
– comfrey
– honey bees
Check out my books on camping
There are many different levels of engagement when you’re camping. Anywhere between an epic adventure like Man vs. Wild or perhaps one where more creature comforts are brought from home. Either is fine as long as you can physically pull it off and afford it. The goal is to have a good time and enjoy your time. For me, I like to camp with a tent, I’m not an RV guy. I don’t mind taking a shower on the side of the mountain or backpacking in. Sometimes the best way to really see and experience a location is to backpack to the camping site. But, say my wife joins me, she prefers a larger tent, more organization, more creature comforts. If Connie’s coming, then what we bring changes and where we stay may change. For both of us to have an enjoyable time, compromises need to happen. Let’s talk about some different options.
Live off the land for a weekend.
One option would be to head out into the woods with a knife, some tinder, flint and steel, a waterproof jacket, and a wool blanket. The idea is to live off the land for a weekend. If you’ve got the skills to do it and you enjoy that level of difficulty, go and have fun! There are certainly people that thrive on this primitive I’m-gonna-figure-out-as-I-go-build-me-a-lean-to-in-the-woods-and-feel-close-to-nature type of thing. However, keep in mind your skills and your traveling companions. For example, if you are taking your five-year-old daughter and wife who have never been camping, it would be wise to rethink the details otherwise the trip will end quickly. And, the ride home will be the squirmy kind of uncomfortable.
Purchase an expensive RV for camping.
Another option is to head to your local RV store and buy a half-million dollar motor-home, don’t forget your checkbook. Now, you’re probably laughing and about to fall off the couch right now as most people don’t have that kind of money to invest in a hobby. Or perhaps you have the type of disposable income to make this dream come true. With an RV, you could spend a year driving around the United States. If so, enjoy yourselves and send me a postcard.
But honestly, most of us don’t have the means to pay for a million dollar motor home. So as we look at other forms of camping, be aware of what you can afford. If you want to participate in the RV lifestyle but don’t want to buy one, then consider renting one for your trip.
Camping shouldn’t involve stress over money.
Because stressing over money doesn’t equal fun, keep the scope of your camping trip and equipment in-line with your income. If you have to save for a hundred-dollar tent, instead buy the fifty-dollar option and choose the contingency of camping close to home in case a catastrophe happens so you can head home easily. People can enjoy different levels of camping, regardless of their financial ability. Also, consider borrowing supplies from family, friends, or neighbors. Once you decide you want to invest in pieces, you’ll know better what works for you.
Survivor Man versus backpacking.
These are two extremes. One is to hike the Appalachian Trail maybe something similar to doing the Survivor Man thing for five to seven months. For that epic trip, you’ll need to delve into other books to succeed. For this book, let’s talk about backpacking. That means you have what you need on your back, and you’re going some distance. It may be the whole length of the Appalachian Trail; but more likely it’s something like four miles through your local woods.
With backpacking, everyone will bring what they need for the jaunt in their pack. The goal is to have a lightweight and comfortable backpack and equipment that doesn’t weigh much. Consider eating dehydrated food as it is light. If you don’t take these suggestions into consideration you’ll end up hauling a fifty-pound pack instead of a twenty pound one for miles and miles. Trust me, the weight on your back will make a difference with each step. Backpacking isn’t for everyone and may be difficult to pull off with your family in tow, especially if this is the first camping trip.
Car-camping.
This is pretty simple. All the things you need are in your car and you drive to the campsite. You unload a popup shelter or tent and a sleeping bag. You might have kitchen items to cook by the fire or you may choose to eat at local restaurants. Whether you build a fire or not, you’re experiencing the version of camping that works for you, so embrace it. I highly recommend this for your first outing, especially if you have a family.
Supplies for backpacking versus car camping.
Personally, I think there’s a good chance you will enjoy the outdoors. Which means that eventually you will end up with two setups—one for backpacking and the other for car camping. Backpacking provisions need to be ultra-light, whereas supplies for car camping can be bulky and perhaps less expensive.
Advancing further.
You’ve got to right-size your trip with what your family wants so that camping is a successful experience. You may need to take several simple car-camping trips before progressing further. Or, your group may be content with this simplest kind of adventure. But, maybe it grows into more. Perhaps add a campfire to the next trip, or cooking over the open flame, or a longer more involved hike. The trick is that if it’s a family thing, go slow and let everybody ask for more so they don’t feel forced. I have found the biggest objection about camping is that people don’t want to get out of their comfort zone.
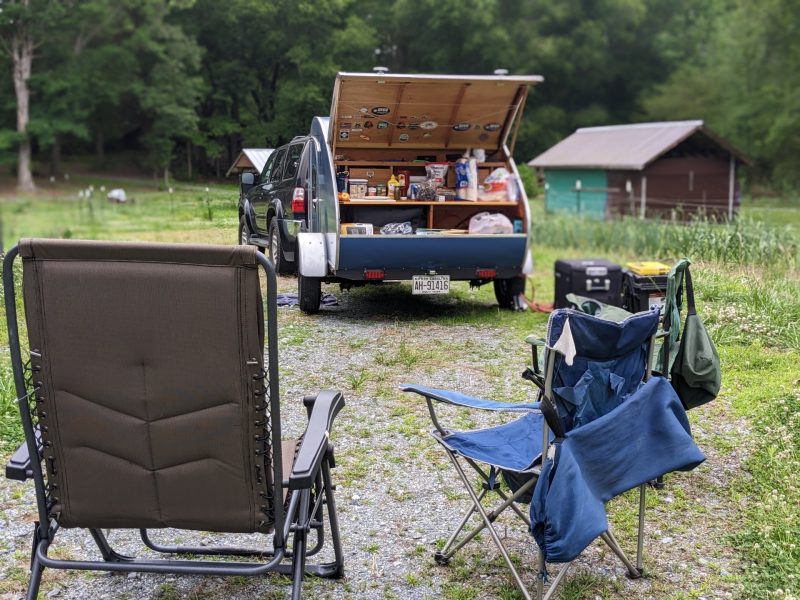
Car glamping.
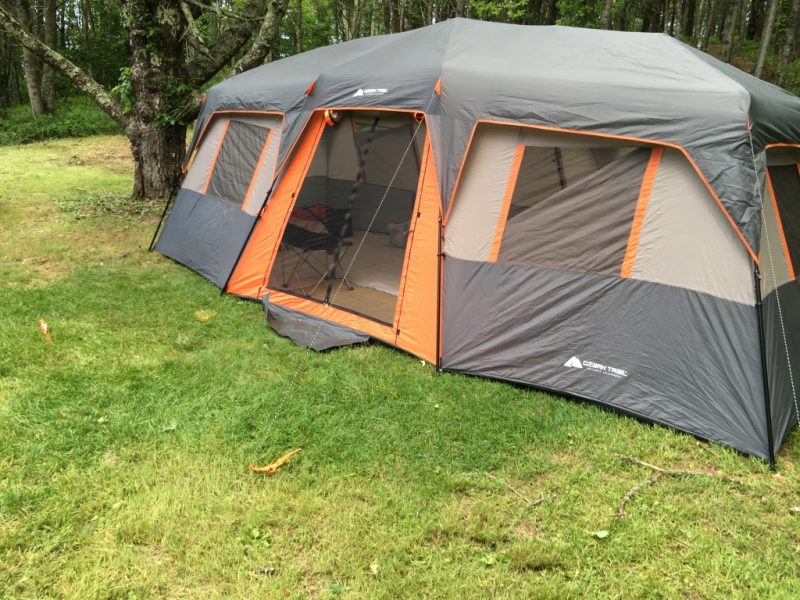
Which means bringing every creature comfort from home. There are different levels of glamping. Honestly, sometimes I feel like I glamp when we go to our place in the mountains because of the luxury items we haul with us. The over-the-top items we could bring are a super-big tent, which we’ll talk about later, a flat screen, an Xbox, a generator, maybe some gilded throw pillows. I’m sure you’ve heard of the glamping sites where you can go live in a tent that’s a lot like your house. They can even have air-conditioning!
Economy glamping.
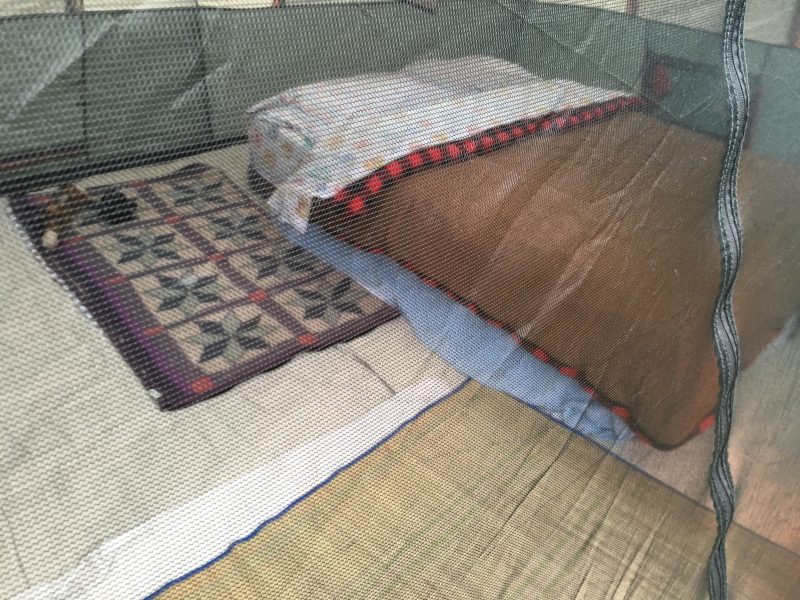
Connie and I go “economy glamping.” We bring a ten by twenty feet tent. My choice would be much smaller, but it’s all about compromise. I want her with me and happy, so we’ve figured out what each party needs to feel comfortable for a weekend. That includes an inflatable mattress. We don’t wear shoes in the tent, which keeps it much cleaner. There is a small area designated for shoes and dirty clothing. We also have a cozy spot to sit down. These are things we do to make the clean up easier and the space more comfortable. Given these conditions, Connie will gladly come camping with me.
With a big tent, you have room for an air-mattress. In fact, a big tent will usually allow everyone to sleep under the same roof, which goes a long way to a good night’s slumber for all. The more comfortable you can make camping for your loved ones, the better the chance that your kids will want to have epic, hard-core adventures in the future.
Camping without camping, is it possible?
What works for your family? You can always stay in a hotel or a bed-and-breakfast that’s close by to your activities and then do day trips. I’ll argue that you’re not camping per se, but those day hikes and discovering waterfalls, will still get you outdoors. It will allow you to spend quality time with loved ones and set yourself up for those priceless moments with your family. If staying in a hotel and having day time adventures works, then do it!
What will work for you?
As you can see, there is a vast range of options for camping. Are you an RV kind of guy where you plug in at a campsite with power and air-conditioning and running water? Perhaps it’s going to be something simple, where you have a tent and minimal equipment and eat at restaurants. Or maybe you’ll go for something in between. There’s no wrong answer as long as you’re getting everyone outdoors and create those family memories.
What are my goals and intentions?
As you can see, the camping experience can span quite a range from a tent and a sleeping bag, to many of the creature comforts of home. Ask yourself:
Getting everyone together to create memories.
The goal is you want to get your family outdoors and allow everybody to have a great time. Depending on if you choose an RV, a pop-up, or a tent, may or may not affect whether or not you have that priceless moment. I think with an RV you’re a little more separated from things. But people have different comfort zones. If the only way you can get your people to camp is to rent a pop-up or an RV for the weekend, then do what you need to do. You’re achieving some of your goal, everybody’s having a great time, and you’re creating family memories, which make it all worth it.
Don’t feel pressure if camping is new to you.
There’s no pressure to be Mr. Outdoors. Because if you’re the kind of person who has never been in the wilderness before, no one would expect you to build a fire with flint and steel and some cotton you pulled out of your pocket. Feel free to use matches. Keep it simple when you build your first fire, and maybe even your tenth. Later on we’ll talk about some of these other skills. But, my goal here is to give perspective on your different options.
Most of my camping experiences revolve around family trips or Boy Scouts. As a result this book really focuses on family camping. However, the same principles, skills, and knowledge apply to a single person or family. Maybe you are a single man or woman who wants to experience camping for the first time. You could be a widow or widower, or newly divorced. There are many people in lots of different situations that head out to enjoy camping. This book spends a lot of time talking about family interactions and considerations, but the skills and knowledge apply to a variety of life circumstances. If you don’t want to go by yourself, then consider joining an outing club. It’s a great way to go with a group and enjoy the camping experience.
Build up your skill set.
You may need new outdoors skills. Or perhaps it’s time to teach those techniques to your kids or spouse. You never know when you need to build a fire. Your car may break down in a place that has no cell service and the only thing to keep you alive overnight is to build a fire. Does this happen to everybody? No. But, the simple ability of building a fire could be a lifesaver. One reason to continue to camp regularly is to keep our skill set sharpened. This gives peace of mind and boosts confidence. Learning outdoor knowledge improves self-reliance that translates to other areas of life. These regular camping trips build a happier, well-adjusted, better-prepared-for-life family member who is more available to partake in those priceless moments.
It’s not a question of how rugged someone is. The question is what they want. Some people at different points in their lives simply don’t want to spend the weekend working hard outside doing camping stuff. Sometimes you want the fun component and not the work part. So instead of a tent and open flame cooking, they might choose an RV and restaurant food. Or perhaps they’d rather do something at home that weekend.
Compromise.
There are trips when Connie doesn’t come because I am hunting and I’m fine with that. Sometimes it’s nice to be on a solo trip, or a trip with the guys. It’s an opportunity to go with a smaller tent and do different activities. The point is to keep the perspective that there are a lot of ways to get a win out of camping—backpacking, economy glamping, hunting backpacking are just three. They all have their pluses.
First trip could be a solo one.
If you are unsure about camping for the first time with the entire family, then consider just going solo, or with your spouse. Then bring the kids on the next trip Camping can be enjoyed in lots of different scenarios from the whole family going, or individuals without children going solo (or with a group), or situations where only one parent takes the kids.
The key is to figure out what works for you, at this time in your life, with whoever is going camping with you. Don’t feel pressured to be Mr. REI, because that won’t make you happy and it isn’t what your loved ones are looking for. Kids are seeking quality time spent with Mom and Dad. Your spouse is looking for the same thing. Leave your pride and ego at home. Camping is about those priceless moments.
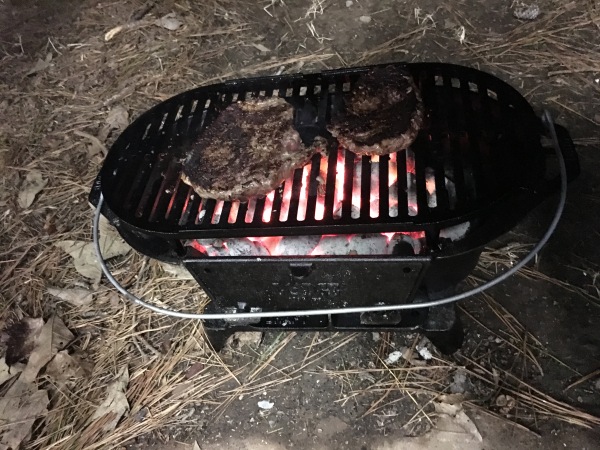
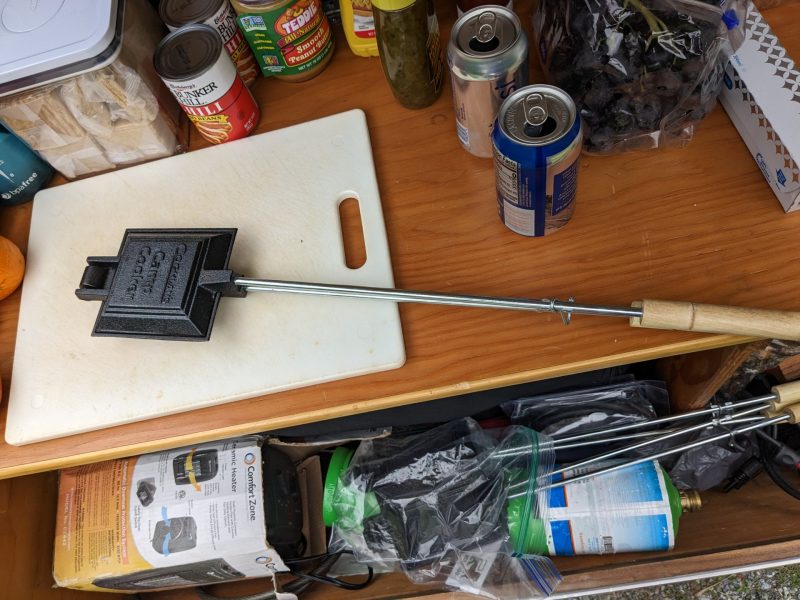
It was nice to have a weekend where we just enjoyed camping on the farm, without working. The grilled creation was cooked over the fire in the black cast iron cookers. The shell was made of corn dog roll with hot dogs, chili and onions inside. Tasty!


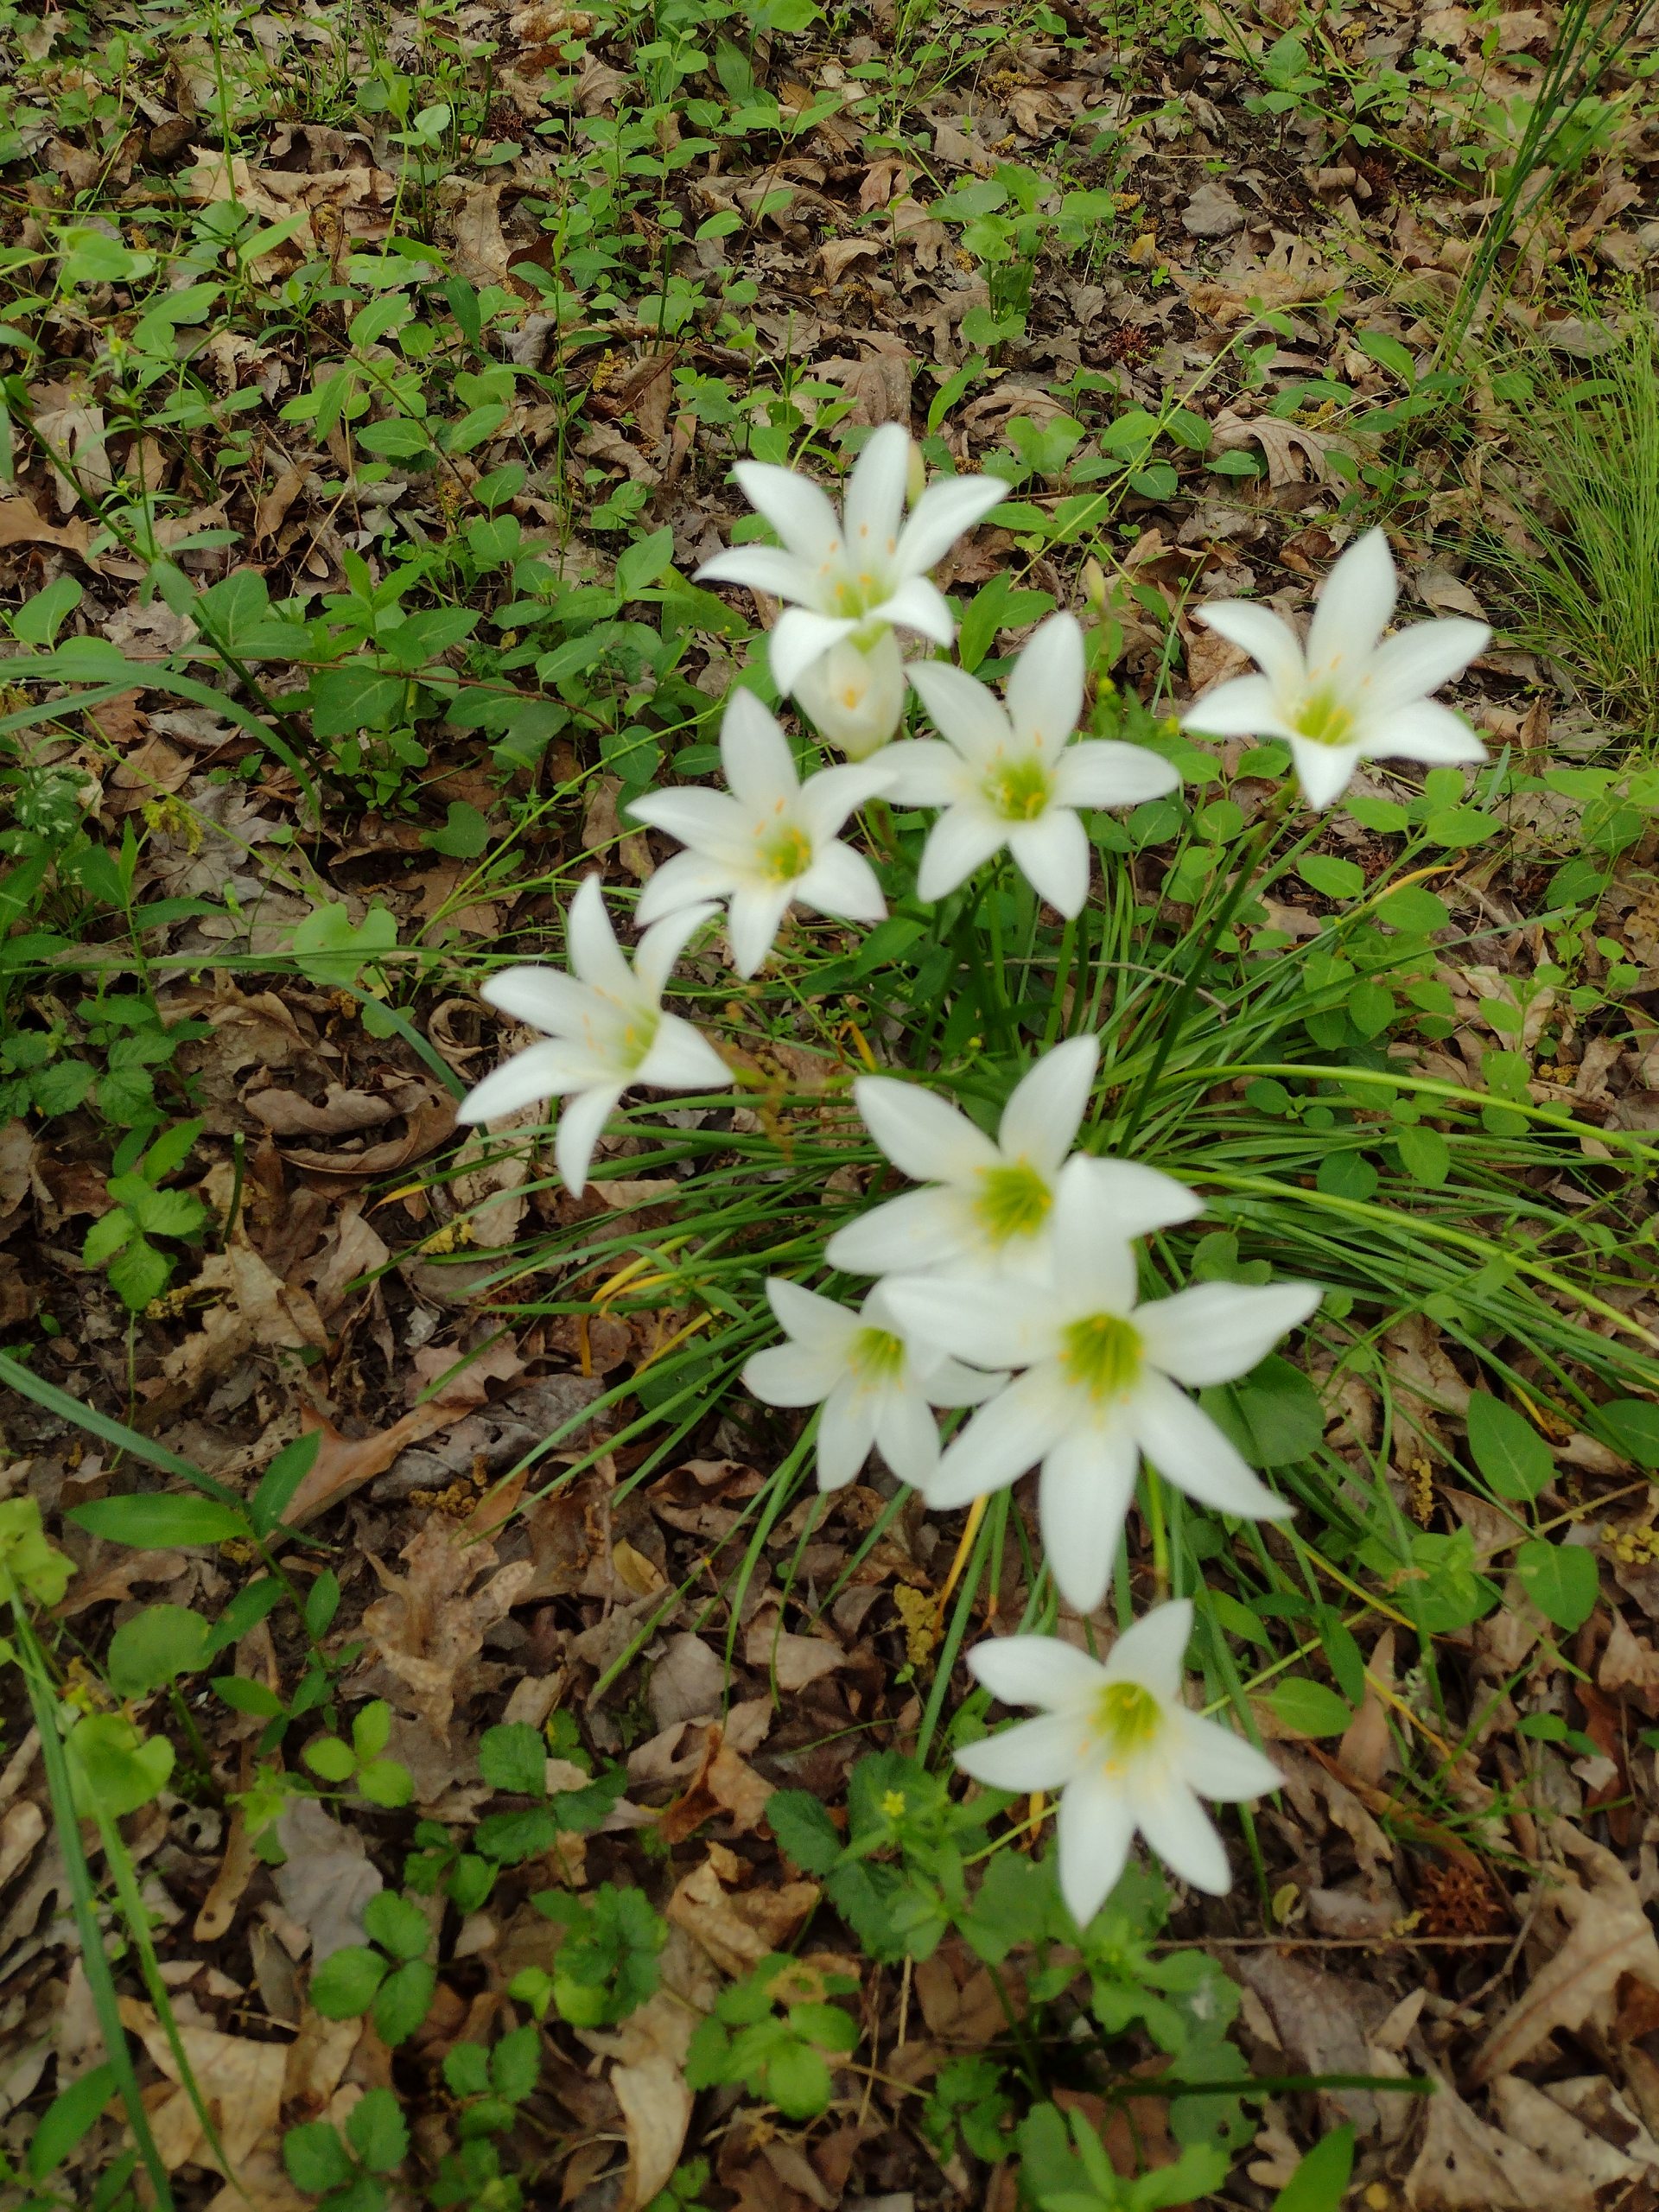
The Mayapples are growing. We never get any of the fruit because the critters always beat us to it.
You can camp on the farm too, just visit
https://www.hipcamp.com/en-US/land/north-carolina-simply-us-farm-and-camping-retreat-zwjhp868
The work on the emergency communications plan is moving forward. Our plan covers two main contingencies:
One of our team goals is put ourselves in a position where we can help the broader community during a wider emergency, such as a grid down situation after a hurricane or power station sabotage (like the next county over went through in 2022).
This plan is a step towards achieving those goals. Later phases of plan development should help address the communications divide between the CERT team and the greater community. These later phases should also incorporate some of the great ideas that were generated in the brainstorming / brainwriting work.
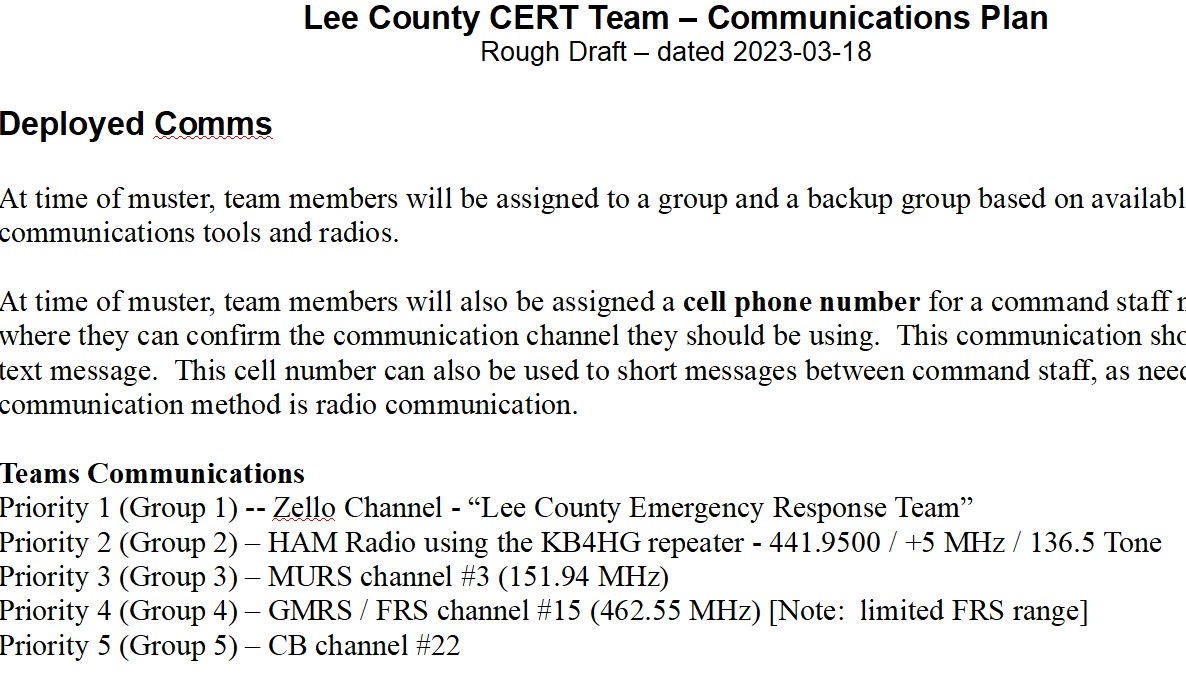
The rough draft of the plan is below. Comments and suggestions are welcome.
At time of muster, team members will be assigned to a group and a backup group based on available communications tools and radios.
At time of muster, team members will also be assigned a cell phone number for a command staff member, where they can confirm the communication channel they should be using. This communication should occur via text message. This cell number can also be used to short messages between command staff, as needed. Primary communication method is radio communication.
Teams Communications
Priority 1 (Group 1) — Zello Channel – “Lee County Emergency Response Team”
Priority 2 (Group 2) – HAM Radio using the KB4HG repeater – 441.9500 / +5 MHz / 136.5 Tone
Priority 3 (Group 3) – MURS channel #3 (151.94 MHz)
Priority 4 (Group 4) – GMRS / FRS channel #15 (462.55 MHz) [Note: limited FRS range]
Priority 5 (Group 5) – CB channel #22
(Backup) Priority 1 – No backup, go to other group
(Backup) Priority 2 (Group 2) – HAM Radio using the NC4ML – 147.240 / +5 MHz / 91.5
(Backup) Priority 3 (Group 3) – MURS channel #5 (154.60 MHz)
(Backup) Priority 4 (Group 4) – GMRS / FRS channel #17 – 462.60 MHz [Note: limited FRS range]
(Backup) Priority 5 (Group 5) – CB channel #24
Note: Group 2 – If both HAM repeaters are not available, switch to Simplex 146.58 FM
Command Communications
Priority 1 (Group C1) — Zello Channel – “Lee County Emergency Response Team – Command”
Priority 2 (Group C2) – HAM Radio using Simplex 144.400
Priority 3 (Group C3) – MURS channel #2 (151.88 MHz)
Priority 4 (Group C4) – GMRS / FRS channel #19 (462.65 MHz) [Note: limited FRS range]
Priority 5 (Group C5) – CB channel #21
(Backup) Priority 1 – Use command text message number to ask which alternate group to use
(Backup) Priority 2 (Group 2) – HAM Radio using Simplex 144.800
(Backup) Priority 3 (Group 3) – MURS channel #4 (154.57 MHz)
(Backup) Priority 4 (Group 4) – GMRS / FRS channel #21 (462.70 MHz_ [Note: limited FRS range]
(Backup) Priority 5 (Group 5) – CB channel #23
Use the following communications channels on the schedule below with a wilderness protocol (seeking to minimize power use in case the grid is down):
| Purpose | Group | Day | Time |
| Orientation | Email or text message from command to start comm protocol, or event / emergency to trigger start, includes emergency text message contact number | ||
| Daily Check-In (first 3 days only) | Group 1 – Zello | Daily | 07:00 PM |
| Group 2 – HAM Radio | Daily | 07:15 PM | |
| Group 3 – MURS (local to Carolina Trace area) | Daily | 07:30 PM | |
| Group C1 – Zello | Daily | 06:15 PM | |
| Group C2 – HAM Radio | Daily | 06:30 PM | |
| Weekly Check-In | Group 1 – Zello | Sunday | 07:00 PM |
| Group 2 – HAM Radio | Sunday | 07:30 PM | |
| Group 3 – MURS (local to Carolina Trace area) | Sunday | 08:00 PM | |
| Group C1 – Zello | Sunday | 06:00 PM | |
| Group C2 – HAM Radio | Sunday | 06:30 PM | |
| Daily Monitoring (4th day and beyond) | Group 1 – Zello | Daily, except Sunday | 07:00 PM |
| Group 2 – HAM Radio | Daily, except Sunday | 07:10 PM | |
| Group 3 – MURS (local to Carolina Trace area) | Daily, except Sunday | 07:20 PM | |
| Group 4 – GMRS | Daily, except Sunday | 07:30 PM | |
| Group 5 – CB | Daily, except Sunday | 07:40 PM | |
| Group C1 – Zello | Daily, except Sunday | 07:50 PM | |
| Group C2 – HAM Radio | Daily, except Sunday | 08:00 PM | |
| Anytime during emergency | Text messages to command cell # – when radio or Zello comms aren’t available | Any day | Any time |
Here are the ideas that we generated. There are over 140 ideas. Hopefully these give you a head start on developing your plan.
| Idea | Bucket |
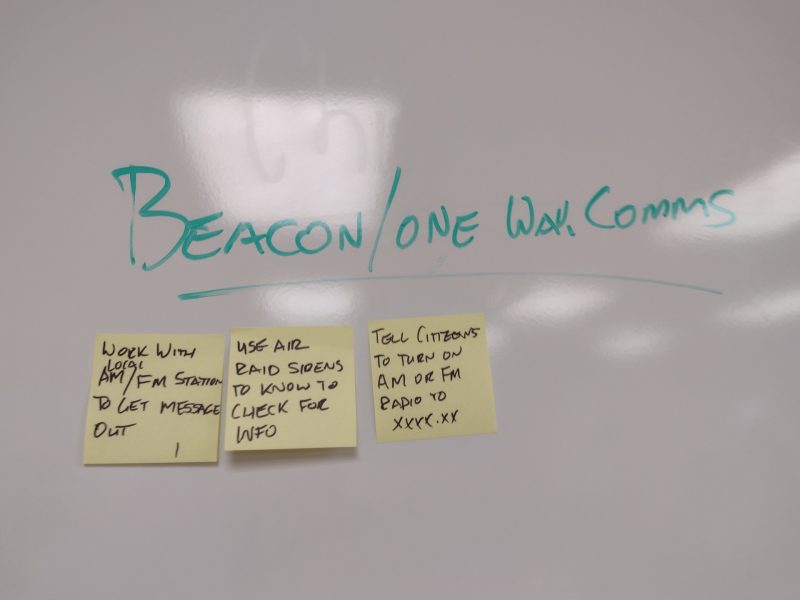
| Work with local AM / FM stations to get message out. (Highly rated idea by group) | Beacon / One Way Comms |
| Create AM / FM bandit stations for a hyper local reach (added after the session) | Beacon / One Way Comms |
| MESH Network | Beacon / One Way Comms |
| SPOT/Garmin Beacons | Beacon / One Way Comms |
| Tell citizens to turn on AM or FM radio to a preplanned channel / frequency | Beacon / One Way Comms |
| Use air raid sirens to get citizens to check for info | Beacon / One Way Comms |
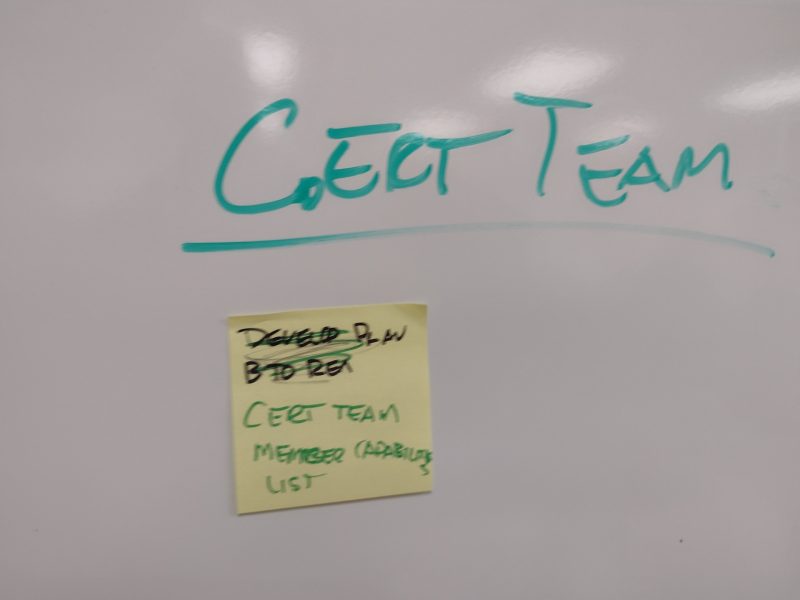
| Add org chart to plan | CERT Team |
| Add rotation plan to comm plan | CERT Team |
| cache radios for use in emergency | CERT Team |
| comm plan “jobs to be done” list | CERT Team |
| consider situation where CERT is used as helpers instead of standalone group | CERT Team |
| create comms map for each band for Lee county | CERT Team |
| create form for passing messages (needs / requests / news) via voice | CERT Team |
| Create member capabilities list (skills, interests, experience and equipment) | CERT Team |
| create trailer with telescopic mast and battery / solar to use a temporary repeater | CERT Team |
| develop online repository for standard forms | CERT Team |
| Forms list for comm plan, use ICS forms (ics-214, 201, 205, 205A, 213, 214, 217, 221, 211,222) | CERT Team |
| get more CERT members to take ham test so they can help with Lee county EOC | CERT Team |
| Go bag plan for comm plan | CERT Team |
| have (email / voice / phone) contact in comm plan for tech support / comm plan questions | CERT Team |
| look at our plan using interoperability continuum from ICS | CERT Team |
| should different message types be transferred on different frequencies | CERT Team |
| use for ICS 221 after demobilization | CERT Team |
| use form 213 for message taking / delivery / resource requests | CERT Team |
| use form 309 to document interactions | CERT Team |
| use issue tracking software (online?) to track requests | CERT Team |
| Take a look at the Lee County Emergency Communication plan and report (Highly rated idea by group) | Communication between CERT and local community |
| Develop a communication plan and network of people (chainsaw brigade) that allows us to direct a chainsaw network that clears trees off the road after a weather event. This helps clear the roads quickly so first responders can reach people in need. This network would need to work with various parties to identify locations of blocked roads then send out requests for network members to go clear those roads (Highly rated idea by group) | Communication between CERT and local community |
| Develop ways to communicate with Lee County EOC (Highly rated idea by group) | Communication between CERT and local community |
| Use community centers as a shelter, muster point, comm point or cache point (Highly rated idea by group) | Communication between CERT and local community |
| add HOA layer to comm plan | Communication between CERT and local community |
| add relationships layer to comm plan | Communication between CERT and local community |
| better integration of Lee County Emergency MGMT | Communication between CERT and local community |
| CB | Communication between CERT and local community |
| create contact list for Lee County and Sanford emergency mgmt and EOC | Communication between CERT and local community |
| create list of emergency contacts across county (public / CERT / private) | Communication between CERT and local community |
| create list of how to reach EOCs for areas outside of the county | Communication between CERT and local community |
| create list of lee county / sanford and adjoining city / county /agency frequencies | Communication between CERT and local community |
| Degraded Power Grid – If cell is up, utilize cell – HAMs will likely conduct accountability via COMM nets – GMRS for short distance non-HAM comms | Communication between CERT and local community |
| Determine muster points for CERT to meet and exchange info face-to-face in bad weather. Alternate communication path for those who don’t go out | Communication between CERT and local community |
| Develop CERT teams across county, possibly using fire station coverage map to drive CERT team AO | Communication between CERT and local community |
| Develop community network around volunteer fire departments | Communication between CERT and local community |
| Develop list of areas where CERT under serves the community and determine if there are areas that could benefit the most from a local CERT team | Communication between CERT and local community |
| Do welfare checks on people with mobility or other health issues (esp during an emergency) | Communication between CERT and local community |
| Hand-held walkie talkies | Communication between CERT and local community |
| How can we fill in gaps with the Lee County Emergency Communication plan? | Communication between CERT and local community |
| How do we communicate with citizens in economically distressed areas? | Communication between CERT and local community |
| If teams are dispersed, it becomes more troublesome. Best scenario is to have multiple methods of communication lying within CERT EOC to serve as broadcast beacons, i.e. multiple HAM radios programmed to different frequencies, if issues arise on one frequency, you swap to another frequency and periodically blast net messages on degraded frequency indicating the swap to the secondary frequency. | Communication between CERT and local community |
| Interface with Lee County Emergency Management | Communication between CERT and local community |
| share a version of the com plan with local groups (church, prepper, community, etc) | Communication between CERT and local community |
| use fire stations as a gathering / communications point | Communication between CERT and local community |
| Use map of fire station map to understand community relations | Communication between CERT and local community |
| use microwave or other rf connections to fire stations | Communication between CERT and local community |
| VIPER (if able to utilize) | Communication between CERT and local community |
| Within Trace this should be fairly easy and facilitated via CERT runners within our respective communities. Individuals that are CERT members could be arranged into “teams,” with those teams being broken up into respective HOA groups. One CERT member, preferably a HAM, could operate as a base station and send the runners out into their respective HOAs and conduct welfare checks on residents and report back to base station. | Communication between CERT and local community |
| work with nextdoor.com as a broad communications tool | Communication between CERT and local community |
| Zello | Communication between CERT and local community |
| Hold ham crams in churches or other groups or HOAs (Highly rated idea by group) | Deployed Communication |
| Engage local HOAs and help them develop networks or CERT teams and then fold that into our CERT network (Highly rated idea by group) | Deployed Communication |
| ATAK network (transported over MESH network) | Deployed Communication |
| Can we get an affinity group to help develop a communication network (providing people, location or funds)? Could be someone like the Sanford Business League. Also, local business could work with us to help them and their employees be prepared both at work and at home. | Deployed Communication |
| GMRS, MURS, CB (short distance comms) | Deployed Communication |
| HAM (for those licensed) | Deployed Communication |
| Have one person that takes notes for the deployed teams to track activities and have a way to share them. Could those notes show up online and realtime? Could be someone that doesn’t have their ham license or is without radio experience | Deployed Communication |
| Hold exercises that include these ham / radio operators so CERT can practice communicating to their group through them | Deployed Communication |
| How many community groups, organziations (including HOAs) have ham operators? Can we form a group of those ham operators, so the operators can interface with the groups they are members of, becoming a force multiplier. Have those operators train together. Also consider other means of communication such as GMRS, meshtaastic, cb, etc. or means we haven’t considered yet. Maybe even have social events for those operators. Train together and with CERT and develop those relationships. | Deployed Communication |
| Map social network – including affinity groups, churches, business, civic groups, government. Maybe develop a list of group sites like on facebook, nextdoor, etc. | Deployed Communication |
| MESH network (Meshtastic devices, etc) | Deployed Communication |
| Place meshtastic nodes or equipment caches at locations where the community groups meet (groups that have ham operators that are part of the network). | Deployed Communication |
| Zello | Deployed Communication |
| Use DMR repeater in Lee County (Highly rated idea by group) | Digital Comms |
| create form for passing messages (needs / requests / news) via winmail | Digital Comms |
| DMRs (Digital Radios) | Digital Comms |
| MESH network | Digital Comms |
| Software defined radios | Digital Comms |
| Use group.me app for group text messages | Digital Comms |
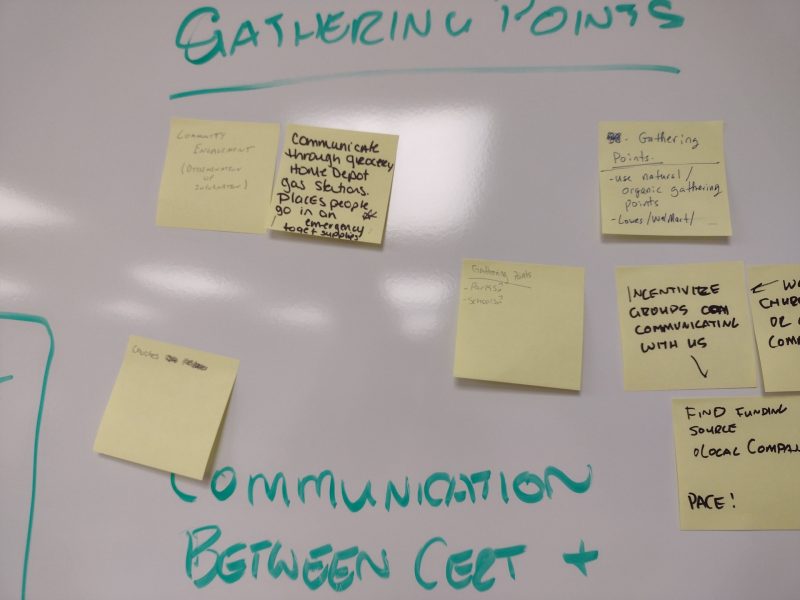
| Communicate through grocery stores, home depot, gas stations and other places people go in an emergency to get supplies (Highly rated idea by group) | Gathering Points |
| Consider parks and schools as possible gathering points | Gathering Points |
| Develop a PACE plan for the gathering points | Gathering Points |
| Incentivize groups to communicate with us. Maybe find a local company(s) to help fund some of these activities and partner with us. Also work with churches and other local groups | Gathering Points |
| Look for organic gathering points as a place to get the message out. Maybe Walmart or Lowe’s Home Improvement | Gathering Points |
| Use gathering points to disseminate information to community | Gathering Points |
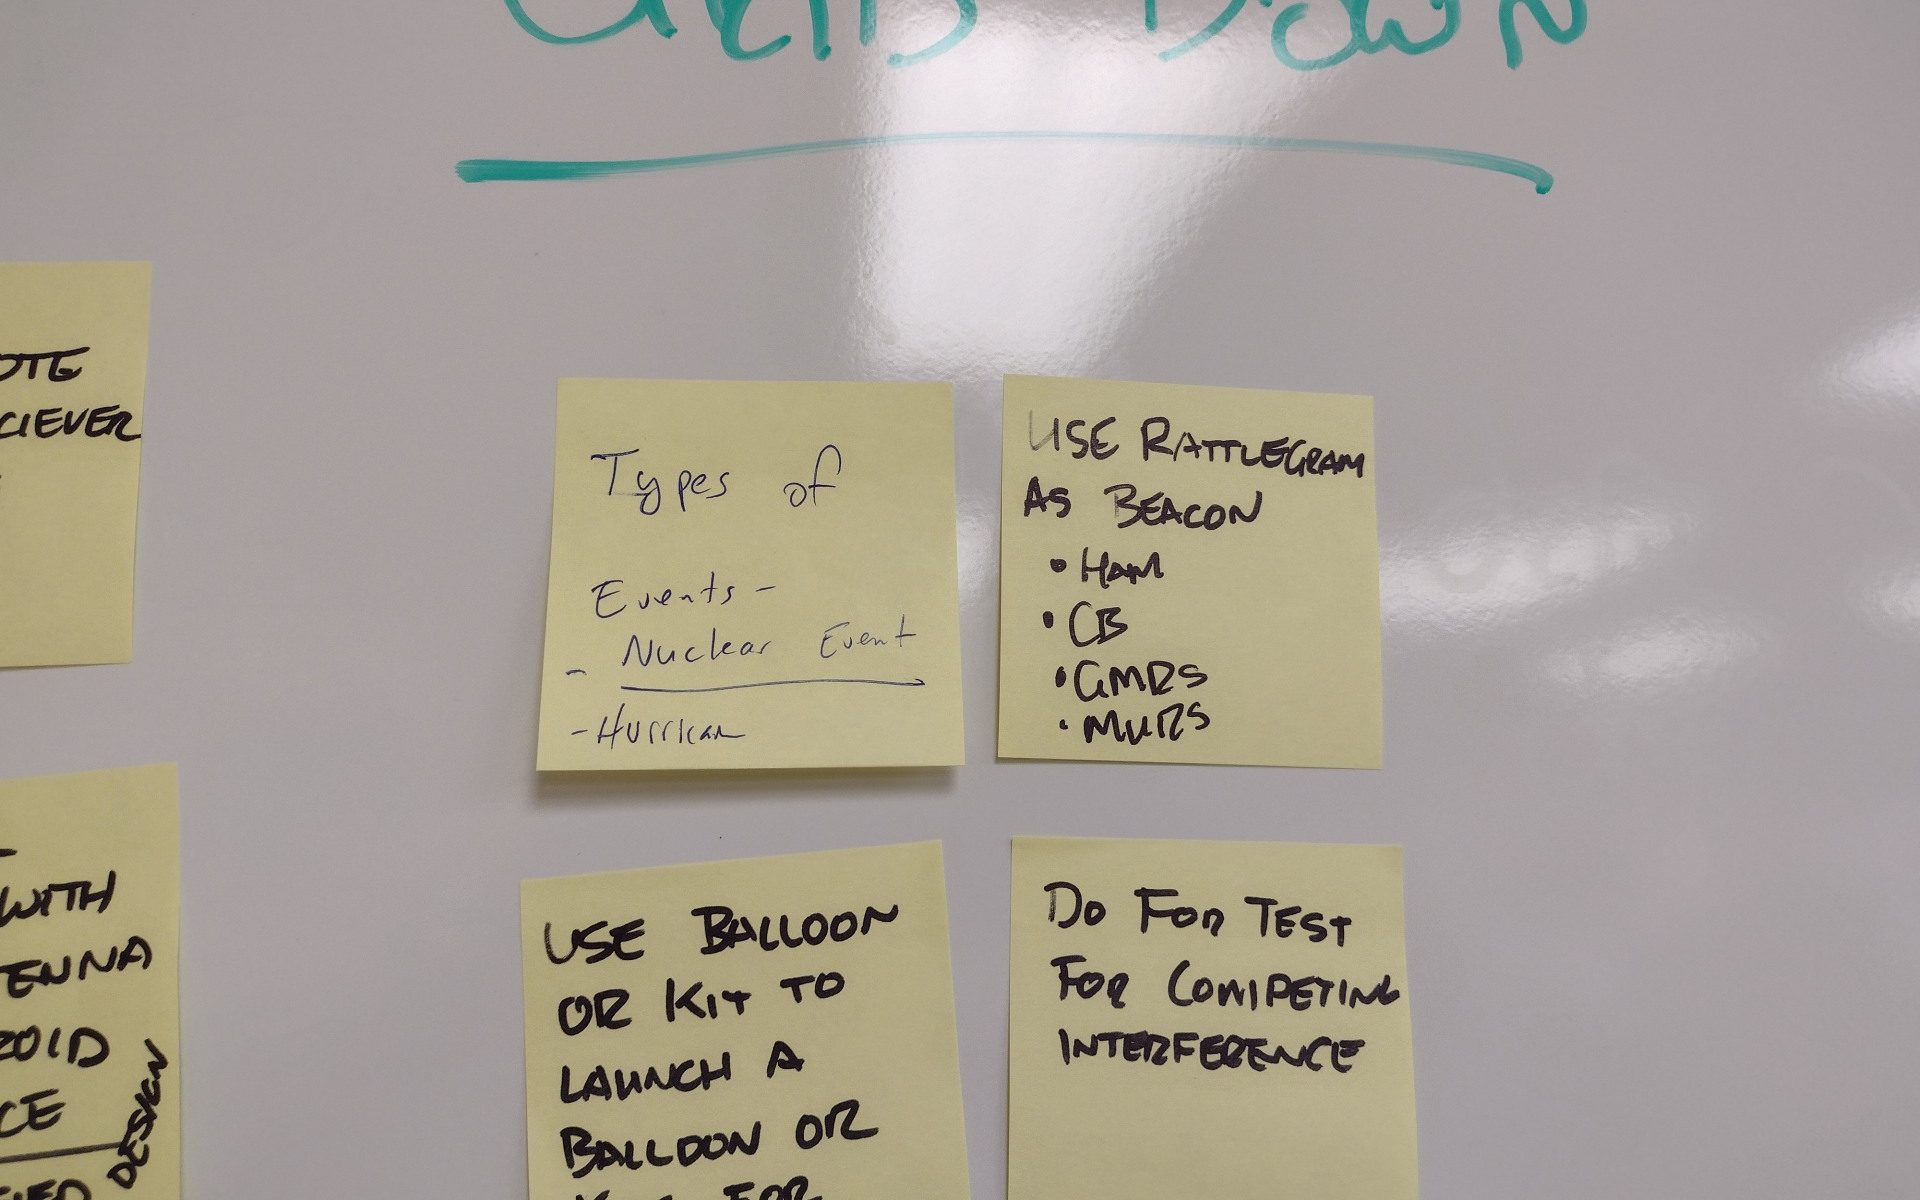
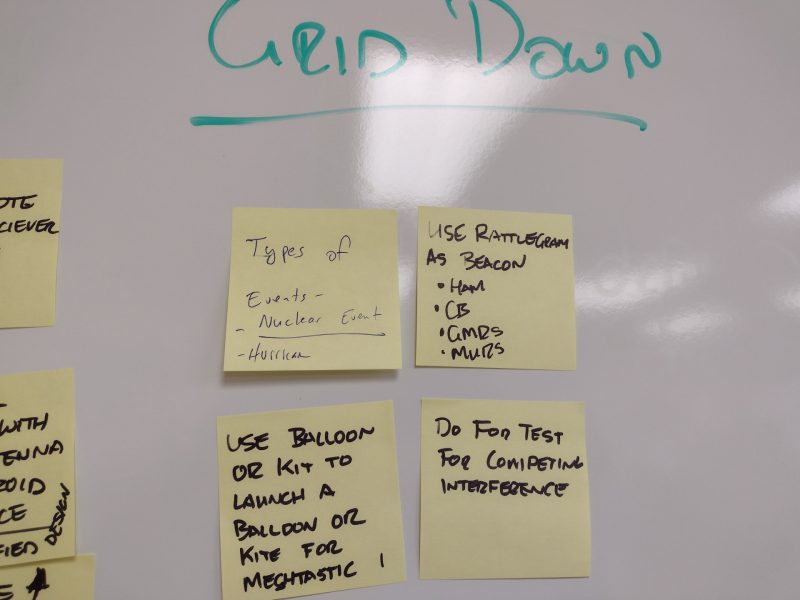
| Use a balloon or kite to hold meshtastic node at an elevation, check for coverage and consider competing interference in the LoRa band (Highly rated idea by group) | Grid Down |
| A MESH network that is properly constructed (Solar power, hardened) and is adequately distributed across the county should be able to provide this “beacon” and be accessible to everyone in the community as long as you have a device to enter into the network itself. Obviously this has limitation as you need to have the device and have it properly configured. | Grid Down |
| Develop type of even list – nuclear, hurricane, etc and try to consider a lot of possible events | Grid Down |
| Have someone monitoring the situation so a runner can be dispatched (walking or driving). This way we can reach people in a hyper local area and manage emergency requests even if the person needing help can’t directly communicate with us. Use this to communicate with and help people in an area where people can’t actually leave home or the local area. | Grid Down |
| I believe this is likely the most difficult situation to rectify until we answer some of our other questions. Obviously the most fool-proof way of communicating during a grid down situation is by runners between CERT members, with a HAM CERT member acting as a control station for people to check in with. Once we flesh out some other methods of communication that are more fail-tolerant, we can utilize those. | Grid Down |
| Iridium (Cost prohibitive but will function as long as you have battery in the phone and SAT Uplink) | Grid Down |
| Runners/Foot Mobile | Grid Down |
| use radio propagation software to determine expected coverage | Grid Down |
| Use Rattlegram as a beacon (maybe on HAM, CB, GMRS, MURS?) | Grid Down |
| use solar powered repeaters (ham / grms / meshtastic?) | Grid Down |
| Use support nets in comm plan | Grid Down |
| Connect APRS to satellite for messaging and locations | Ham comms |
| connect to state Winlink Service (shares) | Ham comms |
| create an adhoc winlink server for CERT group / remote message server / rms relay software | Ham comms |
| determine coverage of repeaters and other comm sources in plan | Ham comms |
| determine how long lee county and moore county repeaters stay up when grid is down | Ham comms |
| Hold schedule update (radio show like) at specific times and dates / intervals during an emergency, i.e. a form of wilderness protocol. This minimizes power usage during a grid down situation | Ham comms |
| Hold schedule update (radio show like) from drone that carries up an antenna at specific times and dates / intervals during an emergency, i.e. a form of wilderness protocol. This minimizes power usage during a grid down situation | Ham comms |
| Use APRS for texting | Ham comms |
| Use APRS to locate a victim or track team member locations | Ham comms |
| Use balloon or drone to launch | Ham comms |
| use field situation report to apprise state EOC of status (nceoc.ncdps.gov), maybe through winlink | Ham comms |
| use national calling frequency 146.52 or 446.0 from page 46 of the Auxfog | Ham comms |
| use winlink to transfer info among CERT members, how can we do that with and without an internet connection | Ham comms |
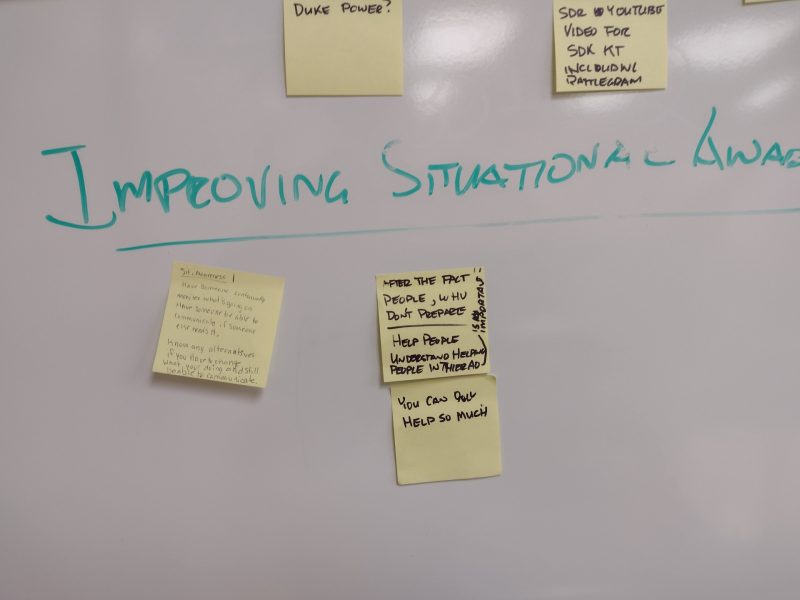
| ADS-B (Aircraft Tracking) | Improving situational awareness |
| ATAK (General SA collation tool) | Improving situational awareness |
| Better understand why people don’t prepare ahead of time so we can help people understand why it is important to be prepared, or somehow encourage them to prepare | Improving situational awareness |
| Downlinked NOAA data (WX tools) | Improving situational awareness |
| Have someone continually monitor what’s going on. Have someone able to communicate immediately if someone else needs help. | Improving situational awareness |
| Know any communication alternatives, so you can change what you are doing and still be able to communicate | Improving situational awareness |
| Signals Plan/PACE Plan | Improving situational awareness |
| Understand that we can only help people prepare that will help themselves. We can old help so much and have to be ready to deal with unprepared neighbors in an emergency situation | Improving situational awareness |
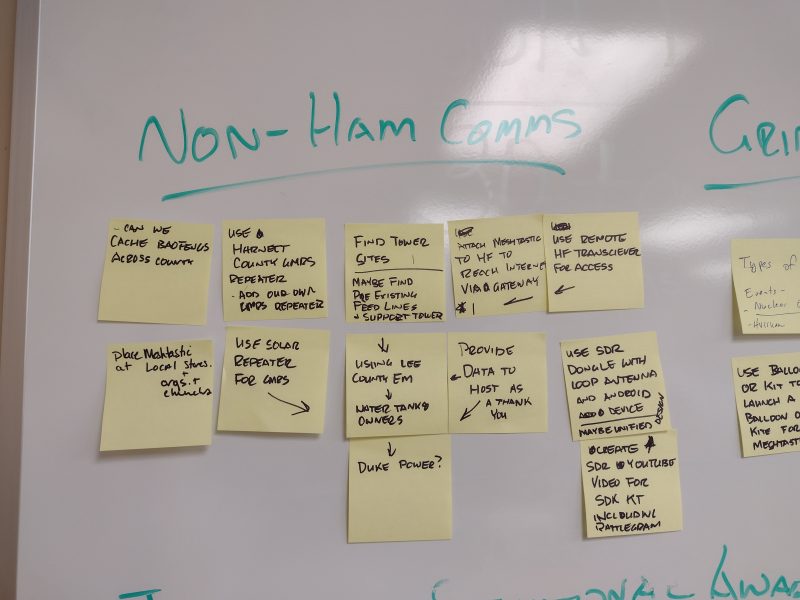
| Attach Meshtastic to HF to reach Internet via Gateway. Use remote HF transceiver for access (Highly rated idea by group) | Non-Ham Comms |
| ATAK | Non-Ham Comms |
| Attach Meshtastic to internet at far distributed points | Non-Ham Comms |
| Cache Baofengs at different locations across the county | Non-Ham Comms |
| can we runwinlink over gmrs or cb? | non-Ham Comms |
| CB | Non-Ham Comms |
| Cell network, Zello | Non-Ham Comms |
| Create list of existing tower sites with existing and unused feed lines | Non-Ham Comms |
| Create list of tower or other sites where we could put repeaters (meshtastic, GMRS or other) | Non-Ham Comms |
| Full Power grid/All services – This is likely a pre-call out function – Utilize cell, email and prep for no-grid possibility. | Non-Ham Comms |
| GMRS, MURS | Non-Ham Comms |
| Hand-held Walkie Talkies | Non-Ham Comms |
| If a robust and fail-tolerant Mesh network is developed, you can utilize that for message traffic and indicate to deployed teams the changes required. | Non-Ham Comms |
| If cell services are operational/slightly degraded, you can still utilize those as a means of broadcasting changes as well. | Non-Ham Comms |
| If grid is still up, cell network is likely the best option and is likely the easiest option for most members as well. If deployed and in a grid down situation, that is when our MESH/ATAK network would likely provide the easiest geolocated SA tool for status. HAM and GMRS radios can also be utilized for this function as well. | Non-Ham Comms |
| If we have an emplaced CERT EOC, it is likely that team members will be co-located at some point during deployment. This would assume that word of mouth would be the primary method of change management for commo methods. | Non-Ham Comms |
| look at Cert team in Cary’s plan for GMRS usage (contact Virginia Enzor for info) | Non-Ham Comms |
| No Power Grid/Initial — Runners within Trace (if movement is safe)//Need strip maps for non-Trace CERT members – HAMs that have back-up power serve as beacons for runners for accountability | Non-Ham Comms |
| Outside of Trace this may become more difficult. Strip maps of all non-Trace CERT members should be developed and located within the CERT administrative documents. This would facilitate accountability to send runners from Trace CERT to non-Trace CERT members. Lee County governmental organizations, Emergency Management, would also play a role in this. We should understand their game plan for an actual call-out and develop a link-up protocol with them. This would provide them extra manpower via CERT members and would facilitate the flow of information. | Non-Ham Comms |
| Place meshtastic nodes at local stores, churches and other organizations | Non-Ham Comms |
| Provide data to host (tower or building site) as a thank you for hosting our equipment | Non-Ham Comms |
| Put repeaters / Meshtastic nodes at Lee County Emergency Mgmt site | Non-Ham Comms |
| Put repeaters / Meshtastic nodes on church buildings | Non-Ham Comms |
| Put repeaters / Meshtastic nodes on Duke Power sites | Non-Ham Comms |
| Put repeaters / Meshtastic nodes on water towers | Non-Ham Comms |
| Stand up a solar GMRS repeater | Non-Ham Comms |
| Stand up GMRS repeater in Lee County | Non-Ham Comms |
| The easiest way to improve SA is to ensure that we have multiple, easy methods of communication between team members. Obviously some members will have more experience and have preferences on which communication method to prefer and that’s ok. We need to develop a solid signals plan that lays out what we do in particular situations, develop a PACE (Primary, Alternate, Contingency, Emergency) plan for various instances. | Non-Ham Comms |
| This assumes that we have in-roads with the local emergency management here in Lee County during the emergency. It is imperative that we wargame the scenario with local EM reps to ensure we are all on the same page in the event a large scale disaster happens. This would likely include what methods of communication they will be utilizing, disaster response plans and basic link-up procedures. | Non-Ham Comms |
| Use GMRS repeater that is already running in Harnett County | Non-Ham Comms |
| Use SDR dongle with loop antenna and android device to allow listening to a CERT status update on HF (or other frequency). Create a standard design with tutorials to make it easily accessible to as many people in the county as possible (CERT members and everyone else). Create youtube video to explain how to setup and use | Non-Ham Comms |
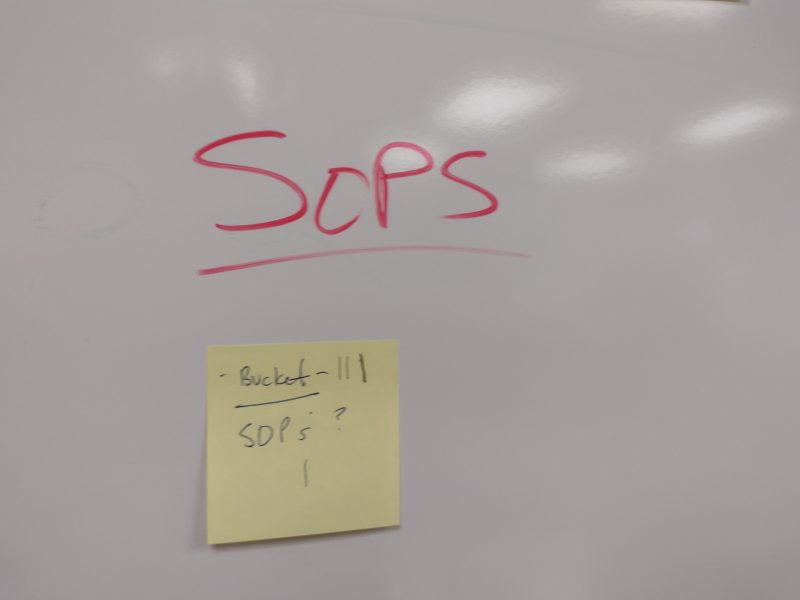
| Develop SOPs for emergency communication roles, actions, responsibilities, etc. (Highly rated idea by group) | SOPs |
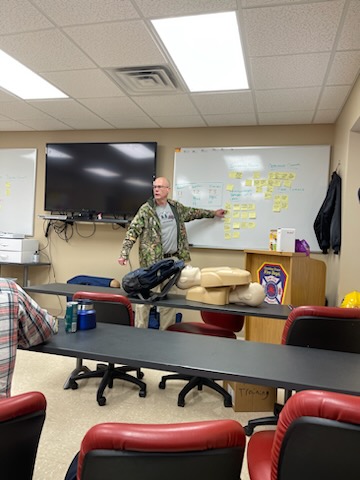
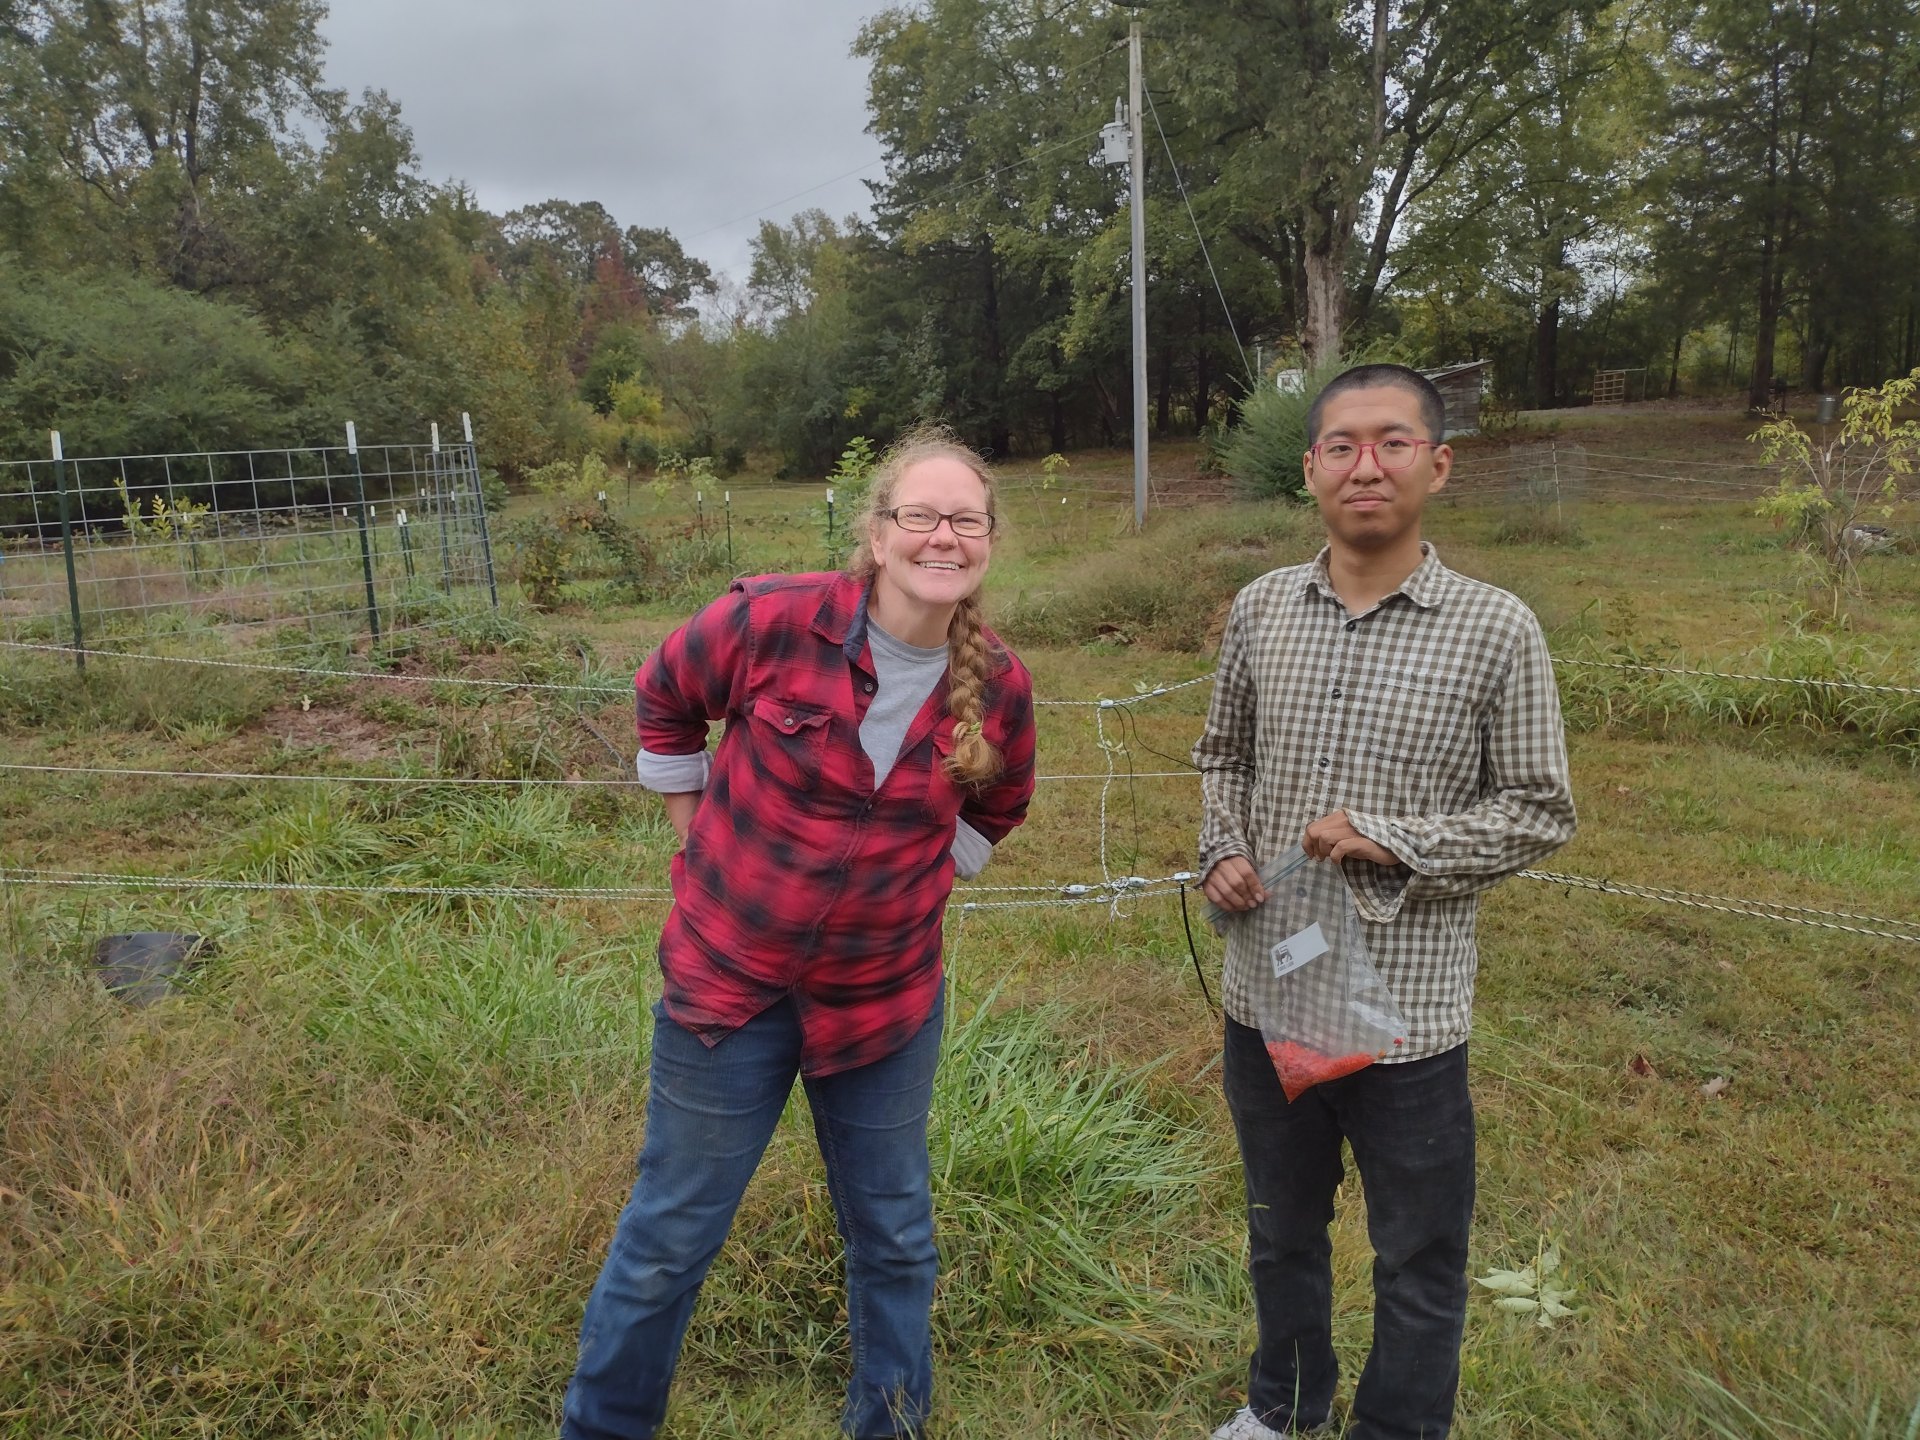
We gathered as group at the training room in the local fire station. This was great venue with whiteboards and plenty of room to spread out.
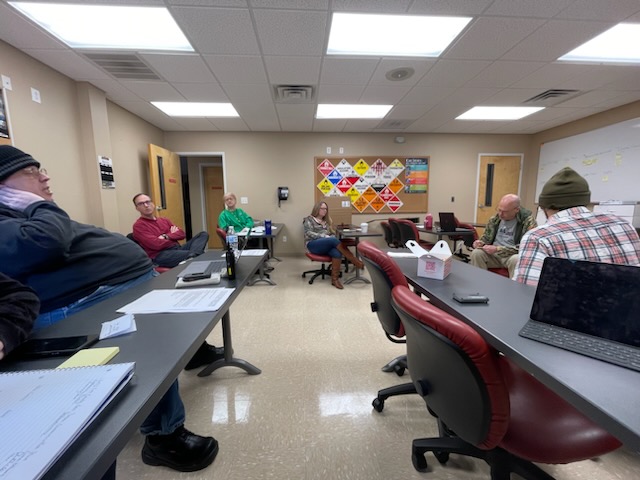
An enthusiastic group that really wants to find better ways to help out in the community during an emergency really made this morning a joy.
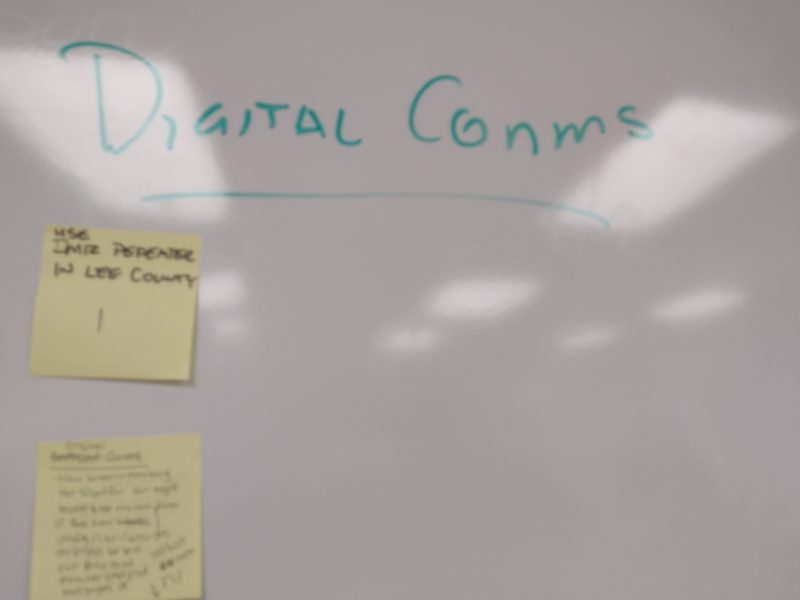
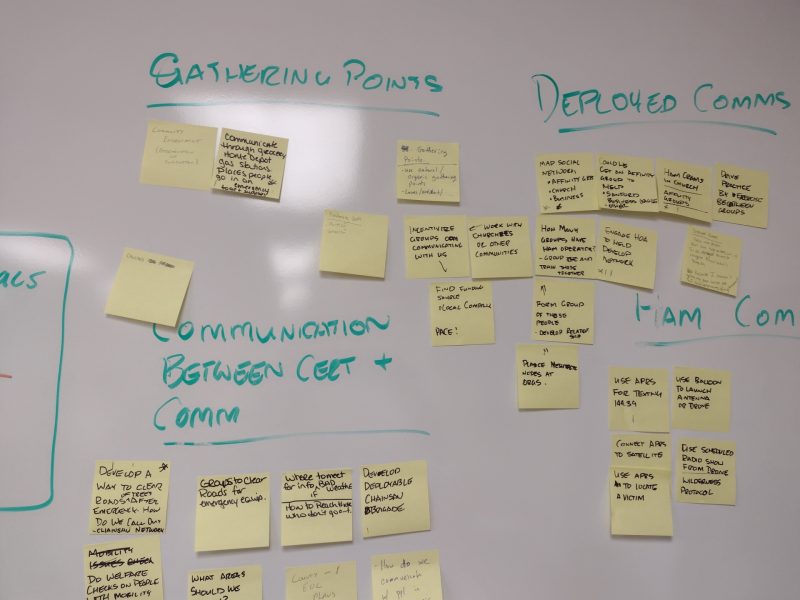
Here are some images of the ideas on the white board.

Results
Between the brainwriting and the brainstorming, the team generated over 140 ideas! Many of the ideas were very high quality. There is lots of interest in pursuing those ideas in the wild and turning them into actionable plans.
Thanks to everyone who participated.
We’ll publish detailed results in a separate blog post, or 2 or 3, where we can look at them in detail. The ideas and the themes we discovered are all helpful.
The next step in developing our CERT Emergency Communications plan is the brainwriting challenge for team members.
Challenge Question
How do we create a workable plan that allows the CERT team to communicate within the team, with local authorities and the community in an emergency
Specific Questions
Buckets
Deployed Communication
Communication between CERT and the community
Ham Comms
Non-Ham Comms
Grid Down
Beacon / One Way Comms
Digital Comms

Camping is a great way to get outdoors and take a break from the digital clutter. Consider a digital detox and reap the benefits.
I want to help you achieve that goal of taking your family camping. You can read the first of my camping series of books:
This book helps families (or individuals) make that first foray into the woods and actually enjoy it. I share what I’ve learned in a lifetime of outdoor adventures. The book is not about extreme camping or anything crazy. I just talk about practical skills, knowledge and how not to spend a fortune on equipment on our way to a great weekend with the family.
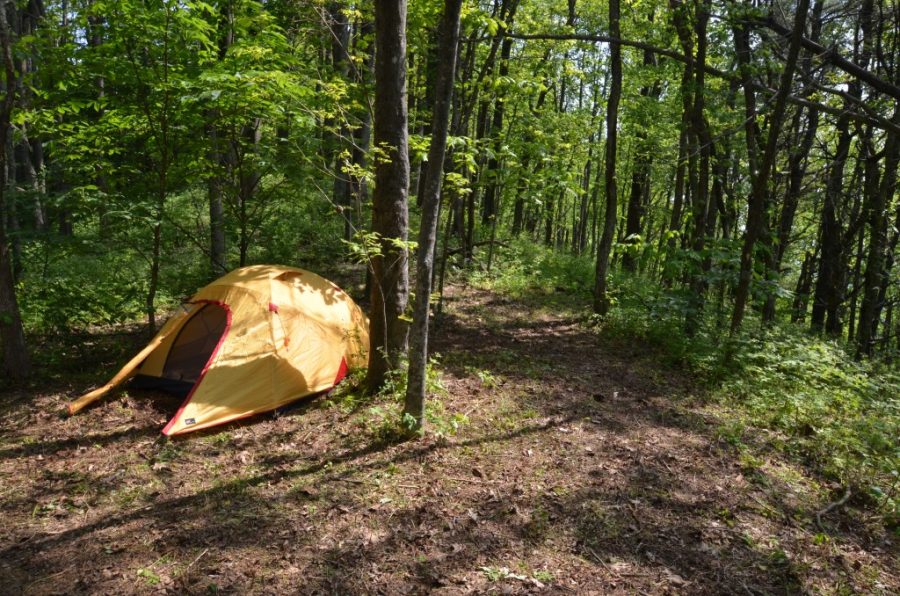
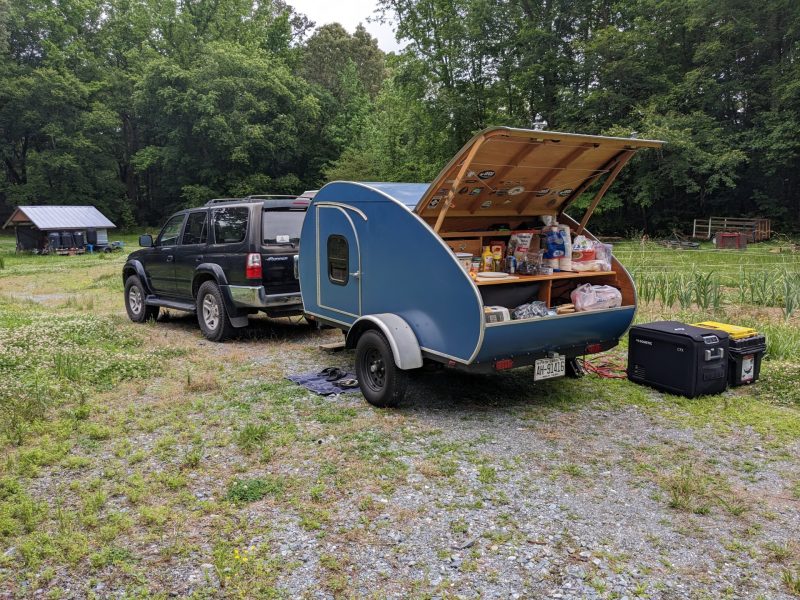
If you want to see my handiwork and the campsite that I designed, checkout

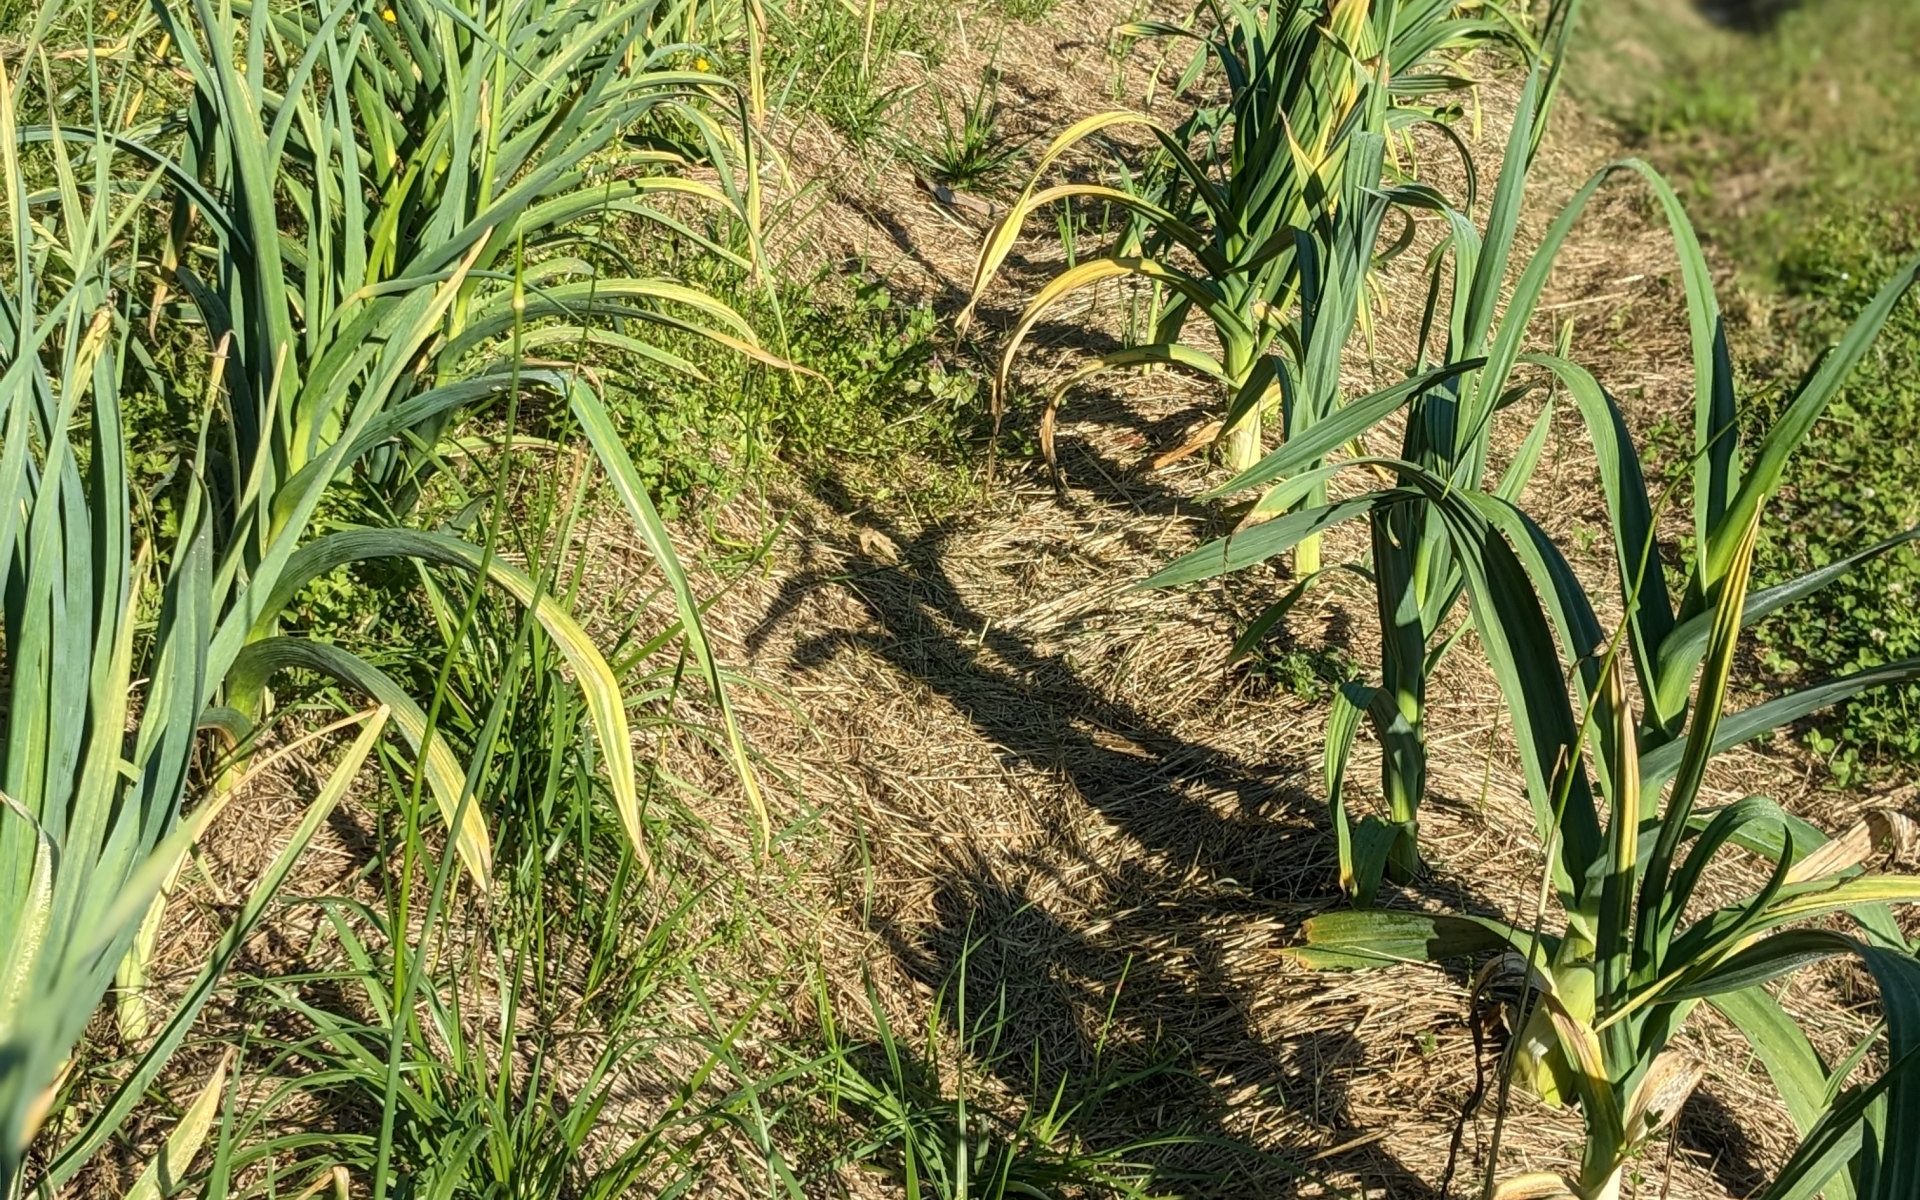
Some days are easier than others. Being flexible helps turn a frustrating day into a productive and happy one! The zero turn is fixed and the garlic bed is weeded and hay put down around the garlic.


The blackberries are starting to fruit!