
The weather on Saturday was kinda crazy. It started out fairly warm and then just kept getting colder.
Sometimes You Can’t Do What You Plan
We had planned to plant beets, peas and radish. The plan was to pull back the tarps and build beds to plant in. The silage tarp has been down for several weeks. Last weekend we added more tarps before the rain started. The plan was to roll back the tarps and build beds for the beets, peas and radish. Then we could plant in dry ground. Sounds like a good plan.
However, it was not a good plan. When we pulled back the silage tarp and the other tarps, what we found was some very wet ground. Once again I was unable to impose my timeline on the farm. I say that as a joke. Our transition from backyard gardening to a small scale farm has been quite a learning experience. I’ve found time and time again, that we can’t impose our timeline and our will on the farm. Instead we have to be flexible and understand that everything happens in due time.
Getting the Food Forest Ready for Spring
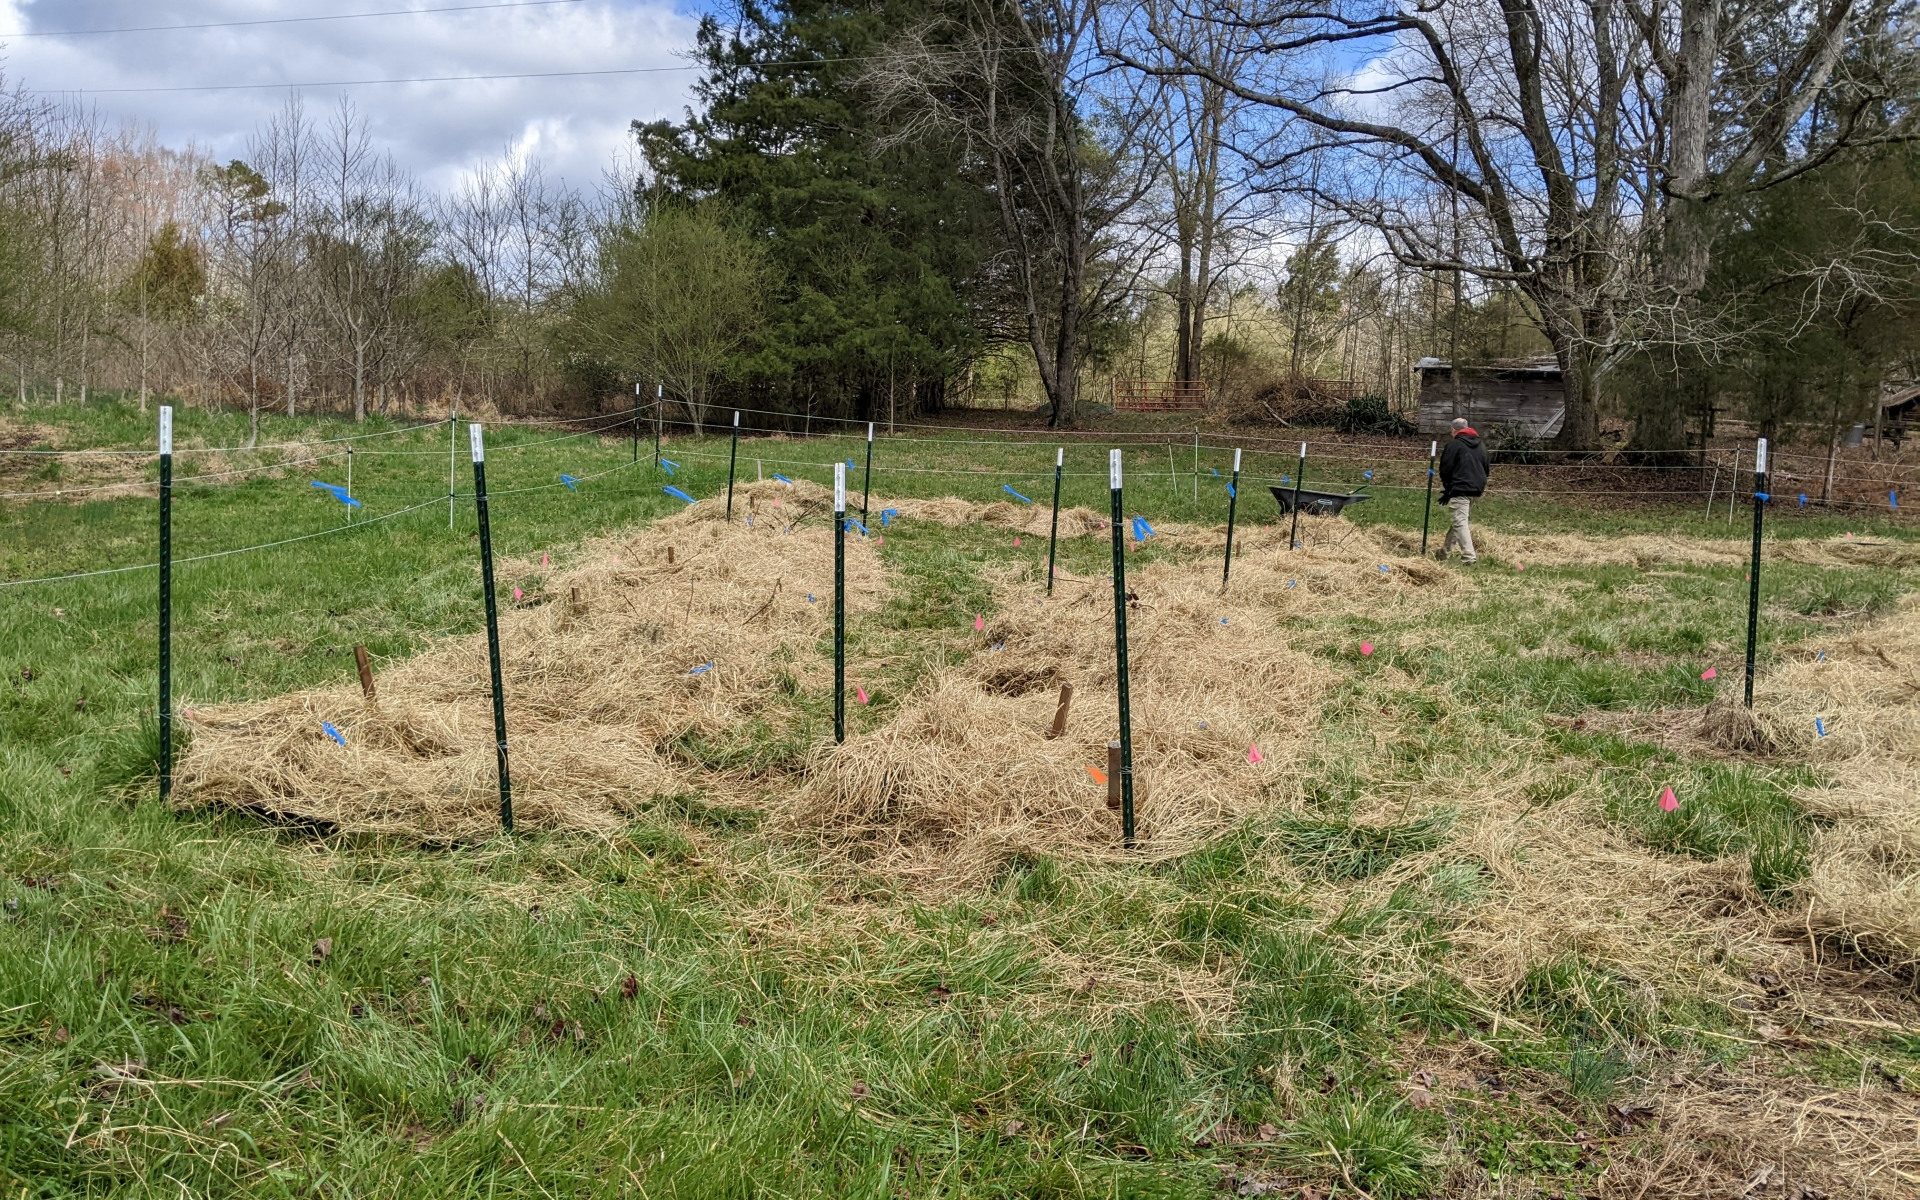
Our food forest area consists of a mulberry trees, elderberries, blackberries, raspberries and figs. There is also a hugelkultur mound at the edge. We started our food forest last year in a field with very established grass. The grass is good because it holds the soil in place but creates a few issues. The grass competes with the bushes and trees for resources. The grass also hides the drip irrigation lines and emitters, making it easy to hit with the lawnmower or weed eater. Keeping the grass cut in the immediate are around plants makes it easy to damage the plants if you get too close with the lawnmower or weed eater.
Our Solution
We spent the day putting down a biodegradable weed blocker. The weed blocker we use is a paper mulch from Chatham Farm Supply in Pittsboro, NC The weed blocker is manufactured by www.7springsfarm.com .

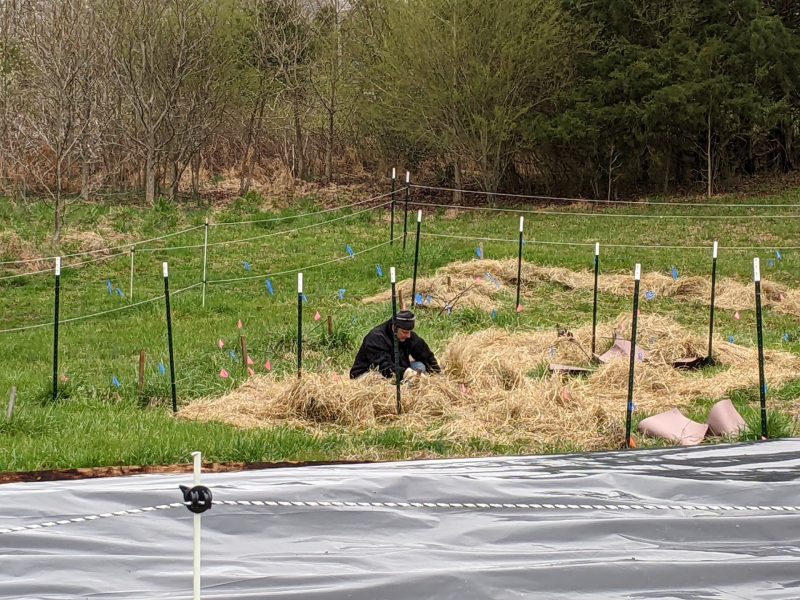
The steps:
- cut out a piece of the 4 foot wide paper that is 4 feet long, then put a cut in the middle of the paper that allowed us to lay the paper down around the plant.
- Put down hay on top of that paper, so the hay is at least 1 foot deep, and do it quickly before the window blows the paper away
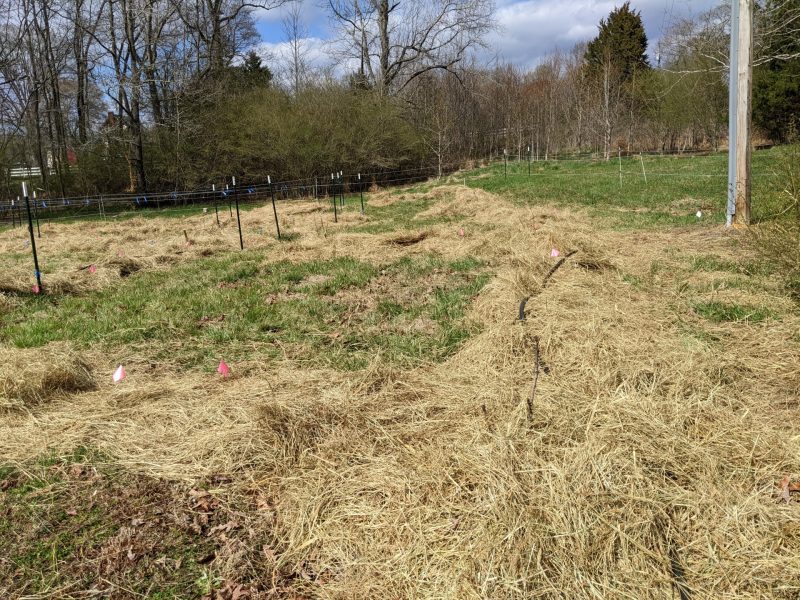
- Once the plants have paper and hay around them then cut sheets to cover the grassy area between the string of plants (along the trellis or the drop line)
- Cover those sheets of paper with hay.
We originally tried doing a long length of paper, but the wind kept that from working. Doing small pieces worked much better and were easier to manage on a windy day.

Important Note about Using Hay or Straw in your Garden
It is really important to make sure that before using hay or stray in your garden, you find out what chemicals were sprayed on the hay as it was growing. Some of the chemicals used in the production of hay (which is typically used for livestock food) are safe for live stock but may kill the plants in your garden. Some farmers assume that safe for livestock means safe for the garden, but often that isn’t the case.